It’s All About the Designer Series Paper

I made three cards tonight, all using designer series paper and the Ornament Punch. The similarities end there, however! I was going to space them out and post one per day but I can’t wait to show them to you!

First up is the most traditional card of the three. It uses coordinating Christmas Cocoa DSP with various stencil-like flourish patterns. The base is real red textured card stock, layered with the DSP in red and white flourishes. Next, I layered the flocked DSP (it has a raised felt image and it’s sooo beautiful) onto close to cocoa card stock so that it would pop off the background. In the center, I applied a Merry & Bright Rub On to close to cocoa card stock and punched it out using the Ornament Punch. Then, I braided three pieces of Silver Elastic Cord and adhered it to the back of the ornament, wrapping it up behind the close to cocoa panel. The ornament is then attached using dimensionals.

Next is a more retro style card. It uses the Holiday Lounge DSP and some pretty non traditional Christmas colors but it’s still festive. The card base is chocolate chip textured card stock layered with a wide strip of kiwi kiss and Holiday Lounge DSP in a taken with teal color. I then tied a piece of Chocolate Chip Twill Ribbon around the wide panel, and tied a knot to the right side. In the bottom right corner, I stamped the joy ornament from Delightful Decorations in kiwi kiss ink on whisper white card stock and punched it out using the handy dandy Ornament Punch. Then, I added a bright blue Ice Circle Rhinestone Brad to the ornament and tied some Silver Cord around the brad. The ornament is attached to the base using dimensionals.

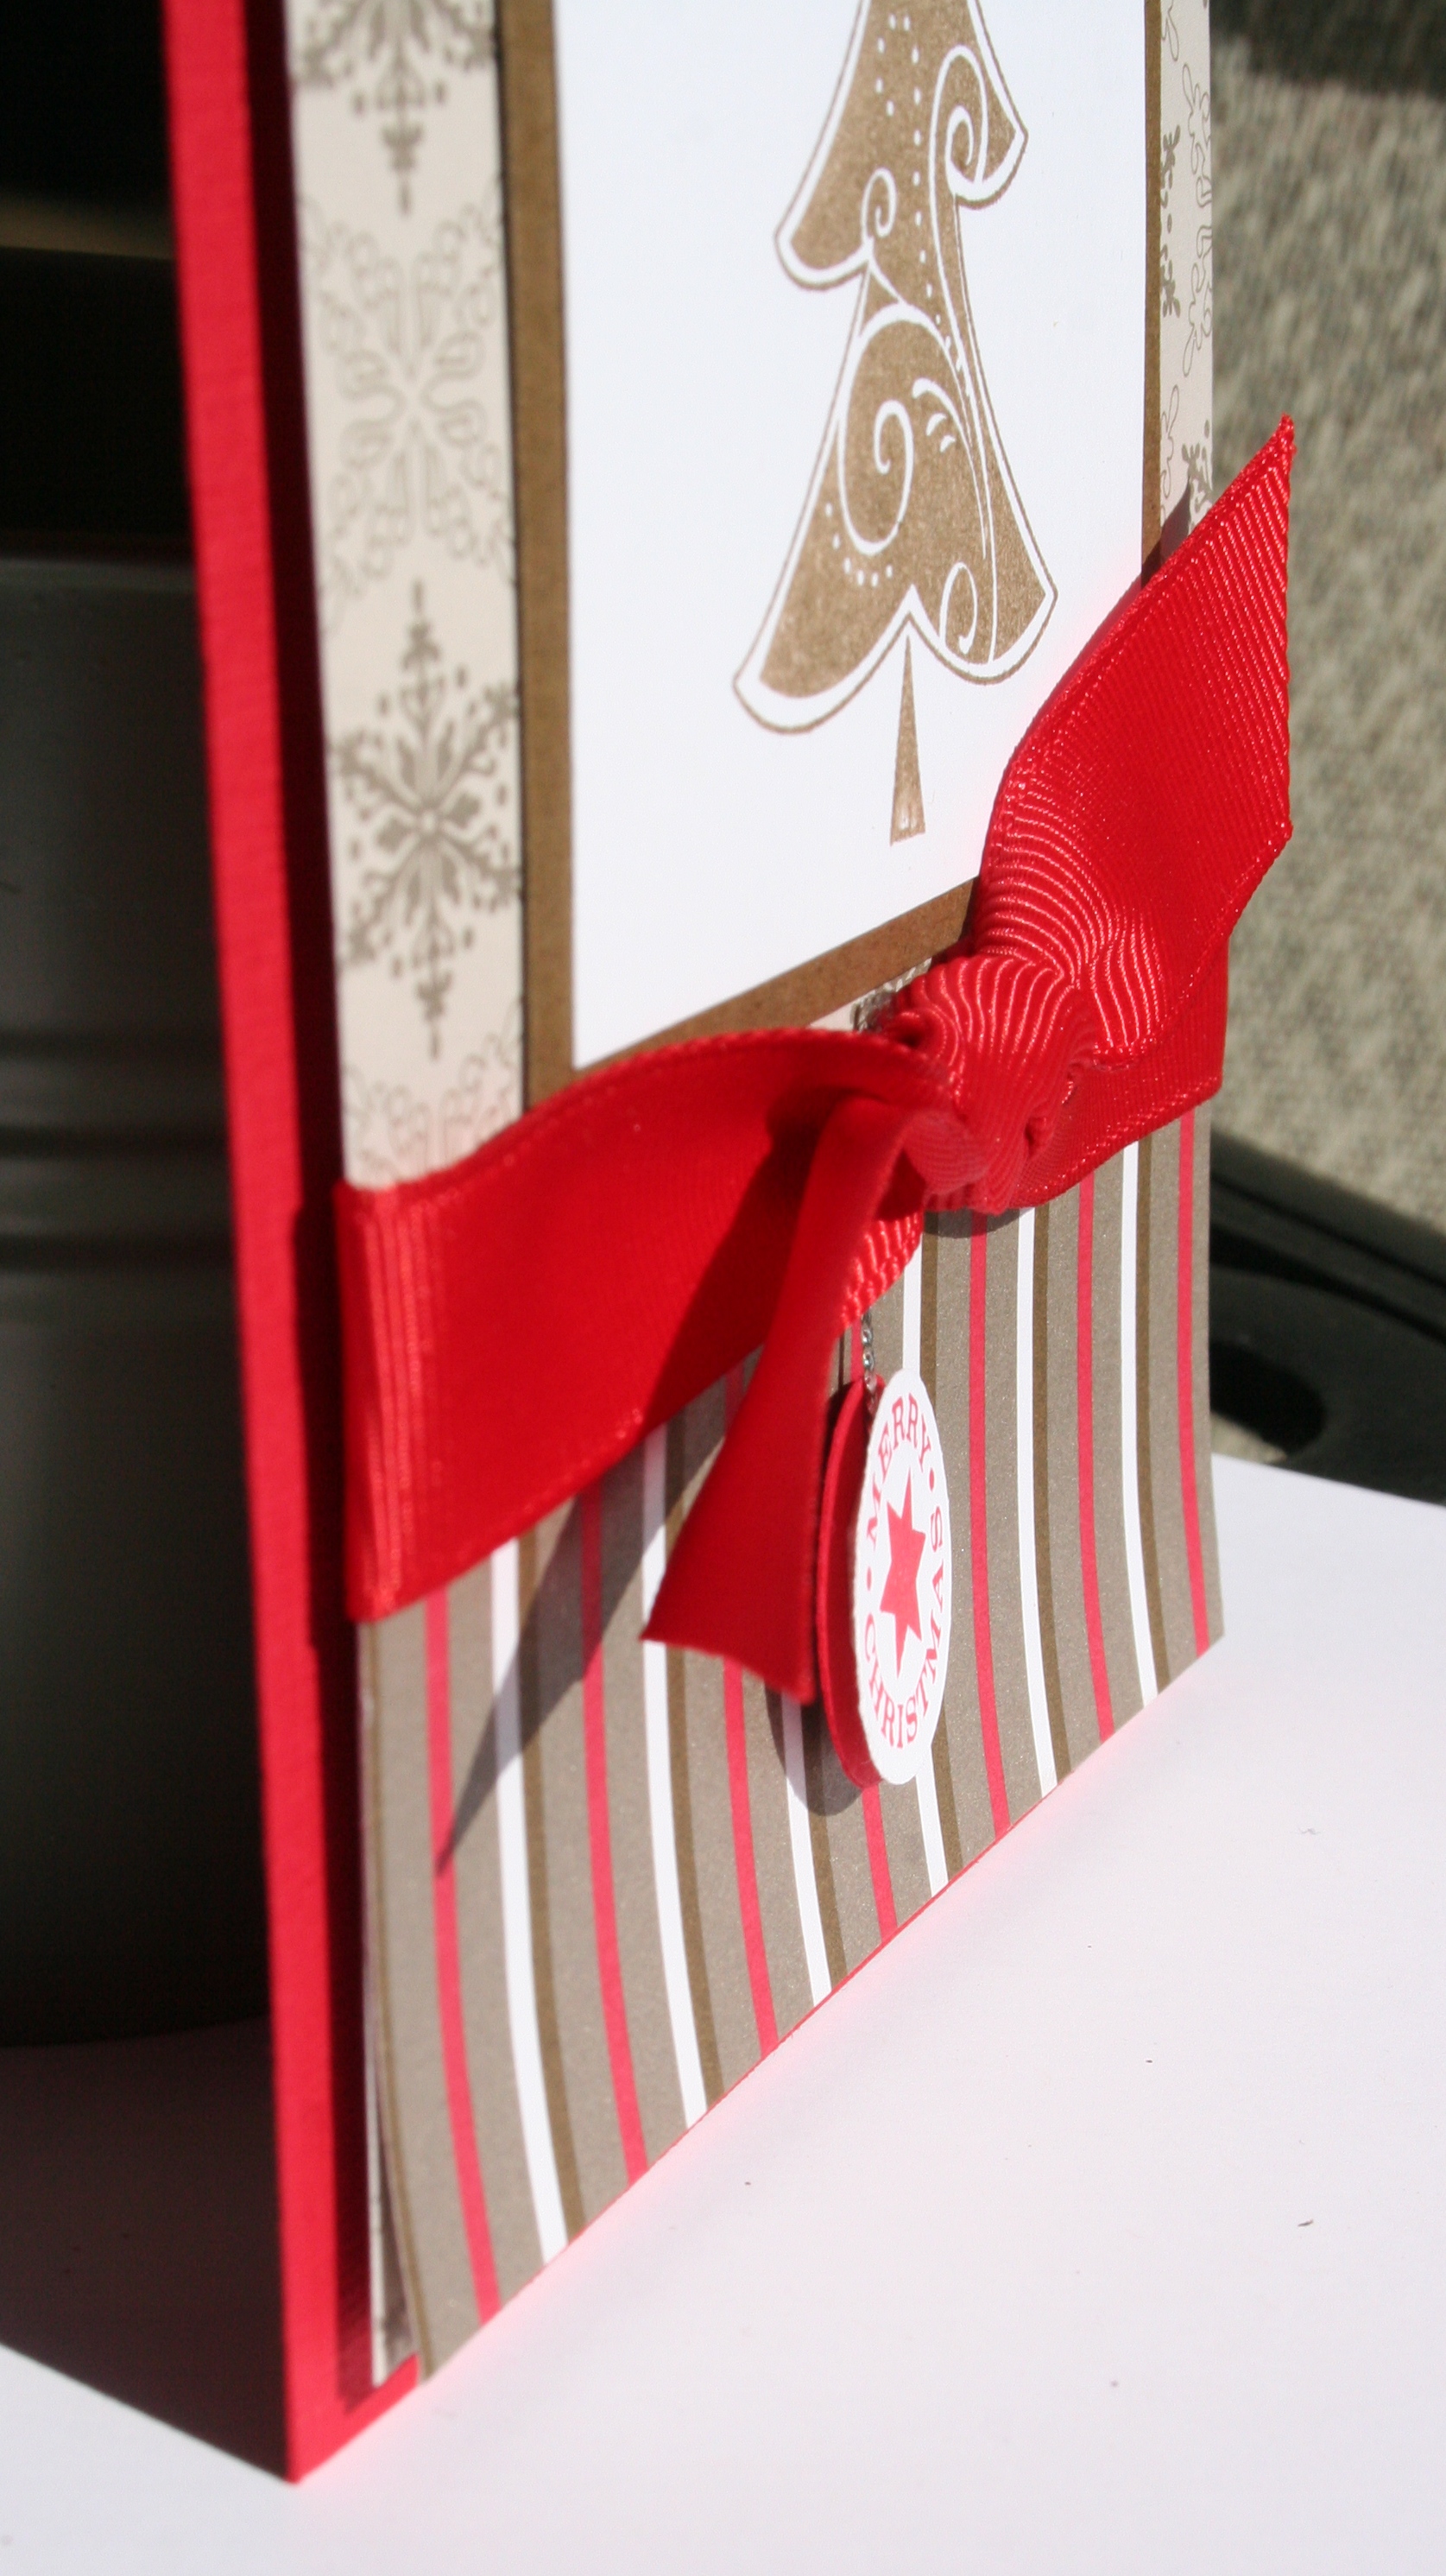
Finally, we have the modern, clean and simple Christmas card. Although it looks really simple, it does require a bit of work. First, the card base is chocolate chip textured card stock. The DSP is also from Christmas Cocoa and is cut to 4″ x 5 1/4″. Using the Ornament Punch, I punched out the ornament shape from the lower right corner. Next, I broke out my new Shimmer Paint in Platinum and sponged it onto the circle stamp from Delightful Decorations. I stamped the image onto chocolate chip textured card stock and then adhered it to the back of the DSP. Across the top of the card, I stamped the Christmas Greetings stamp in Purely Pomegranate ink. Underneath that, I tied a piece of Purely Pomegranate Satin Ribbon into a big knot. Lastly, I slipped a piece of Silver Elastic Cord under the DSP and behind the ribbon, using small glue dots.

Riding the Birthday Tractor!

There are several cute cards out there using punches to make a tractor, and that is what inspired me. In addition, the wrapping paper I bought for the birthday boy inspired this particular tractor’s colors and style.

Card base is Pacific Point (last year’s In Color that I never seemed to use–at least I’m getting some good out of it now!) I layered it with some Bashful Blue DSP from the 6″x6″ Prints Pack.

The tractor body was made with Real Red Textured card stock, which I turned over to use the slightly more smooth side. I cut a rectangle and rounded the left top edge with the Corner Rounder Punch. The cab portion was made by cutting a Real Red square, rounding the top right corner with the Corner Rounder Punch and cutting the left corner on a diagonal.

Pumpkin pie card stock punched with the Word Window Punch makes up the exhaust pipe and hood detail. I cut the tip of the exhaust pipe with scissors almost all the way, and raised it to look like it’s opening up to let out smoke. A small piece of dimensional keeps the flap open when adhered to the card. The smoke is Basic Gray card stock circles which I cut using the Fiskars Swiss Cheese Edge Punch.

I stamped the boy from All in the Family in Basic Gray ink on Whisper White, which I punched out using a 7/8″ Square Punch. I colored him in with Watercolor Pencils and Blender Pen. The white square is layered on a 1″x1″ Kiwi Kiss square to make it stand out.

The body of the tractor has some white accents, which I made using the Signo Gel Pen. The large tire was made using a 1 3/4″ Circle Punch of Pumpkin Pie, layered with a Scallop Circle Punch of Ballet Blue card stock. I punched the scallop circle first, adhering it temporarily to a piece of computer paper. Then, I lined up the punch again by putting the points in the center of each scallop. Punch again and you get the “toothy” effect shown here. A Black Jumbo Grommet was poked through the center of the Ballet Blue tire and then adhered to the Pumpkin Pie circle using dimensionals. The tire was then attached to the tractor using SNAIL. The smaller tire was made using 1 3/8″ Circle Punch pumpkin pie card stock layered with 1 1/8″ Circle Punch Ballet Blue with another Black Jumbo Grommet in the center.

The sentiment is from Goody Goody Gumdrops and I just inked up the words I needed with my Real Red Marker, stamped on Whisper White and punched it out using the Word Window Punch. It’s adhered to the card using dimensionals.

Season of Soft Suede

This card uses the tree stamp from Season of Joy. I stamped the tree in Soft Suede ink on Whisper White card stock, then colored in the star with Crushed Curry and stamped again, trimming it out and adhering it to the card stock using a tiny glue dot. The whisper white was matted with Soft suede card stock.

As for the base, I used Real Red textured card stock, layered with Christmas Cocoa DSP, snowflakes on top and striped pattern along the bottom. Where the DSPs meet, I tied a piece of 5/8″ Real Red Grosgrain Ribbon.

The small circle hangs from behind the ribbon. I stamped the Merry Christmas image from Delightful Decorations in Red ink on whisper white card stock and punched it out using the 3/4″ Circle Punch. I layered it on a Real Red card stock circle of the same size, slipping in some Silver Cord between the two layers. Then, I placed a tiny glue dot behind the knot of the ribbon and adhered the other end of Silver Cord to the card base.


Bad Behavior has blocked 985 access attempts in the last 7 days.

css.php