Archives for 2011

Valentine’s Day Greeting

I made this Valentine’s Day card for a swap, using the Greeting Card Kids stamp set. If you recognize the image, I used it not too long ago to make Valentine card treats for my daughter’s classmates.

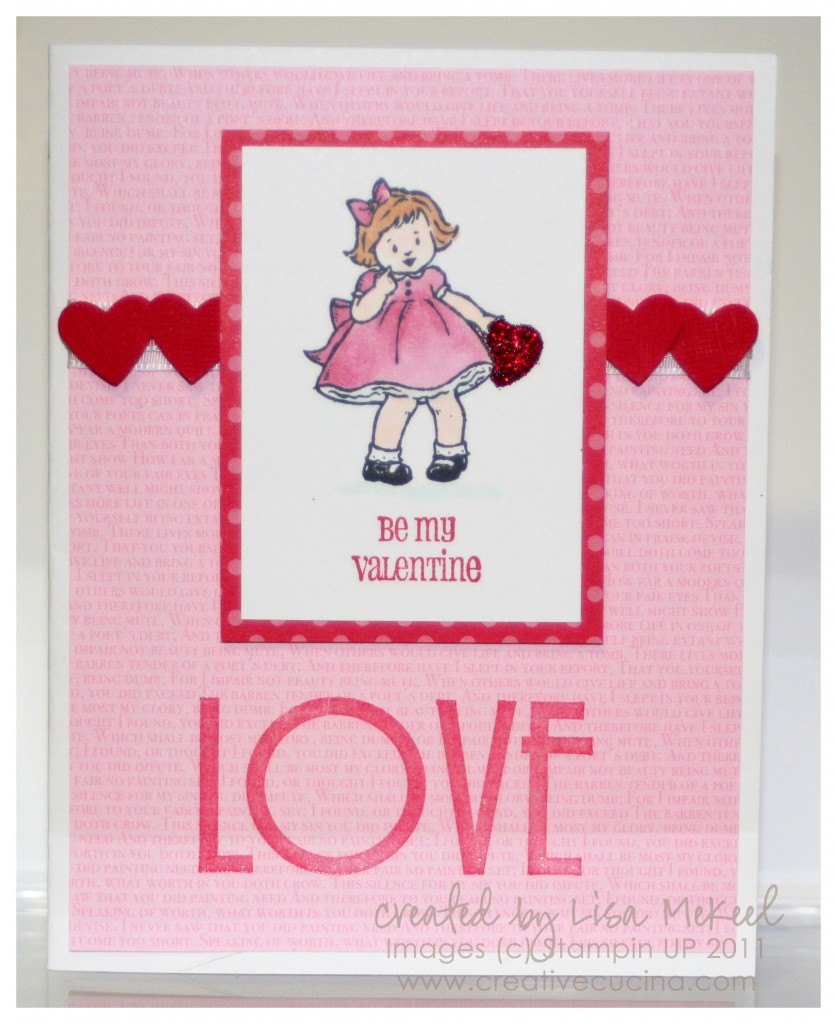
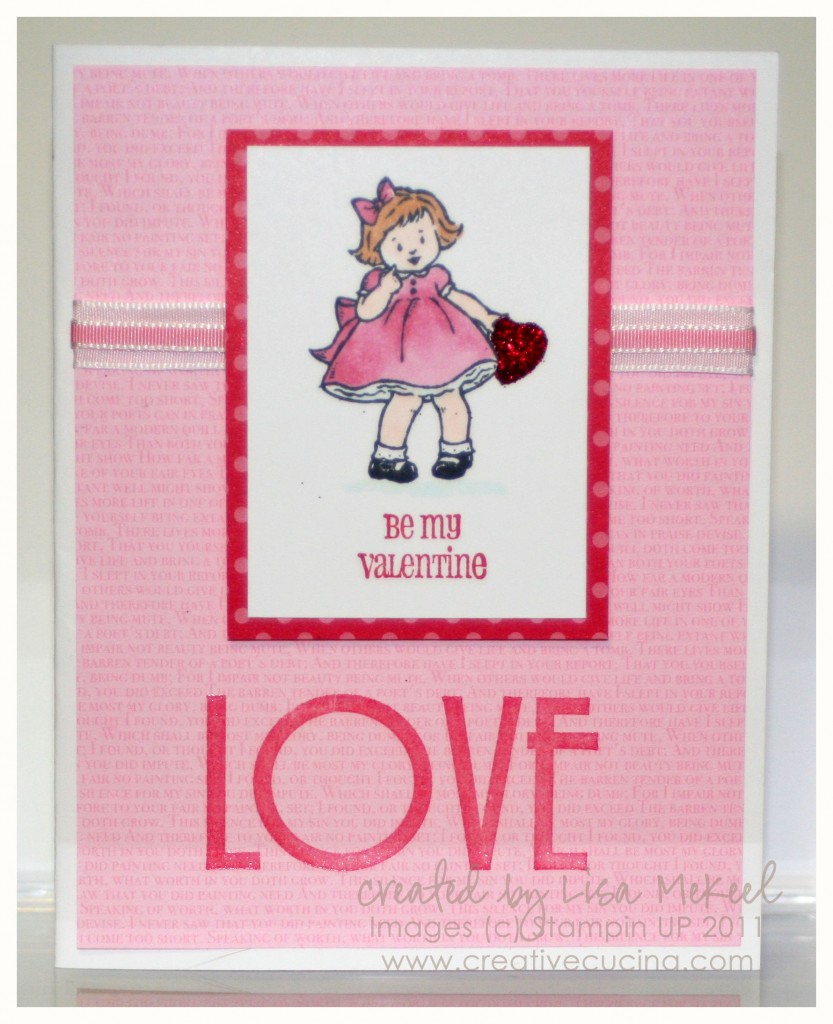
I decided to take off the hearts since it was hiding all the work I did to layer the ribbon! The ribbon is White 3/8″ Taffeta layered with Pretty in Pink 1/8″ Taffeta Ribbon. I wrapped it around a layer of Love Patterns DSP, on a Whisper White base.

At the bottom of the DSP, I stamped “LOVE” from Filled with Love stamp set in Real Red Craft ink, then heat embossed with Clear Embossing Powder.

I forgot to take a picture, but inside, I lined the card with Pretty in Pink card stock and added a red heart made with the Small Heart Punch.
Recordable Stampin’ Sound Card {Happy Birthday Grandma}

I made this card for my Grandmother’s 78th birthday. I know it’s not very grandma-ish but I think she’ll like it because there’s a surprise inside!

This card is a Recordable Stampin’ Sound Card. As the name implies, you can record your voice, music, a song, or any type of greeting. Some things to note about this product:

■ Card measures 4-1/4” x 5-1/2”
â–  Fits into our Padded Envelopes
â–  White
â–  Cover with Designer Series Paper or Card Stock and embellish
â–  Record a message up to 10 seconds
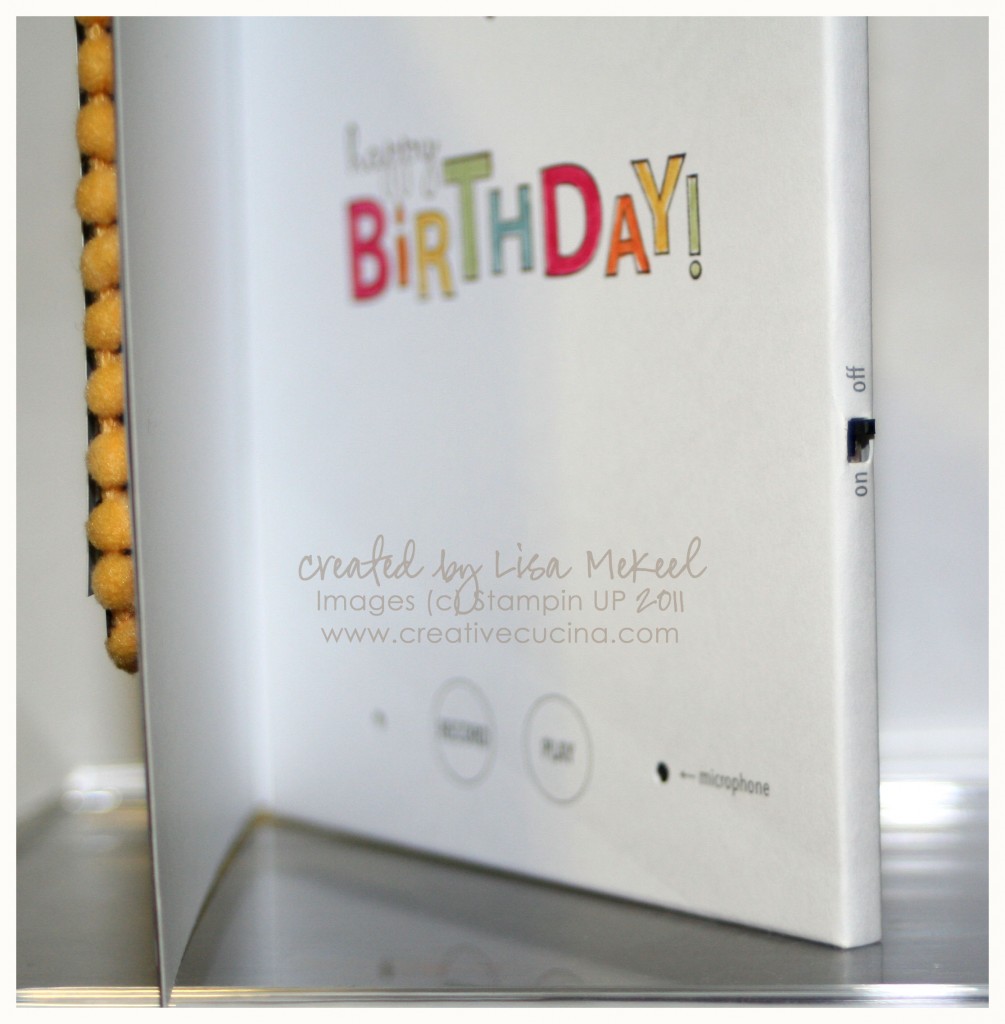
â–  Includes play, record, and lock features to ensure message is set

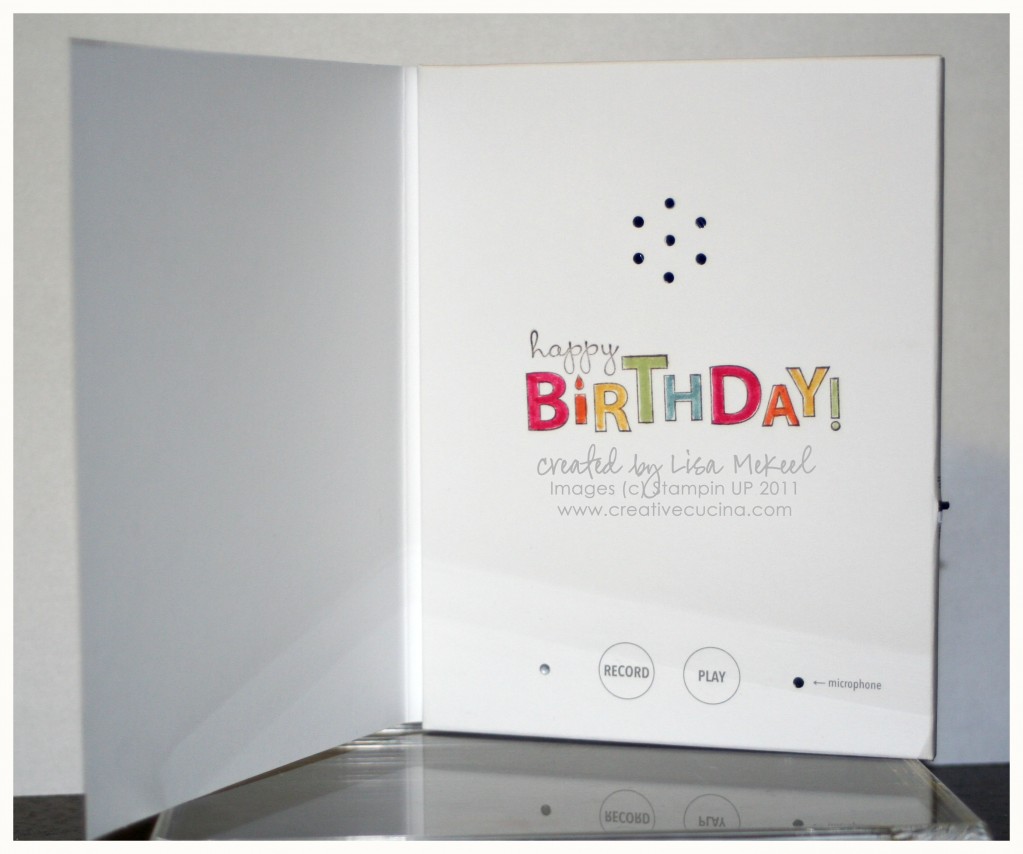
Here is the inside of the card. I stamped “Happy Birthday” from Bring on the Cake and colored it in with different color Markers. My daughter recorded the message.

To record your message, (1) simply flip the black switch on the side of the card to “on”, (2) press and hold “record”, (3) record your greeting (up to 10 seconds long), (4) let go of the record button, (5) then set the black switch to “off” to lock your message.

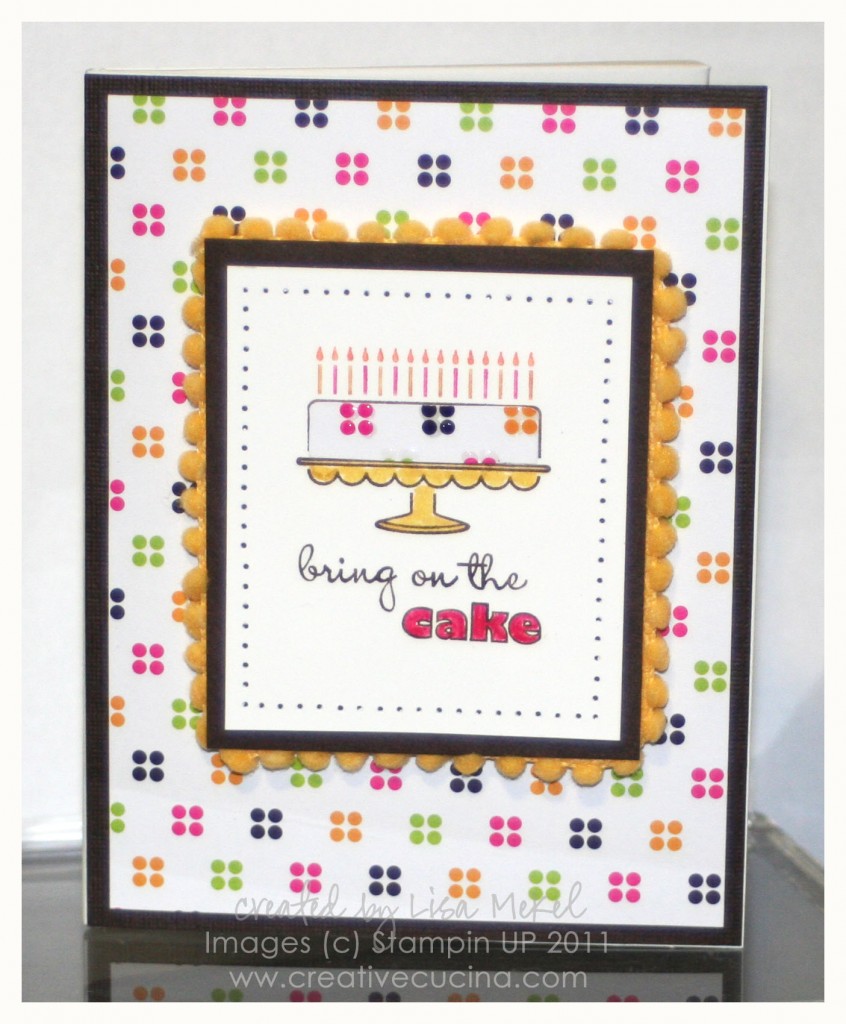
The supplies used are the same as the card I posted yesterday. I covered the front with Early Espresso card stock and patterned paper from American Crafts.

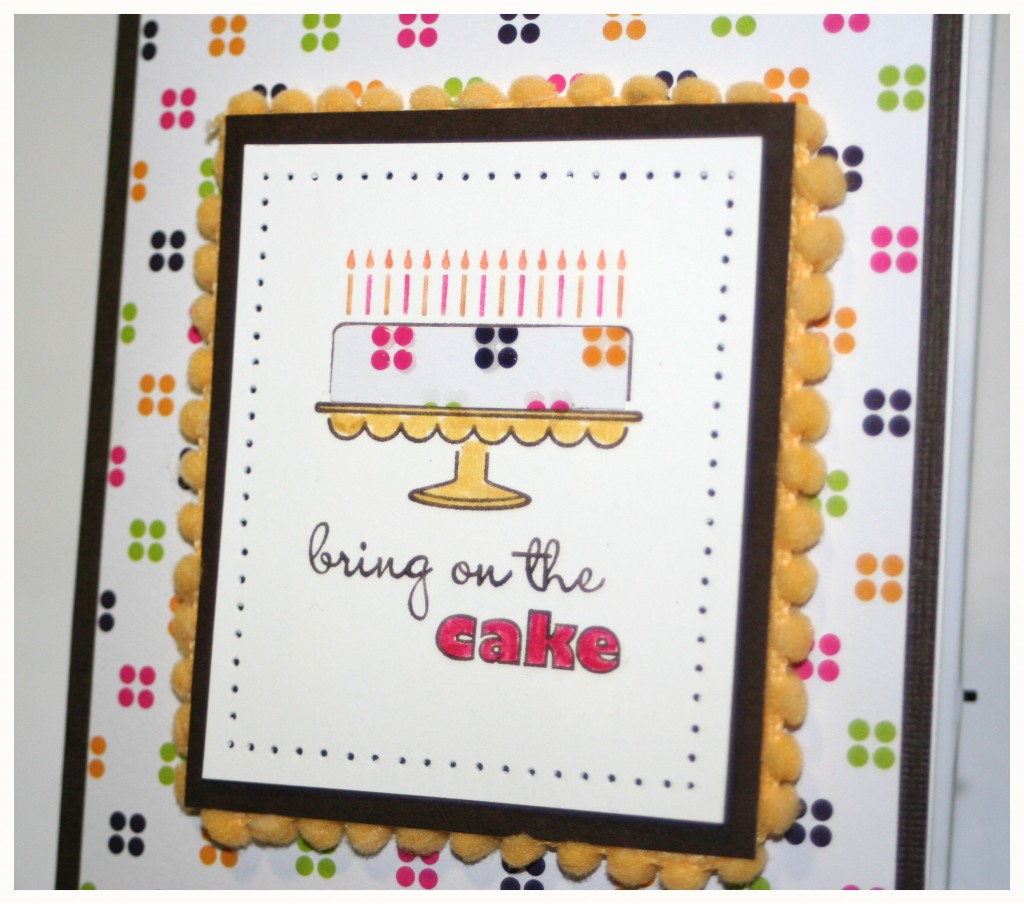
The cake is stamped with Early Espresso ink, the candles colored direct to stamp with various color Markers, and paper pieced using the AC Patterned Paper.

I used the paper piercer around the border of the Whisper White layer, matted with Early Espresso card stock. Then, I attached Daffodil Delight Pom Pom Trim all around the card stock with Tombow Mono Multi Glue. A double layer of Stampin Dimensionals attaches it to the card base.

To give the cake a little more dimension, I used Crystal Effects to highlight the dots on the patterned paper.

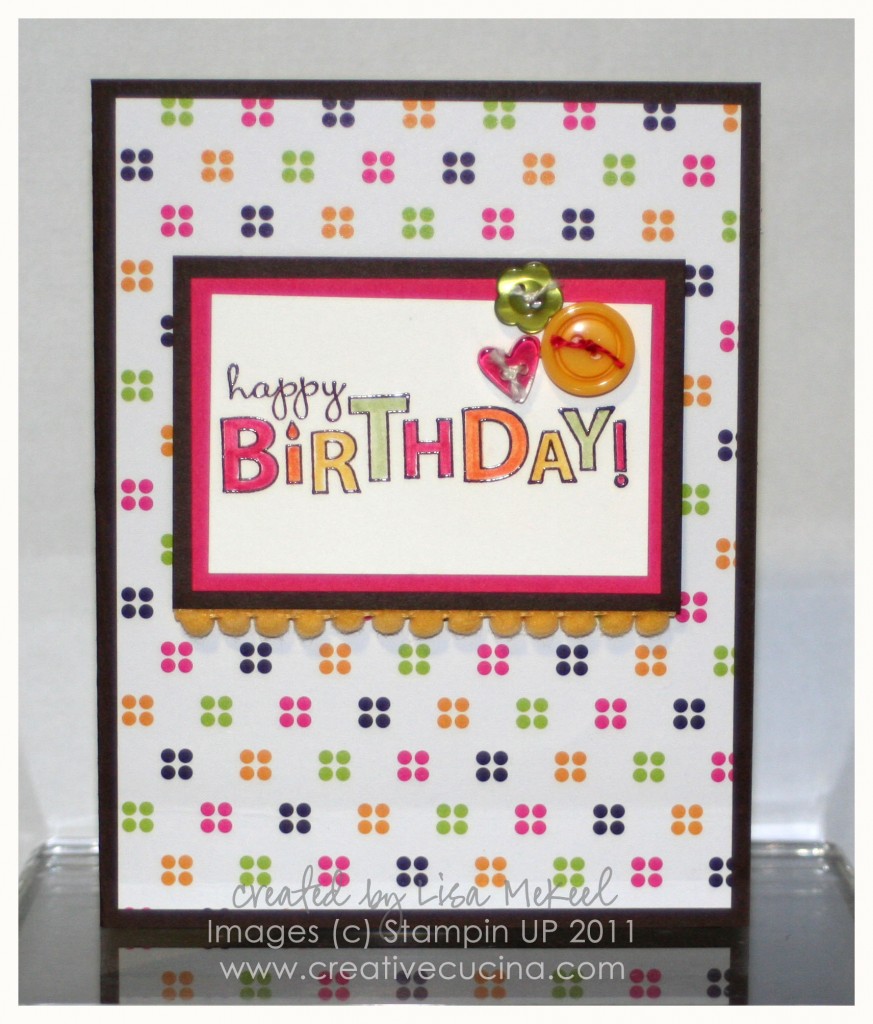
Bring on the Cake Birthday Card with Pom Pom Trim

I LOVE the Bring on the Cake stamp set and there are so many images that look great embossed. Here, I used the “Happy Birthday” stamp, with Chocolate Chip Craft ink and heat embossed with Clear Embossing Powder. Then, I colored in the letters using Melon Mambo, Daffodil Delight, Certainly Celery, and Pumpkin Pie Markers.

The buttons play off the paper and ink colors: Daffodil Delight and Old Olive from the Designer Buttons Brights Collection and a clear heart from Bitty Buttons. I cut out a Melon Mambo heart and attached it to the back of the clear button to make it look pink. All the buttons are threaded with white string. I colored one of the strings with Melon Mambo Marker to give a pop of color. Tiny Glue Dots secure the buttons to the card stock.

For the card base, I used Early Espresso card stock and American Crafts Patterned paper. The Daffodil Delight Pom Pom Trim was attached along the lower edge of Early Espresso card stock with Tombow Mono Multi Glue. Just run a bead of glue, lay the pom pom trim down and press lightly until it sticks. That layer is attached to the base with Stampin Dimensionals.

Inside, I used 2 more sentiments from Bring on the Cake, stamped in Early Espresso ink and colored in with Markers. I used some of the patterned paper and Melon Mambo card stock inside to match the front.

Bad Behavior has blocked 394 access attempts in the last 7 days.

css.php