Archives for 2010

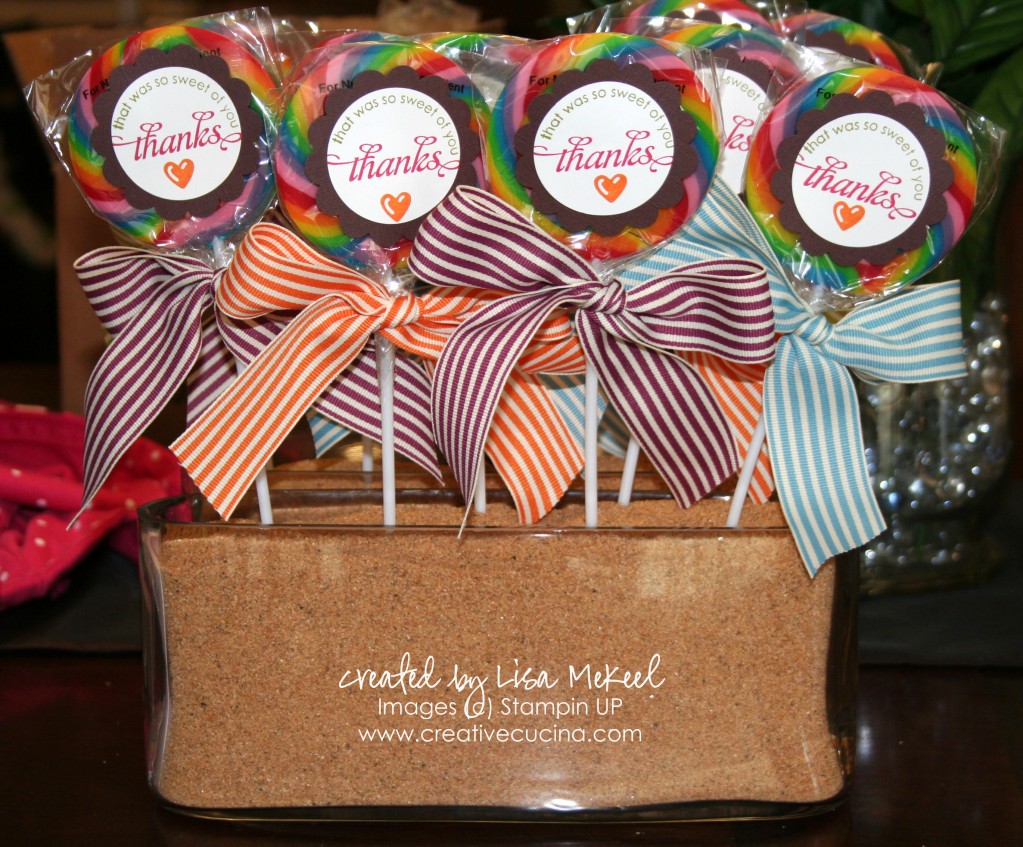
Lollipop Party Favors

For my daughter’s birthday, we gave out giant lollipops as party favors. To make them more personalized, I added handmade labels and big striped ribbon. The lollipops were placed in a vase fitted with a block of floral foam and filled with sand.

To make the labels, I stamped “thanks” from Thank You Kindly in Rose Red ink. Below that, I stamped the heart from Something Sweet in Pumpkin Pie ink. Along the top, I used the curved sentiment from Something Sweet stamped in Old Olive ink. Using the clear mount version allowed me to bend the stamp into a tighter arch, fitting perfectly in a 1 3/4″ Circle Punch. That was layered onto a Chocolate Chip 2 3/8″ Scallop Circle Punch.

The ribbon is the 1 1/4″ Striped Grosgrain Ribbon in Marina Mist, Pumpkin Pie, and Rich Razzleberry.
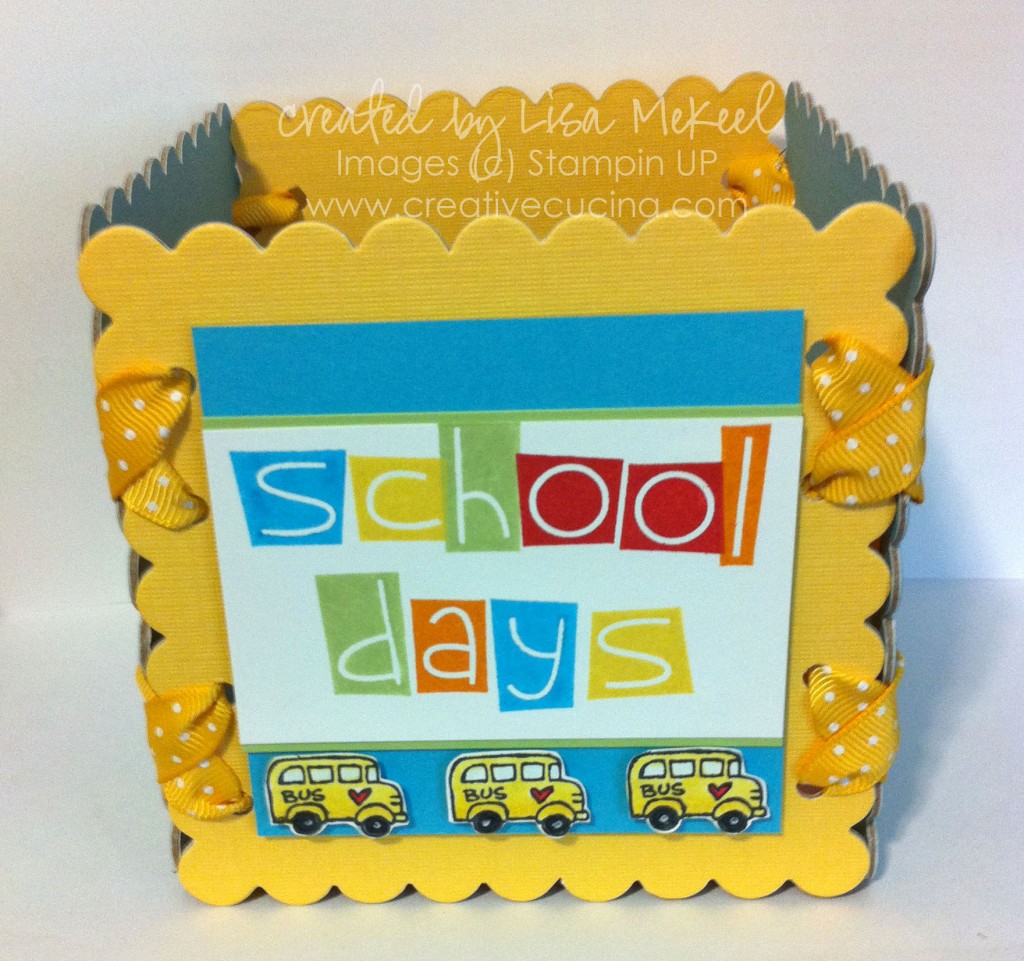
School Days Scallop Square Chipboard Box


I made this box for my sister’s classroom. It’s designed to hold the numbers for her class calendar, hence the “school days” title.

I used colored chipboard sheets and ran them through the Big Shot using the Bigz Clear Scallop Square Die. I attached each one by punching holes with the cropadile and weaving Crushed Curry Polka Dot ribbon through the holes.

For the bottom of the box, I used one of the chipboard scallop squares, glued in with Tombow Multi.

On the front, I decorated the box with tempting turquoise card stock, certainly celery, and whisper white. I stamped “school days” using the retired set Tidy Alphabet in real red, tempting turquoise, certainly celery, pumpkin pie, and daffodil delight ink.

The school buses are from the new set Every Little Bit, colored in with Copic Markers, cut out, and adhered to the box with stampin dimensionals.

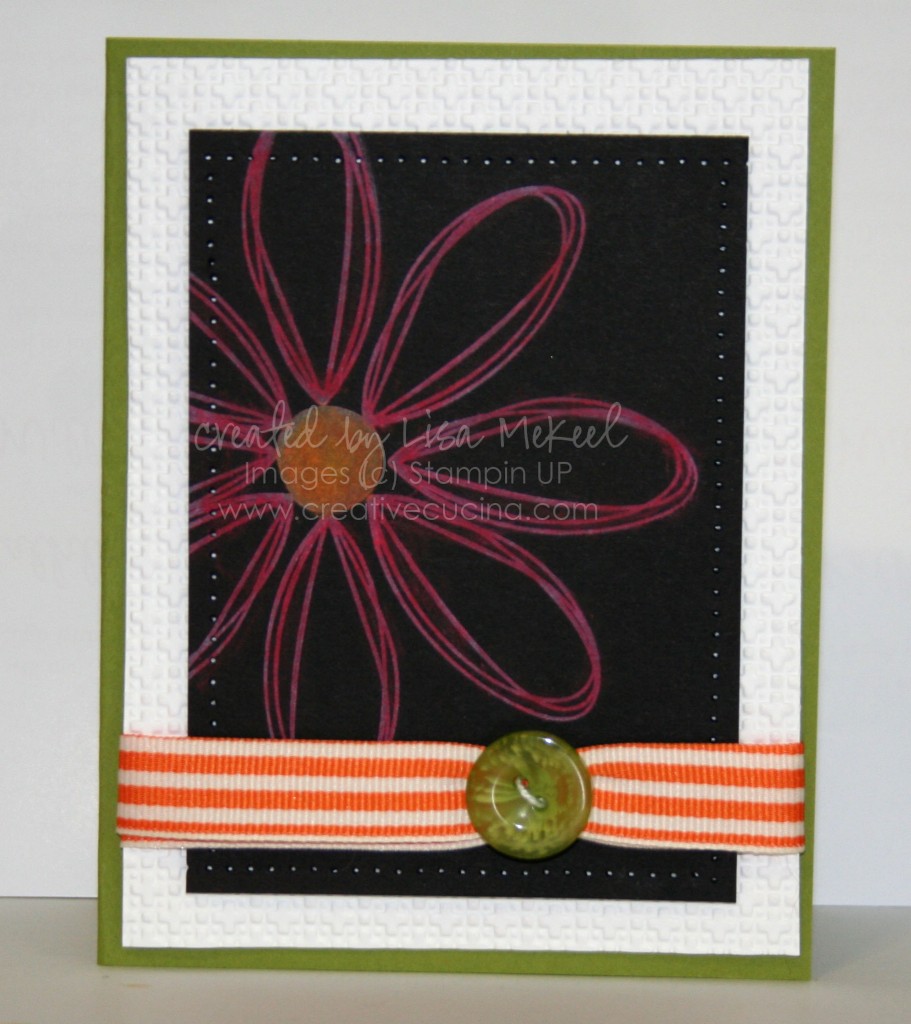
Pick a Petal Chalkboard Technique Card

The chalkboard technique, by nature of having to use dark card stock, sometimes results in a drab card. The chalk colors certainly help to brighten it up, but something about stamping on a black background is just counter-intuitive! So, I decided to use bright colors paired with the black to liven up the card a bit.

Card base is Old Olive, layered with Whisper white embossed with the Square Lattice Embossing Folder and the Big Shot. I stamped the flower from Pick a Petal on Basic Black card stock with White Craft ink. Then, I used the Stampin Up Pastels to color in the image with Rose Red and Pumpkin Pie chalk.

Here is a tip when using this stamp set: I like to start with the center of the flower first, then stamp my petals at 12, 3, 6, and 9 o’clock. Go back and stamp between each petal for an evenly spaced flower!

After rubbing the excess chalk off the card stock with a dry tissue, I paper pierced around the edges. Adhere the Basic Black layer to the embossed White layer with stampin dimensionals.

The ribbon along the bottom of the card is 1 1/4″ Pumpkin Pie Striped Grosgrain Ribbon, folded in half. I used some white string to loop through the button holes, then tied it around the folded ribbon, cinching it with a knot. The button is a large Old Olive button from the Bold Brights Buttons. A tiny glue dot on the back of the button helps it stay flat on the card. Adhere the ribbon edges to the back of the Whisper White layer with SNAIL or other adhesive.

For the last step of assembly, use stampin dimensionals to adhere the white and black layers to the Old Olive base.

Bad Behavior has blocked 275 access attempts in the last 7 days.

css.php