Archives for 2009

Christmas Card Idea: Making a Wreath with a Snowflake Stamp

11_18 003 copy

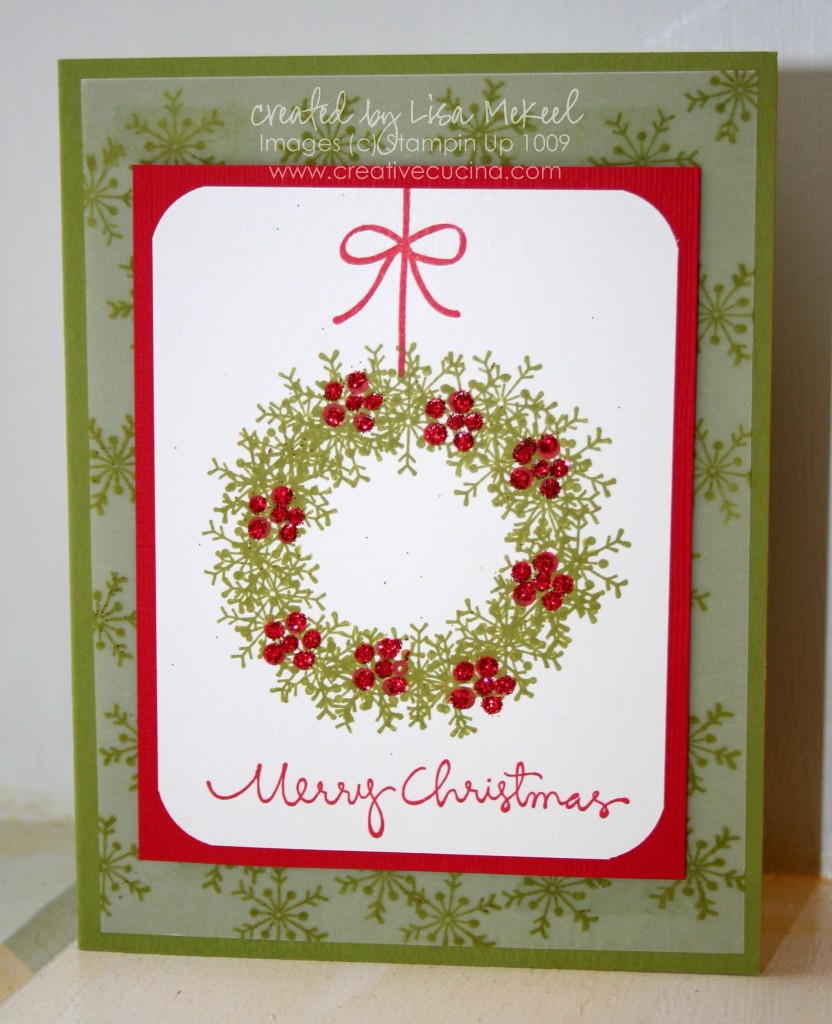
I’m sure you’ve seen the cards with wreaths made using snowflake stamps. I decided to try it using the snowflake from Season of Friendship.

On Whisper White card stock, I stamped the snowflake in Old Olive ink repeatedly around in a circle until I was happy with the fullness and shape of my wreath. Then, I stamped the berries from Berry Christmas in Real Red ink randomly around the wreath. With my glue pen, I dotted some glue on the berries and sprinkled on Romantic Red Glitter.

The wreath is hanging by the bow stamp from Berry Christmas in Real Red ink. Below it, I stamped “Merry Christmas” from Christmas Greetings in Real Red ink.

Using the corner rounder punch, I rounded the corners of the whisper white and layered it onto a piece of Real Red textured card stock.  As for the base, I layered Old Olive with a 4″ x 5 1/4″ piece of vellum, which I stamped using the snowflake stamp from Season of Friendship in Old Olive ink.
Fall Save the Date–Leaves are Falling

SaveTheDate 017 copy

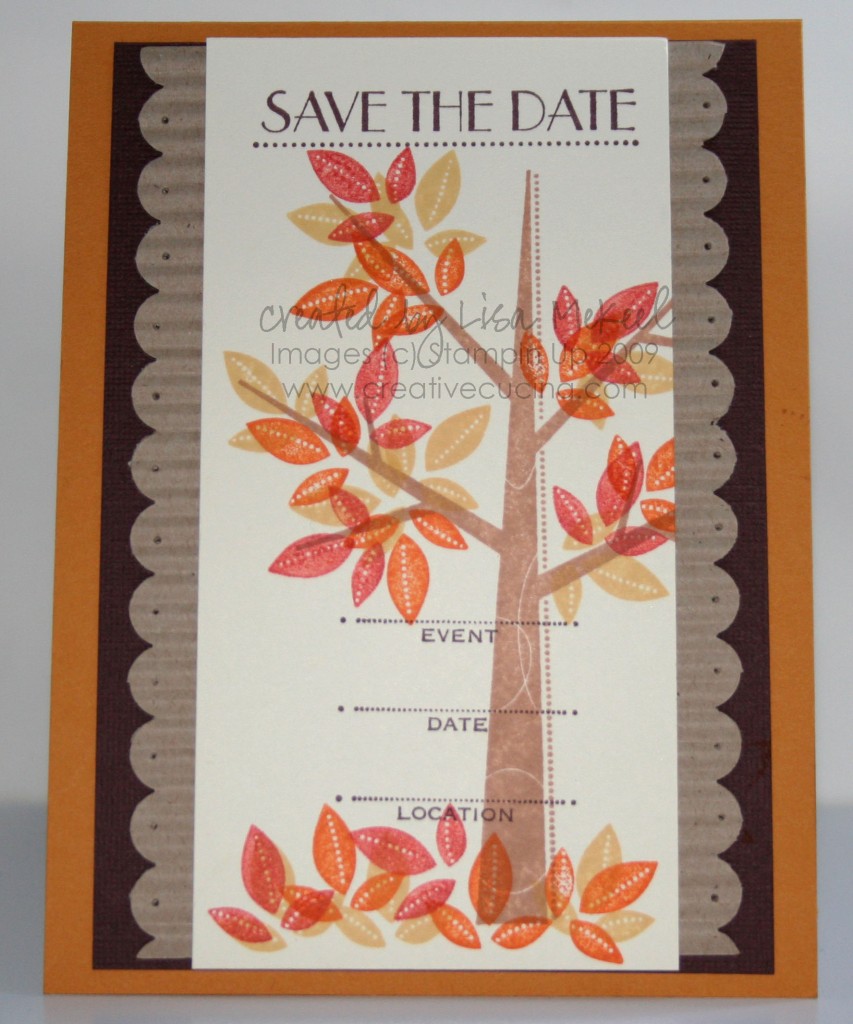
This is the last of the fall/autumn Save the Date cards I made. It’s probably one of the last few fall cards I’ll be making for the year. Since I already went crazy with Christmas cards last month, I’m hitting a wall so to speak. At least until something new comes along 🙂

The card is rather long and skinny because I toyed with the idea of making it a bookmark. But then I didn’t want to cut off the top by putting a hole for an eyelet and some twine/ribbon so I decided against it. I may rework it to be a bookmark again, I’ll just have to plan better next time.

The base here is more mustard, layered with chocolate chip textured card stock. On top of that, I took a strip of kraft and punched the sides using the Scallop Edge Punch. Then, I rolled it through the Crimper and finally poked holes in each scallop with the paper piercer. That layer is adhered to the base with dimensionals.

On top, I stamped the tree from Season of Friendship in creamy caramel ink, then stamped the leaves in so saffron, pumpkin pie, and tangerine tango. Some leaves were stamped along the bottom as well.

At the top, I stamped “Save the Date” from Introducing in chocolate chip craft ink and heat embossed it with clear embossing powder. Down over the tree trunk, I stamped the information from Please Come stamp set, but this could also be printed on the computer just as easily.

Crimped Slide Out Pocket Card Save the Date

SaveTheDate 001 copy

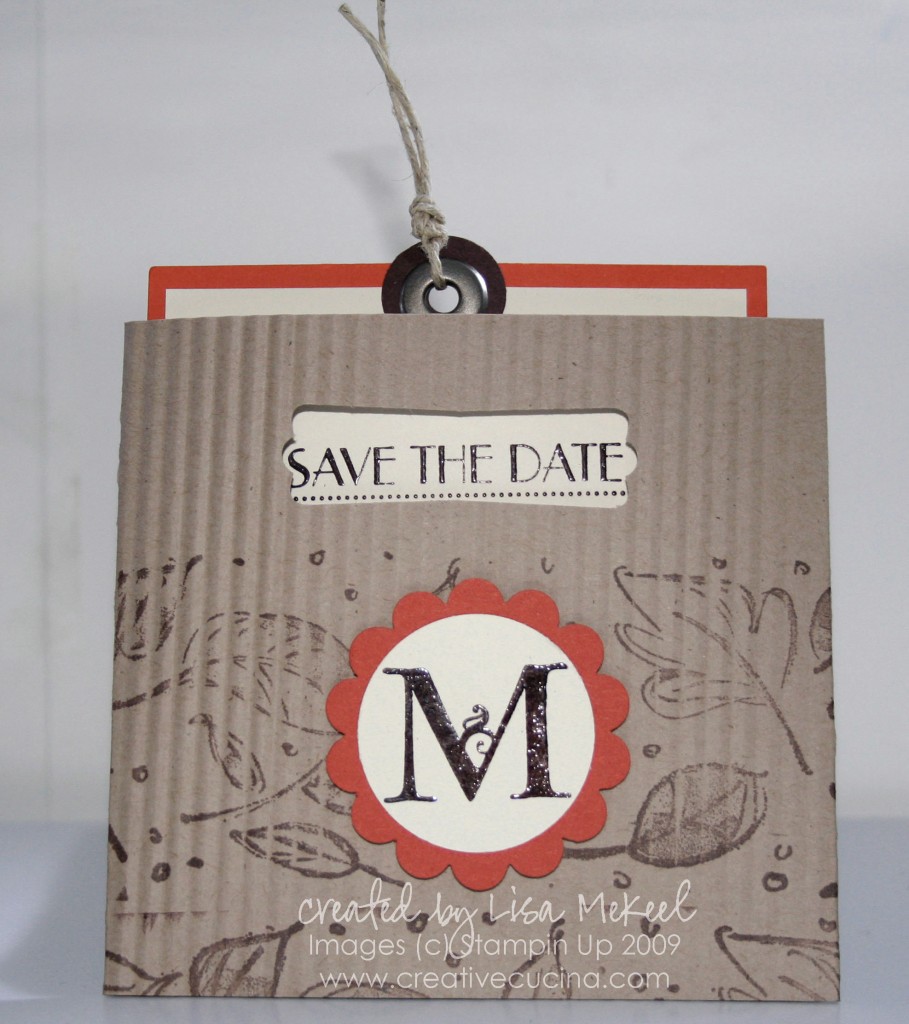
This is a fun Save the Date idea for a fall wedding. The crimped kraft card stock reminds me of the coffee sleeves you get at Starbucks!

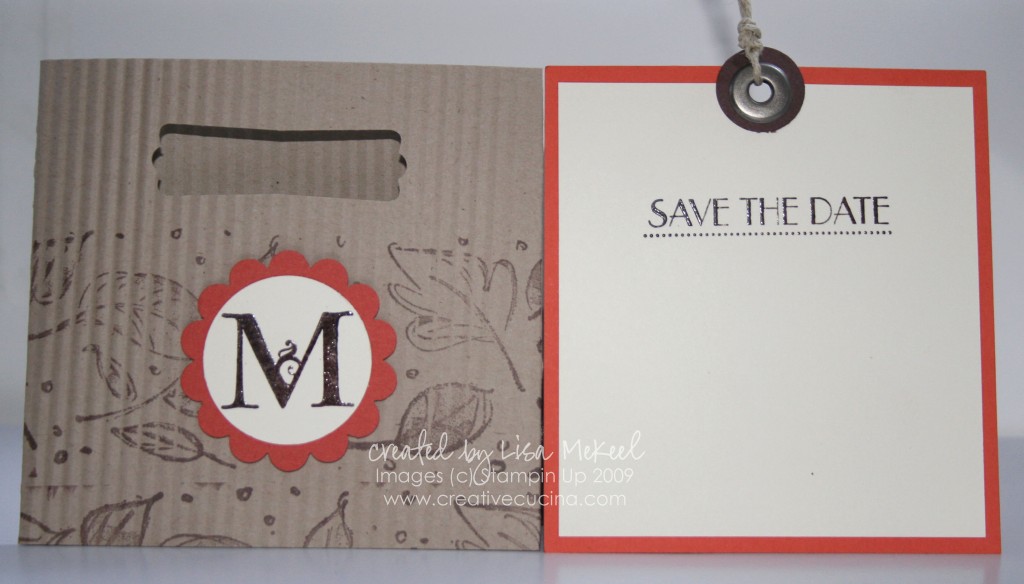
Using the same technique for my slide out pocket gift card, I modified the design buy making the outer pocket shorter (4 1/2″ x 11″) scored at 6 3/4″ and 2 1/2″. After scoring, I ran the kraft card stock through the crimper, then adhered it with sticky strip. (See my video tutorial for more specific information.)

The window was made using the Modern Label Punch. Then, using the Leaves Awash Jumbo Wheel and chocolate chip ink, I rolled the leaves across the front of the card.

For a monogrammed look, I stamped the “M” from Lovely Letters alphabet in chocolate chip craft ink on very vanilla card stock and heat embossed it with clear embossing powder. Then, I punched out the image with the 1 3/8″ Circle Punch and layered it with dusty durango punched with the Scallop Circle Punch. That is attached to the pocket card with a dimensional.

SaveTheDate 004 copy

For the insert, I took a piece of dusty durango and cut it to 4″ x 4 1/4″. That is layered with very vanilla trimmed to 3 3/4″ x 4″. I stamped “save the date” from Introducing in chocolate chip craft ink and heat embossed with clear embossing powder. At the top of the insert, I added a 3/4″ chocolate chip circle and then used my cropadile to set a jumbo eyelet. Some hemp twine knotted through the eyelet makes a nice pull.

Bad Behavior has blocked 269 access attempts in the last 7 days.

css.php