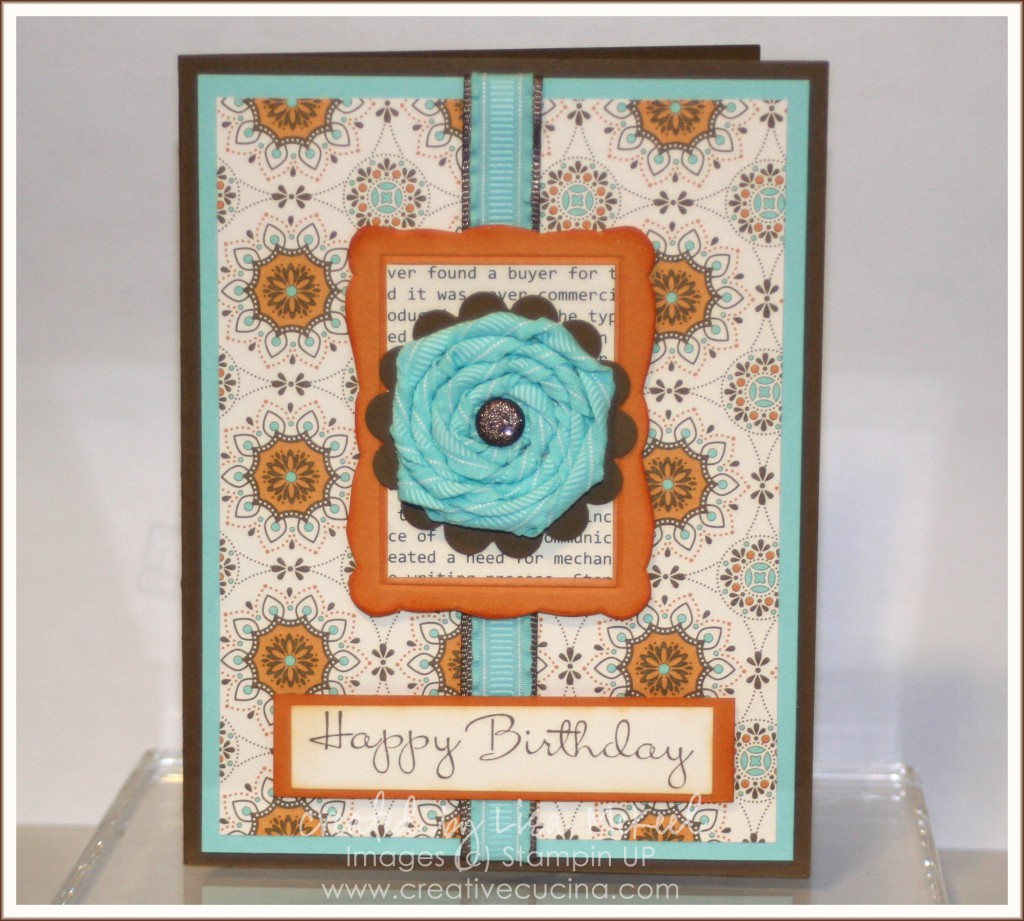
Spice Cake Birthday Card with Twisted Ribbon Medallion

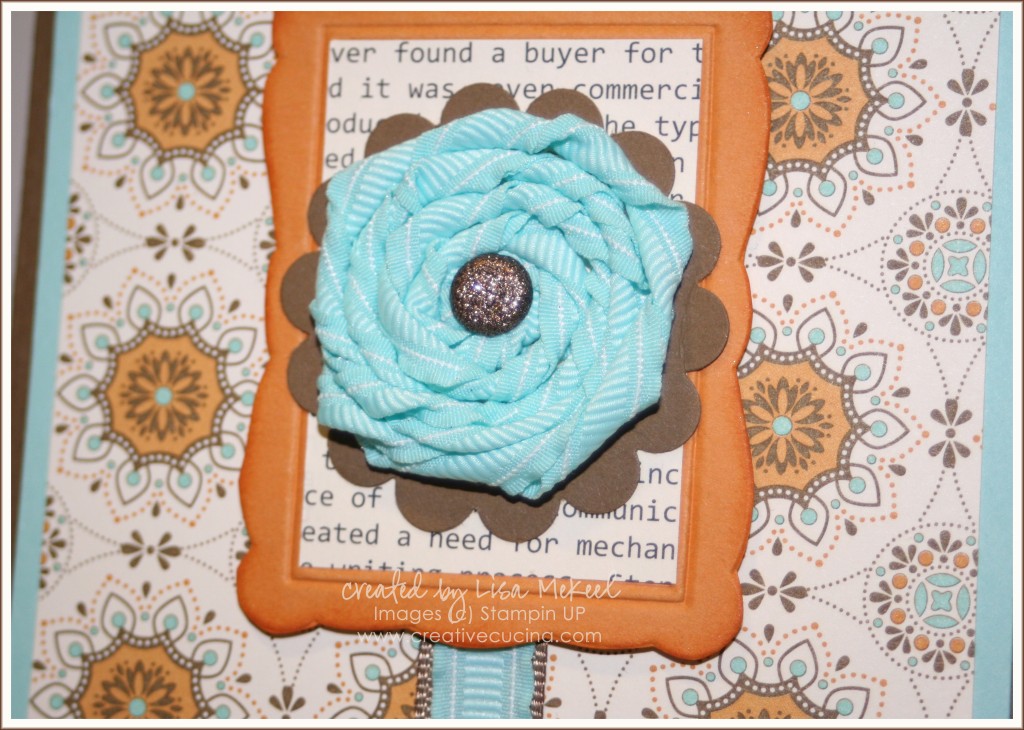
Fall is my favorite season, so it wasn’t a surprise when I fell in love with the new Spice Cake Designer Series Paper, from the Holiday Mini Catalog. The colors in the paper are Pool Party, More Mustard, Pear Pizazz, River Rock, Soft Suede, and Very Vanilla. Other than the great colors and patterns, the paper gives me an excuse to use Pool Party 3/8″ Ruffled Ribbon! Scroll down for directions on how to make the Twisted Ribbon Medallion shown on this card.

The base is Soft Suede card stock, layered with Pool Party and a layer of Spice Cake DSP. Down the front, I added Pool Party 3/8″ Ruffled Ribbon layered with 1/2″ Polka Dot Soft Suede Grosgrain (retired).

In the center, I made a little frame by using the Designer Frames Textured Impressions folder in the Big Shot with More Mustard card stock. I cut the frame out and then sponged More Mustard ink around the edges to add depth. The patterned paper inside the frame is from First Edition Specialty DSP.

As for the Twisted Ribbon Medallion (that’s what I’m calling it anyway), it’s very simple to make.

  1. Punch out a circle from card stock using the 1 3/8″ Circle Punch (you can make it any size you want but that is what I used here)
  2. Cover the front of your circle with Sticky Strip.
  3. Leave your ribbon on the roll and start in the center of the circle. Stick the end of your ribbon down in the middle of the card stock and start twisting the roll until your ribbon starts to twist as well.
  4. Keep twisting and spiraling the ribbon around the circle until you get all of the card stock covered.
  5. To finish, cut your ribbon off the roll, fold the end over the back of the circle, and adhere it with Sticky Strip.
  6. To add a brad in the center, use the cropadile. If your circle is too large for the cropadile to reach the center, you can use your paper piercer as well.

For this card, I used a gorgeous Glimmer Brad (I think this is a Soft Suede one) in the center of the medallion. Then, I layered the medallion onto a Soft Suede scallop circle made with the Scallop Circle Punch.

The sentiment is from Happiest Birthday Wishes, stamped with Soft Suede ink on Very Vanilla card stock. I sponged the edges with More Mustard ink and a sponge dauber, then matted it on More Mustard card stock. It’s attached to the card with stampin dimensionals.
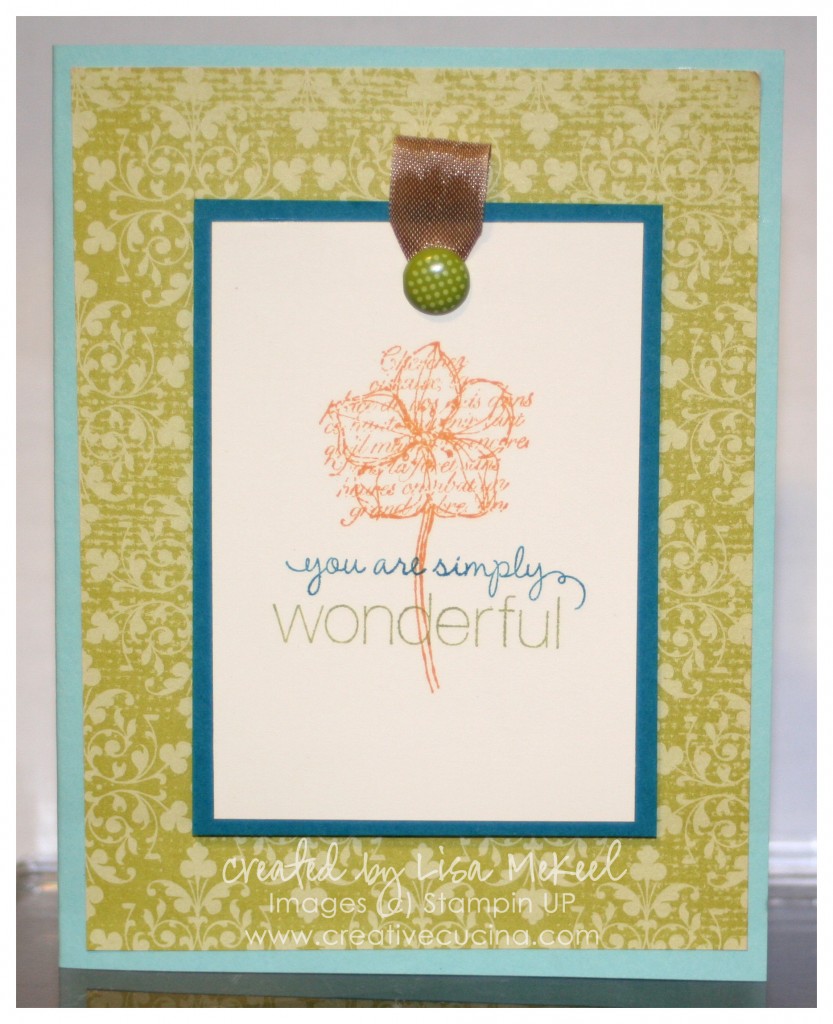
Simply Wonderful {Faith in Nature}

Here’s another card I made with the Hostess set Faith in Nature stamp. The card base is Pool Party card stock, layered with a piece of old DSP I had in my scrap drawer.

The color combination was inspired by the Color Coach. For the main image, I stamped Whisper White with More Mustard ink for the flower, then colored in the sentiment from Friendly Phrases with Island Indigo and Lucky Limeade Markers.

That was layered onto Island Indigo card stock. Then, I used the cropadile to punch a hole at the top for a Polka Dot In Color Brad in Lucky Limeade and some Crumb Cake Seam Binding.

Candy Land Birthday Party

Candy Land was the theme for my daughter’s 5th birthday party. She chose it based on both the board game and her extreme love of candy!

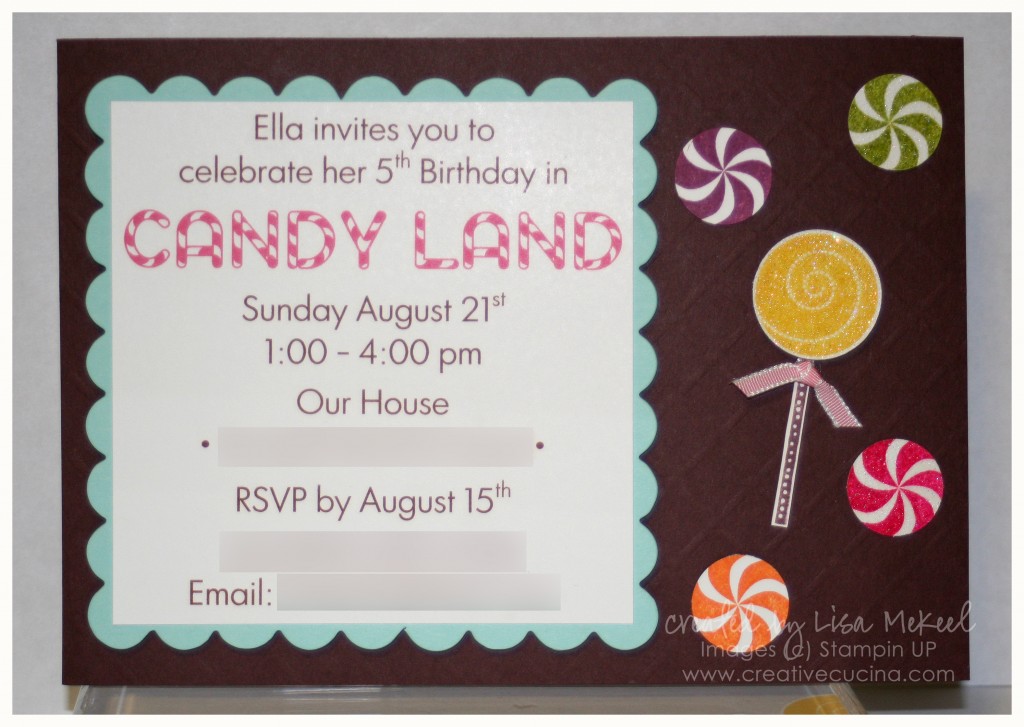
First up, the invitation: I used the stamp set Sweets for the Sweet to make the lollipop and candies. The base is 5″x7″ chocolate chip card stock that I gave some texture to using the Big Shot and the Perfect Details Texturz Plate.

The candies were stamped in Pumpkin Pie, Melon Mambo, Rich Razzleberry, and Lucky Limeade. I used Iridescent Ice Embossing Powder and Versamark to make some of them sparkle. I wanted them a bit smaller than the lollipop so I used the 3/4″ Circle Punch to cut them down a bit.

As for the lollipop, I stamped it with Daffodil Delight ink and used the Iridescent Ice Embossing Powder on it. A little 1/8″ Taffeta Pretty in Pink Ribbon is knotted and attached with a mini glue dot.

The information was printed on Whisper White card stock. The Candy Land type font is called “Candy Cane” and I downloaded it for free online. Behind the printed information is Pool Party card stock that was die cut using the Big Shot and Scallop Square Bigz Die. It’s attached to the base with stampin dimensionals.

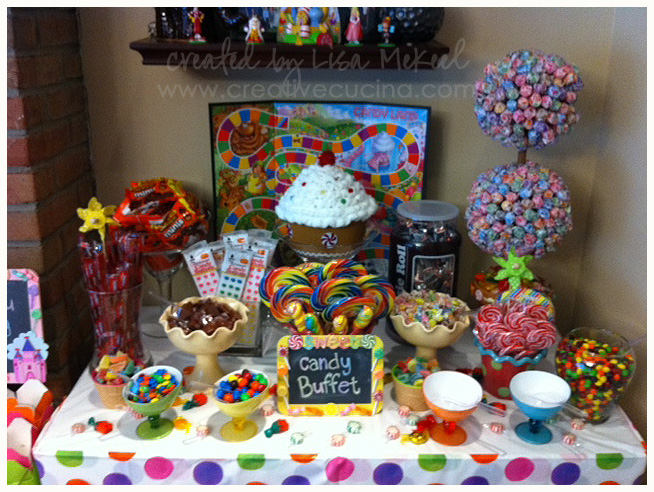
I didn’t have much time to take pictures during the party, but I did manage to take a picture of the candy buffet. I took it with my phone so the picture is not the best quality, but you can see what I did. The little chalk board sign was painted and decorated using various stickers and little lollipop Christmas ornaments.

The lollipop topiary was made using a topiary form (from the floral section of the craft store) and Dum Dum lollipops. Almost 400 lollipops were used to cover the topiary!

Various vases, jars, and containers I had around the house or borrowed from my sister held all the candy. The gingerbread cupcake box was found at Hobby Lobby. I used it for a raffle–the prize being a brand new Candy Land board game. Inside the box, I put slips of paper with the childrens’ names and my daughter pulled the winner.

We still have a lot of candy left over! I’m going to leave the buffet up for a few more days because it makes me smile when I look at it. I suppose a candy buffet in my living room would come in pretty handy with company stopping by, and my daughter certainly won’t complain!

Bad Behavior has blocked 473 access attempts in the last 7 days.

css.php