Halloween Scrapbook Pages-Cast A Spell DSP

Halloween-001 copy

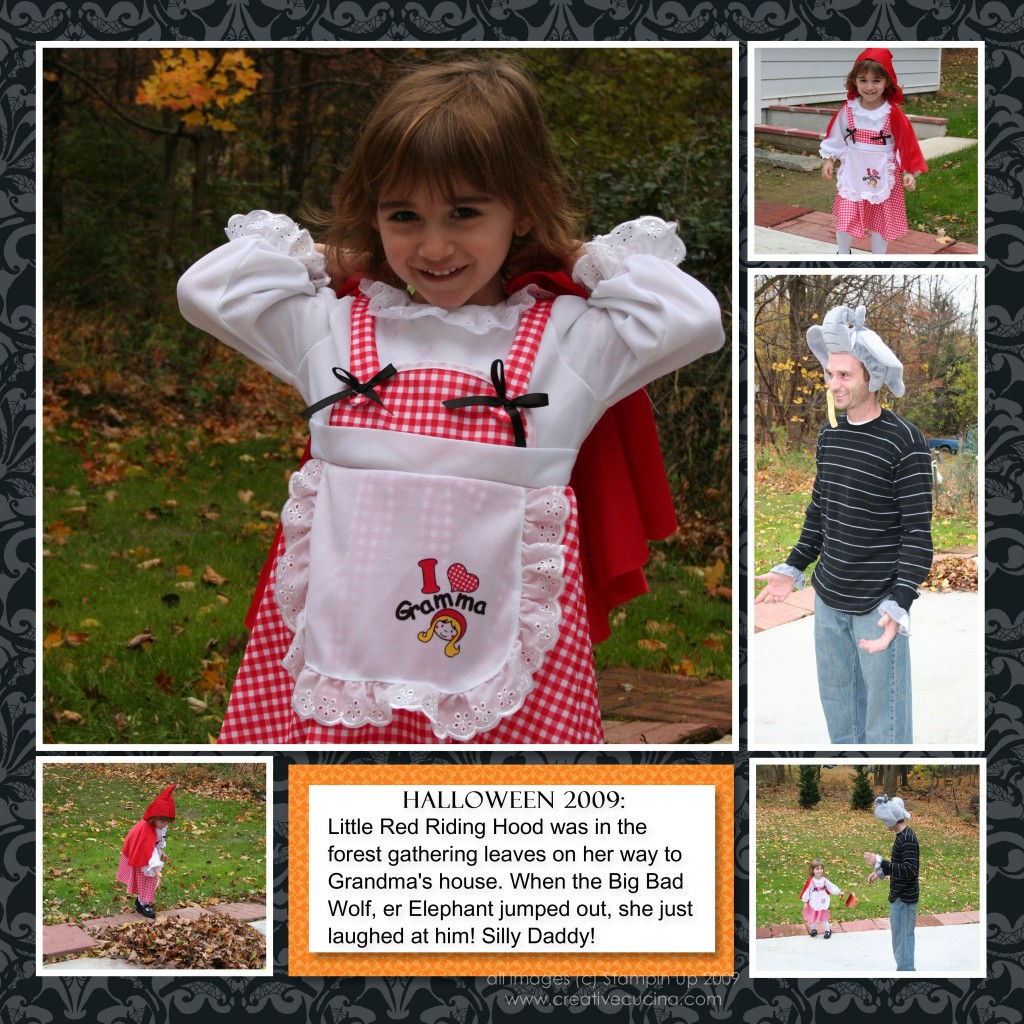
Page 1: This is before we went out trick or treating with Ella. The elephant costume was a leftover from last year. I took it out just for the heck of it and made my husband try it on. Then I couldn’t resist taking his picture. He didn’t find it as funny as I did. I’m still laughing…

Halloween-002 copy

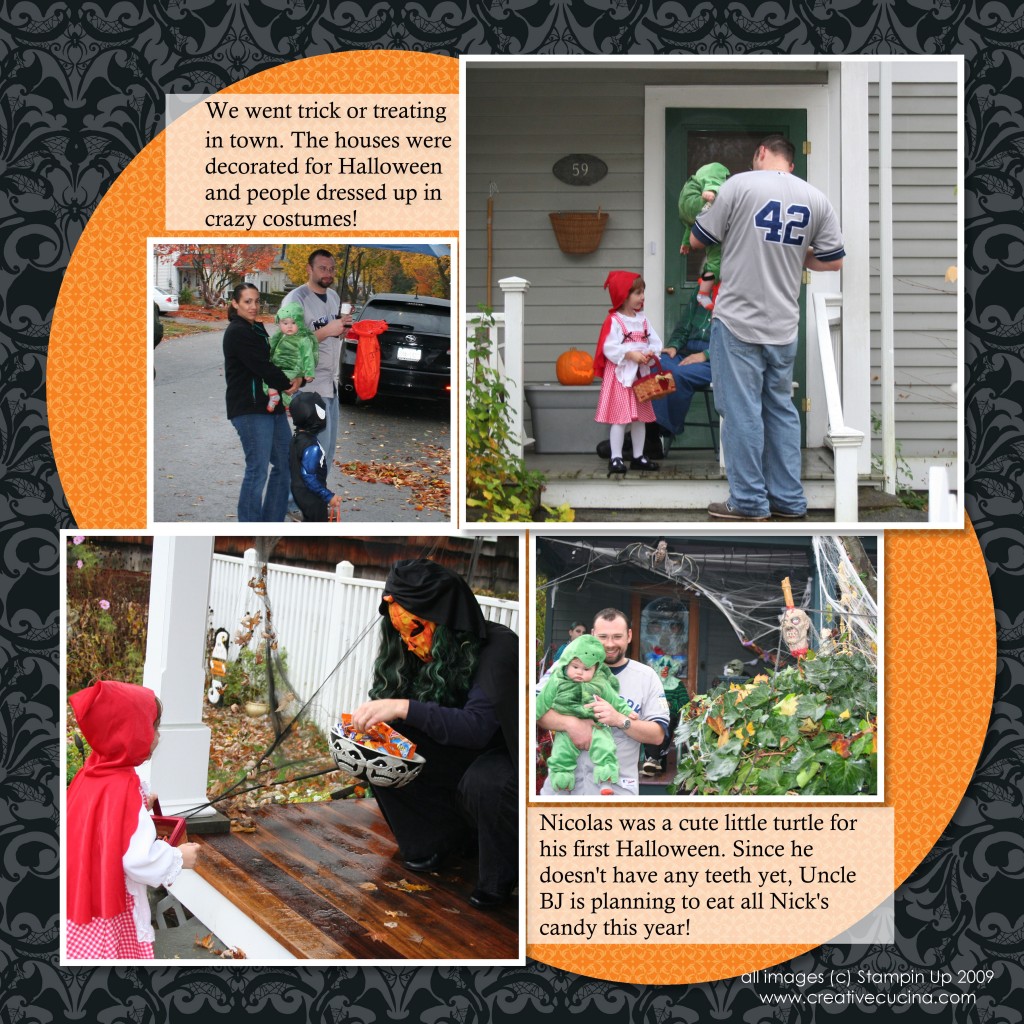
Page 2: Scenes from trick or treating. The street we went to is known for its decorations and everyone goes all out. My nephew was a turtle–poor kid. At least he didn’t cry like mine did her first halloween. These pages were made with My Digital Studio using one of the photo layouts and then I added paper from Cast A Spell (one of the latest downloads available).

Halloween-003 copy

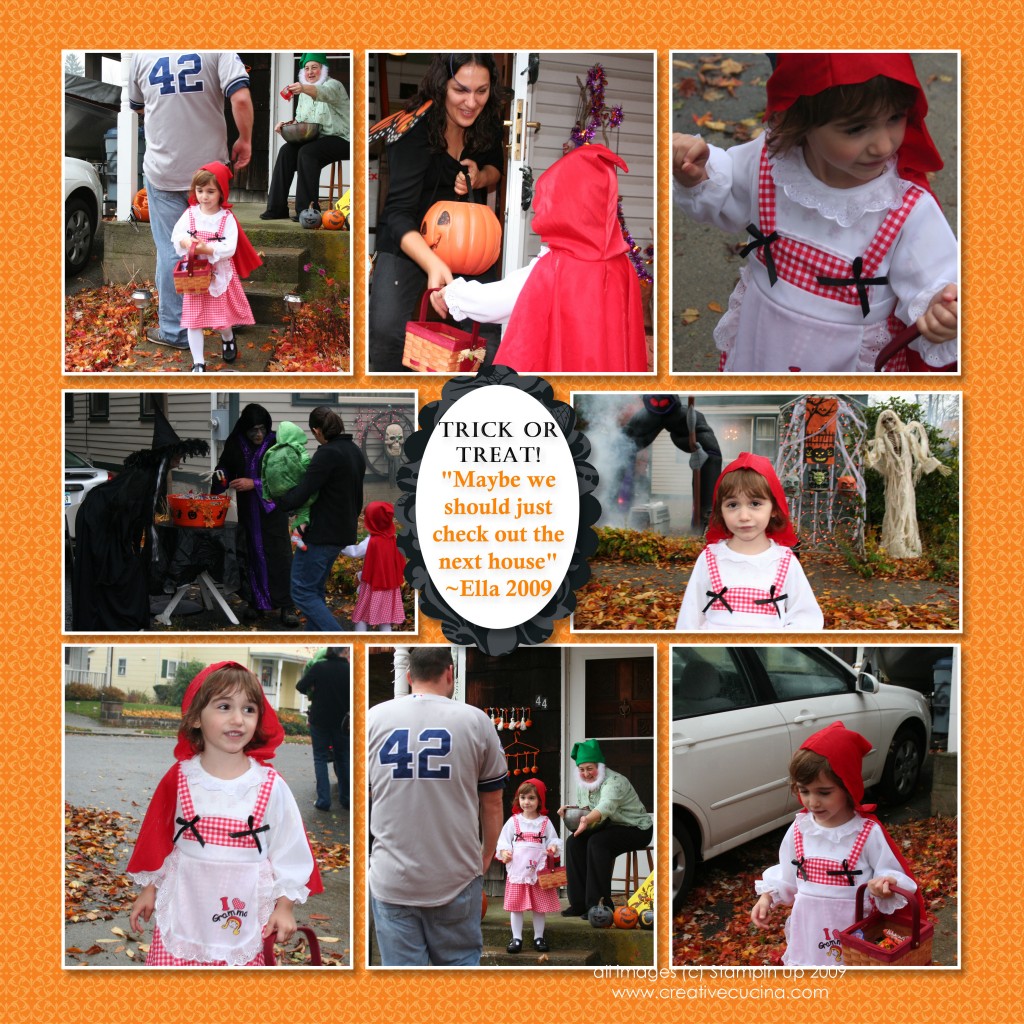
Page 3: More scenes from trick or treating. Ella got the concept pretty early on that she had to say “Trick or Treat”, then take a candy. “Thank You” was hit or miss, we had to remind her a few times. And after every house she left, she would say “Maybe we should just check out the next house”. I guess she was really excited and couldn’t wait to get some more candy!

Halloween-004 copy

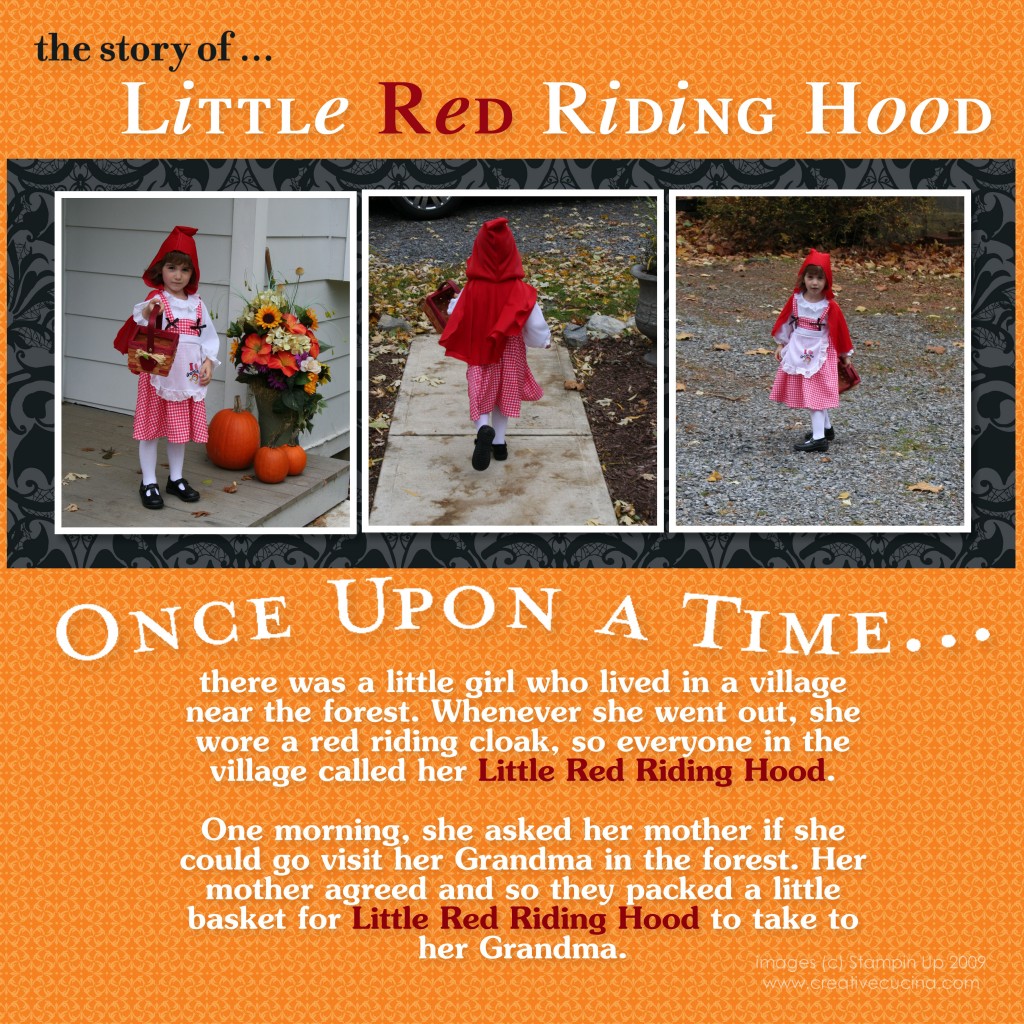
Page 4: The story of Little Red Riding Hood. This page has a few pictures of her skipping along and I couldn’t resist putting part of the story in. She had her little basket and her costume apron said “I love Gramma”. It was all just too cute!
Cookie Swap Flyer

cookie swap-001

All images (c) Stampin Up

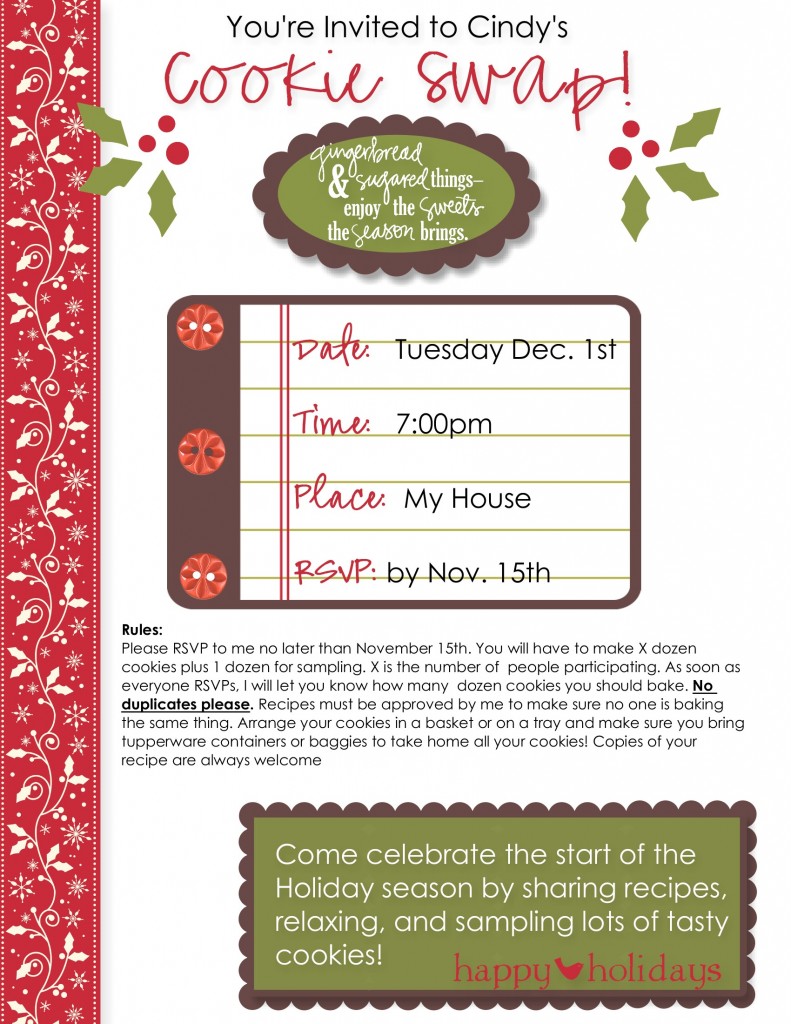
This was made using My Digital Studio. I was playing around with it and designed a flyer for a cookie swap using the Christmas Jingle Designer Kit elements. It’s so easy to make your own flyers, signs, cards, scrapbook albums, even DVDs with this software.

I’m not sure what cookie I’ll be bringing to the swap yet. Recipe testing will begin shortly though!

Making a Blog Banner with My Digital Studio

Making a blog banner is so easy using Stampin Up’s My Digital Studio.  Here are step by step directions on how to turn your MDS creation into a work of art you can display on your blog. Click on the images to enlarge.

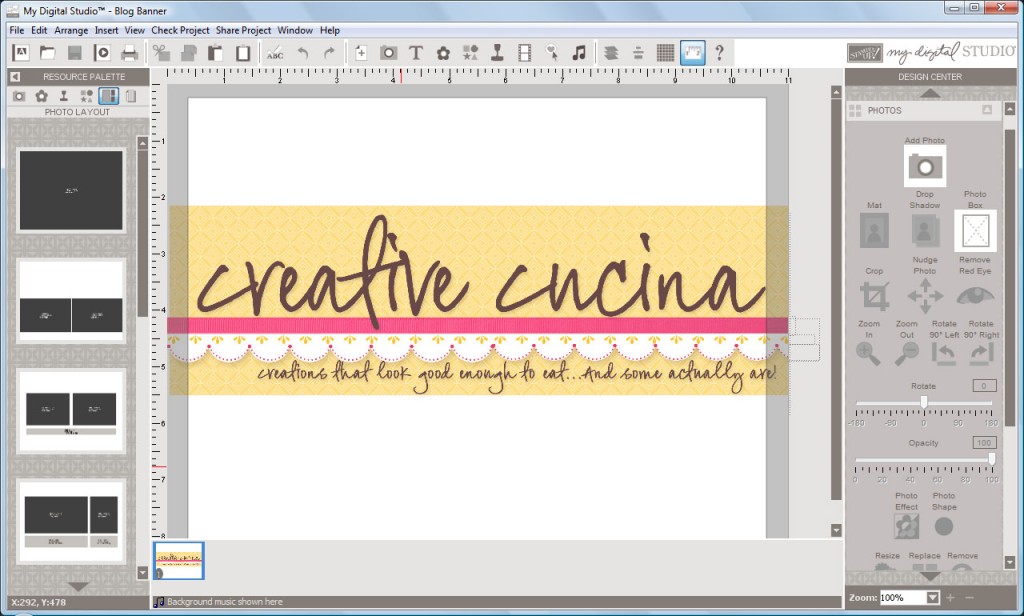
Step 1: Create your image in MDS

blog_banner1

As you can see, I made my image in MDS by opening up a blank 8 1/2″ x 11″ page and kept my design approximately 3 1/2″ x 11″ (roughly the size of my blog header). Save your file as a .JPEG in MDS.

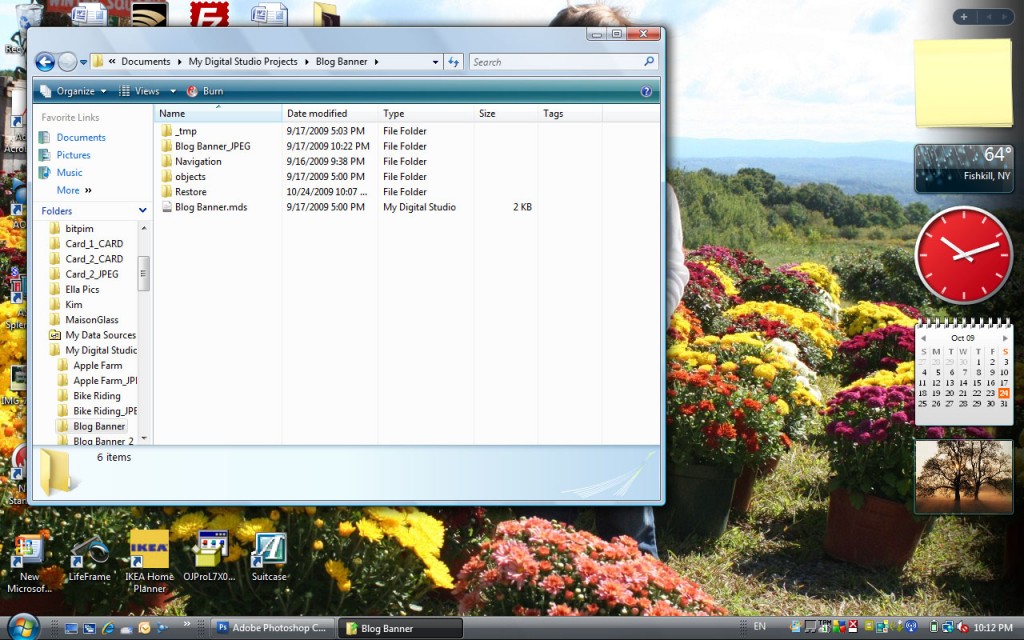
Step 2: Open up your My Digital Studio Projects Folder and select the folder where your .JPEG is saved (Mine is called “Blog Banner_JPEG”)

blog_banner2

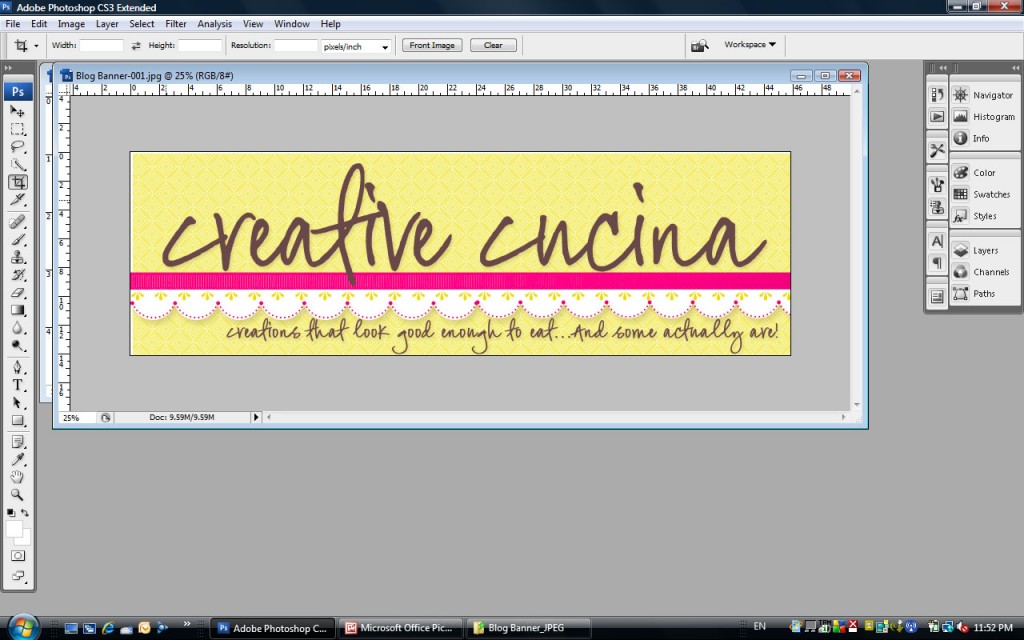
Step 3: Right Click on the .JPEG file and select “Open with Photoshop”

blog_banner3

Step 4: Crop your image in Photoshop so there is no white space showing

blog_banner5

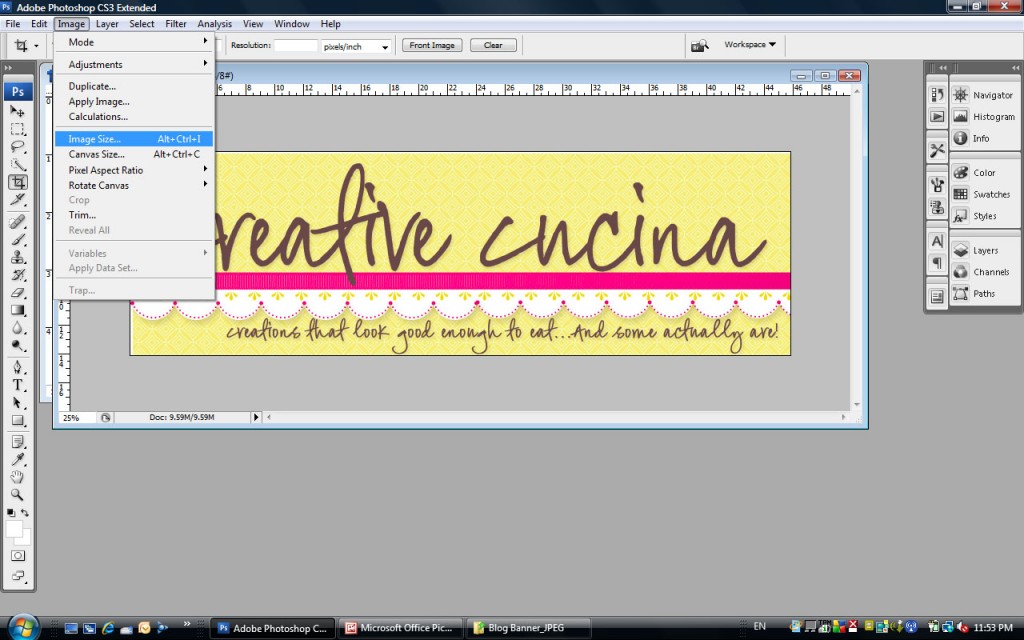
Step 5:Click Image/Image Size

blog_banner6

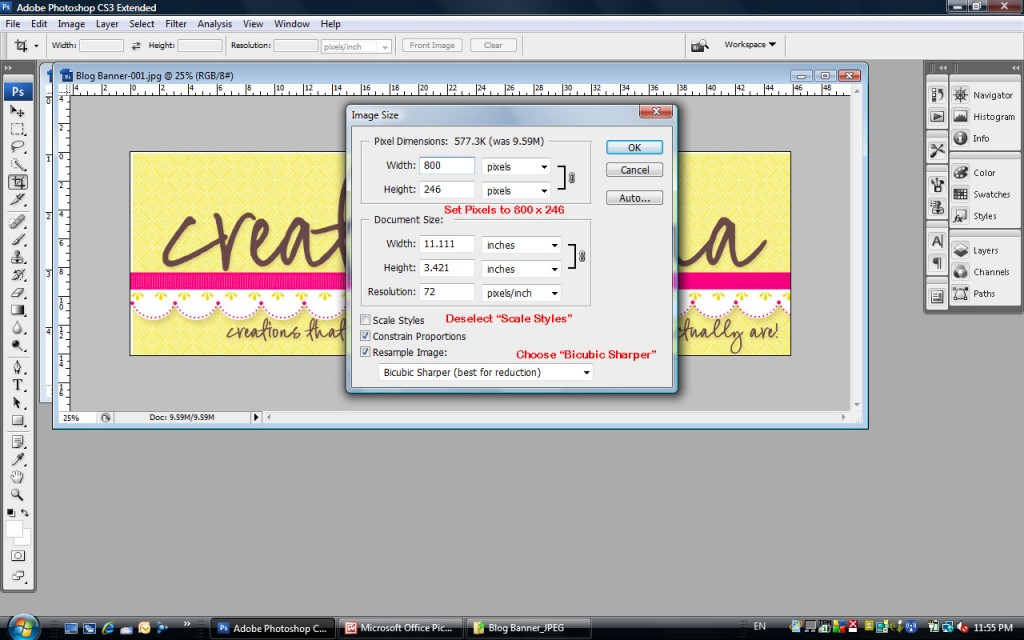
Step 6: Resize your image

blog_banner7

Resizing may be necessary before uploading the image to your blog. To resize and avoid distortion (a)Deselect “Scale Styles” box; (b) Choose “Bicubic Sharper” at the bottom; and (c) Set the pixel width to 800 (you can play around with the number but close to this seems to work for most blogs). Note: The pixel value for height will automatically adjust once you input 800 for the width. Click OK.

Now that you’ve resized your image, make sure to view it at 100%. It should not look pixelated or blurry. If it looks good, then you’re done! Uploading to your blog will vary depending on which service you use (wordpress, blogspot, etc.)

For my wordpress blog, I saved the .JPEG file to my site theme’s image folder, and made a simple HTML anchor link with the image. Then, I placed the anchor into the header.php file of my theme so it would show up on my blog.  Generally, the code will appear as shown below. Yours may vary so it may not work for everyone. Try substituting in your information as follows:

<a href=”http://www.yoursite.com” alt=”http://yoursite.com“><img src=”http://yoursite.com/wp-content/themes/your-theme/images/yourbannerfilename.jpg“</img></a>


Bad Behavior has blocked 458 access attempts in the last 7 days.

css.php