It’s All About the Designer Series Paper

I made three cards tonight, all using designer series paper and the Ornament Punch. The similarities end there, however! I was going to space them out and post one per day but I can’t wait to show them to you!

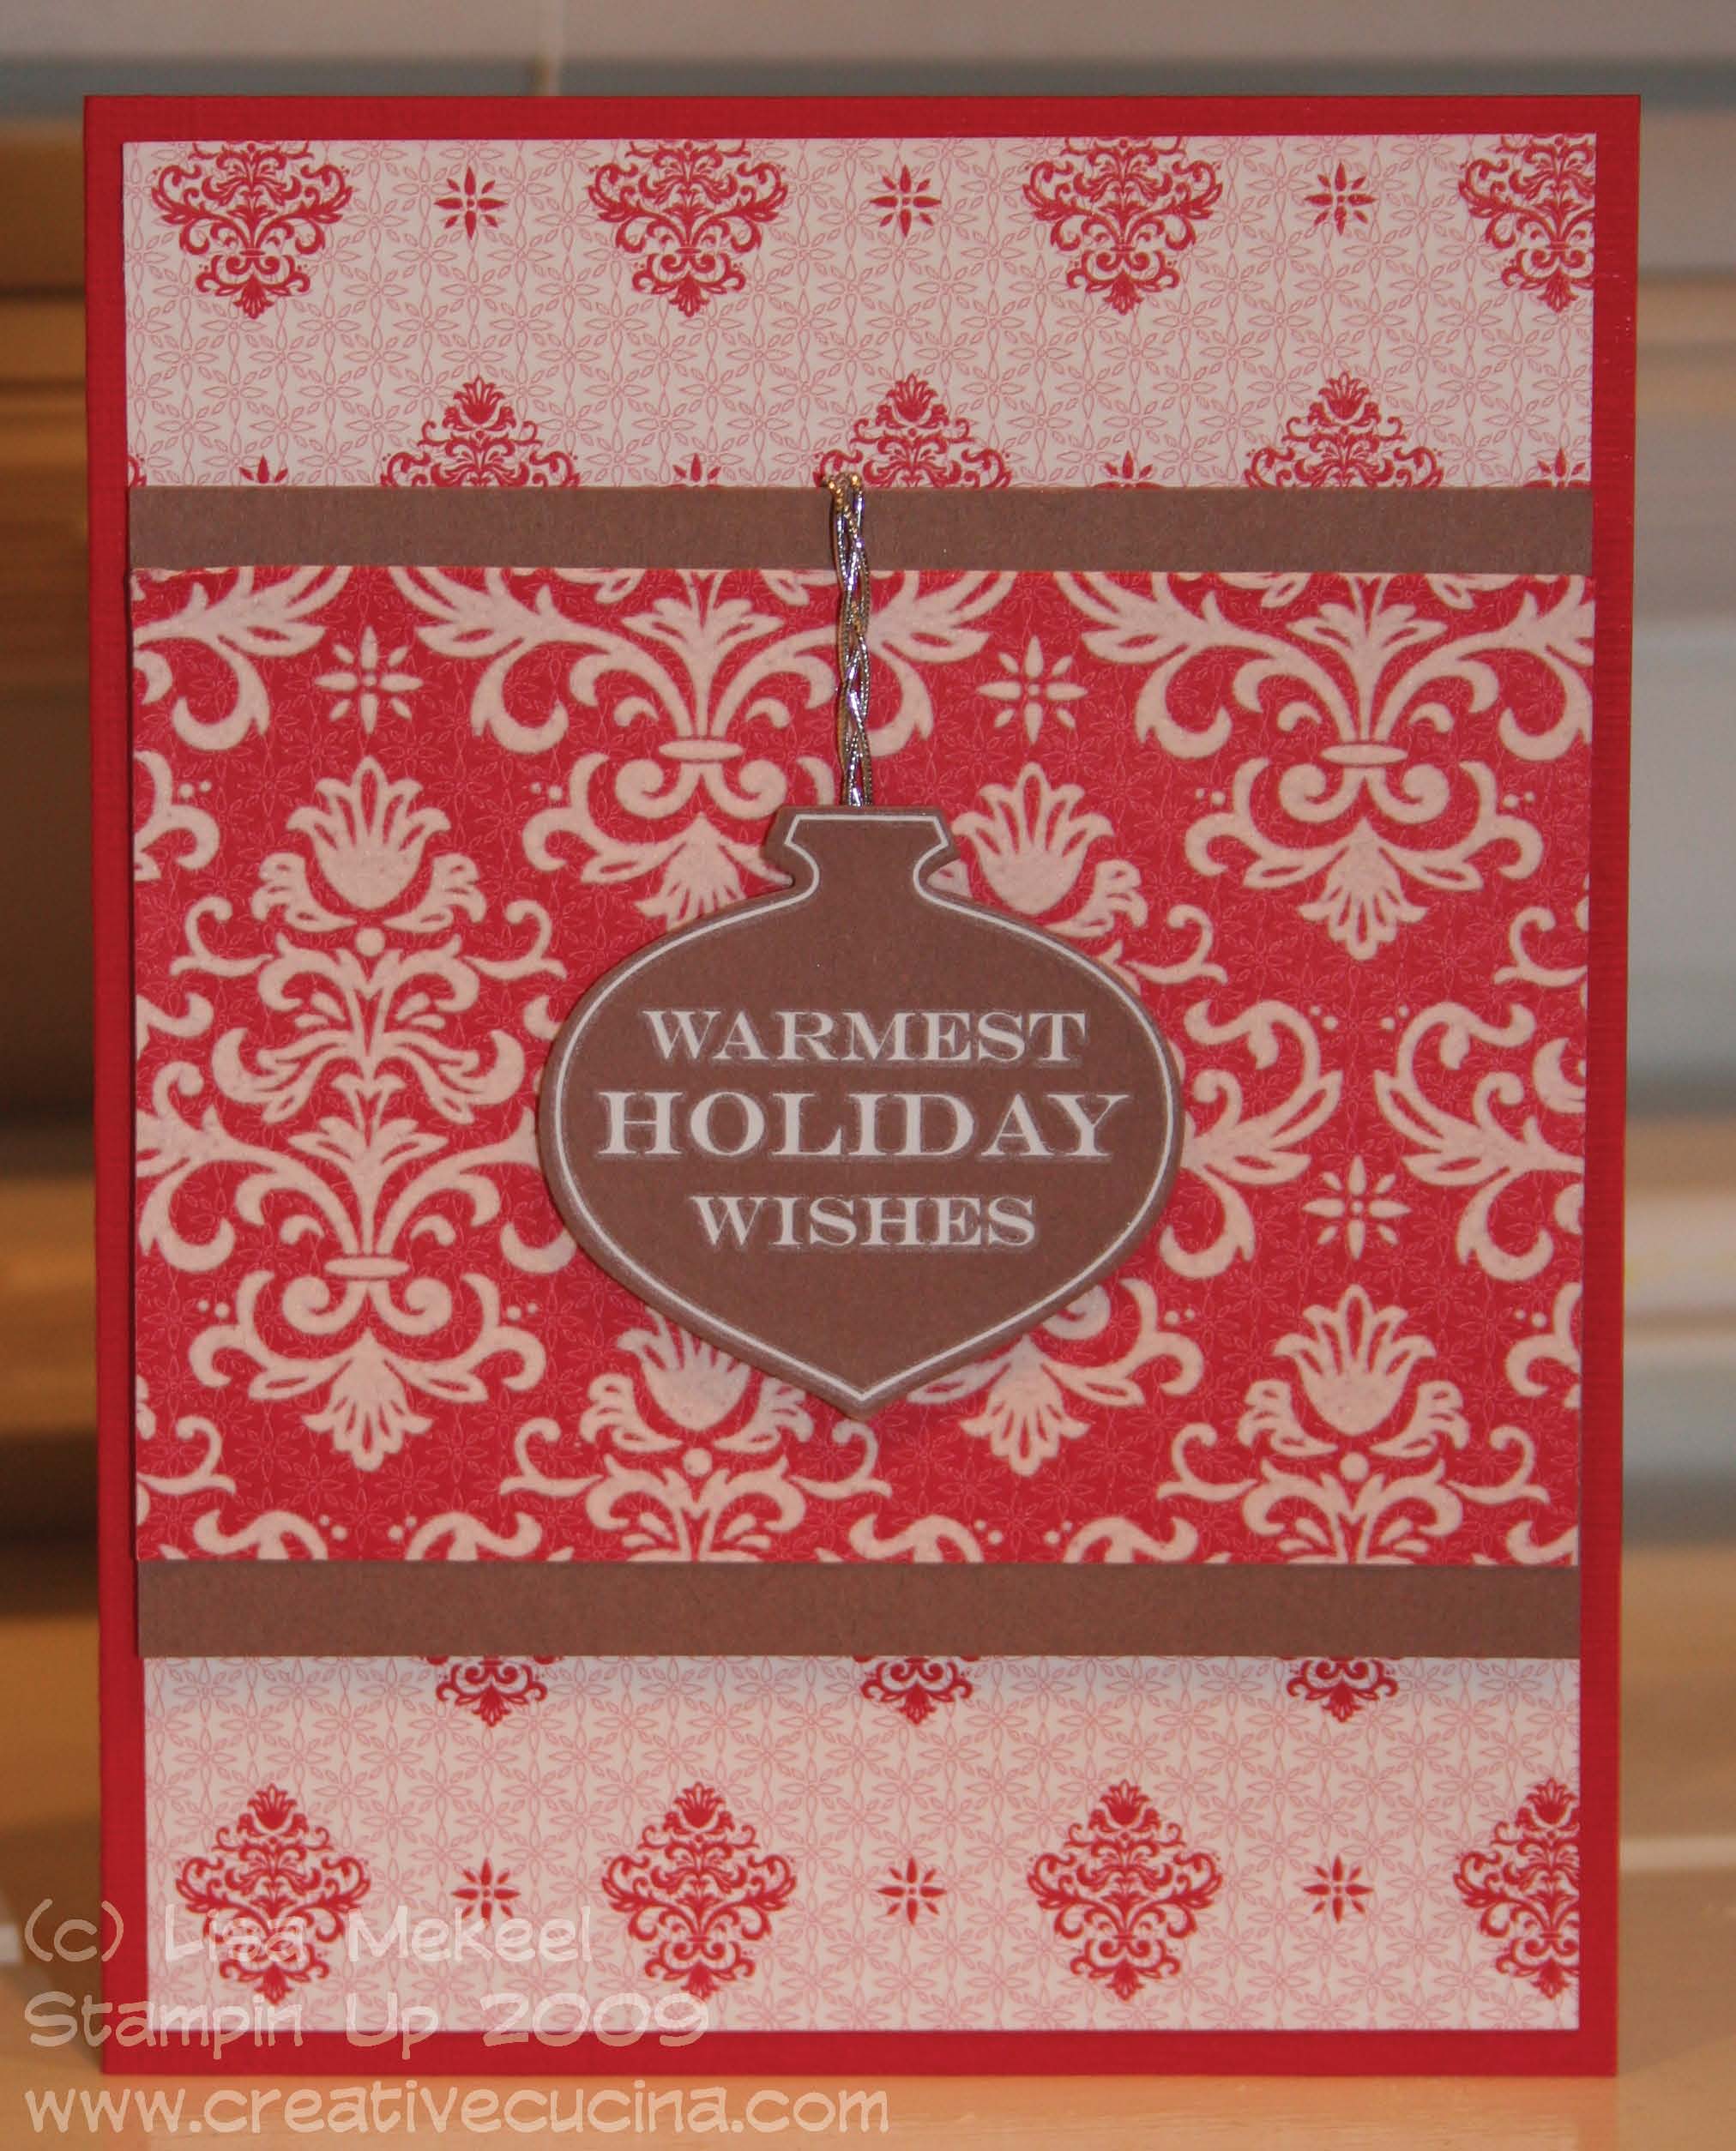
First up is the most traditional card of the three. It uses coordinating Christmas Cocoa DSP with various stencil-like flourish patterns. The base is real red textured card stock, layered with the DSP in red and white flourishes. Next, I layered the flocked DSP (it has a raised felt image and it’s sooo beautiful) onto close to cocoa card stock so that it would pop off the background. In the center, I applied a Merry & Bright Rub On to close to cocoa card stock and punched it out using the Ornament Punch. Then, I braided three pieces of Silver Elastic Cord and adhered it to the back of the ornament, wrapping it up behind the close to cocoa panel. The ornament is then attached using dimensionals.

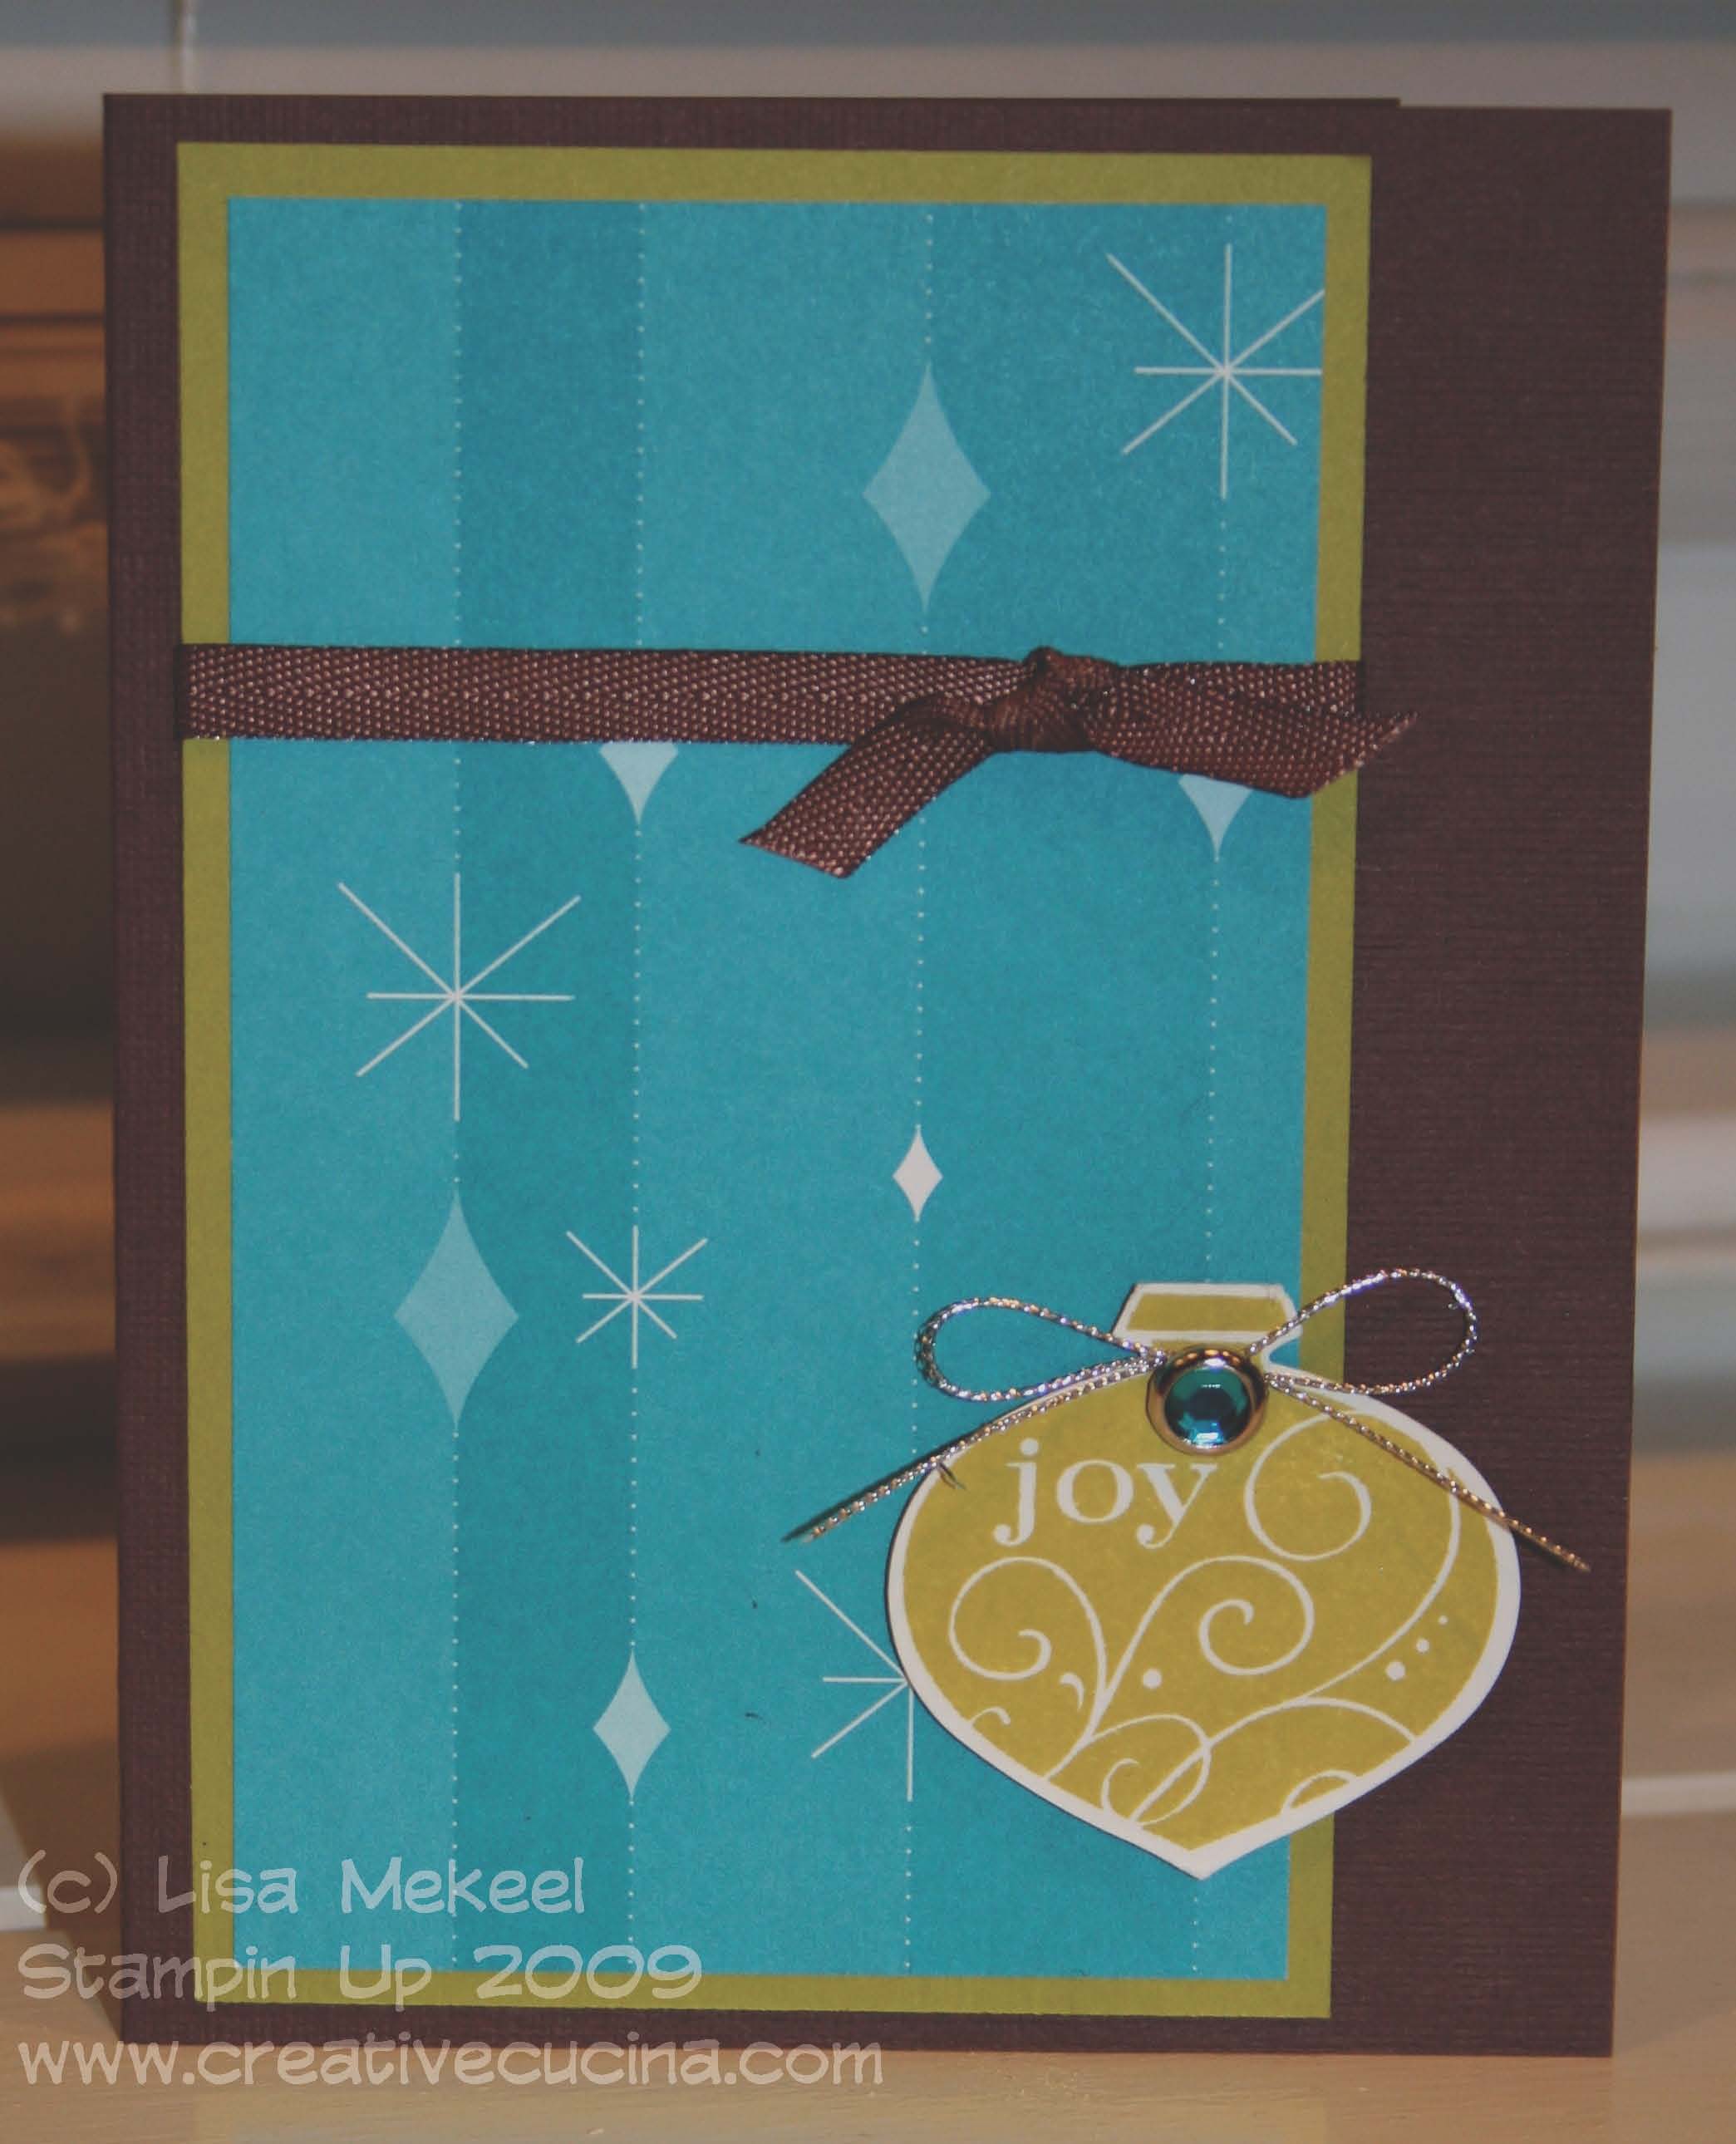
Next is a more retro style card. It uses the Holiday Lounge DSP and some pretty non traditional Christmas colors but it’s still festive. The card base is chocolate chip textured card stock layered with a wide strip of kiwi kiss and Holiday Lounge DSP in a taken with teal color. I then tied a piece of Chocolate Chip Twill Ribbon around the wide panel, and tied a knot to the right side. In the bottom right corner, I stamped the joy ornament from Delightful Decorations in kiwi kiss ink on whisper white card stock and punched it out using the handy dandy Ornament Punch. Then, I added a bright blue Ice Circle Rhinestone Brad to the ornament and tied some Silver Cord around the brad. The ornament is attached to the base using dimensionals.

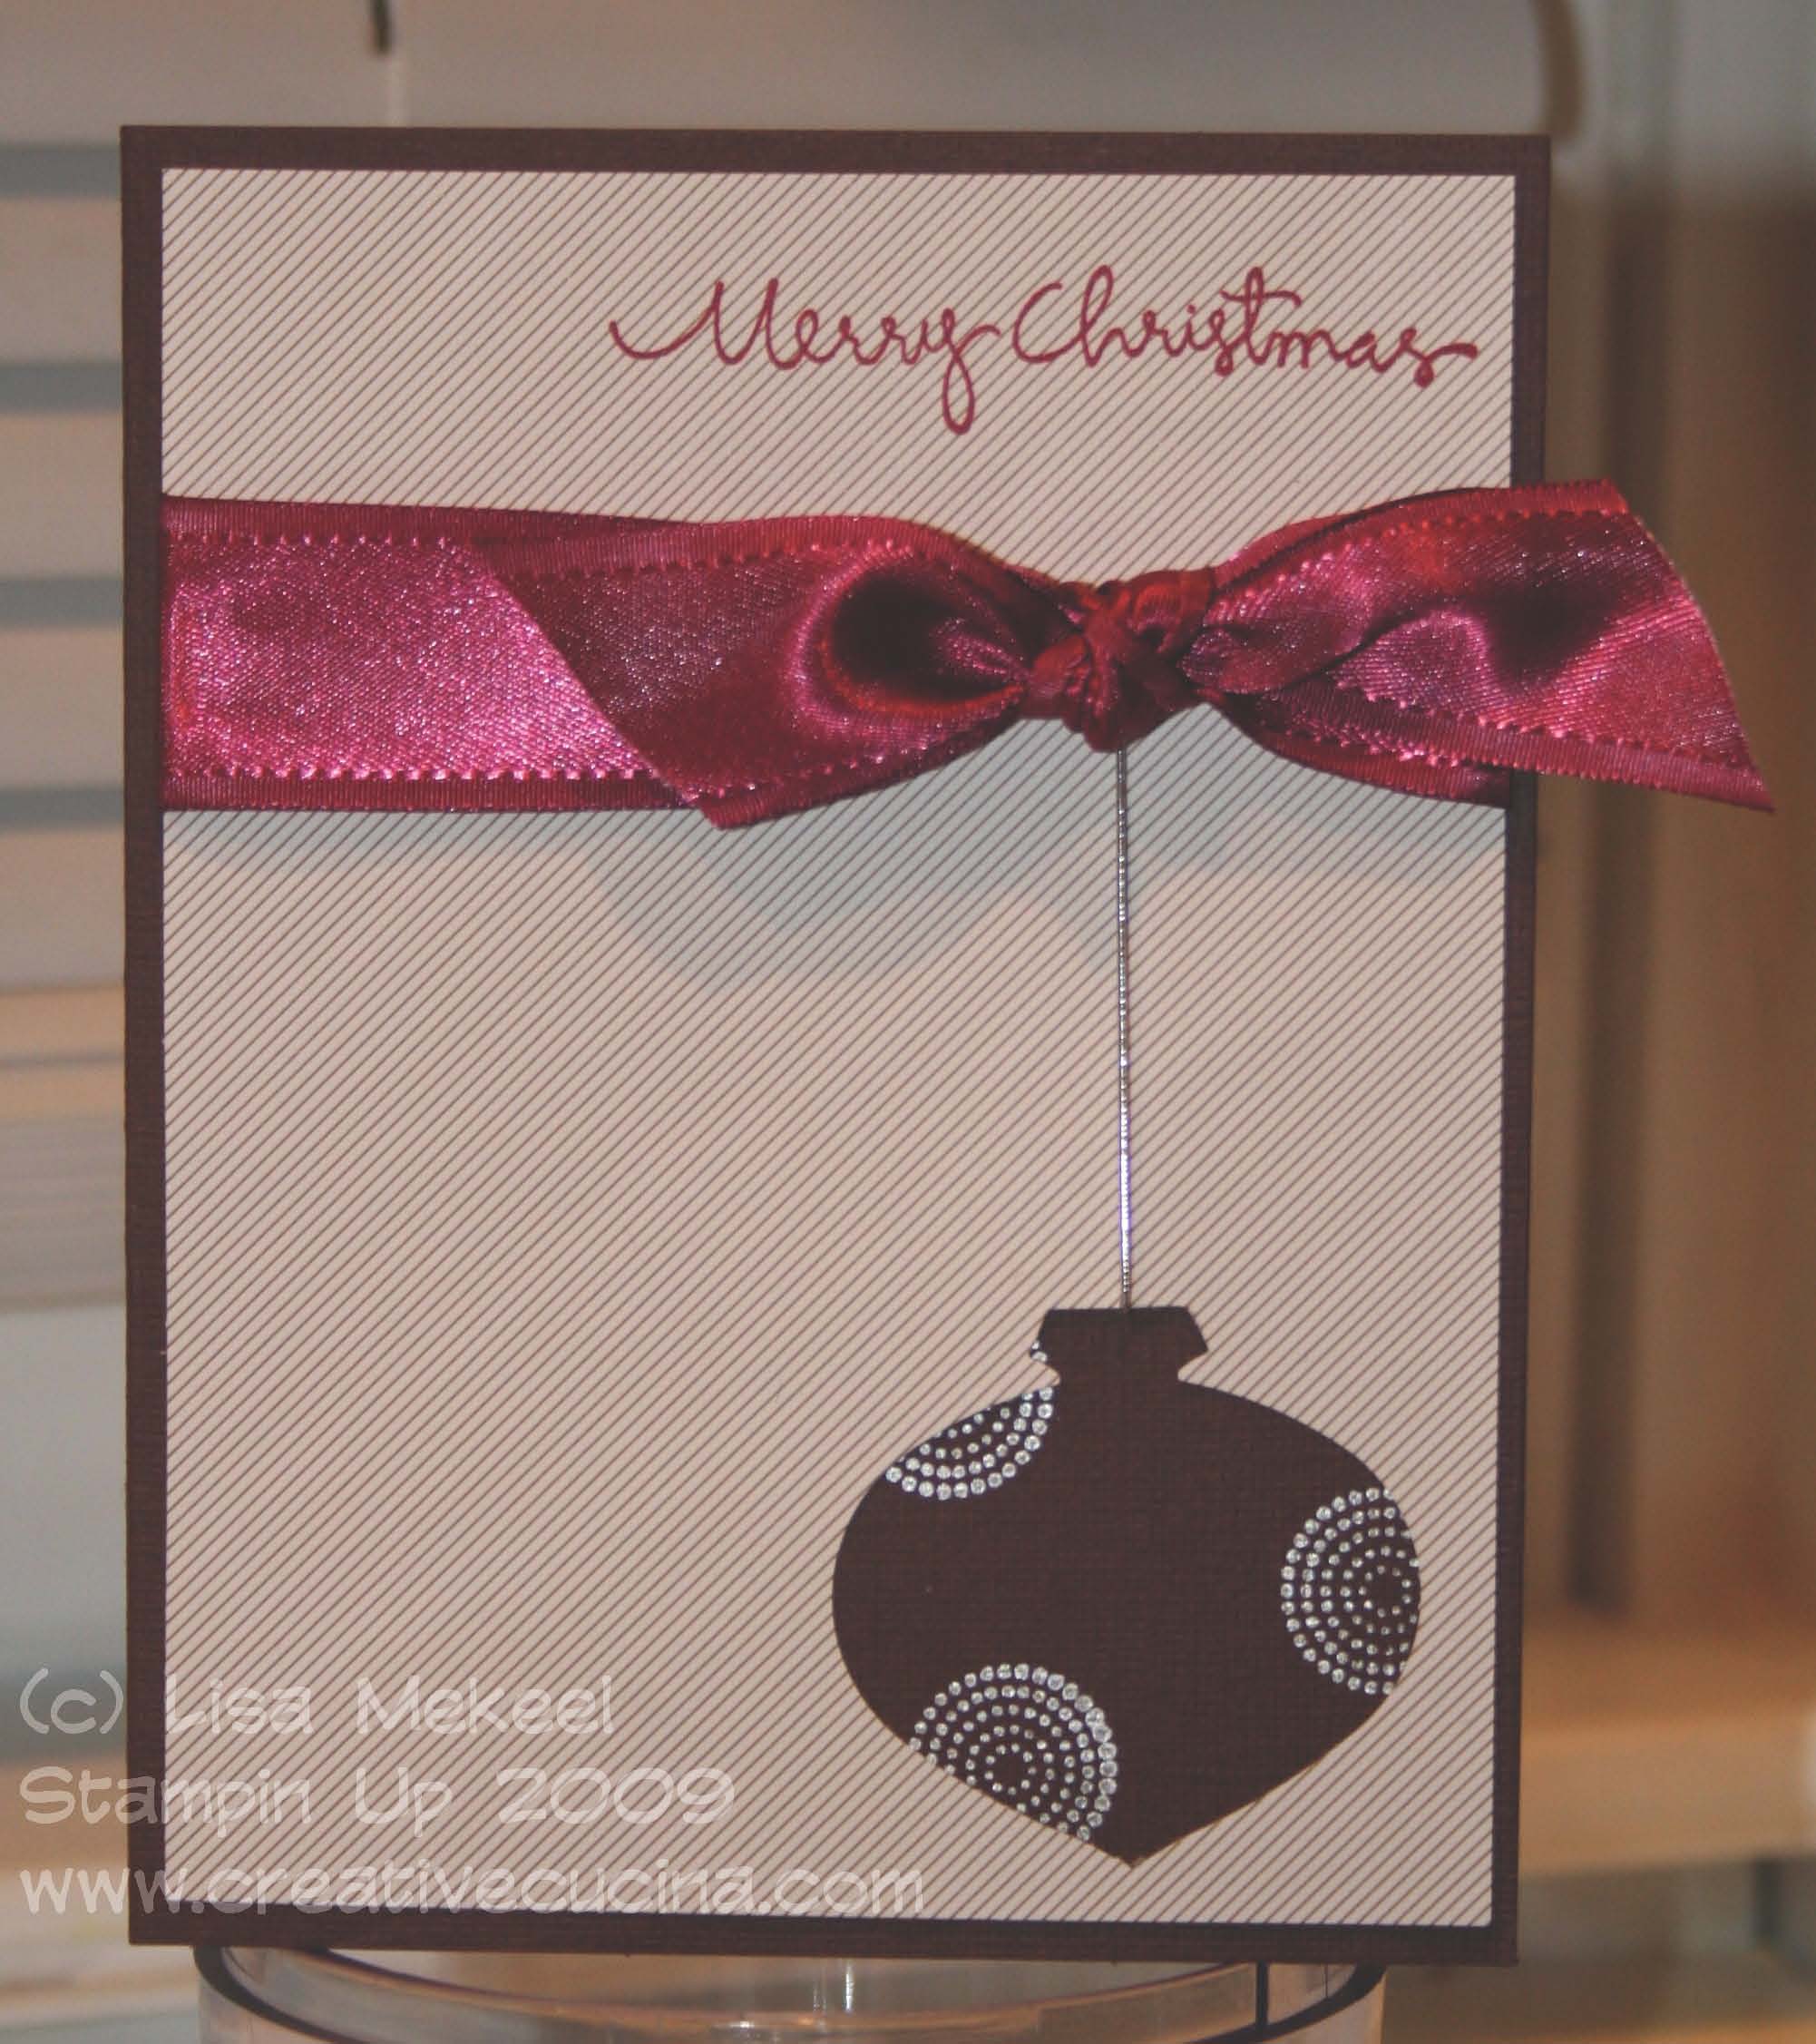
Finally, we have the modern, clean and simple Christmas card. Although it looks really simple, it does require a bit of work. First, the card base is chocolate chip textured card stock. The DSP is also from Christmas Cocoa and is cut to 4″ x 5 1/4″. Using the Ornament Punch, I punched out the ornament shape from the lower right corner. Next, I broke out my new Shimmer Paint in Platinum and sponged it onto the circle stamp from Delightful Decorations. I stamped the image onto chocolate chip textured card stock and then adhered it to the back of the DSP. Across the top of the card, I stamped the Christmas Greetings stamp in Purely Pomegranate ink. Underneath that, I tied a piece of Purely Pomegranate Satin Ribbon into a big knot. Lastly, I slipped a piece of Silver Elastic Cord under the DSP and behind the ribbon, using small glue dots.
One of the Contenders for this Year’s Christmas Card

I REALLY like how this turned out. While I wait for my Ornament Punch to come, so I can make a card like this, I’m playing with what I do have on hand.

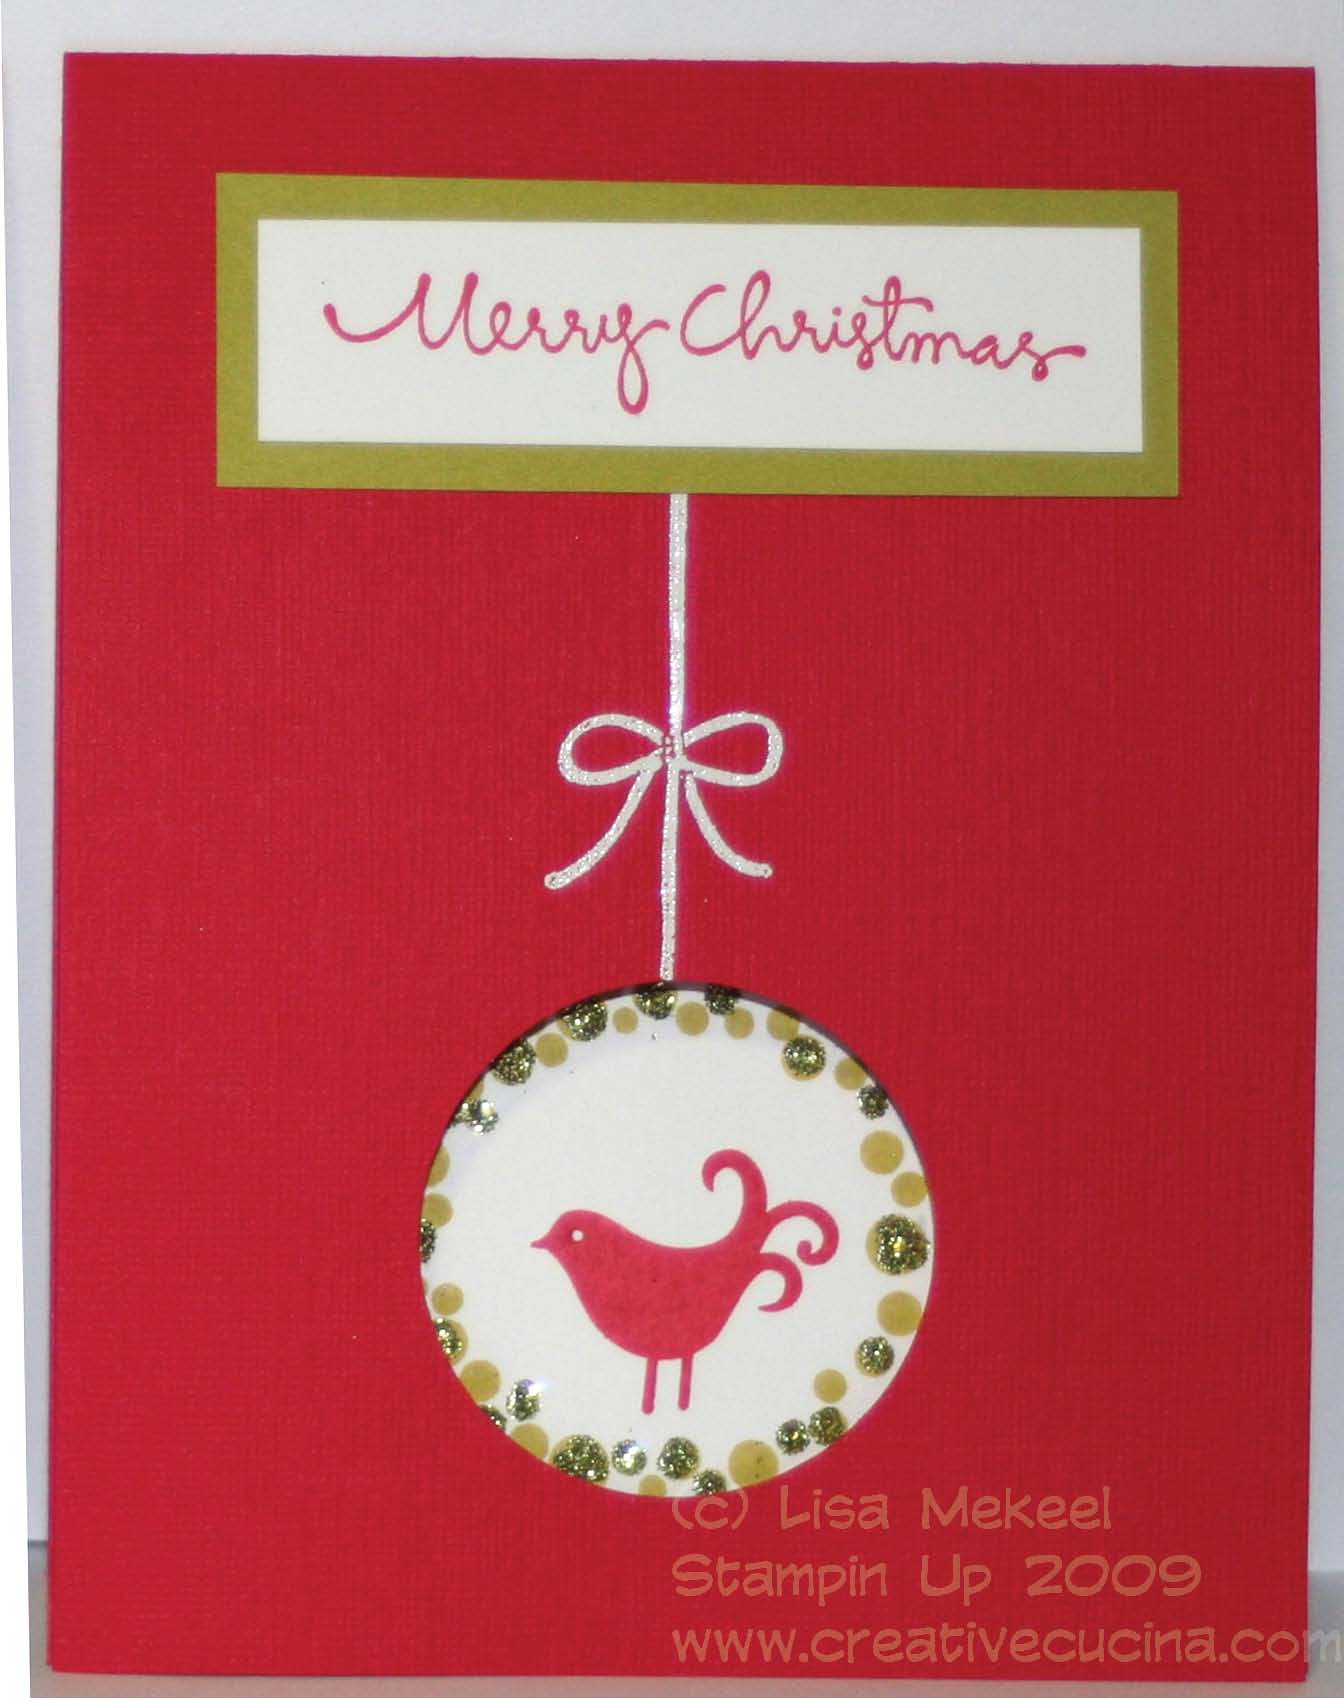
The base is Real Red Textured card stock, with a top fold. I punched out the circle window using my 1 1/4″ Circle Punch. Then I stamped the string/bow from Berry Christmas in Versamark and heat embossed it using White EP. At the top, I stamped Merry Christmas, from Christmas Greetings in Riding Hood Red on Whisper White. Then, I layered it onto a piece of Kiwi Kiss card stock and attached it to the card front.

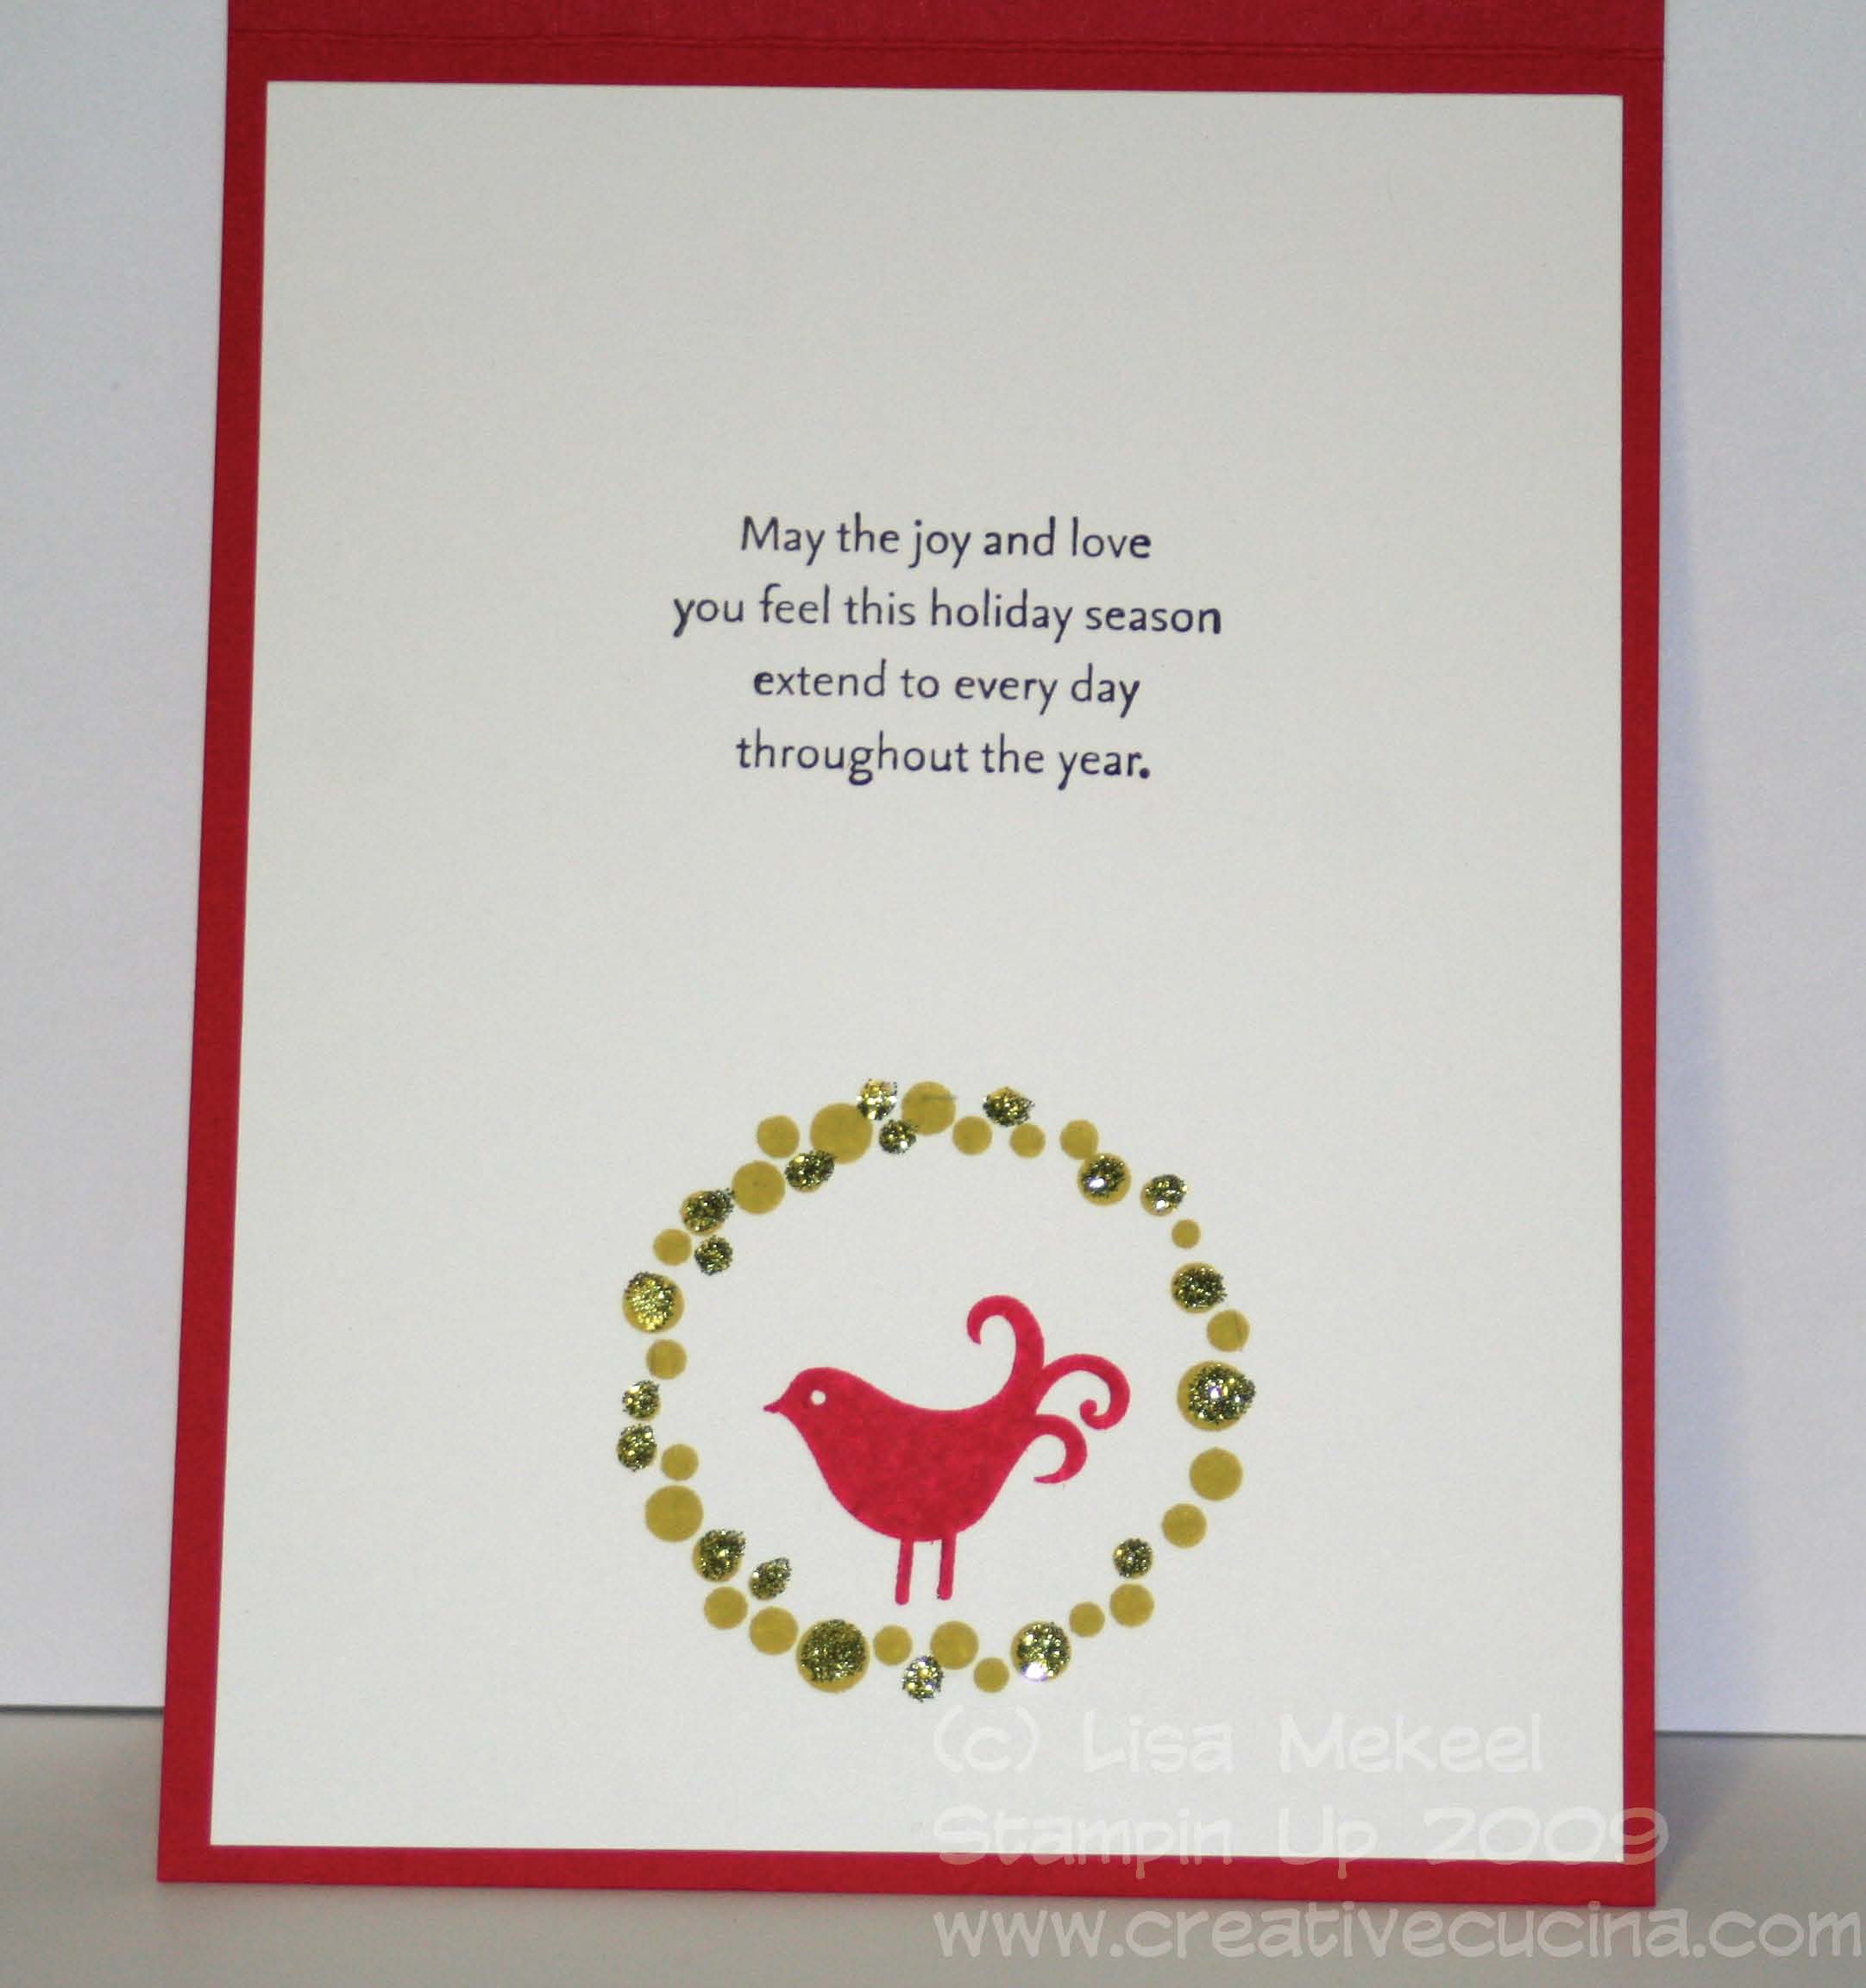
Inside, I layered a piece of Whisper White cut to 4″ x 5 1/4″.  To get correct placement of the wreath, I closed the card and made small marks with a pencil inside the circle. Then, open the card and stamp the wreath inside your guide marks using Kiwi Kiss ink. I LOVE adding glitter to this wreath (see another card I made here). Using a glue pen, add some glue to random spots around the wreath, then using green Superfine Supernova Glitter, sprinkle it on and WOW! Inside the wreath, I stamped the bird in Riding Hood Red ink.

The sentiment inside is also from Christmas Greetings, stamped in Basic Black. If I were trying to be super fancy, I would probably wipe off some of the black using a Qtip and color specific words red and green but it was late and I wasn’t feeling super fancy!

For those of you looking for Christmas card ideas, this is really very simple to do in bulk and has lots of Wow factor for such little time and effort. It’s a serious contender for my cards this year. I may add a wallet size photo of my daughter inside the front cover so when you flip it open you will see it.

It’s beginning to look a lot like Christmas

I’m just pretending Autumn came and went, when really, it’s still technically Summer and I’m making Christmas cards. Something is wrong with this picture!

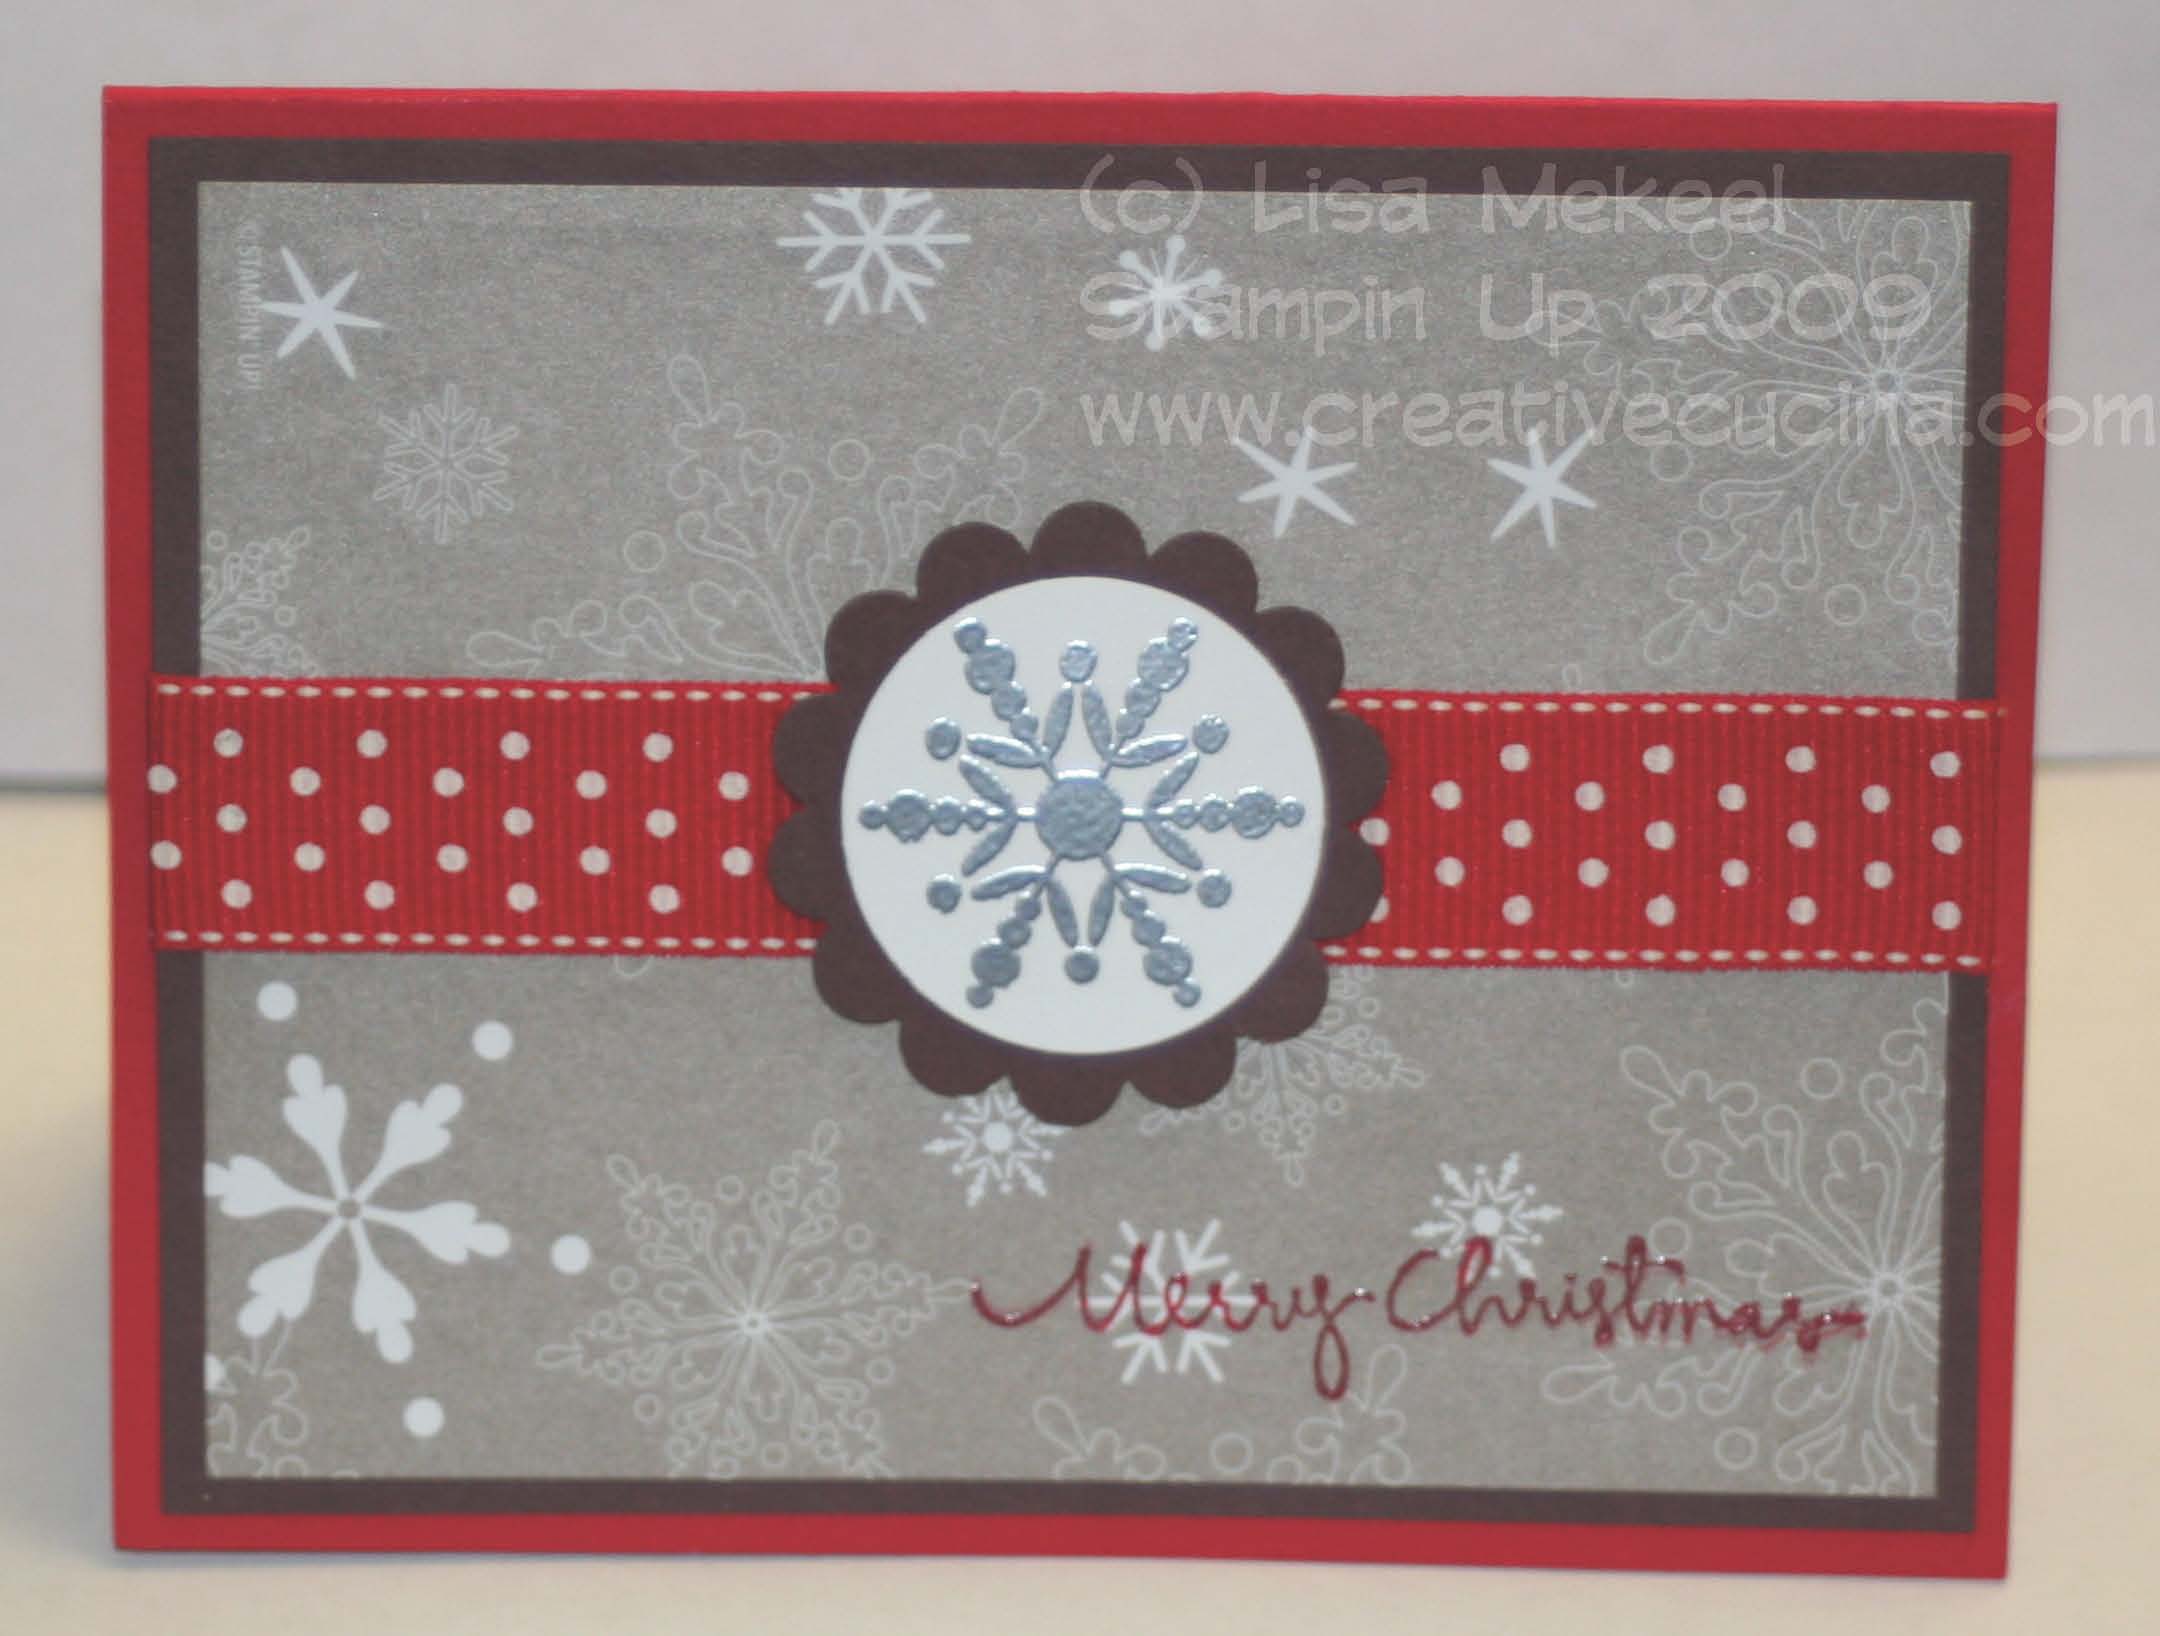
Card base is real red, layered with Chocolate chip. The DSP is from Christmas Cocoa DSP and it’s awesome. All the paper in this package is either shimmery or embossed with felt, or just plain beautiful. You don’t have to do much when you have great DSP!

Across the front I added a piece of Real Red Polka Dot Grosgrain Ribbon and stamped a snowflake from Berry Christmas in Versamark and heat embossed it using Silver Embossing Powder. I then used the 1 3/8″ Circle Punch to punch out the snowflake and layered it on a Scallop Circle Punch out of Chocolate chip card stock. I adhered all that to the base using dimensionals.

Finally, the sentiment is from Christmas Greetings and I originally stamped it in red directly on the DSP but it didn’t show up well because the paper is slightly shimmery. So, I used the stamp-a-majig to line up my Do Over stamp, this time in Real Red Craft ink and heat embossed with Clear E.P. to make it stand out more.

Bad Behavior has blocked 1357 access attempts in the last 7 days.

css.php