Autumn Harvest Fall Cards

I don’t usually send Halloween or Thanksgiving cards, but I like the look of them, so I try to send them to people with fall birthdays, or as a seasonal Thank You.

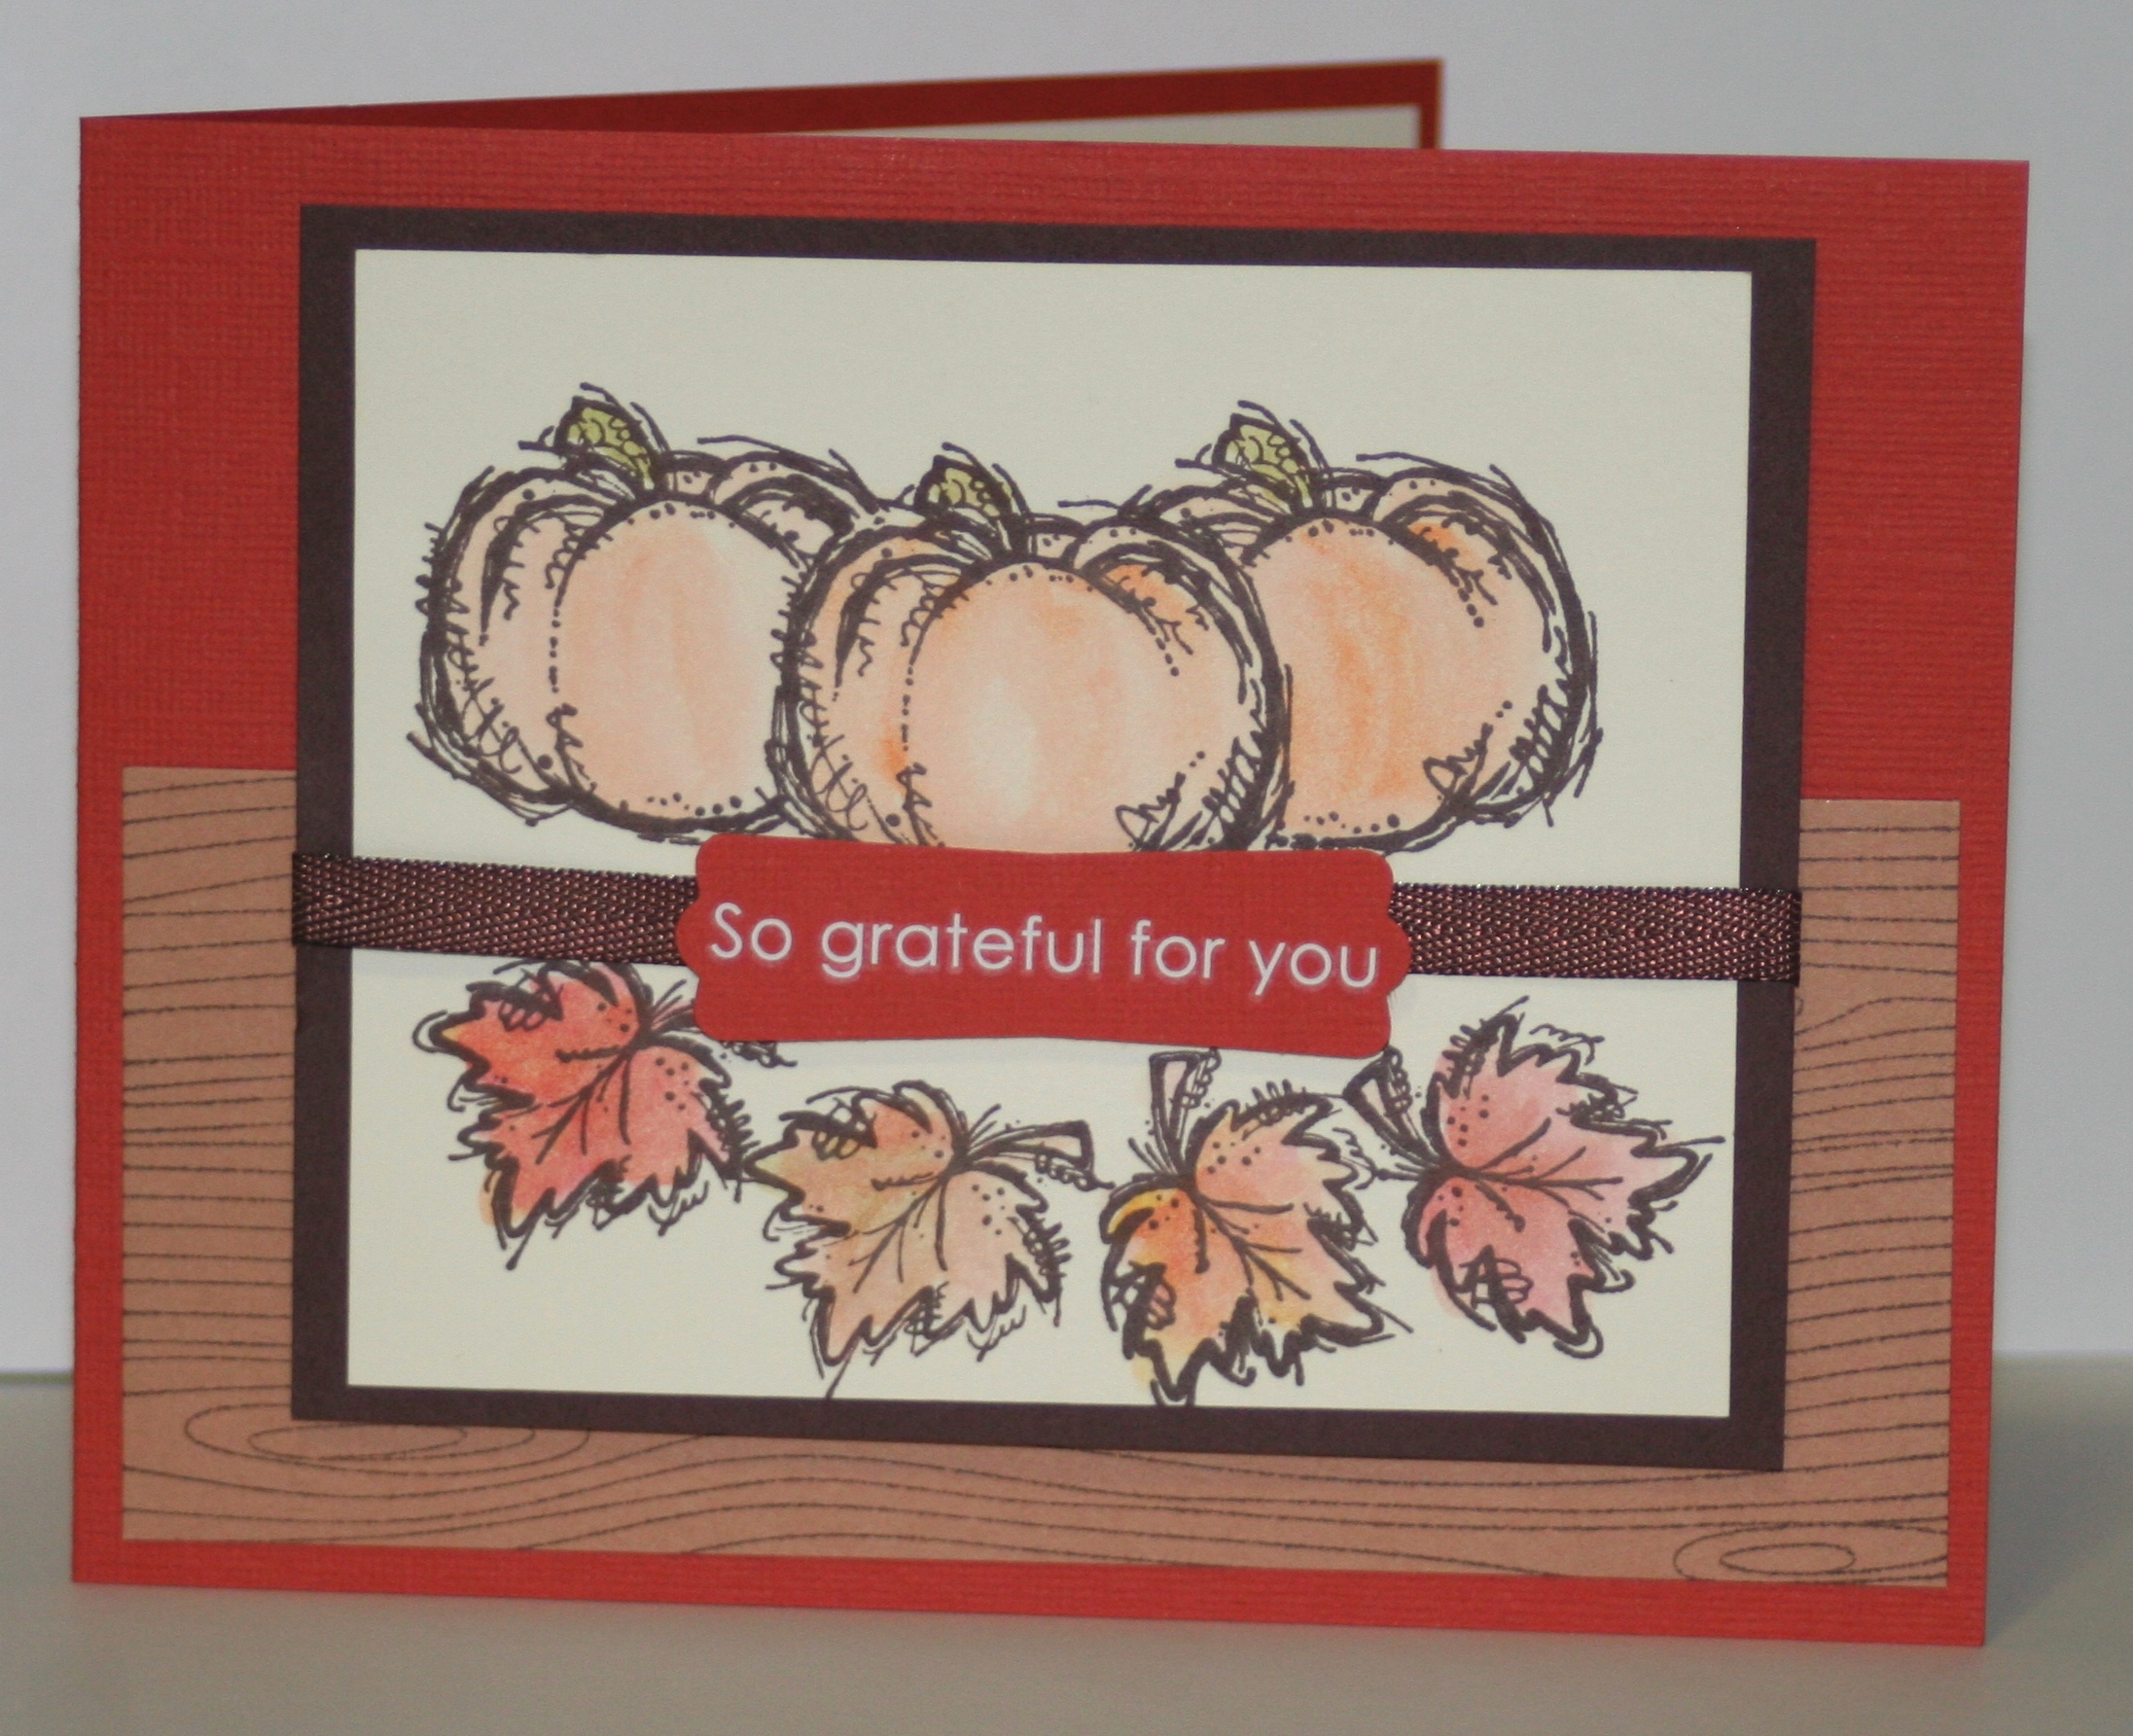
The above card uses the Woodgrain BG stamp. I really don’t like using BG stamps because they’re so hard to ink up, but this was one of the exceptions because I like the image a lot!

Card base is Dusty Durango Textured card stock. I then stamped Woodgrain in Basic Brown ink onto Creamy Caramel card stock. The main image is from Autumn Harvest, stamped in Brown Stazon on Very Vanilla card stock. I used a mask to stamp the pumpkins and colored in the images with my Earth Elements Watercolor Crayons and Aquapainter. I layered the vanilla card stock onto Chocolate chip and tied a piece of Chocolate Chip Twill Ribbon around the front. The sentiment is from Chit Chat Rub Ons, applied onto Dusty Durango card stock, punched out with the Modern Label Punch, up on dimensionals.

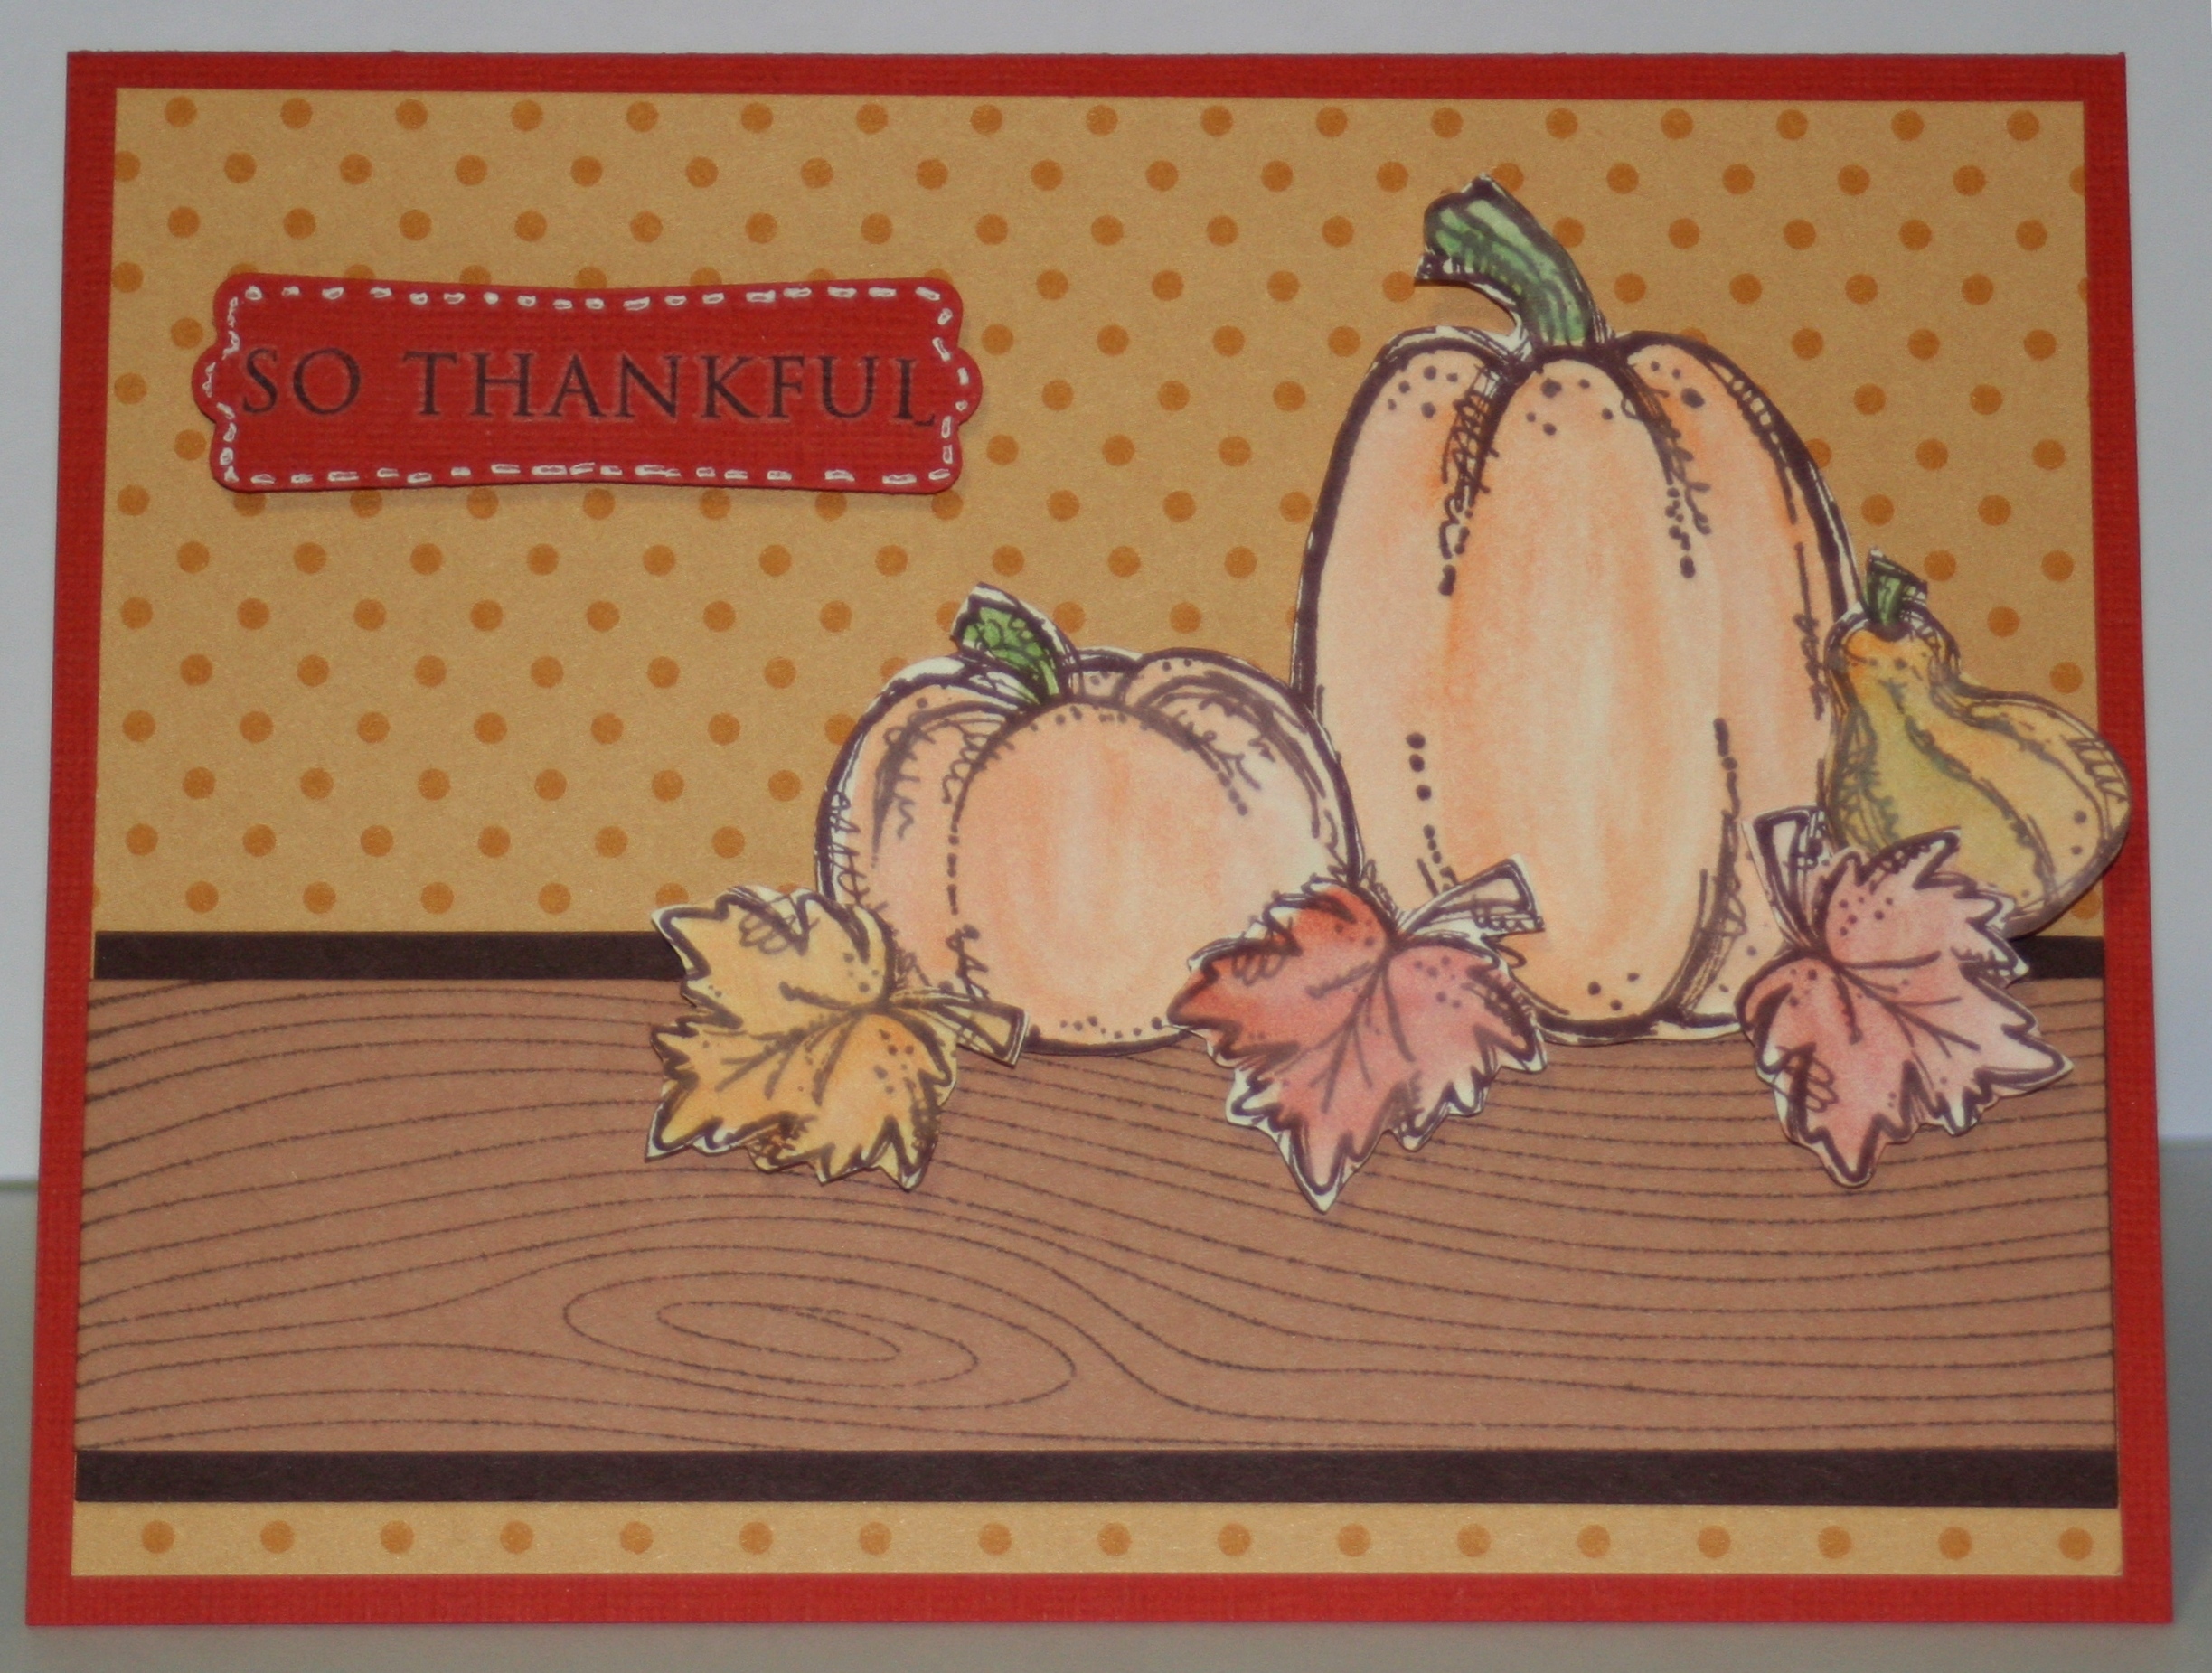
This next card uses Autumn Harvest again, and of course my new favorite Woodgrain BG stamp!! Card base is Dusty Durango Textured card stock, layered with polka dotted More Mustard Autumn Vines DSP.

Across the bottom of the card, I took a strip of Creamy Caramel stamped with Woodgrain in Basic Brown ink and layered it onto a strip of Chocolate Chip card stock. That is acting as my “log” on which I placed my pumpkins.

Pumpkins from Autumn Harvest were stamped in Brown Stazon on Very Vanilla card stock, colored in with Earth Elements Watercolor Crayons and Aquapainter. Then, I cut out each image and attached it to the card using dimensionals.

The sentiment is a Chit Chat Rub On on Dust Durango card stock, punched out with Modern Label Punch and popped up with dimensionals. As an added touch, I “stitched” around the label with my White Gel Pen.

Inside both cards, I lined them with a piece of Very Vanilla card stock to make writing easier to read.
It’s beginning to look a lot like Christmas

I’m just pretending Autumn came and went, when really, it’s still technically Summer and I’m making Christmas cards. Something is wrong with this picture!

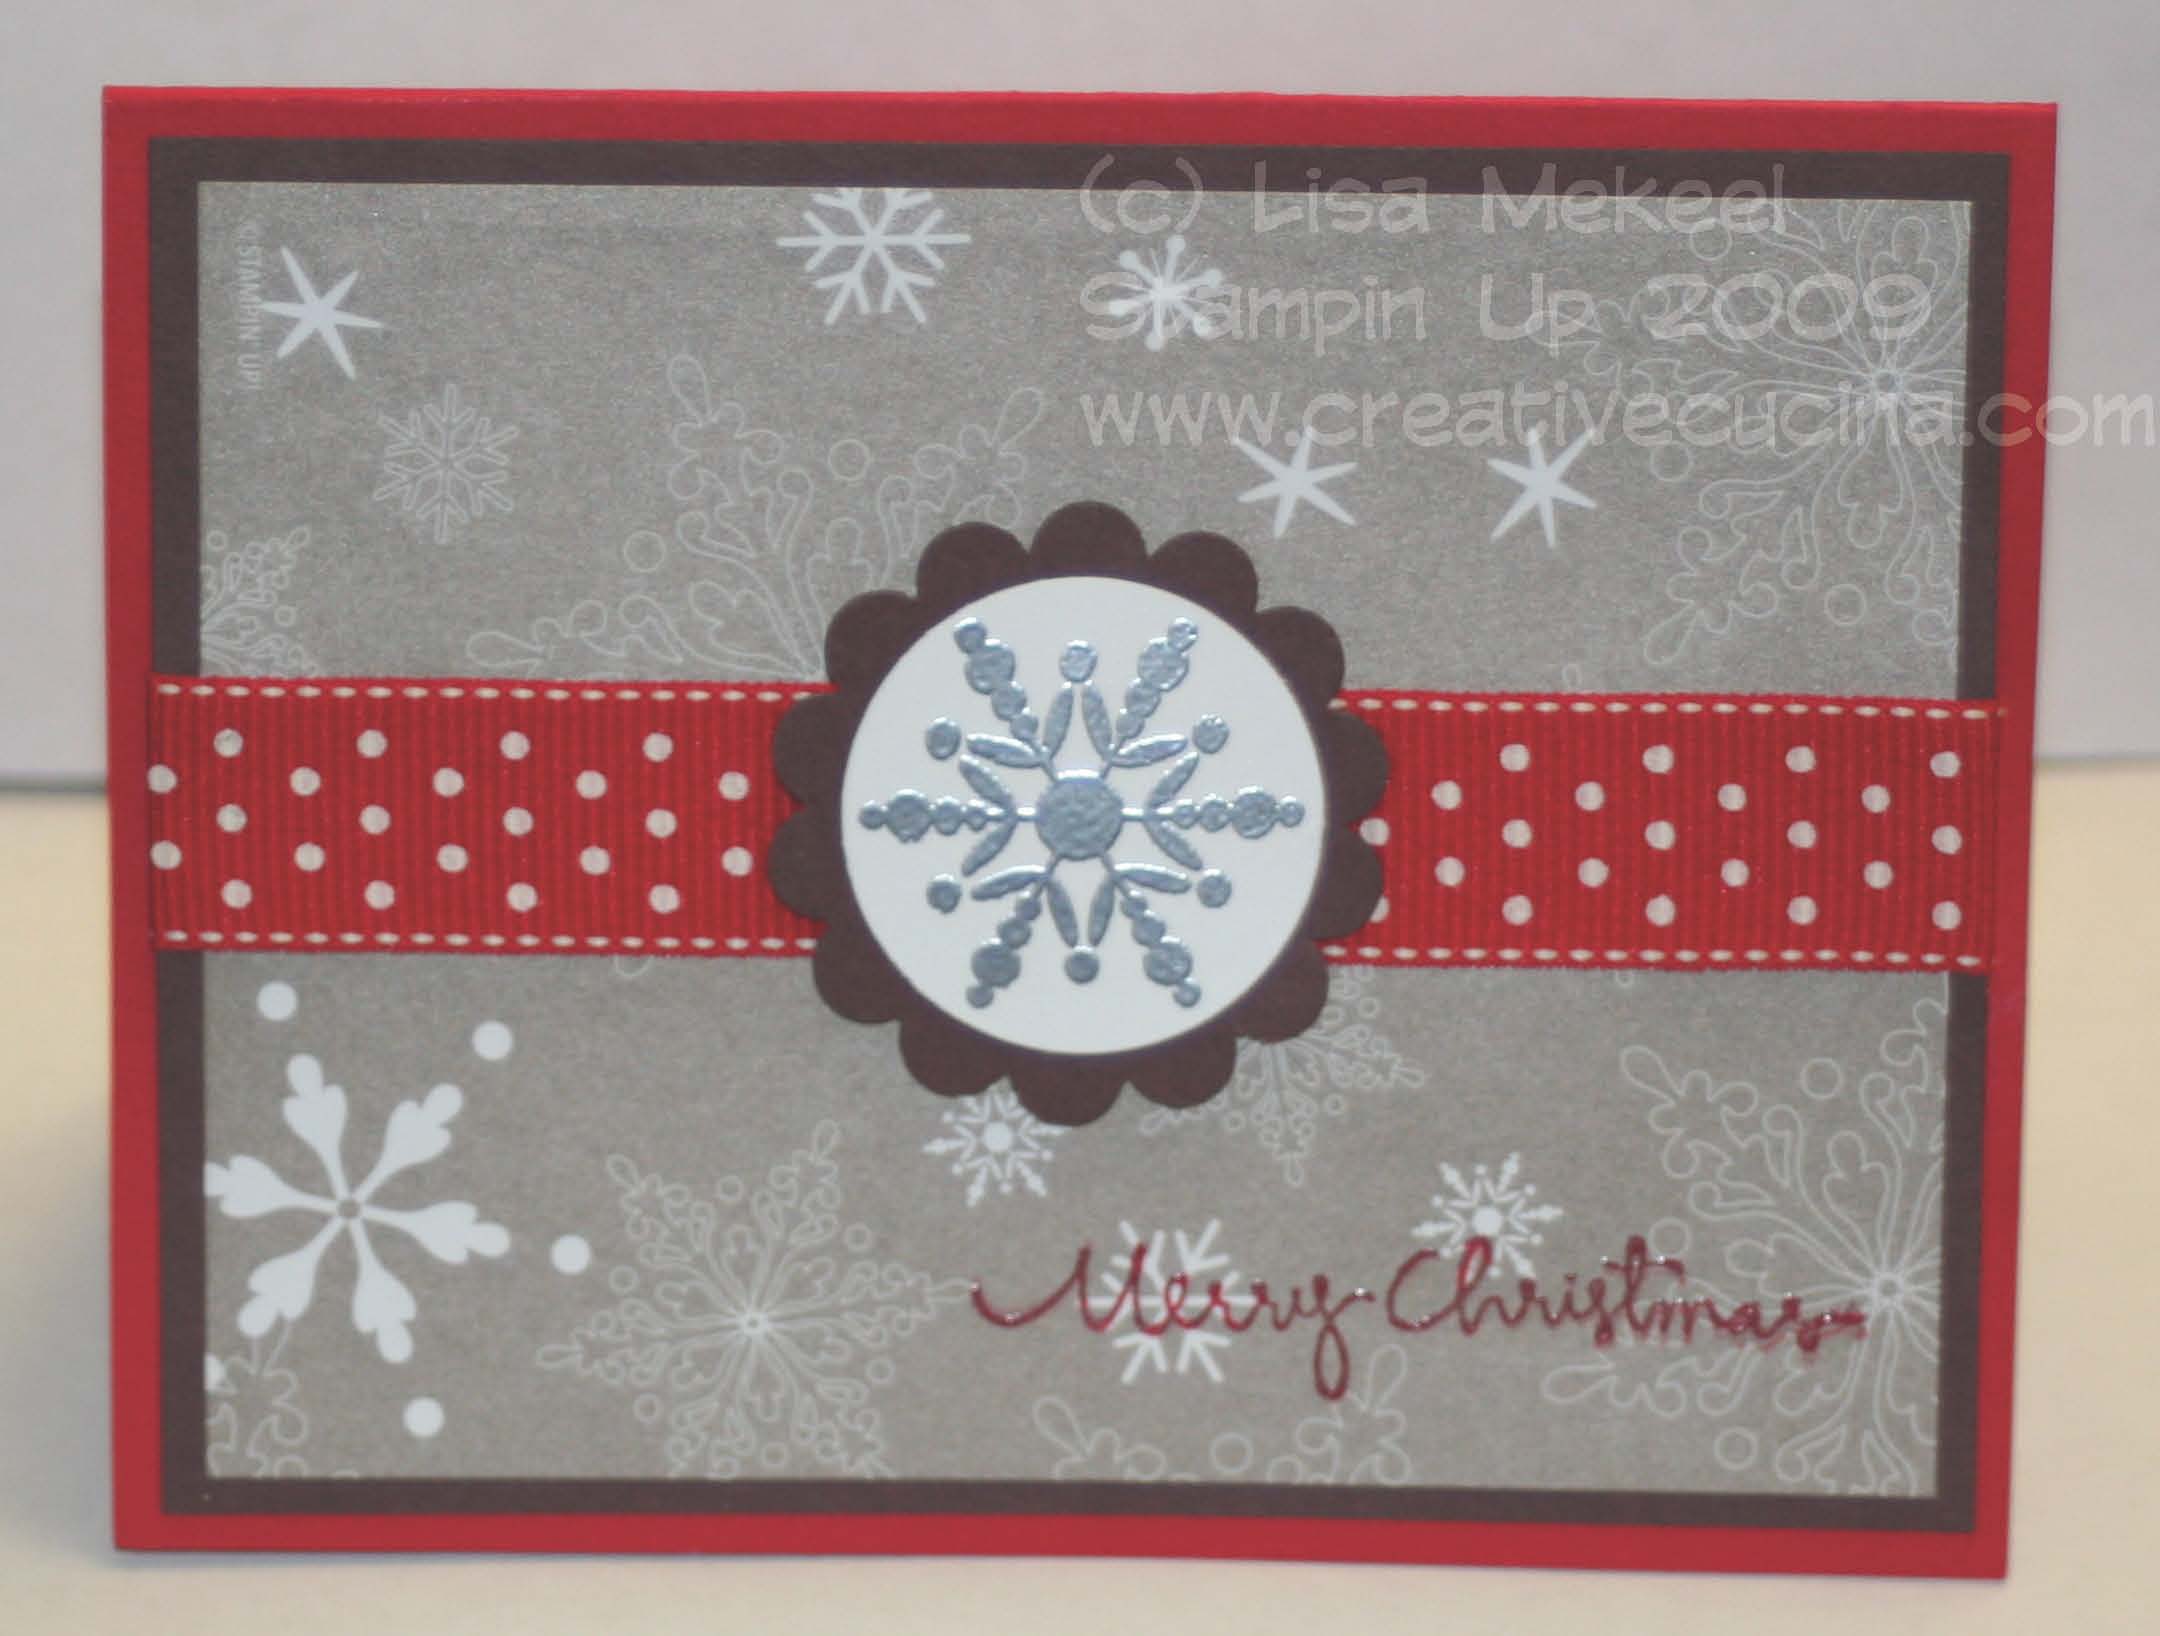
Card base is real red, layered with Chocolate chip. The DSP is from Christmas Cocoa DSP and it’s awesome. All the paper in this package is either shimmery or embossed with felt, or just plain beautiful. You don’t have to do much when you have great DSP!

Across the front I added a piece of Real Red Polka Dot Grosgrain Ribbon and stamped a snowflake from Berry Christmas in Versamark and heat embossed it using Silver Embossing Powder. I then used the 1 3/8″ Circle Punch to punch out the snowflake and layered it on a Scallop Circle Punch out of Chocolate chip card stock. I adhered all that to the base using dimensionals.

Finally, the sentiment is from Christmas Greetings and I originally stamped it in red directly on the DSP but it didn’t show up well because the paper is slightly shimmery. So, I used the stamp-a-majig to line up my Do Over stamp, this time in Real Red Craft ink and heat embossed with Clear E.P. to make it stand out more.

Why didn’t I order the Ornament Punch again???

I could kick myself for taking the Ornament Punch off my last order. I knew I was going to see awesome projects with it and love it but I still decided to take it off the list for reasons unknown to me now. So, I cut these out myself by hand like a crazy person. I’m ordering it as soon as I can!

Card base is Chocolate chip layered with Real Red that I used the Scallop Edge Punch along the bottom, with a piece of Bashful Blue card stock on top. I stamped the snowflake stamp from Delightful Decorations all over the blue in Bashful Blue ink.

I stamped the polka dotted ornaments, also from Delightful Decorations in Riding Hood Red ink on Whisper White (my Real Red ink is shot–goopy and weird–I need to order another one of those asap too). I cut out the ornaments and tied a piece of Silver Elastic Cord to the tops. Then, I stamped the snowflake stamp from the set in Chocolate Chip ink onto whisper white and cut them out using the 3/4″ Circle Punch, attaching them to the front of the ornaments with dimensionals.

The right and left ornaments are adhered to the base using dimensionals, with the elastic cord taped on the back of the Bashful Blue layer. As for the middle one, I punched out a circle using 7/8″ Circle Punch and added tiny pieces of dimensionals to the sides of the ornament to adhere it to the base. The photo was also punched out using the 7/8″ Circle Punch and adhered with a dimensional. But you could just as easily attach the photo to the front of the ornament and do away with punching circles. Or your could recess the picture, which is what I think I wanted to do at first but ended up putting a dimensional on the back of the picture by accident so I went with it.

Finally, I tied a knot using a short piece of Real Red Polka Dot Grosgrain Ribbon and adhered it to the top of the card using a glue dot.

On an unrelated note: this picture of my daughter was taken last year–I can’t believe how big she has gotten! I almost cried!! She’s not a baby anymore!

Bad Behavior has blocked 978 access attempts in the last 7 days.

css.php