Archives for April 17, 2009

Invitation #2

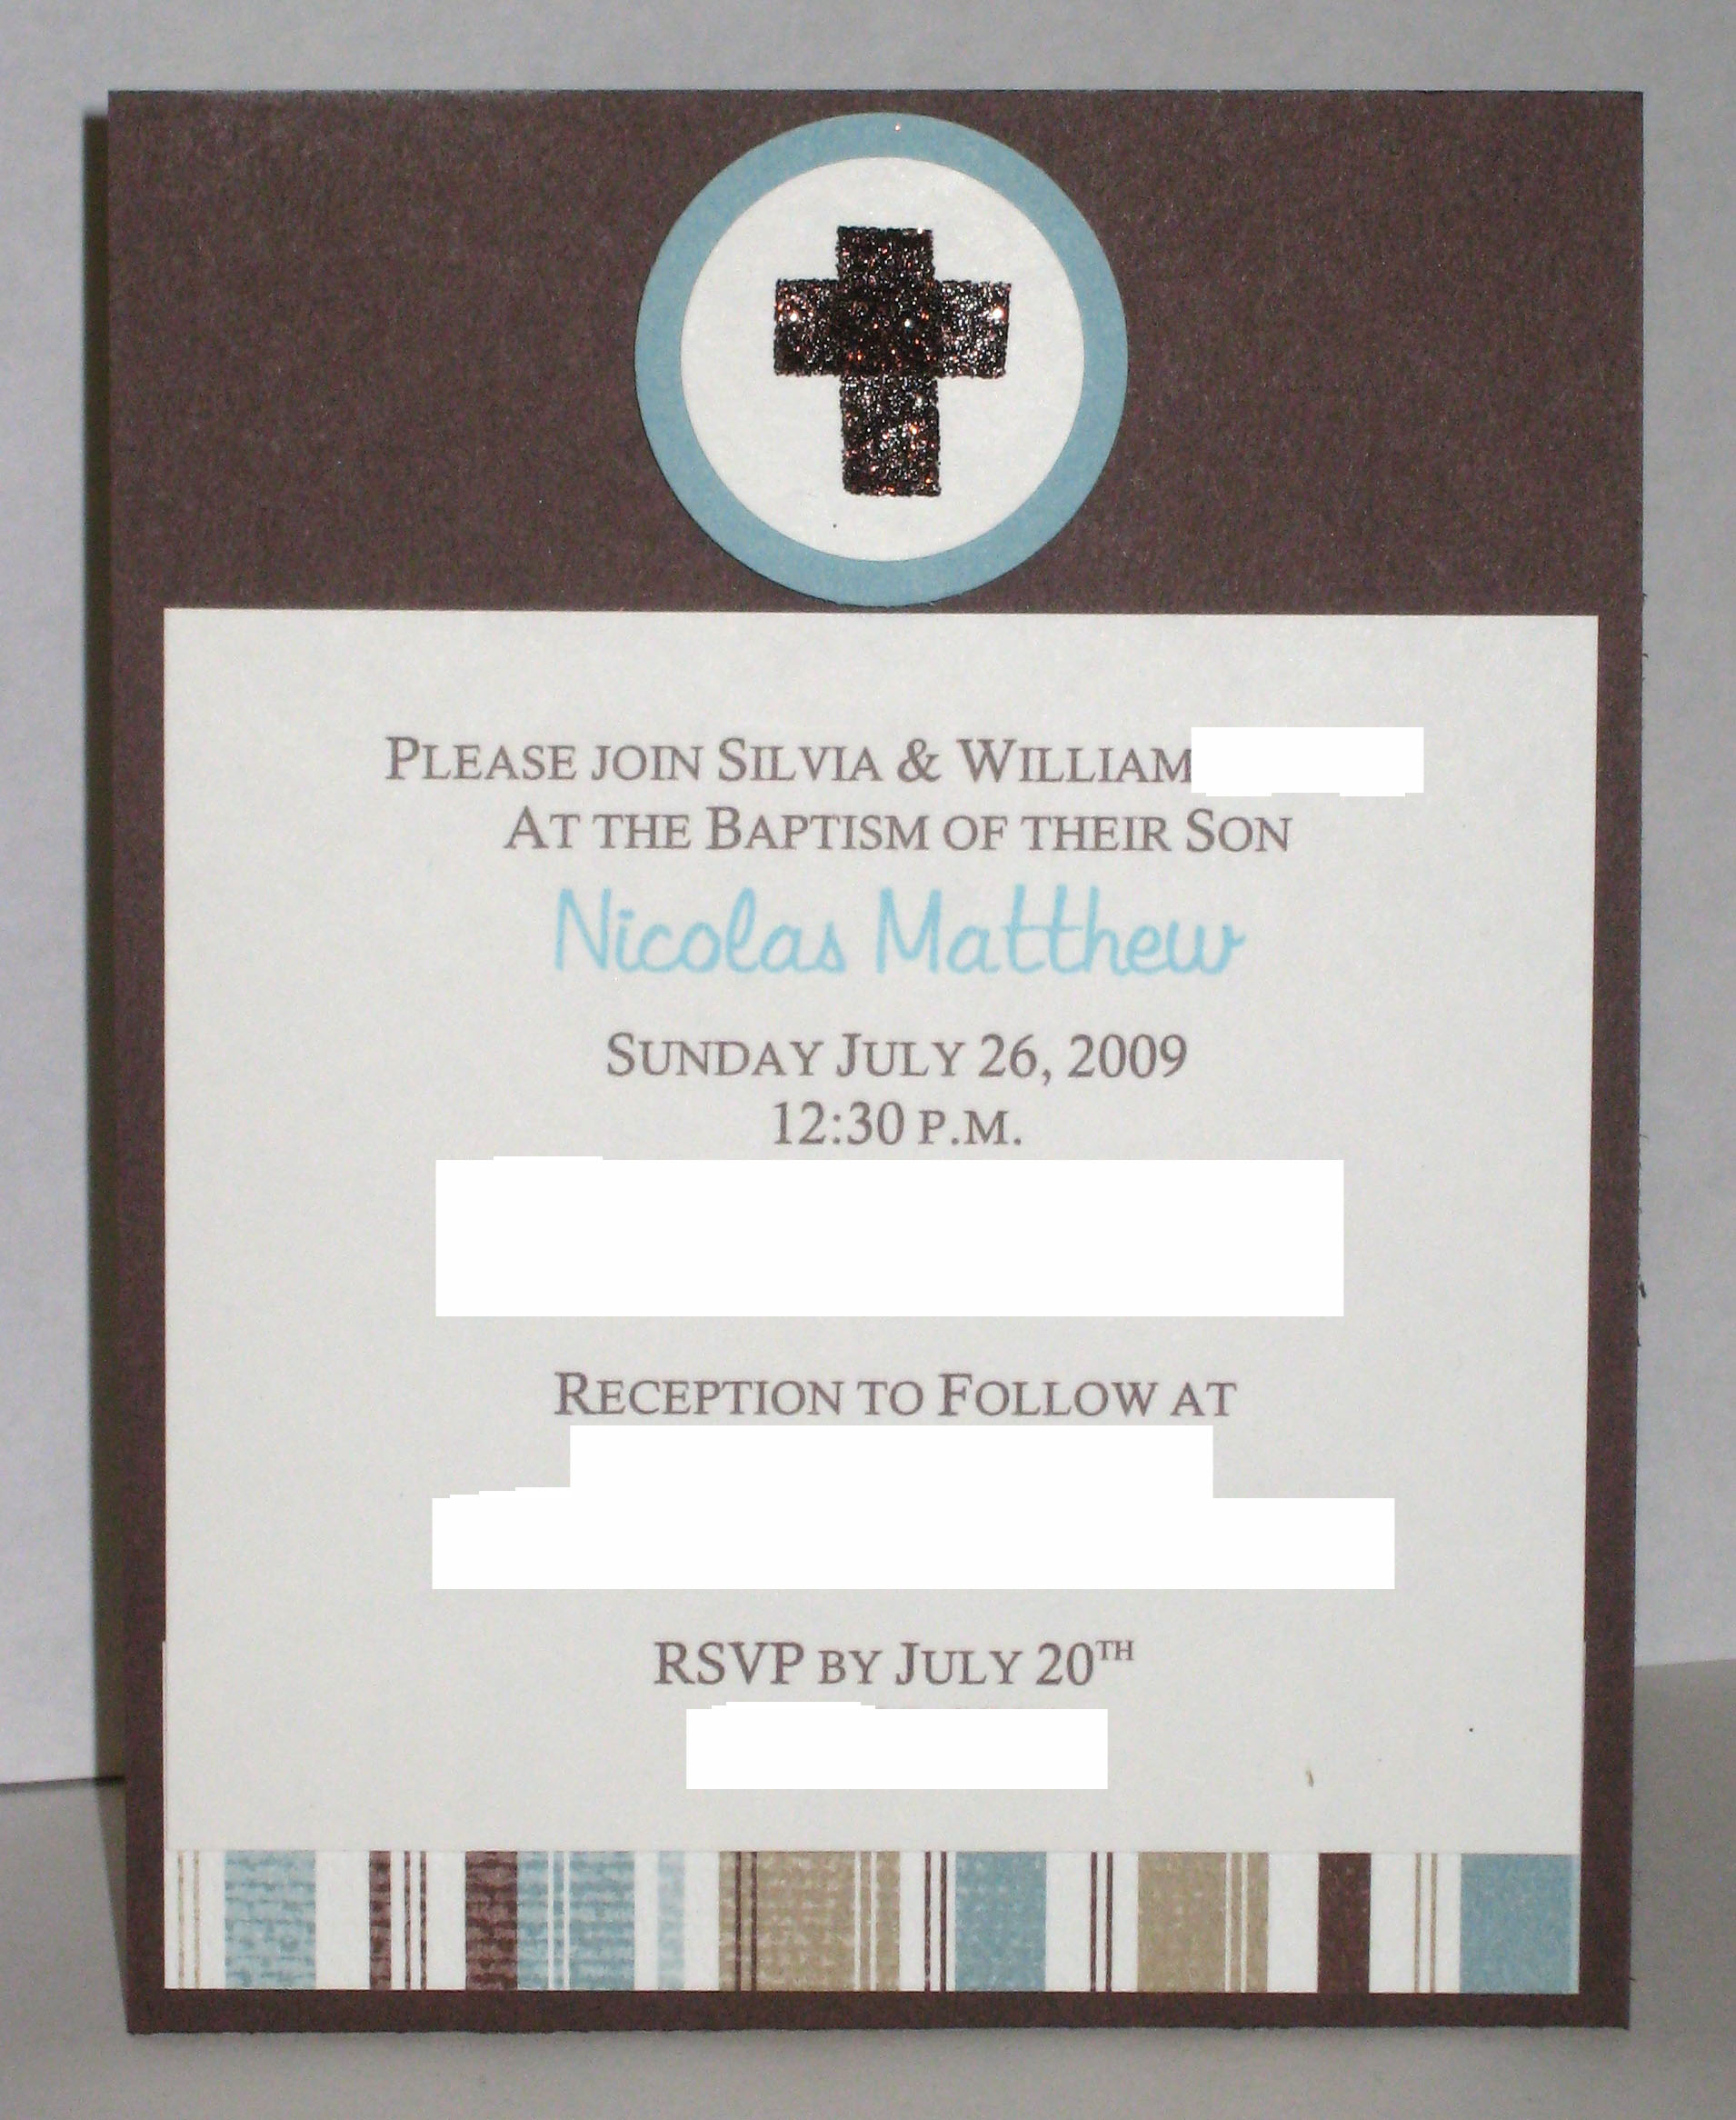
OK, this one I didn’t think I’d like when I was making it, but honestly, it has become my favorite! Originally this was designed as a photo card for a birth announcement, but I changed it to fit my occasion.

Necessity really is the mother of invention! I don’t have any cross or religious stamps, which forced me to come up with an alternative. That’s how I came up with the idea to use Sticky Tape and glitter to make a cross. I absolutely LOVE it! Here, I used Brown Supernova Cosmo Glitter to make the cross (see previous post for how to cut the Sticky Tape). Then, I punched out the cross with a 1 1/4″ punch and layered it onto a 1 3/8″ Baja Breeze Circle, adhered with dimensionals.

The base is a piece of Chocolate Chip card stock. The bottom striped piece is from Parisian Breeze Textured DSP, cut to 1″ x 4″. I tucked it behind the white invitation panel (which I printed on the computer) and adhered that to the base. Note: I used the RGB codes to make the name on the invitation Baja Breeze R:250; G:201; B:201 and used Libby font for the name. Check out Krystal Kuckenbaker’s RGB codes here. Thanks Krystal!
Invitation #1

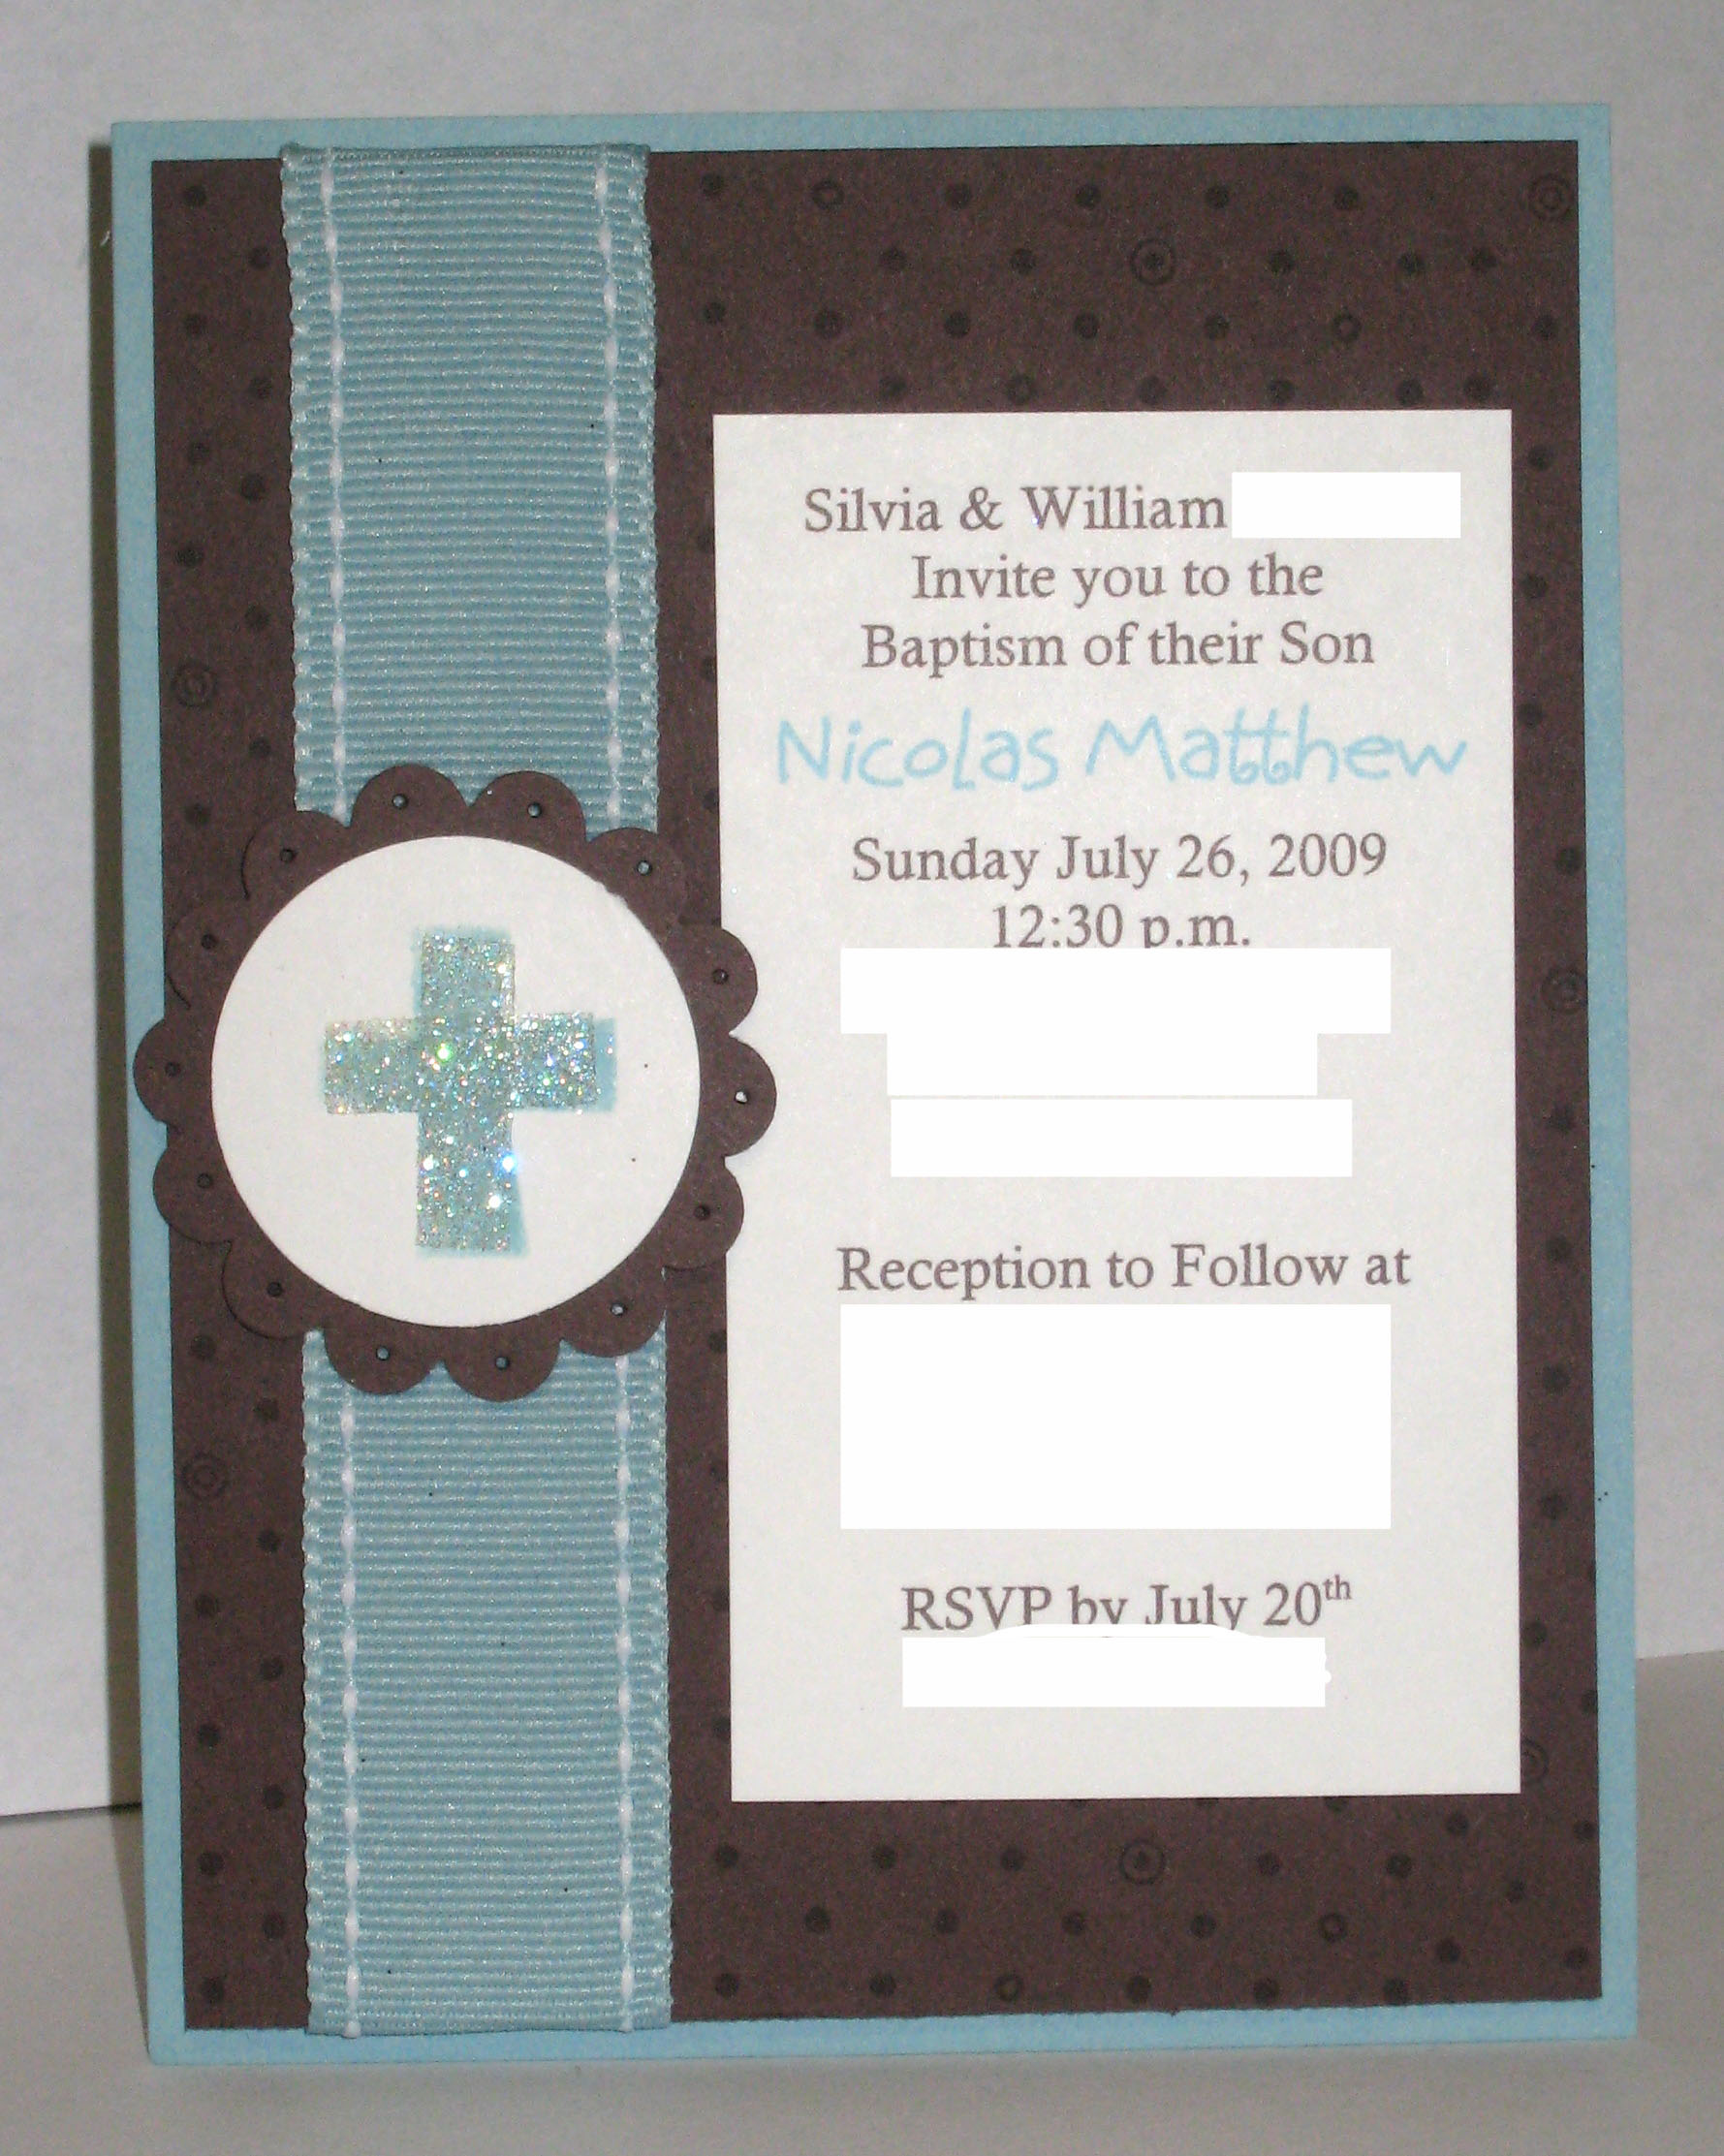
This invitation is just so cute and fun. It’s a little playful, maybe slightly informal, but I think my sister will like it very much. I started with a piece of 4 1/4″ x 5 1/2″ Baja Breeze card stock. Then, I took a piece of Chocolate Chip card stock and stamped it with the dots from Polka Dots & Paisley, a retired set, in Chocolate Chip ink. Next, I used the 1″ Stitched Baja Breeze ribbon and attached it to the Chocolate Chip layer with glue dots. As for the invitation details, I printed them out onto white card stock, trimmed it down, and adhered it to the card.

The cross was sponged with Baja Breeze ink onto Whisper White card stock. I made a mask by freehand drawing a cross onto a scrap of paper, then cutting out the inside of the cross with my paper snips. Taking the leftover negative piece, I placed it on top of my Whisper White and sponged the ink onto the cross “template”. Lift the mask and voila!

Next, I used my red sticky tape and cut two pieces, one just a little longer than the other. I put the longer piece on the vertical line of the cross first and removed the red film. Then, I put the shorter piece of tape on top of the longer one for the horizontal cross line. Remove the red film again and pour Dazzling Diamonds glitter on the cross. Punch out using 1 3/8″ circle punch. I adhered that circle to a Scallop Circle punched out of Chocolate Chip card stock, and paper pierced around the scallops. Finally, adhere that to the base using dimensionals.

I’m on Baby Overload!

Please bear with me, I am going to be involved in lots of baby projects for a while! Seeing as I just became an Aunt, and a few of my friends were/are pregnant, I’ve had babies on the brain for months now.

My sister asked me to make her baptism invitations. She gave me some links to commercial sites with ideas she liked and I used that as a starting point. Some are very close reproductions, and some I just took the idea and created my own version.

For the next few days, I’m going to post the invitation designs. Feel free to vote for the one you think she should choose!

Bad Behavior has blocked 387 access attempts in the last 7 days.

css.php