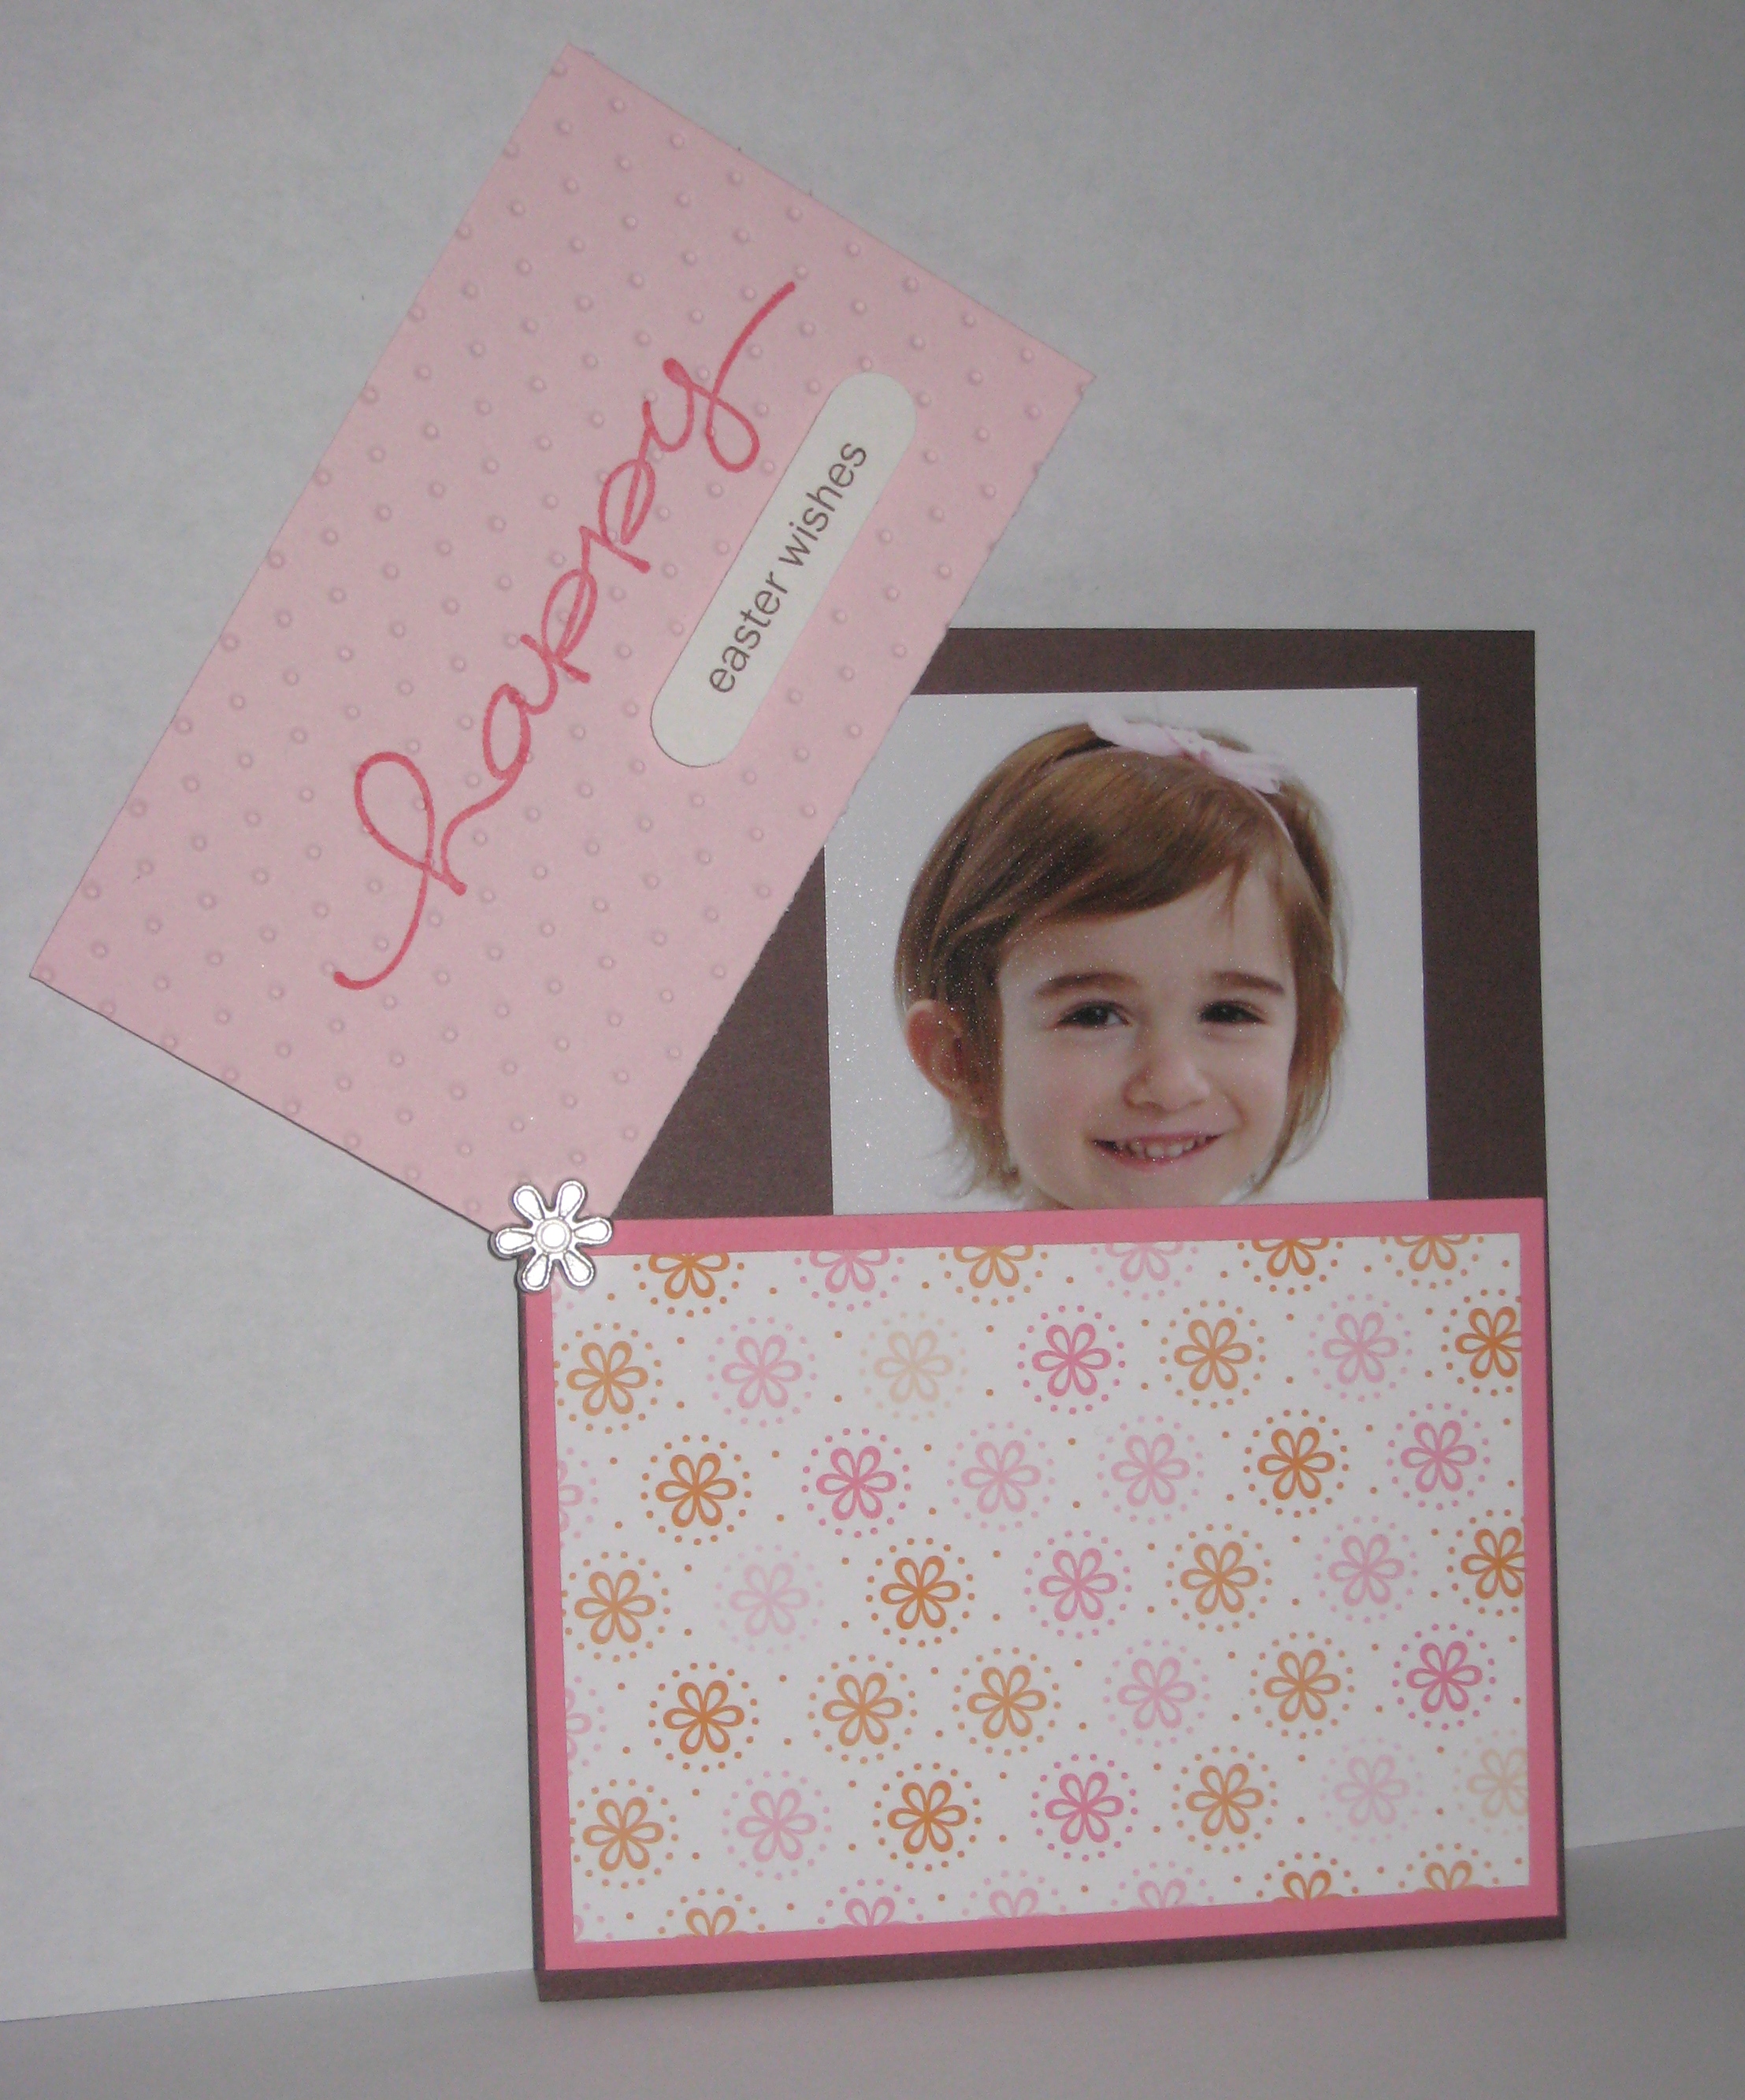
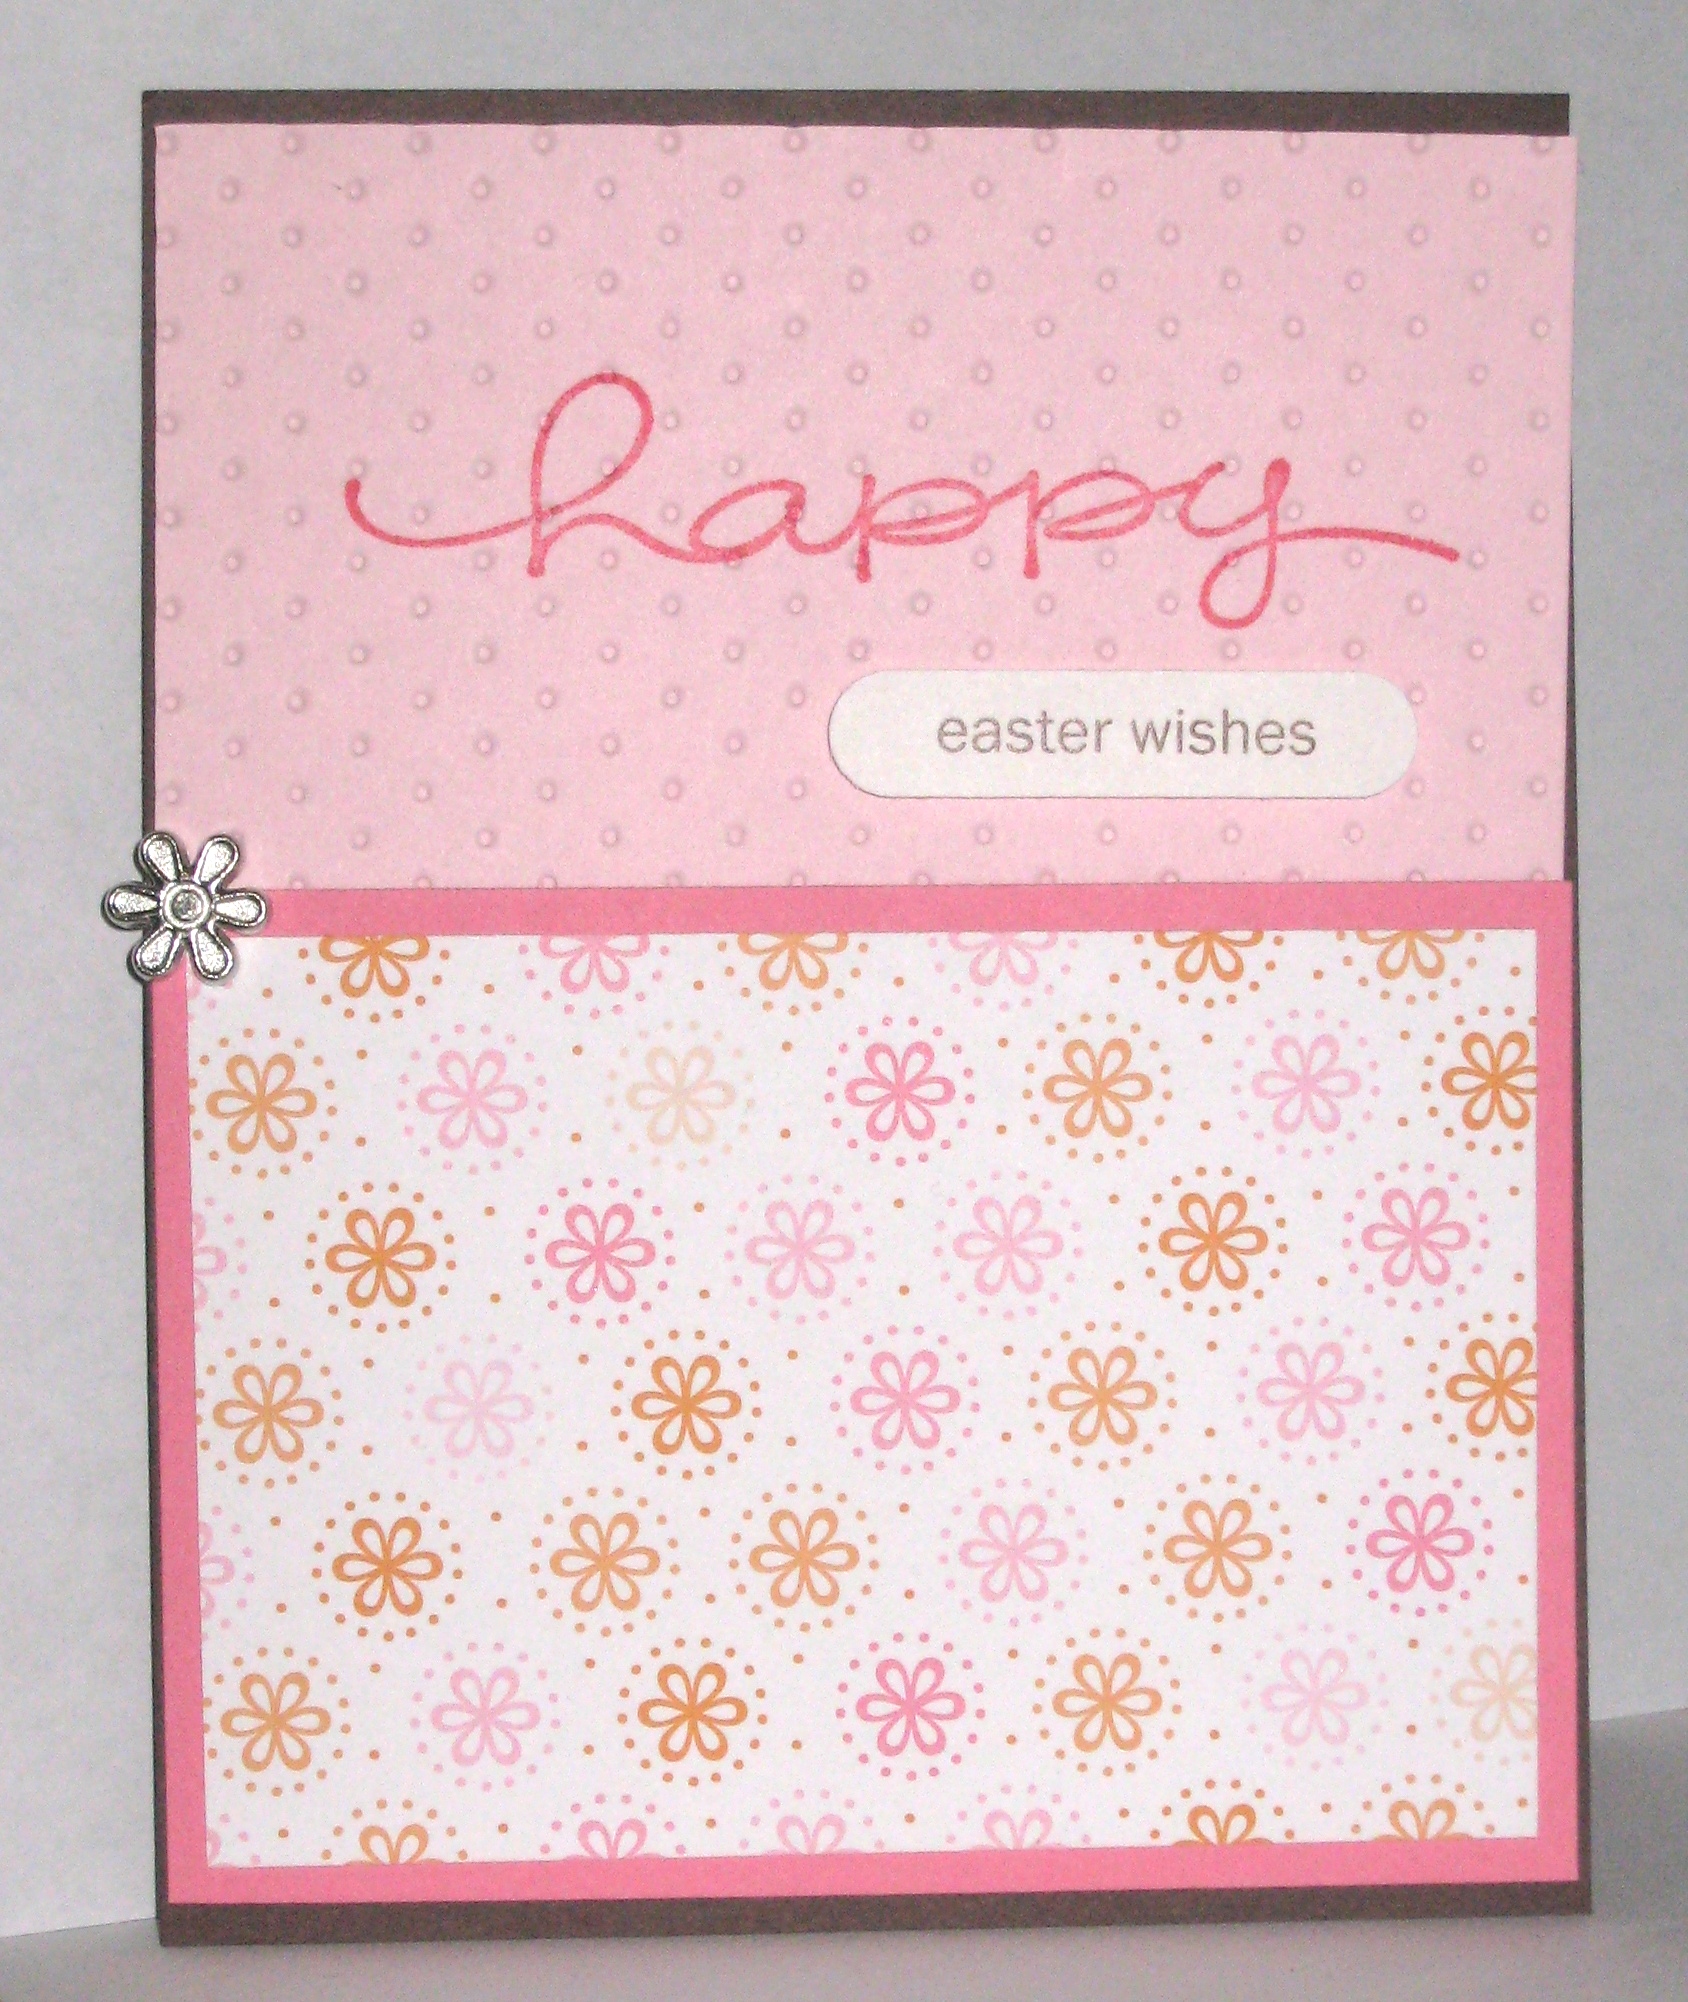
I saw a neat flip top card on page 28 of the March SU Stampin Success Magazine and wanted to try it. I don’t have any traditional Easter stamps so I just used springy colors and an easy technique for the sentiment.
Here is the card flipped open. I tucked in a wallet size photo of my daughter, Ella. It’s not adhered to the card, so the recipient can just pull it out and display it in a frame, on the fridge, or in their wallet!
These are the directions, as I made the card. Measurements: Card base is Textured Chocolate Chip 4 1/4″ x 5 1/2″. The Regal Rose piece is 4 1/4″ x 3″, layered with Sweet Always DSP cut to 4″ x 2 3/4″. Pink Pirouette top piece is 4 1/4″ x 2 3/4″.Â
Directions:
(1) To the card base, I adhered my Regal Rose/DSP bottom panel using Snail, but only applying it to the bottom and two sides, stopping about 1/2″ from the top on both sides. This is important if you’re going to use it as a pocket card like I did. Make sure the top edge is not adhered to the base, otherwise you will not be able to slide your top panel behind the bottom one either.
(2) I stamped the Pink Pirouette top panel with Happy Everything in Regal Rose ink. Then I ran that piece through the CB using the Swiss Dots embossing folder, spiky side down. (I have an issue with the dots reminding me of warts if they pop up–ew).
(3) The sentiment “easter wishes” was printed out on white cardstock using 16 point Century Gothic font in Brown. I punched out the sentiment using my Word Window Punch and adhered it to the top panel using dimensionals.
(4) Finally, I placed the top panel onto the base, tucking it slightly behind the bottom Regal Rose panel. I used my Crop-a-dile to punch a hole on the left side where the 2 panels overlapped and added a flower brad so that the card would hinge.
Here is the card closed. Thanks for looking!

