Sophisticated Birthday Card for Mom

112609 022 copy

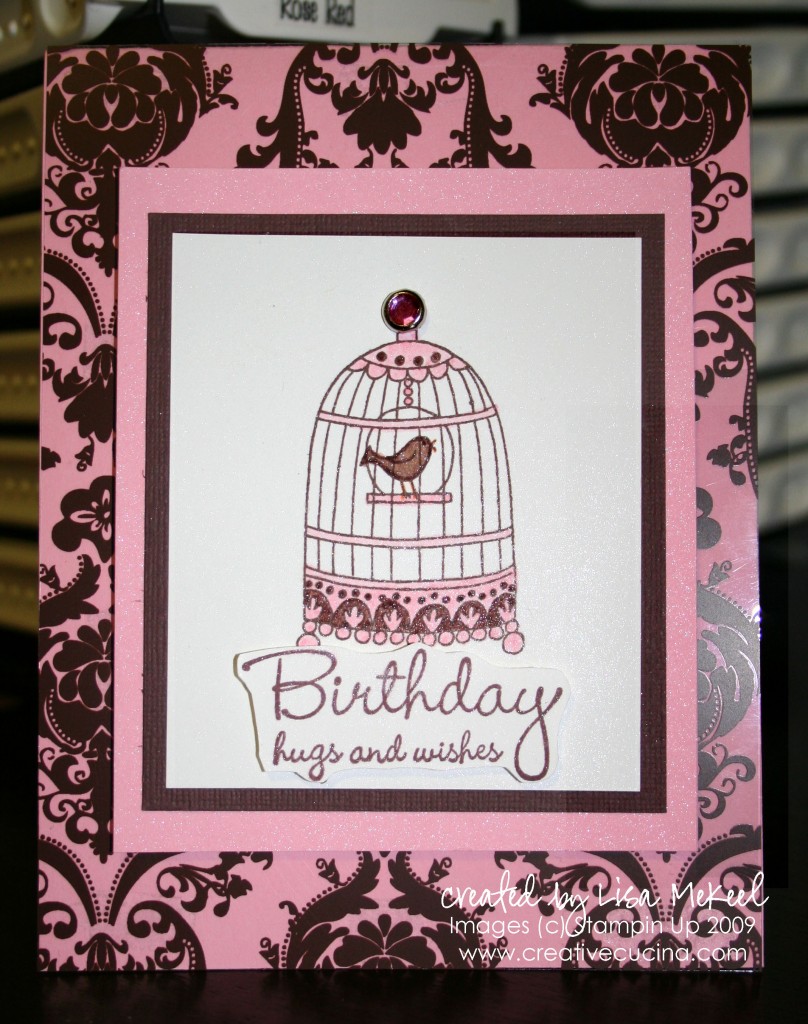
I made this birthday card for my mom using the Chic Boutique stamp set. When I gave it to her, she asked why I chose the bird cage image. I told her I don’t know why, I just did. It turns out she just bought a decorative bird cage that looks just like this one. I guess I know my mom’s taste!

The card base is pretty in pink, layered with a dark brown patterned acetate I got at a craft store. I stamped the bird cage on whisper white paper in chocolate chip ink, then colored it in using SU Markers in chocolate chip and pretty in pink. After stamping, I sprayed some Glimmer Mist I made using 70% Rubbing Alcohol and Frost Shimmer Paint. It doesn’t show up well in the picture but it makes the whisper white look just like SU’s Shimmery White Card stock.

I also sprayed the Pretty in Pink card stock and layered the white, chocolate chip textured, and pretty in pink card stock. Using the cropadile, I punched a hole at the top of the bird cage and added a Circle Rhinestone Brad in pink. Those layers are then adhered to the base using dimensionals.

The sentiment is from Warm Wishes, stamped in chocolate chip ink on whisper white (that I sprayed with Glimmer Mist) and trimmed out with my paper snips. That is also popped up on dimensionals.
Midnight Sparkle–Navy Blue Christmas Cards

IMG_0892 copy

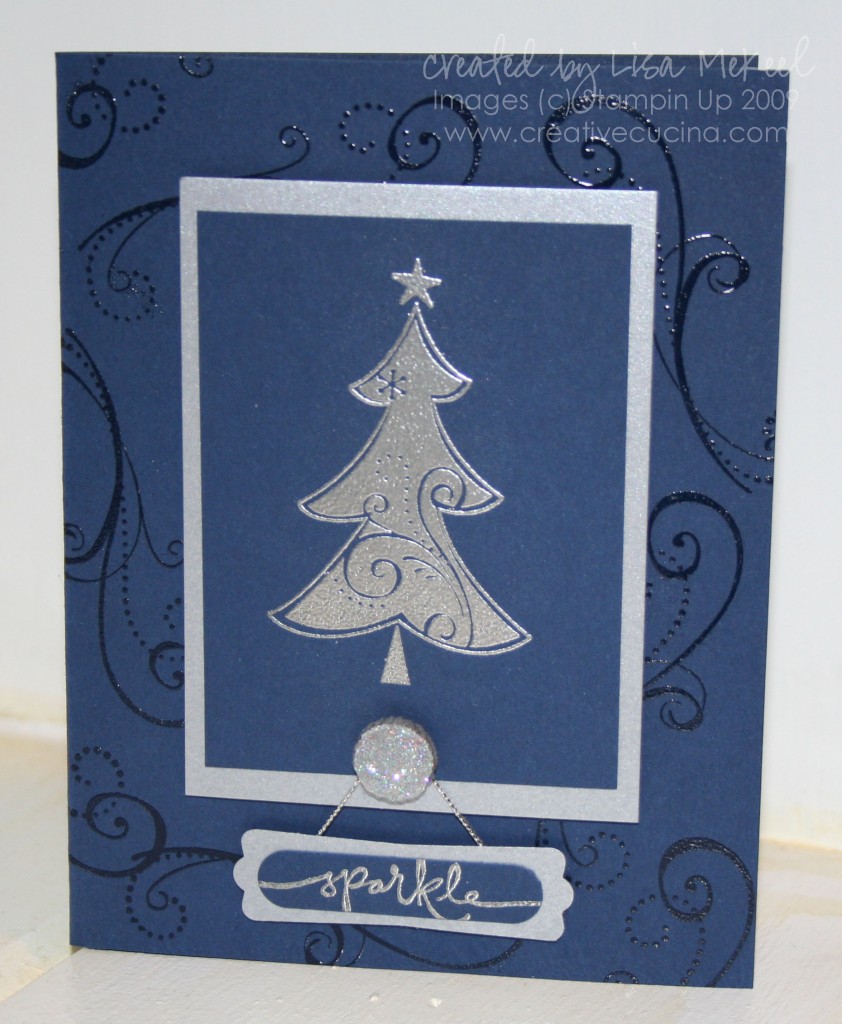
The first card I made uses Night of Navy card stock as the base. I stamped it with the swirl from Season of Joy in Versamark and heat embossed it with clear embossing powder.

The main image is the christmas tree from Season of Joy, again stamped in Versamark, heat embossed with Silver embossing powder on Night of Navy card stock. I layered that onto a piece of Silver card stock. Next, I punched a hole at the bottom of that layer with the crop a dile and added a glittered corduroy brad. I just put a large glue dot over the top of the Basic Gray Corduroy Brad and dipped it in Dazzling Diamonds glitter. It’s that easy!

After attaching the brad and adhering the layer to the base with dimensionals, I stamped “sparkle” from Warm Words in Versamark on Night of Navy card stock and heat embossed it using silver embossing powder. Then, I punched it out with the Word Window Punch and layered it with a silver backing made with the Modern Label Punch.

For a little added touch, I took Silver Cord and looped it above the brad, attaching the ends to the back of the Modern Label with glue dots. Finally, I added some dimensionals to adhere it to the card base.

IMG_0896 copy

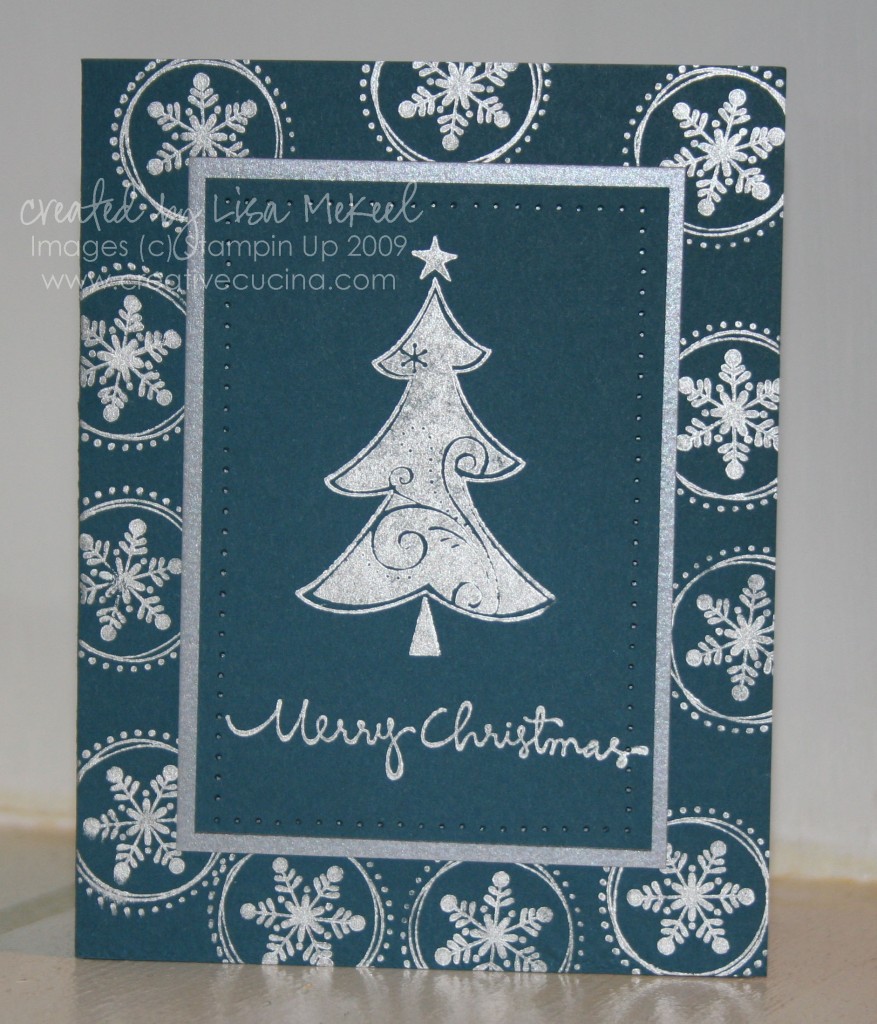
This next card has a lot of sparkle! The card base here is Not Quite Navy, stamped with the snowflake from Season of Joy in Platinum Shimmer Paint. I also sponged the Shimmer Paint onto the christmas tree image from the same stamp set, stamping it on NQ Navy and paper piercing around the edges. That was layered with Silver card stock.

The sentiment is from Christmas Greetings, stamped in Platinum Shimmer Paint as well. Since the shimmer paint dries so quickly, this card took hardly any time to make and assemble. It’s like getting the look of silver embossing in one easy step!

It’s All About the Designer Series Paper

I made three cards tonight, all using designer series paper and the Ornament Punch. The similarities end there, however! I was going to space them out and post one per day but I can’t wait to show them to you!

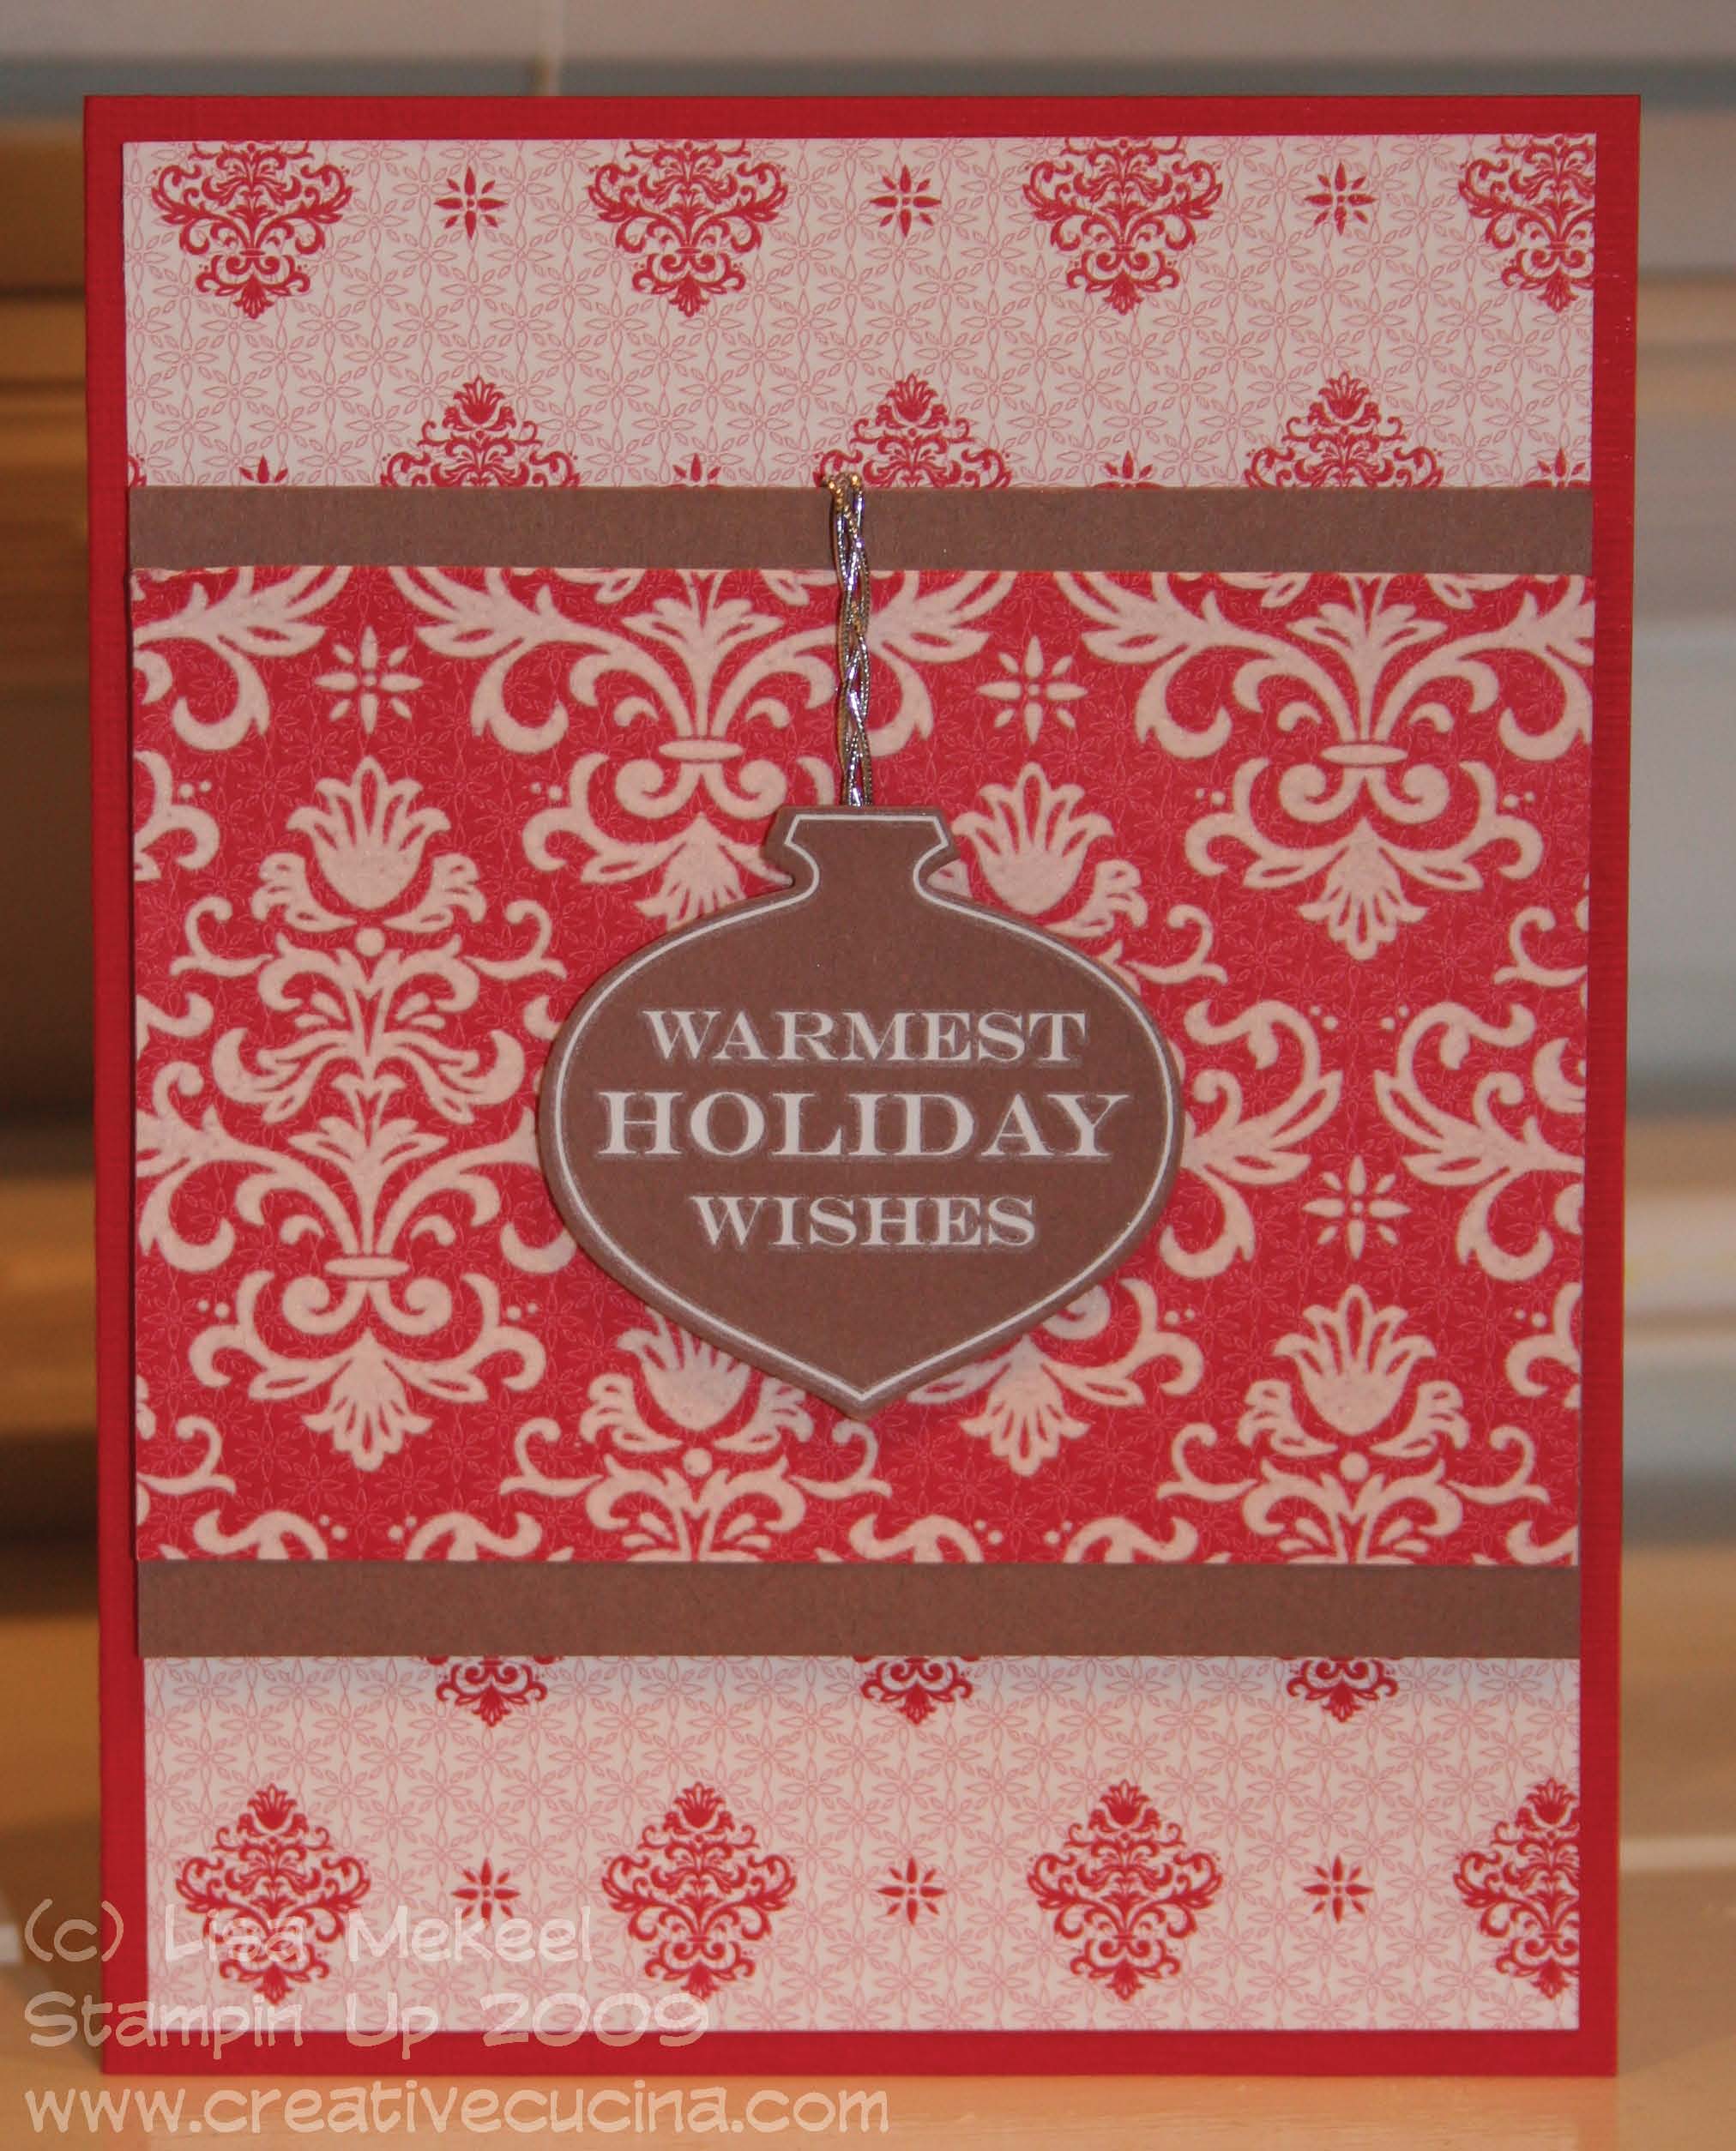
First up is the most traditional card of the three. It uses coordinating Christmas Cocoa DSP with various stencil-like flourish patterns. The base is real red textured card stock, layered with the DSP in red and white flourishes. Next, I layered the flocked DSP (it has a raised felt image and it’s sooo beautiful) onto close to cocoa card stock so that it would pop off the background. In the center, I applied a Merry & Bright Rub On to close to cocoa card stock and punched it out using the Ornament Punch. Then, I braided three pieces of Silver Elastic Cord and adhered it to the back of the ornament, wrapping it up behind the close to cocoa panel. The ornament is then attached using dimensionals.

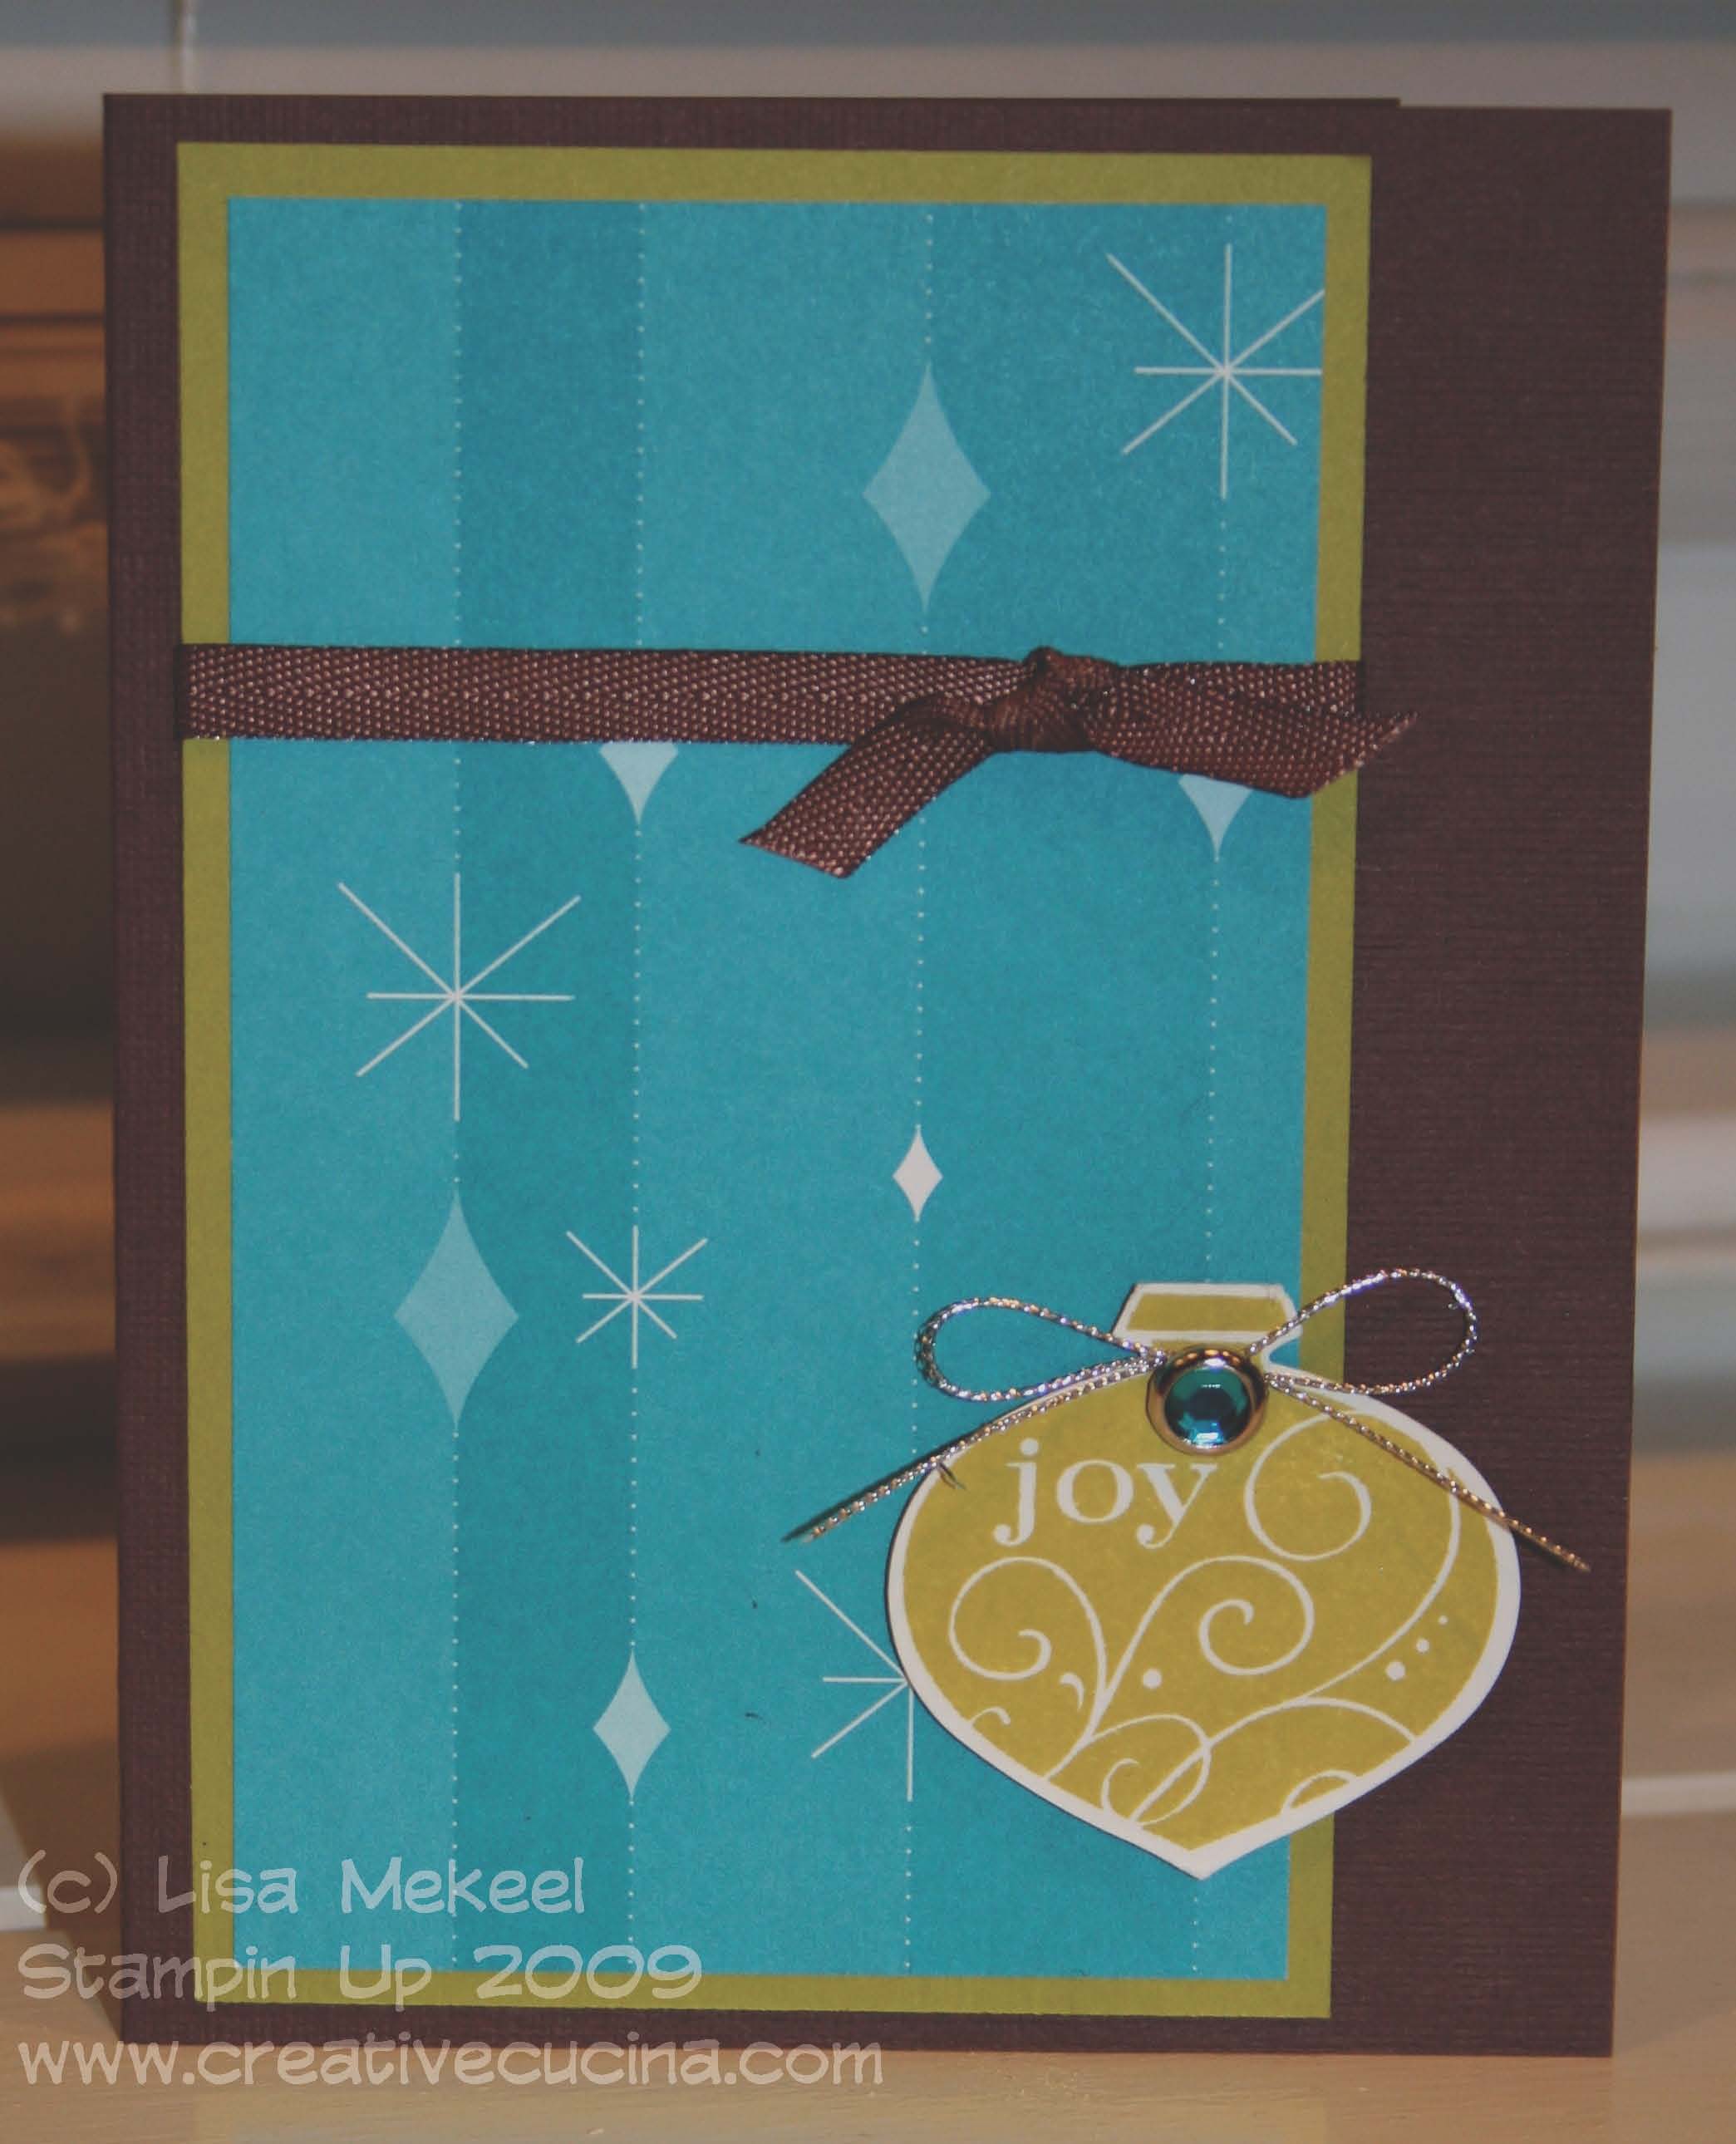
Next is a more retro style card. It uses the Holiday Lounge DSP and some pretty non traditional Christmas colors but it’s still festive. The card base is chocolate chip textured card stock layered with a wide strip of kiwi kiss and Holiday Lounge DSP in a taken with teal color. I then tied a piece of Chocolate Chip Twill Ribbon around the wide panel, and tied a knot to the right side. In the bottom right corner, I stamped the joy ornament from Delightful Decorations in kiwi kiss ink on whisper white card stock and punched it out using the handy dandy Ornament Punch. Then, I added a bright blue Ice Circle Rhinestone Brad to the ornament and tied some Silver Cord around the brad. The ornament is attached to the base using dimensionals.

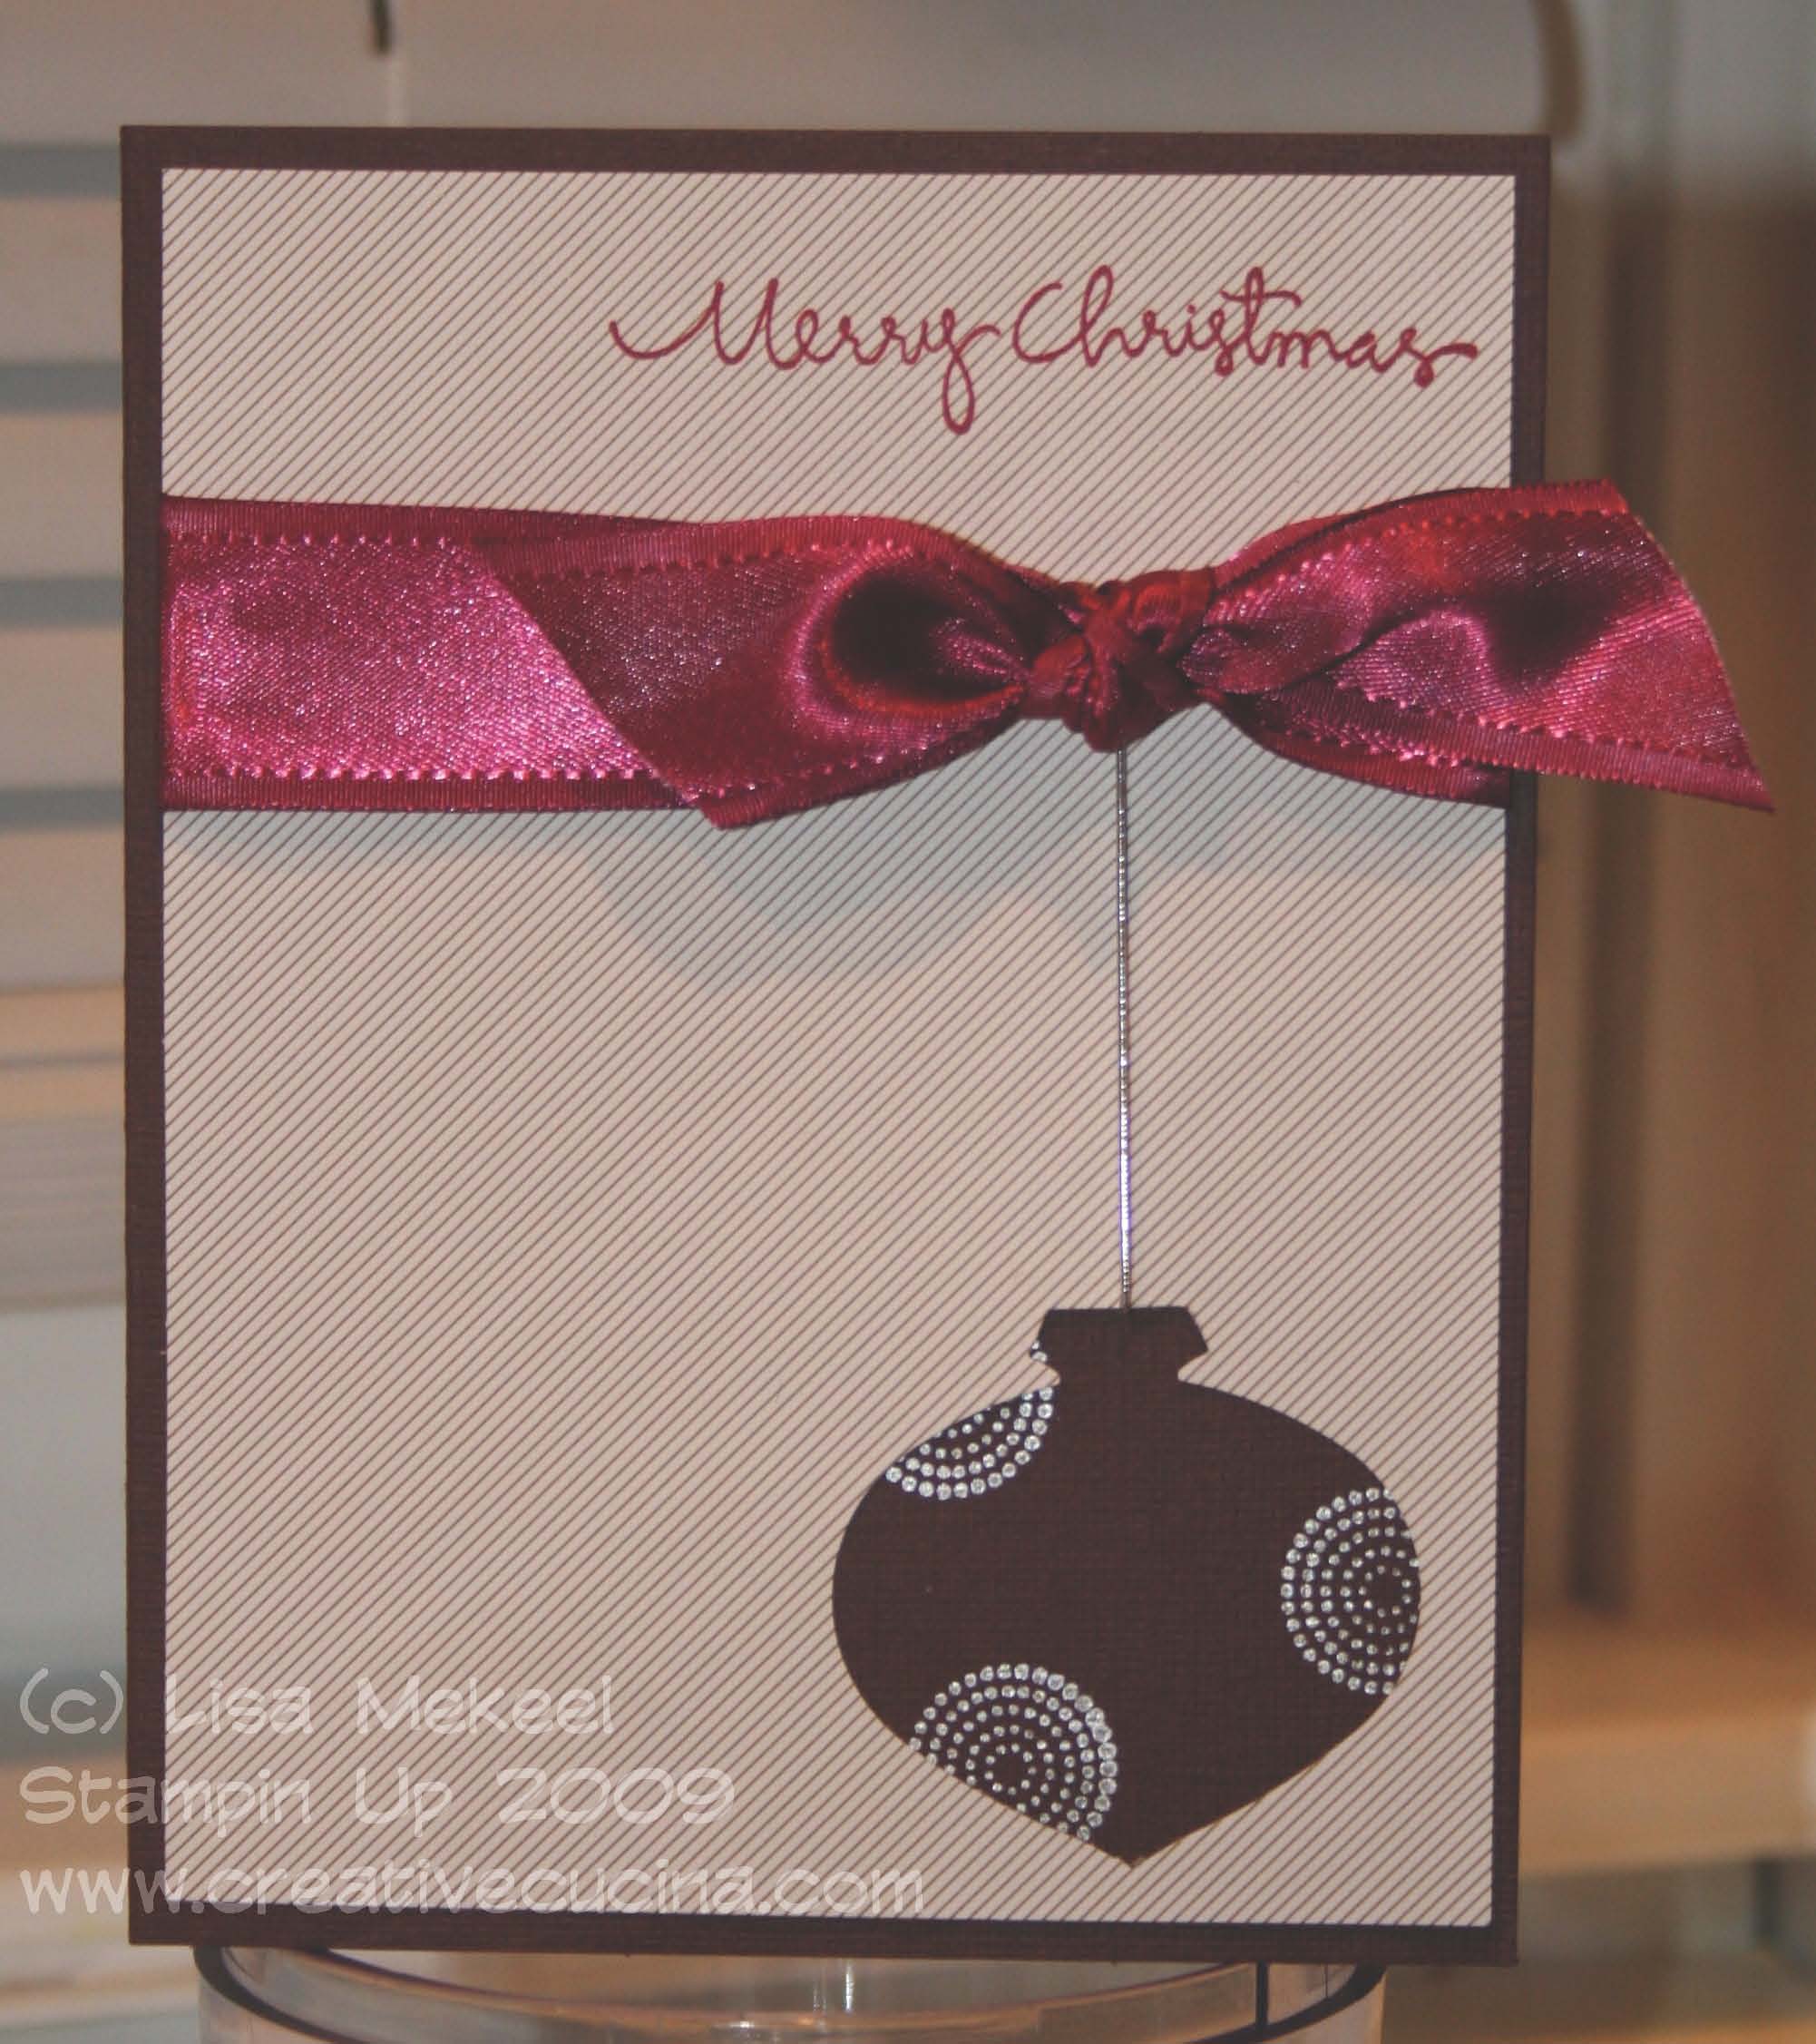
Finally, we have the modern, clean and simple Christmas card. Although it looks really simple, it does require a bit of work. First, the card base is chocolate chip textured card stock. The DSP is also from Christmas Cocoa and is cut to 4″ x 5 1/4″. Using the Ornament Punch, I punched out the ornament shape from the lower right corner. Next, I broke out my new Shimmer Paint in Platinum and sponged it onto the circle stamp from Delightful Decorations. I stamped the image onto chocolate chip textured card stock and then adhered it to the back of the DSP. Across the top of the card, I stamped the Christmas Greetings stamp in Purely Pomegranate ink. Underneath that, I tied a piece of Purely Pomegranate Satin Ribbon into a big knot. Lastly, I slipped a piece of Silver Elastic Cord under the DSP and behind the ribbon, using small glue dots.

Bad Behavior has blocked 314 access attempts in the last 7 days.

css.php