Holiday Card {Berry Christmas Bird}

112409 009 copy

It’s not even Thanksgiving yet and I’ve made more Christmas cards than I care to count! I’m so ready to move onto something new. In about a week, I can preorder new stuff from the Occasions Mini Catalog and I’m excited!

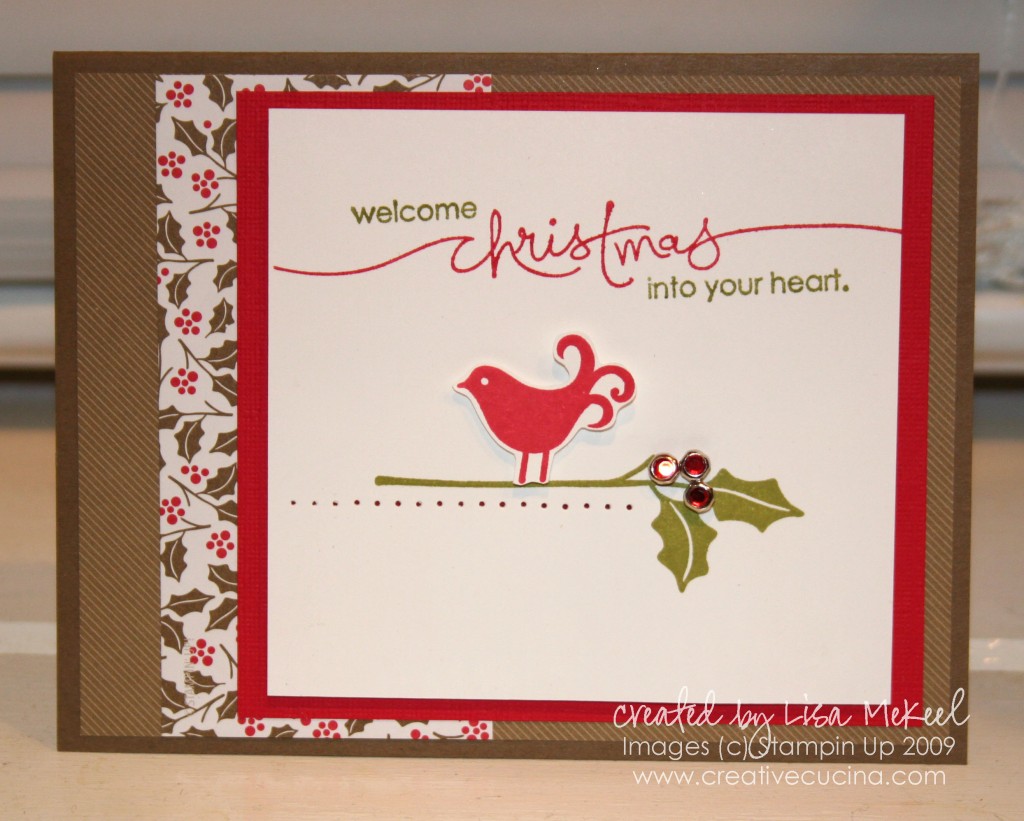
This card was made using Soft Suede as the base, layered with a soft suede striped DSP from Christmas Cocoa. I stamped the leaf from Berry Christmas in Old Olive ink, and added 3 Circle Rhinestone Brads for holly berries. The bird is also from Berry Christmas and I stamped it in Real Red ink, trimming it out with my scissors and adhering it to the base with a dimensional. Underneath the leaf, I used my Paper Piercer to make a row of dots.

As for the sentiment, from Heard from the Heart, I colored in the words with Old Olive marker and “Christmas” with Real Red marker. The Whisper White layer was then attached to Real Red textured card stock with dimensionals.
Slide Out Pocket Cards–Holiday and Baby Themes

slide_xmas

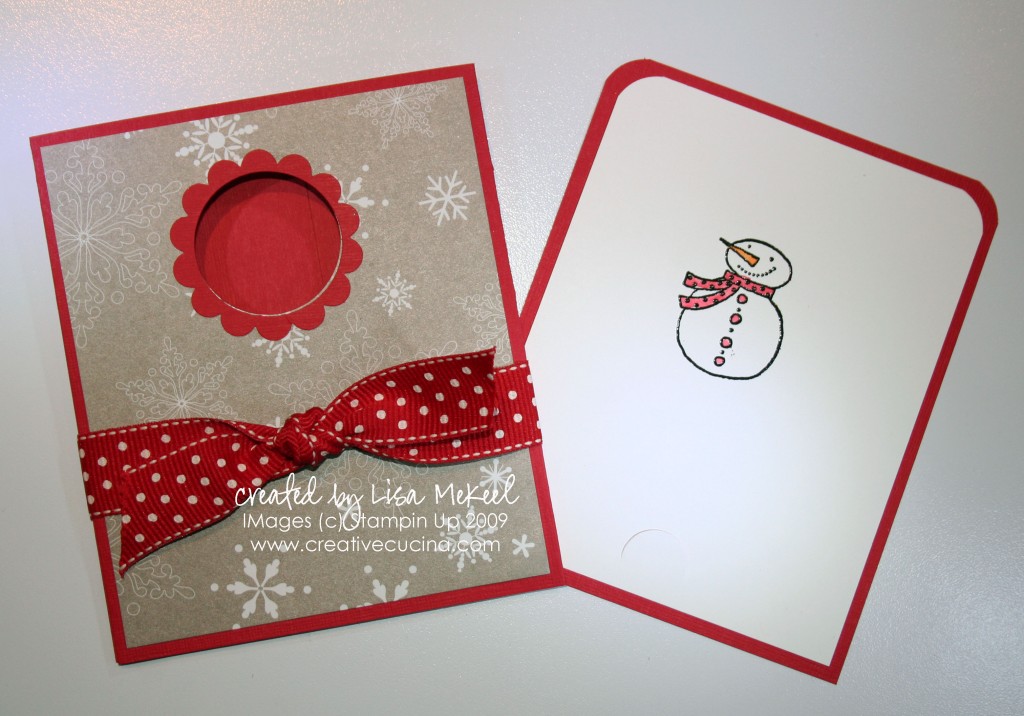
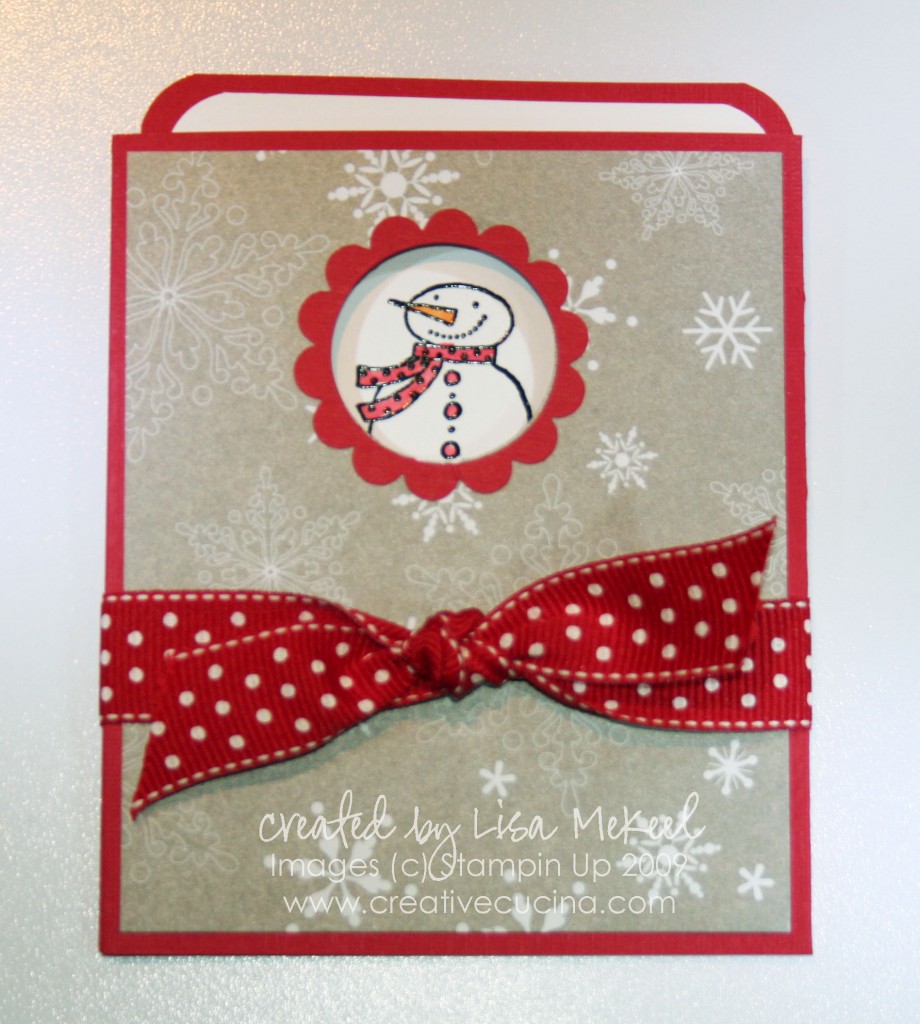
This is the card I made in my video tutorial (see previous post). Outside pocket was made using Real Red textured card stock, with Christmas Cocoa DSP on the front panel. Inside, the slide out portion was made using Real Red and Whisper White card stock, with the upper corners rounded by the Corner Rounder Punch.

Stamp is from Snow Buddies (a Level 2 Hostess set) that I embossed with black embossing powder, colored in with Aquapainter. The window on the front was made from 1 3/8″ Circle Punch and Scallop Circle Punch. The ribbon is Real Red Polka Dot Ribbon.

slide_xmas2

It’s hard to see in the photo, but I punched the insert with the Slit Punch to make it a gift card holder.

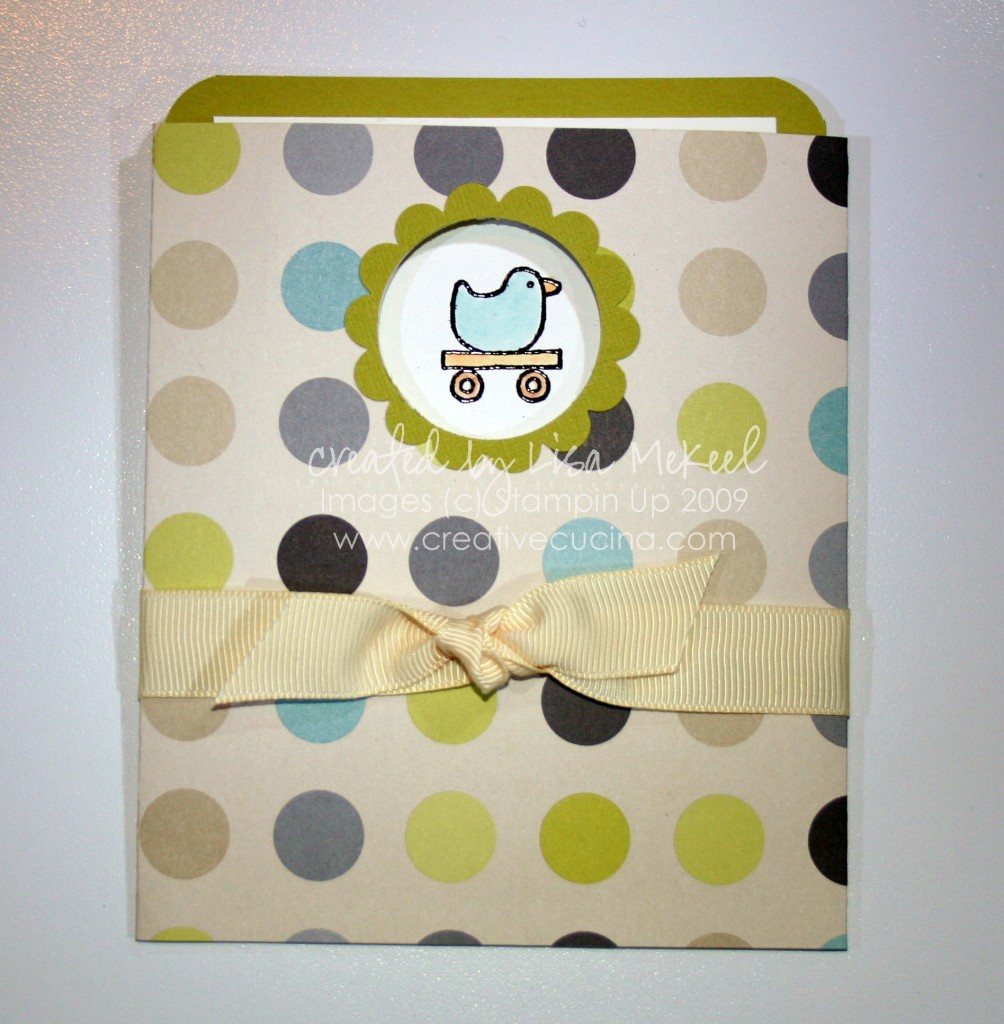
slide_baby1

This version uses Urban Oasis DSP (retired) as the outer jacket. The inside is Kiwi Kiss layered with Whisper White card stock. Again, I used the Corner Rounder Punch on the tops only. Stamp is from Goody Goody Gumdrops (Retired Hostess Set), embossed with Black embossing powder and colored in with Aquapainter. To finish it off, I tied some Very Vanilla 5/8″ Grosgrain Ribbon around the card.

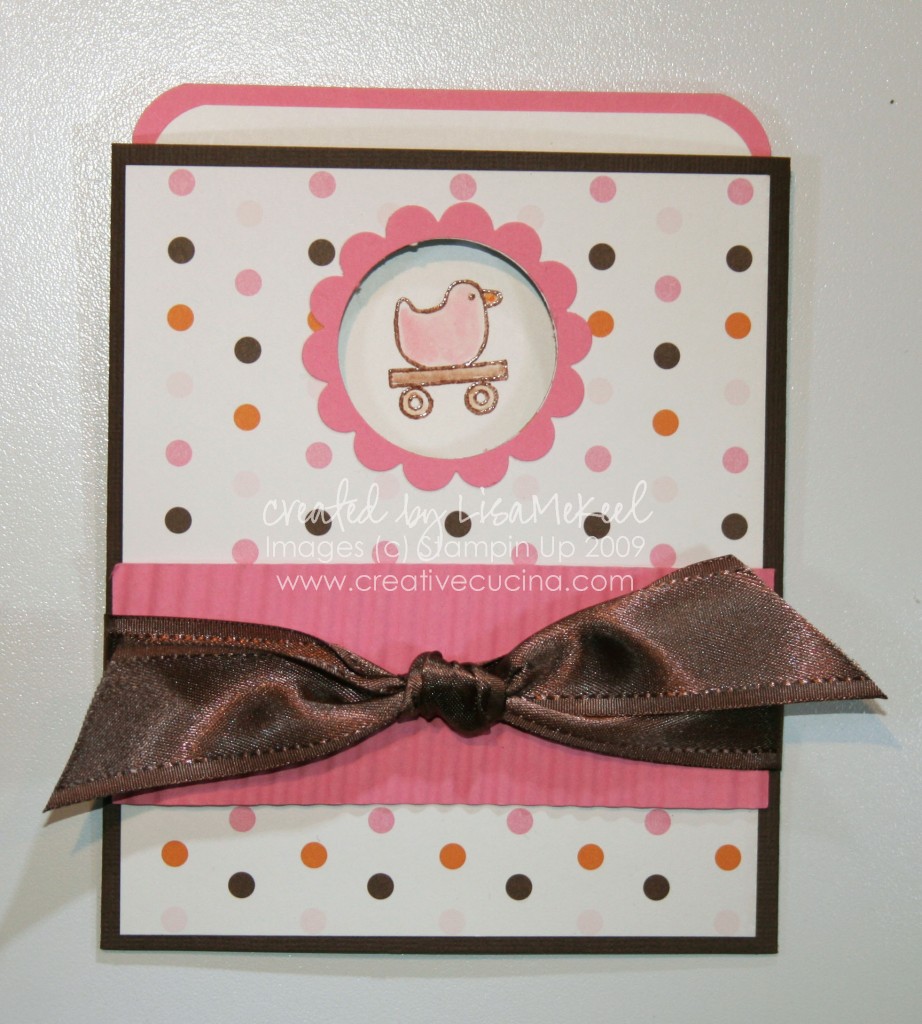
slide_baby2

Yet another version in a more girly color scheme. This would make a great baby shower card for a little girl, or simply change the stamp image to a cupcake and you have a fun birthday card! Card base is chocolate chip, layered with Sweet Always DSP in the polka dot pattern. I ran a strip of regal rose card stock through the crimper, attached it to the front with dimensionals and then tied some fabulous Chocolate Chip Satin Ribbon around the front.

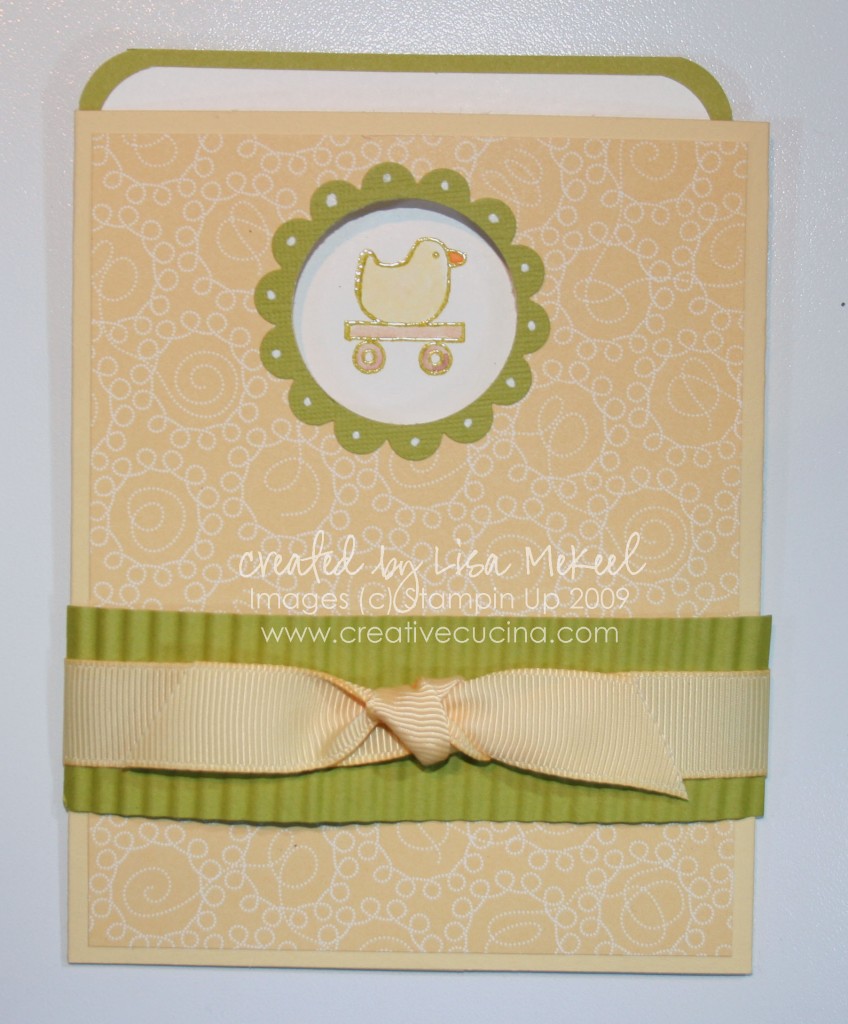
slide_baby3

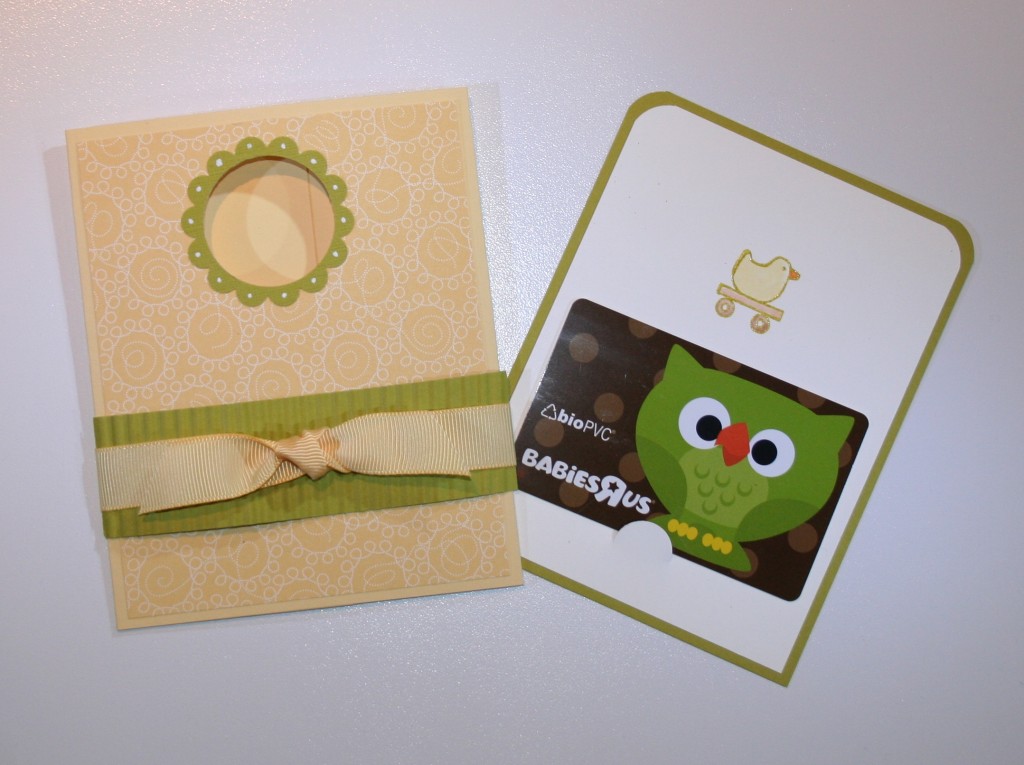
Finally, this is the version I’ll be giving to my friend for her baby shower. Inside, I made a slit using the Slit Punch to hold a gift card. The outside is Barely Banana card stock, layered with Delicate Dots DSP (from last SAB). The green is Kiwi Kiss and the duck is from Goody Goody Gumdrops.

IMG_0930

It’s All About the Designer Series Paper

I made three cards tonight, all using designer series paper and the Ornament Punch. The similarities end there, however! I was going to space them out and post one per day but I can’t wait to show them to you!

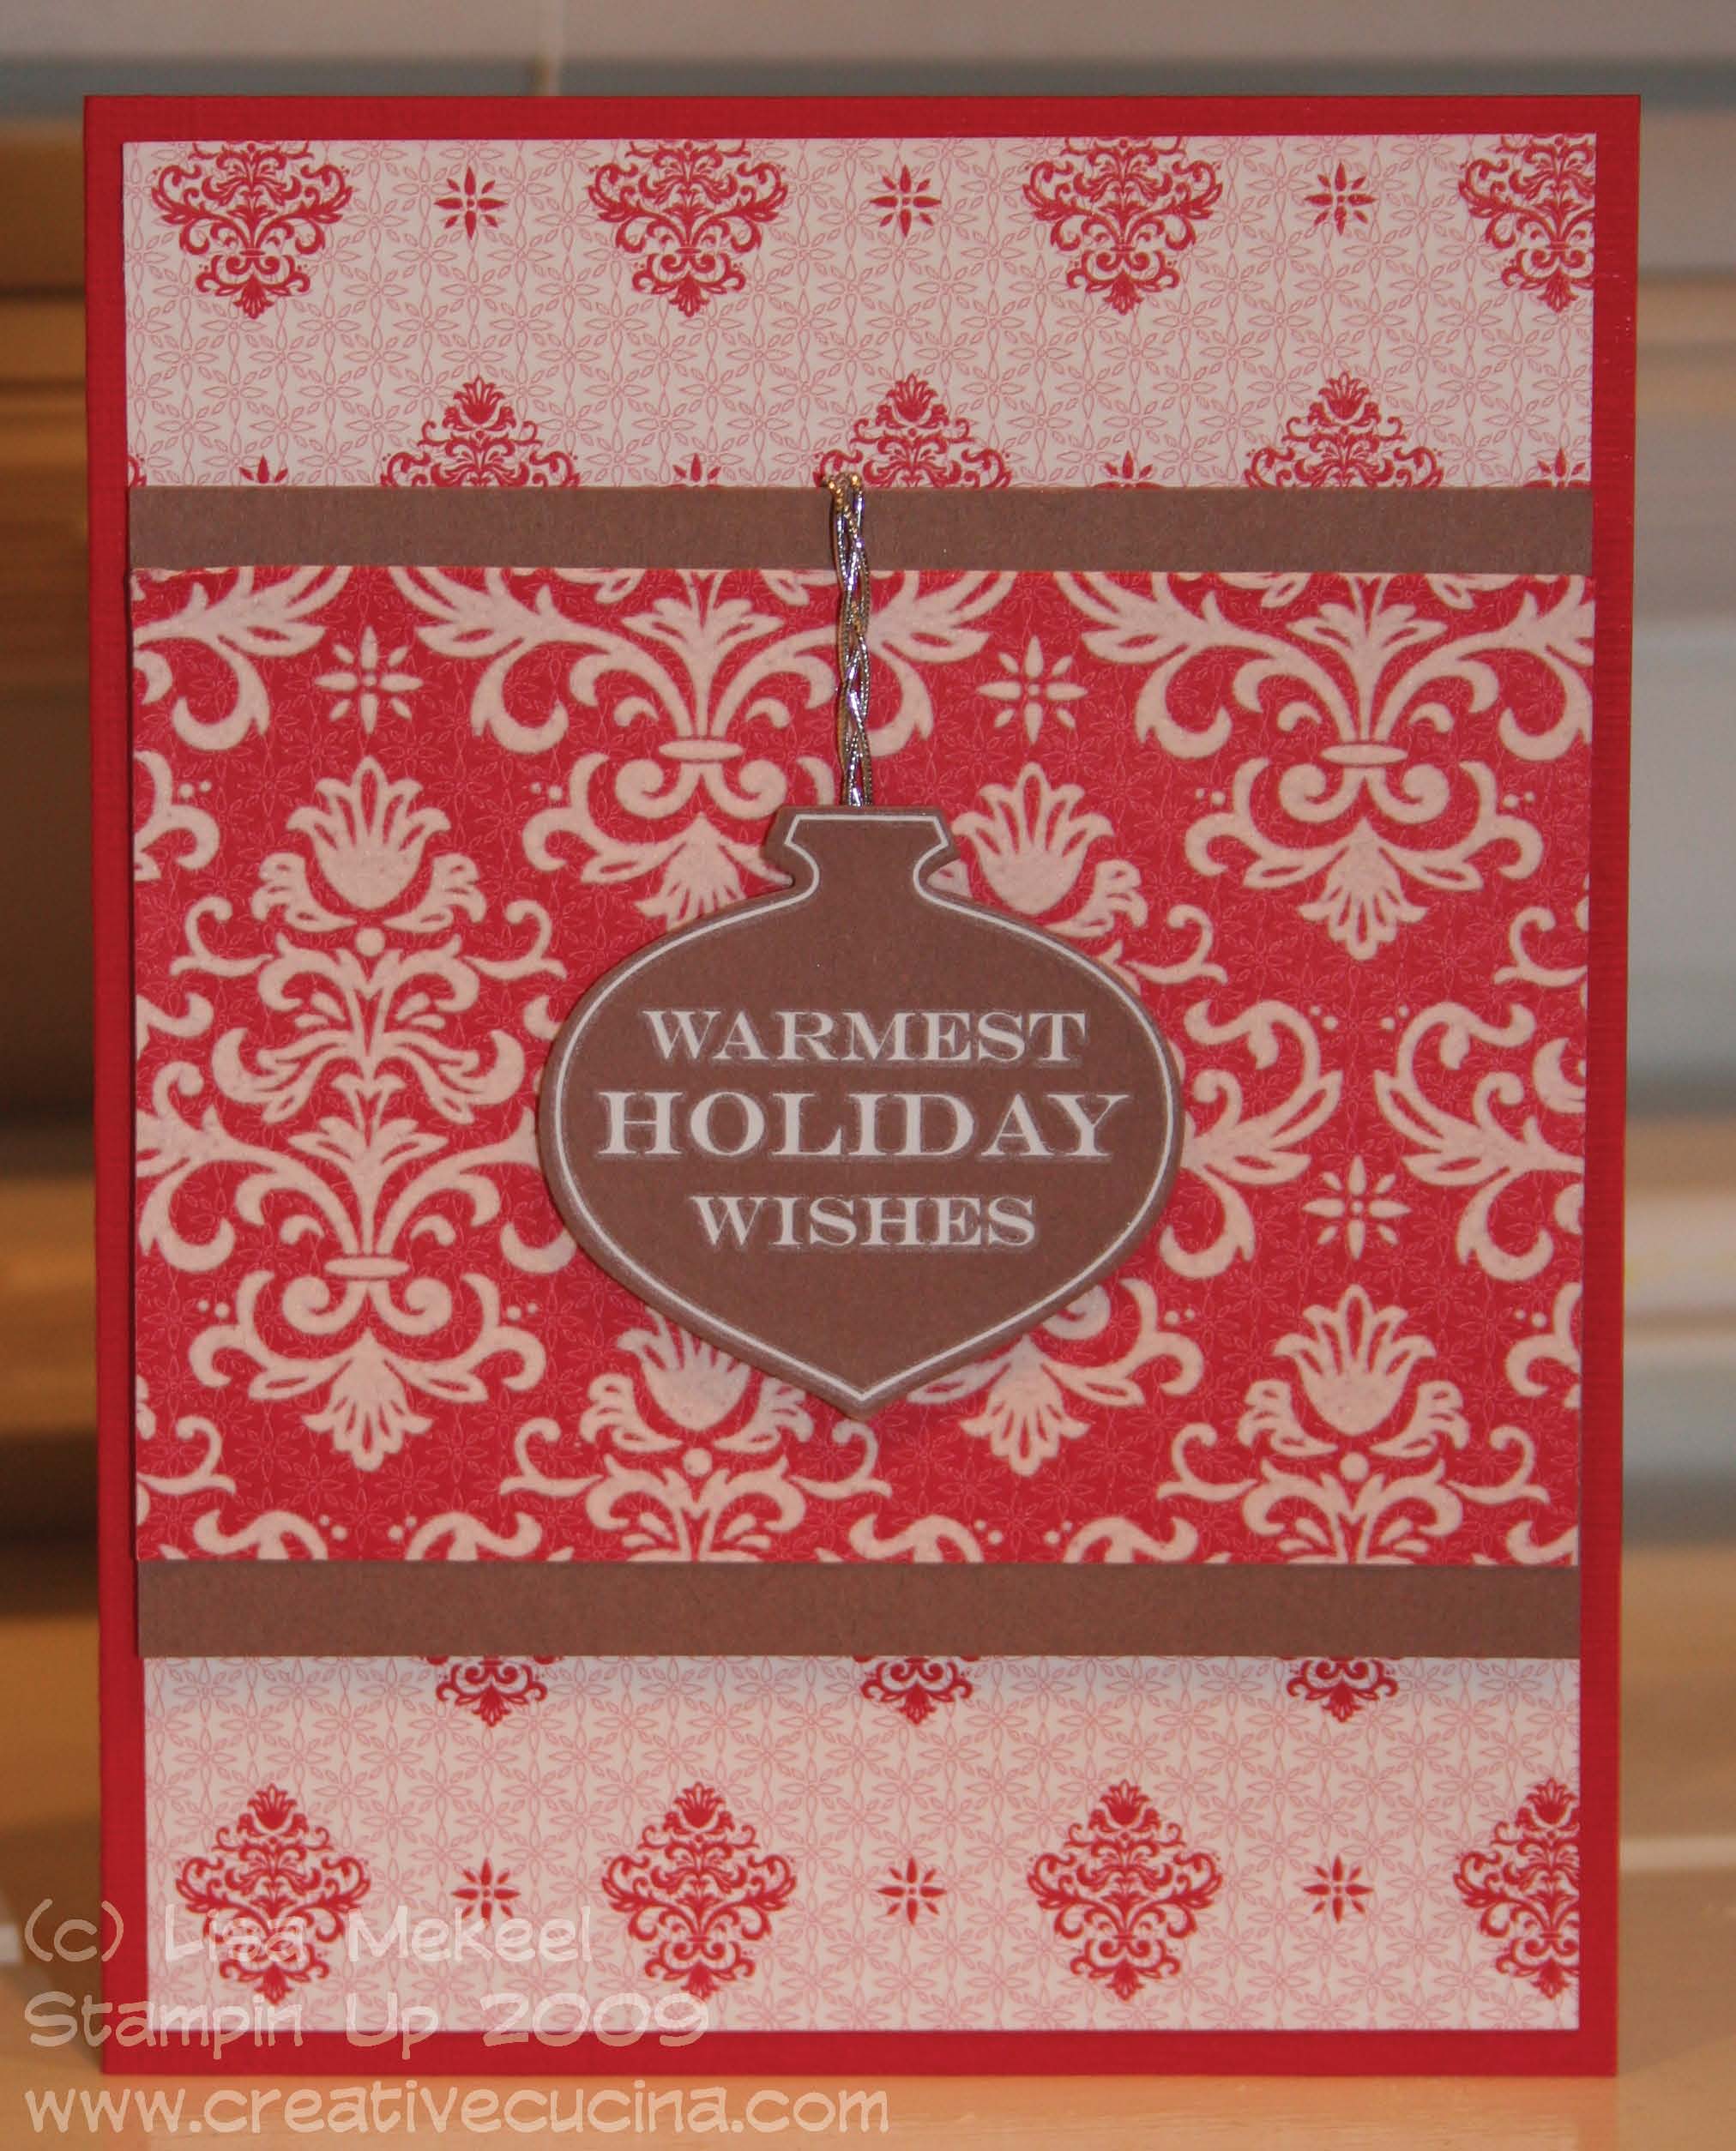
First up is the most traditional card of the three. It uses coordinating Christmas Cocoa DSP with various stencil-like flourish patterns. The base is real red textured card stock, layered with the DSP in red and white flourishes. Next, I layered the flocked DSP (it has a raised felt image and it’s sooo beautiful) onto close to cocoa card stock so that it would pop off the background. In the center, I applied a Merry & Bright Rub On to close to cocoa card stock and punched it out using the Ornament Punch. Then, I braided three pieces of Silver Elastic Cord and adhered it to the back of the ornament, wrapping it up behind the close to cocoa panel. The ornament is then attached using dimensionals.

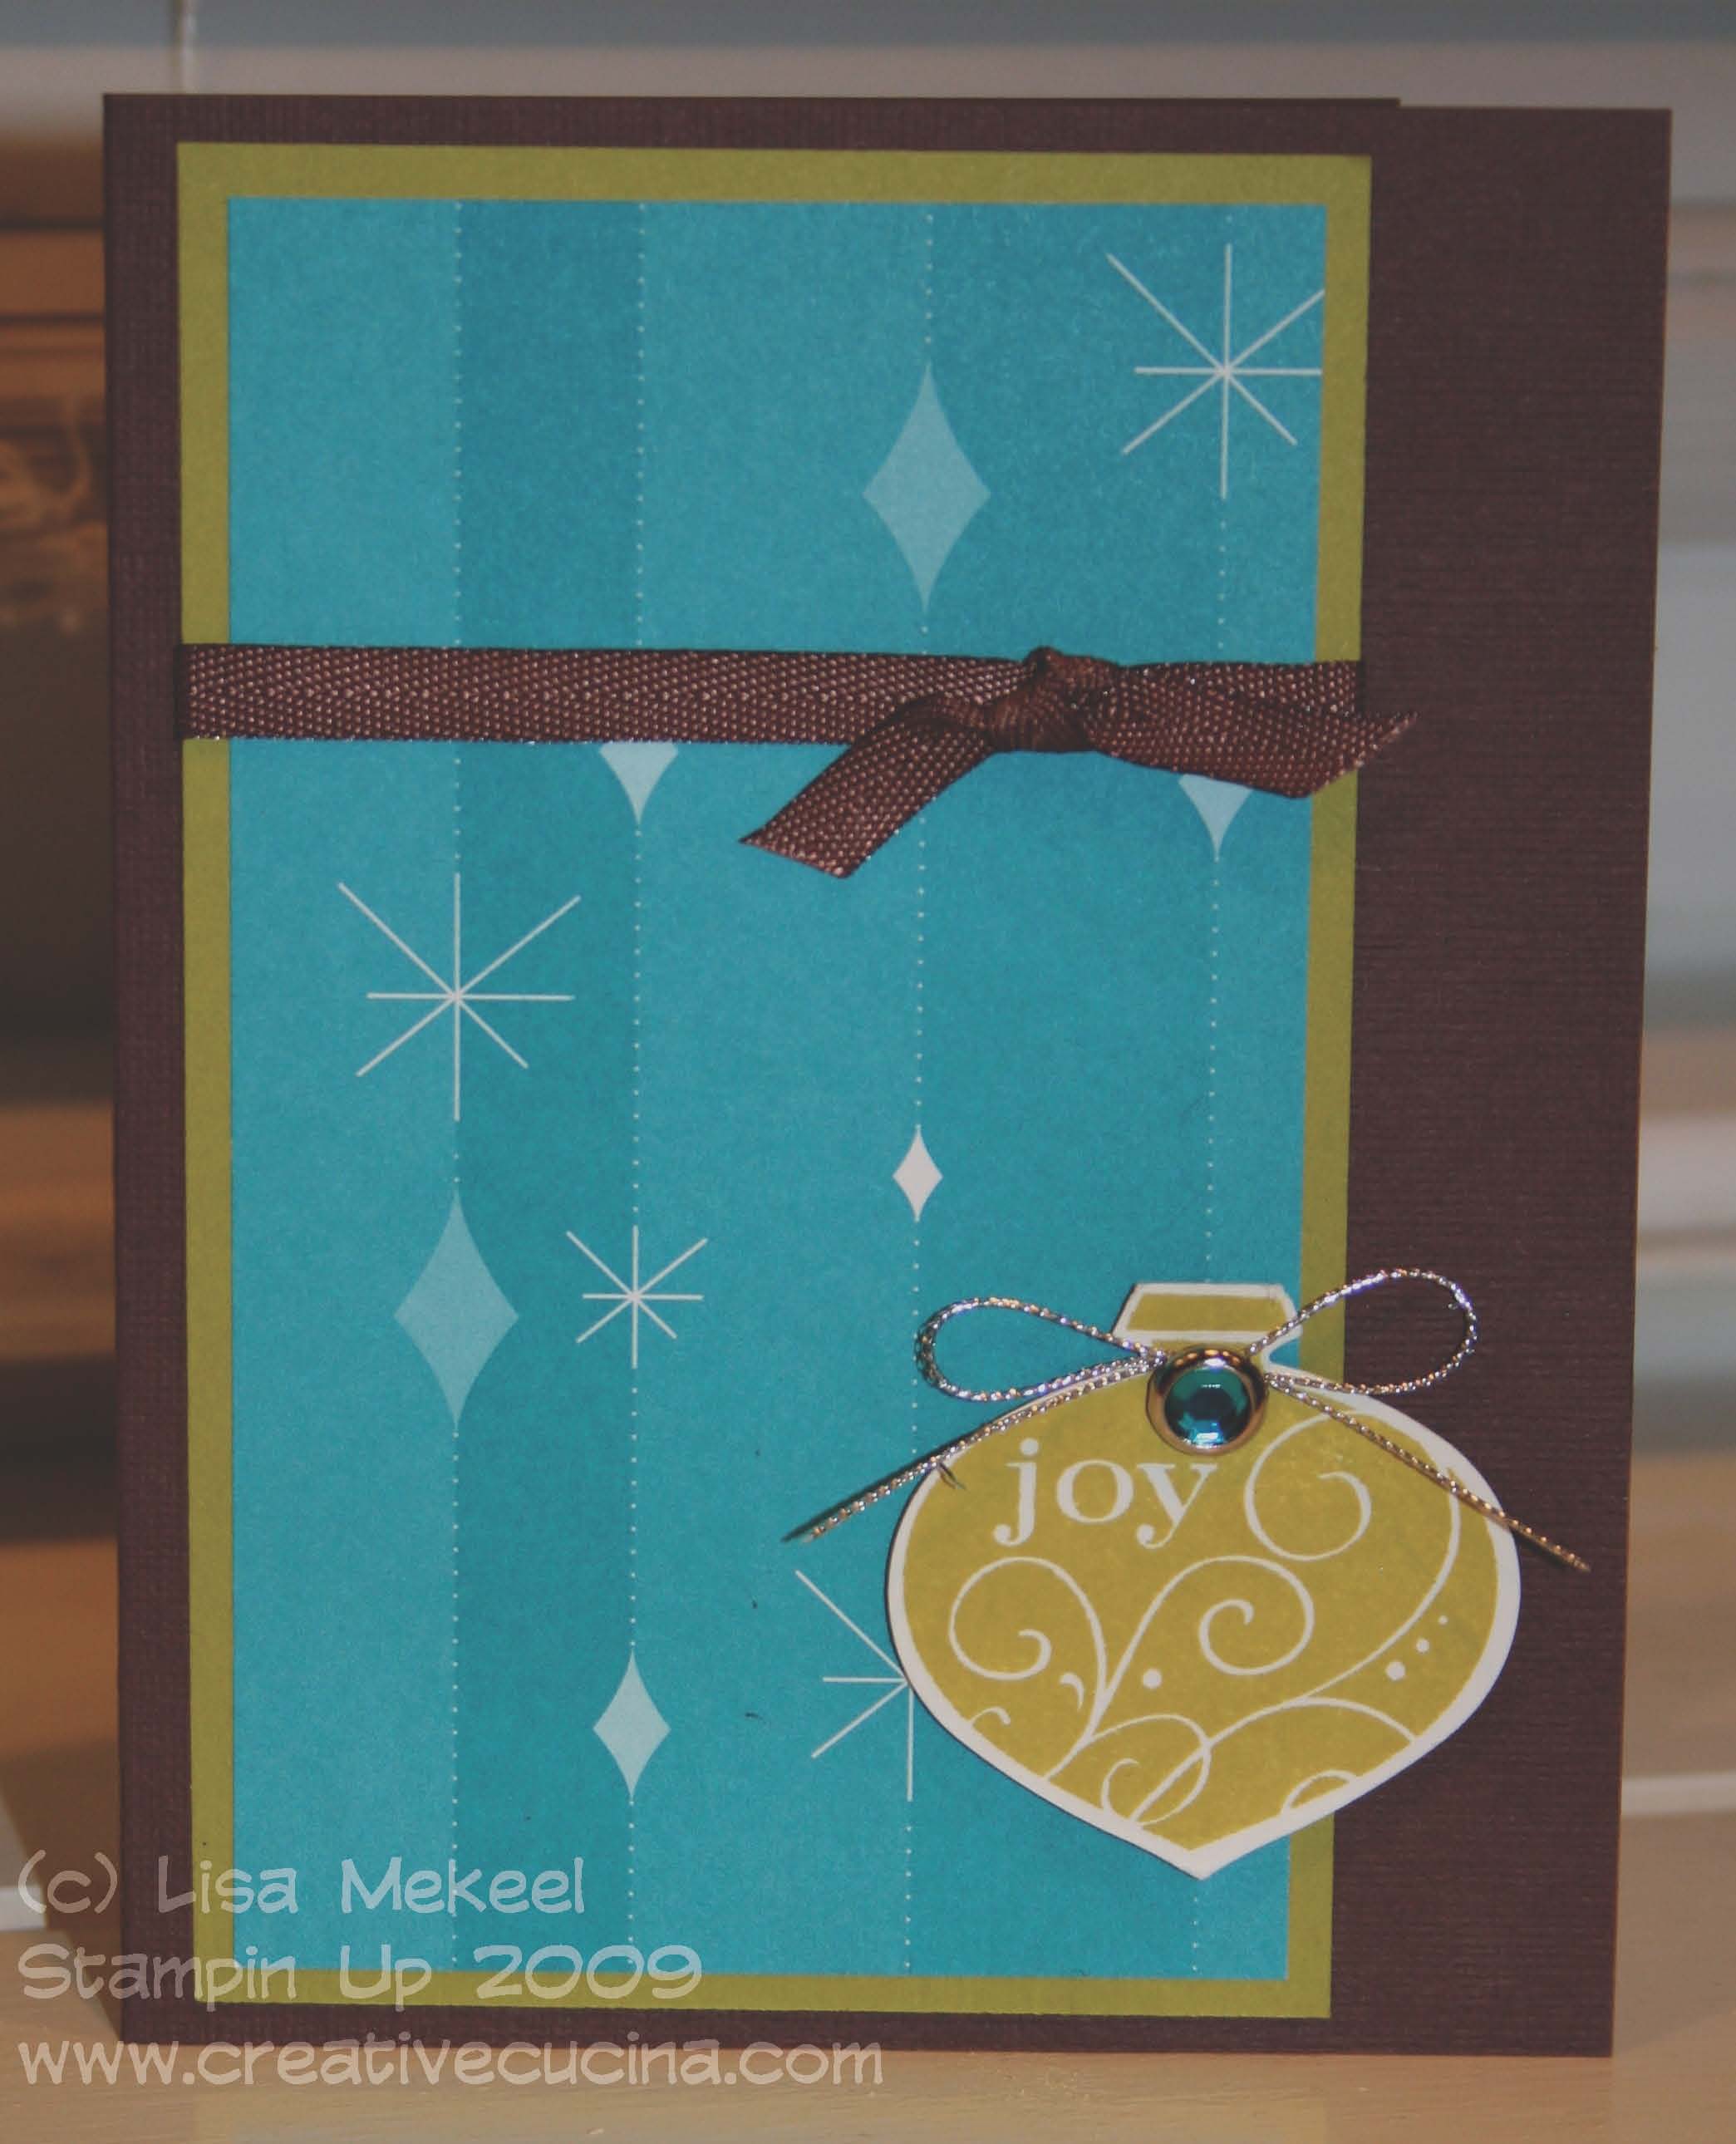
Next is a more retro style card. It uses the Holiday Lounge DSP and some pretty non traditional Christmas colors but it’s still festive. The card base is chocolate chip textured card stock layered with a wide strip of kiwi kiss and Holiday Lounge DSP in a taken with teal color. I then tied a piece of Chocolate Chip Twill Ribbon around the wide panel, and tied a knot to the right side. In the bottom right corner, I stamped the joy ornament from Delightful Decorations in kiwi kiss ink on whisper white card stock and punched it out using the handy dandy Ornament Punch. Then, I added a bright blue Ice Circle Rhinestone Brad to the ornament and tied some Silver Cord around the brad. The ornament is attached to the base using dimensionals.

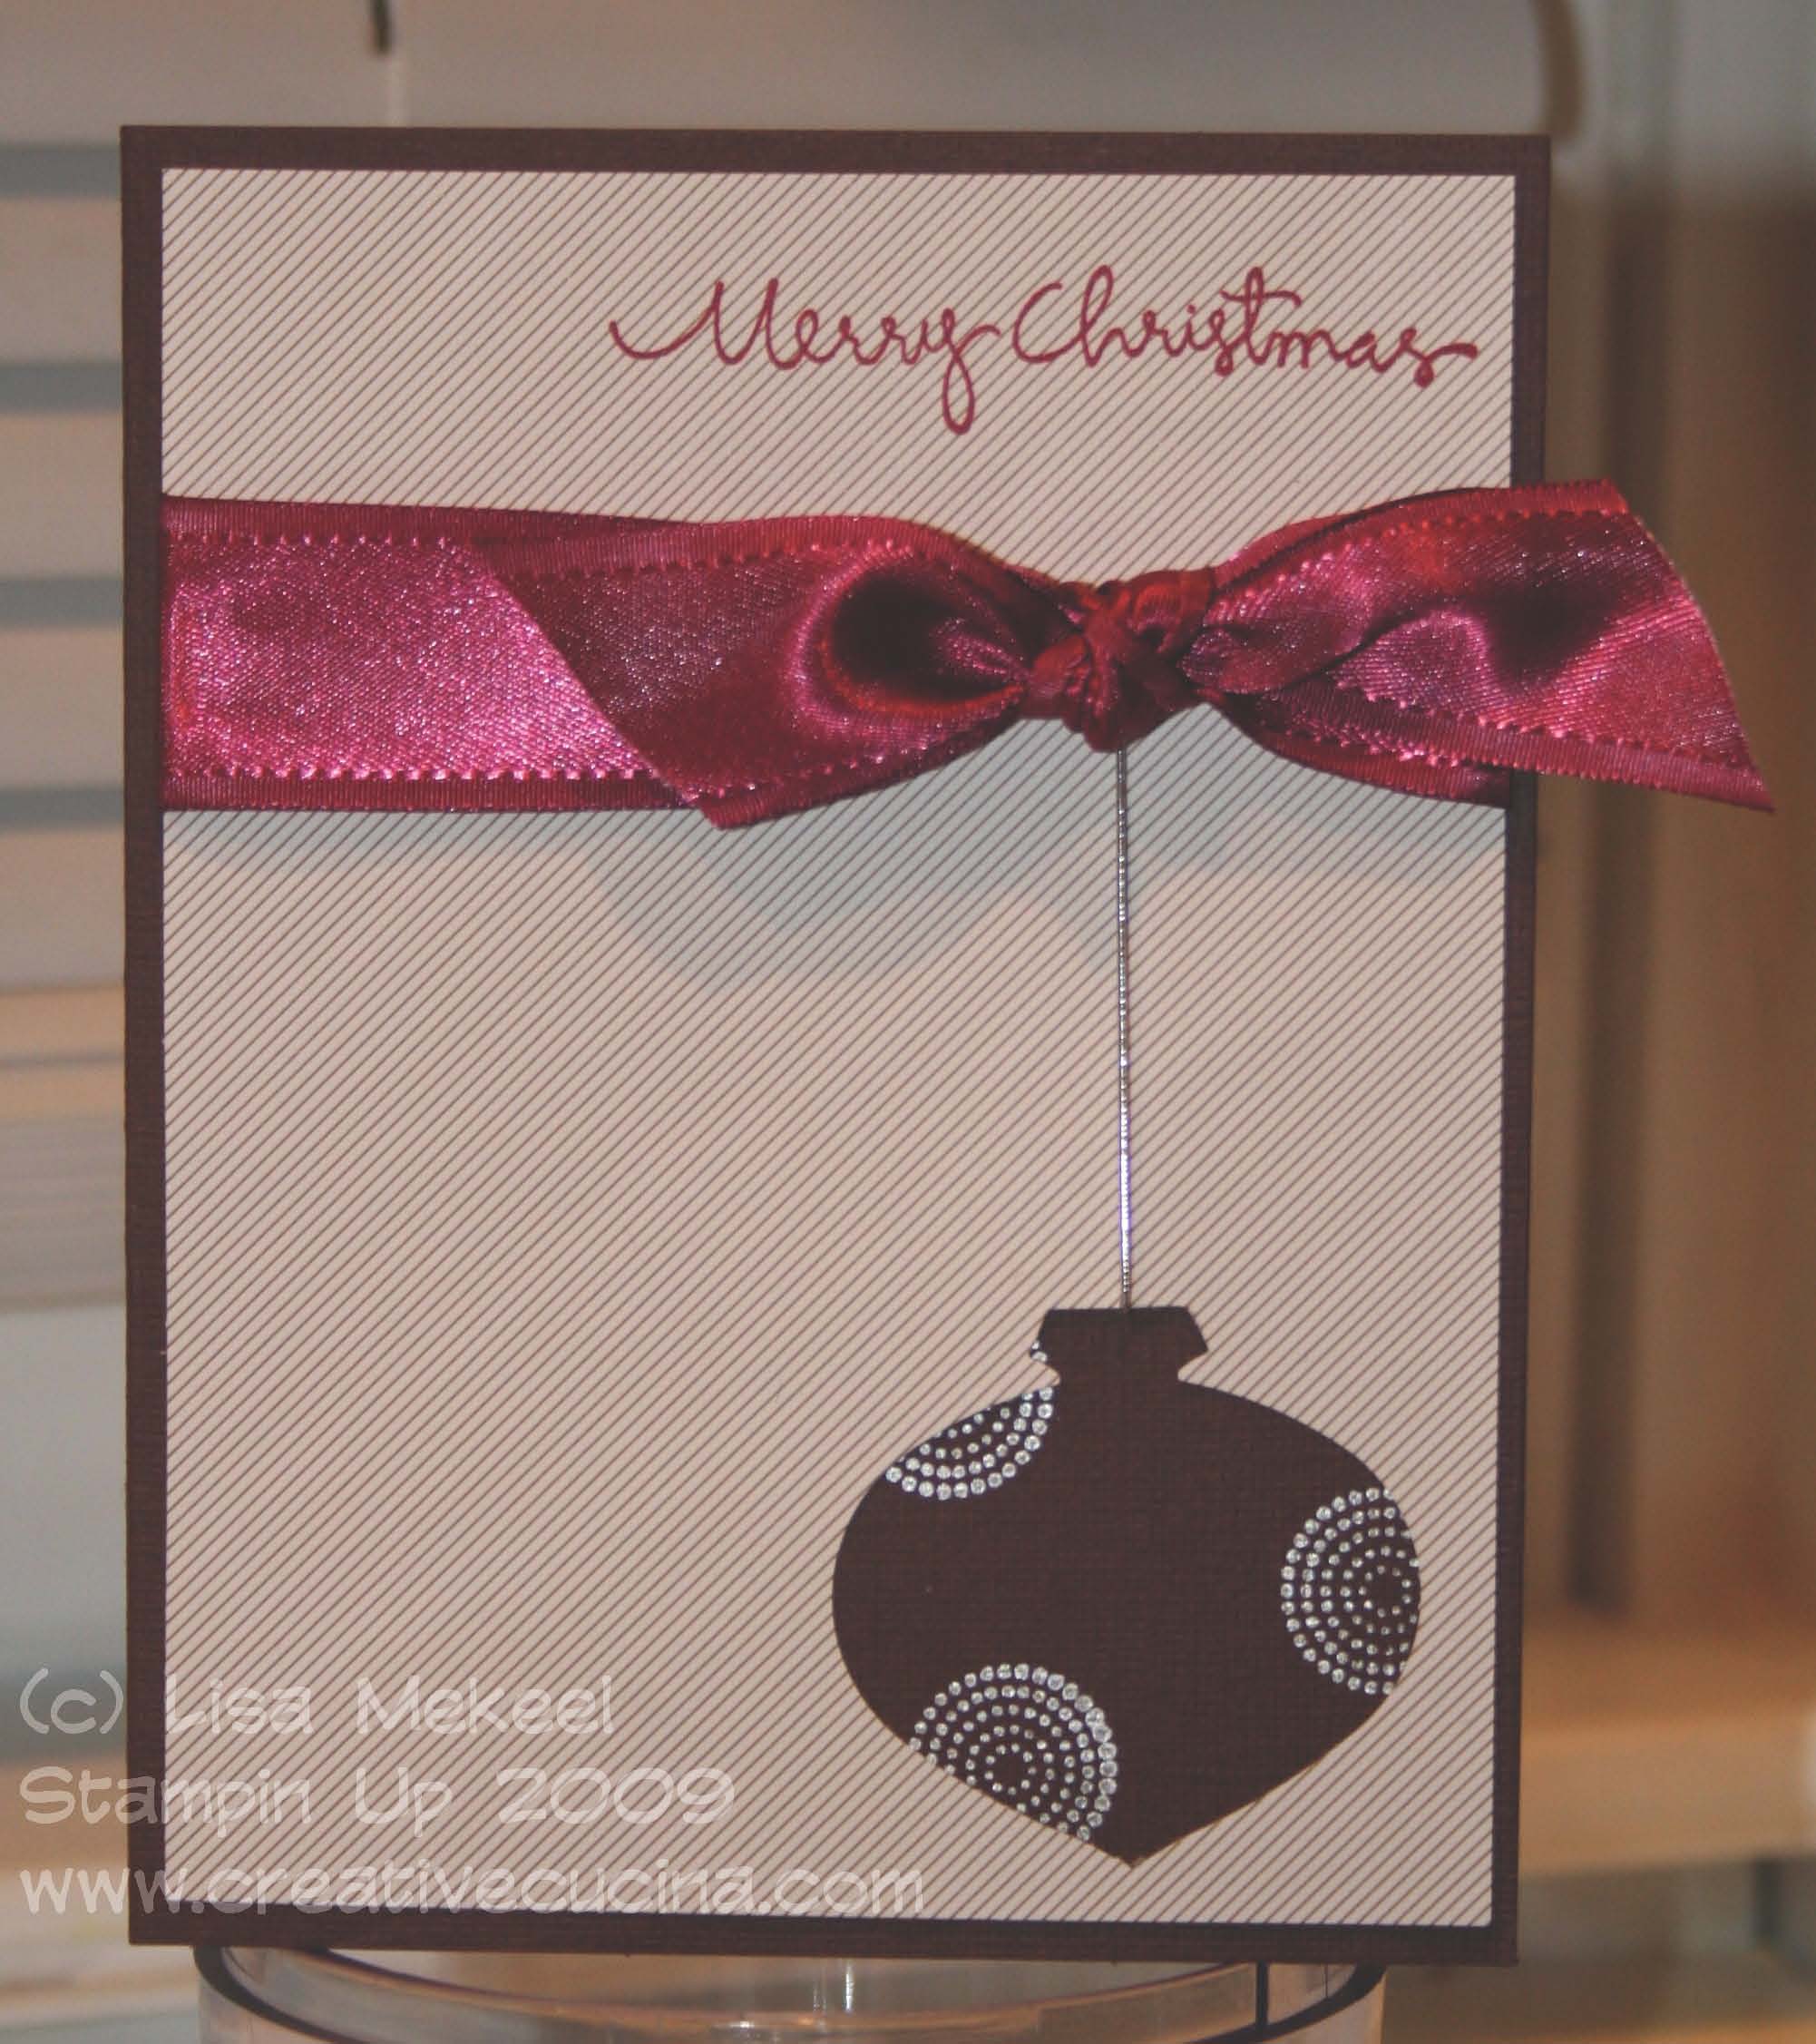
Finally, we have the modern, clean and simple Christmas card. Although it looks really simple, it does require a bit of work. First, the card base is chocolate chip textured card stock. The DSP is also from Christmas Cocoa and is cut to 4″ x 5 1/4″. Using the Ornament Punch, I punched out the ornament shape from the lower right corner. Next, I broke out my new Shimmer Paint in Platinum and sponged it onto the circle stamp from Delightful Decorations. I stamped the image onto chocolate chip textured card stock and then adhered it to the back of the DSP. Across the top of the card, I stamped the Christmas Greetings stamp in Purely Pomegranate ink. Underneath that, I tied a piece of Purely Pomegranate Satin Ribbon into a big knot. Lastly, I slipped a piece of Silver Elastic Cord under the DSP and behind the ribbon, using small glue dots.

Bad Behavior has blocked 342 access attempts in the last 7 days.

css.php