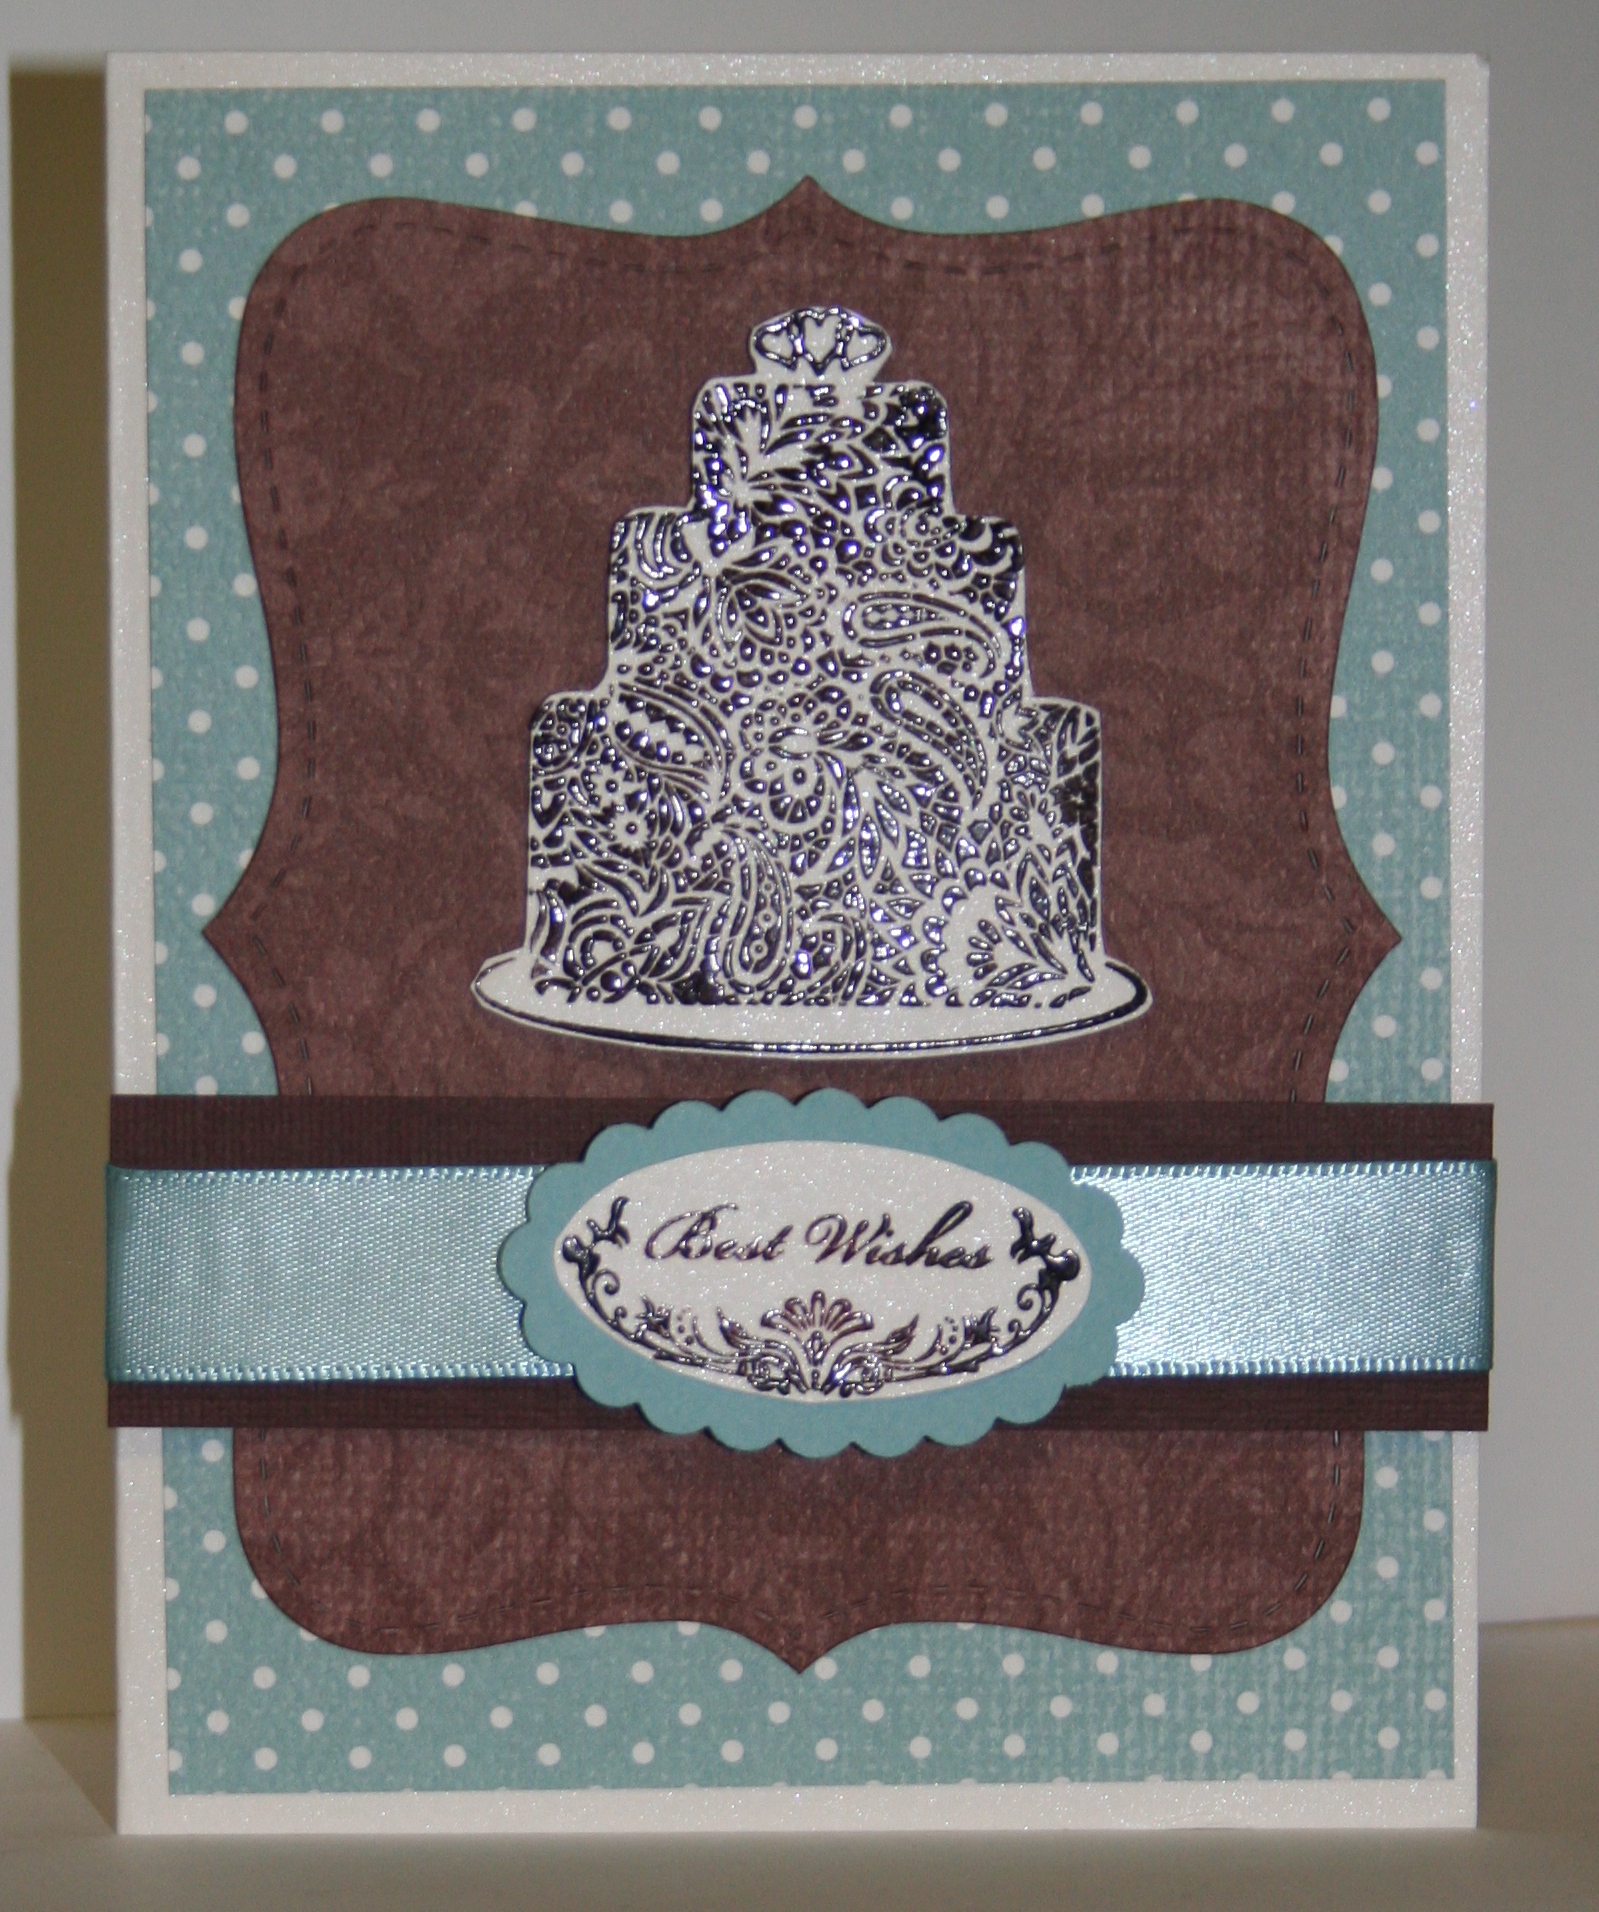
Wedding season is approaching, and I’m going to be prepared by building up my arsenal of cards. This card was not working and I almost abandoned it, but to my surprise I got it to work. It’s a very elegant card with lots of shimmer and texture and shine–three of my favorite things!
The card base is 4 1/4″ x 5 1/2″ Shimmery White card stock, layered with a 4″ x 5 1/4″ piece of Parisian Breeze DSP (which is textured and thicker weight than regular DSP). On top of the polka dot layer is the brown damask print (again from Parisian Breeze) which I cut using the Top Note die and my CB.
Across the front, I used a strip of Textured Chocolate Chip card stock, layered with a piece of satin Baja Breeze Ribbon (from the Ribbon Originals-Valet). To top it off, I used my newest purchase–the Scallop Oval Punch–to punch the Baja Breeze Scallop. In the center, I stamped “Best Wishes” from Oval All, the coordinating stamp set, on Shimmery White card stock in Chocolate Chip craft ink and embossed it with clear embossing powder. That was punched out with the Large Oval Punch and layered onto the scallop oval. Then, I adhered it to the ribbon strip with dimensionals.
Finally, the cake from For the Bride was stamped in Chocolate Chip craft ink onto Shimmery White card stock and clear embossed, trimmed out with paper snips, and adhered to the card using dimensionals.
Categorised in Card Designs, Uncategorized

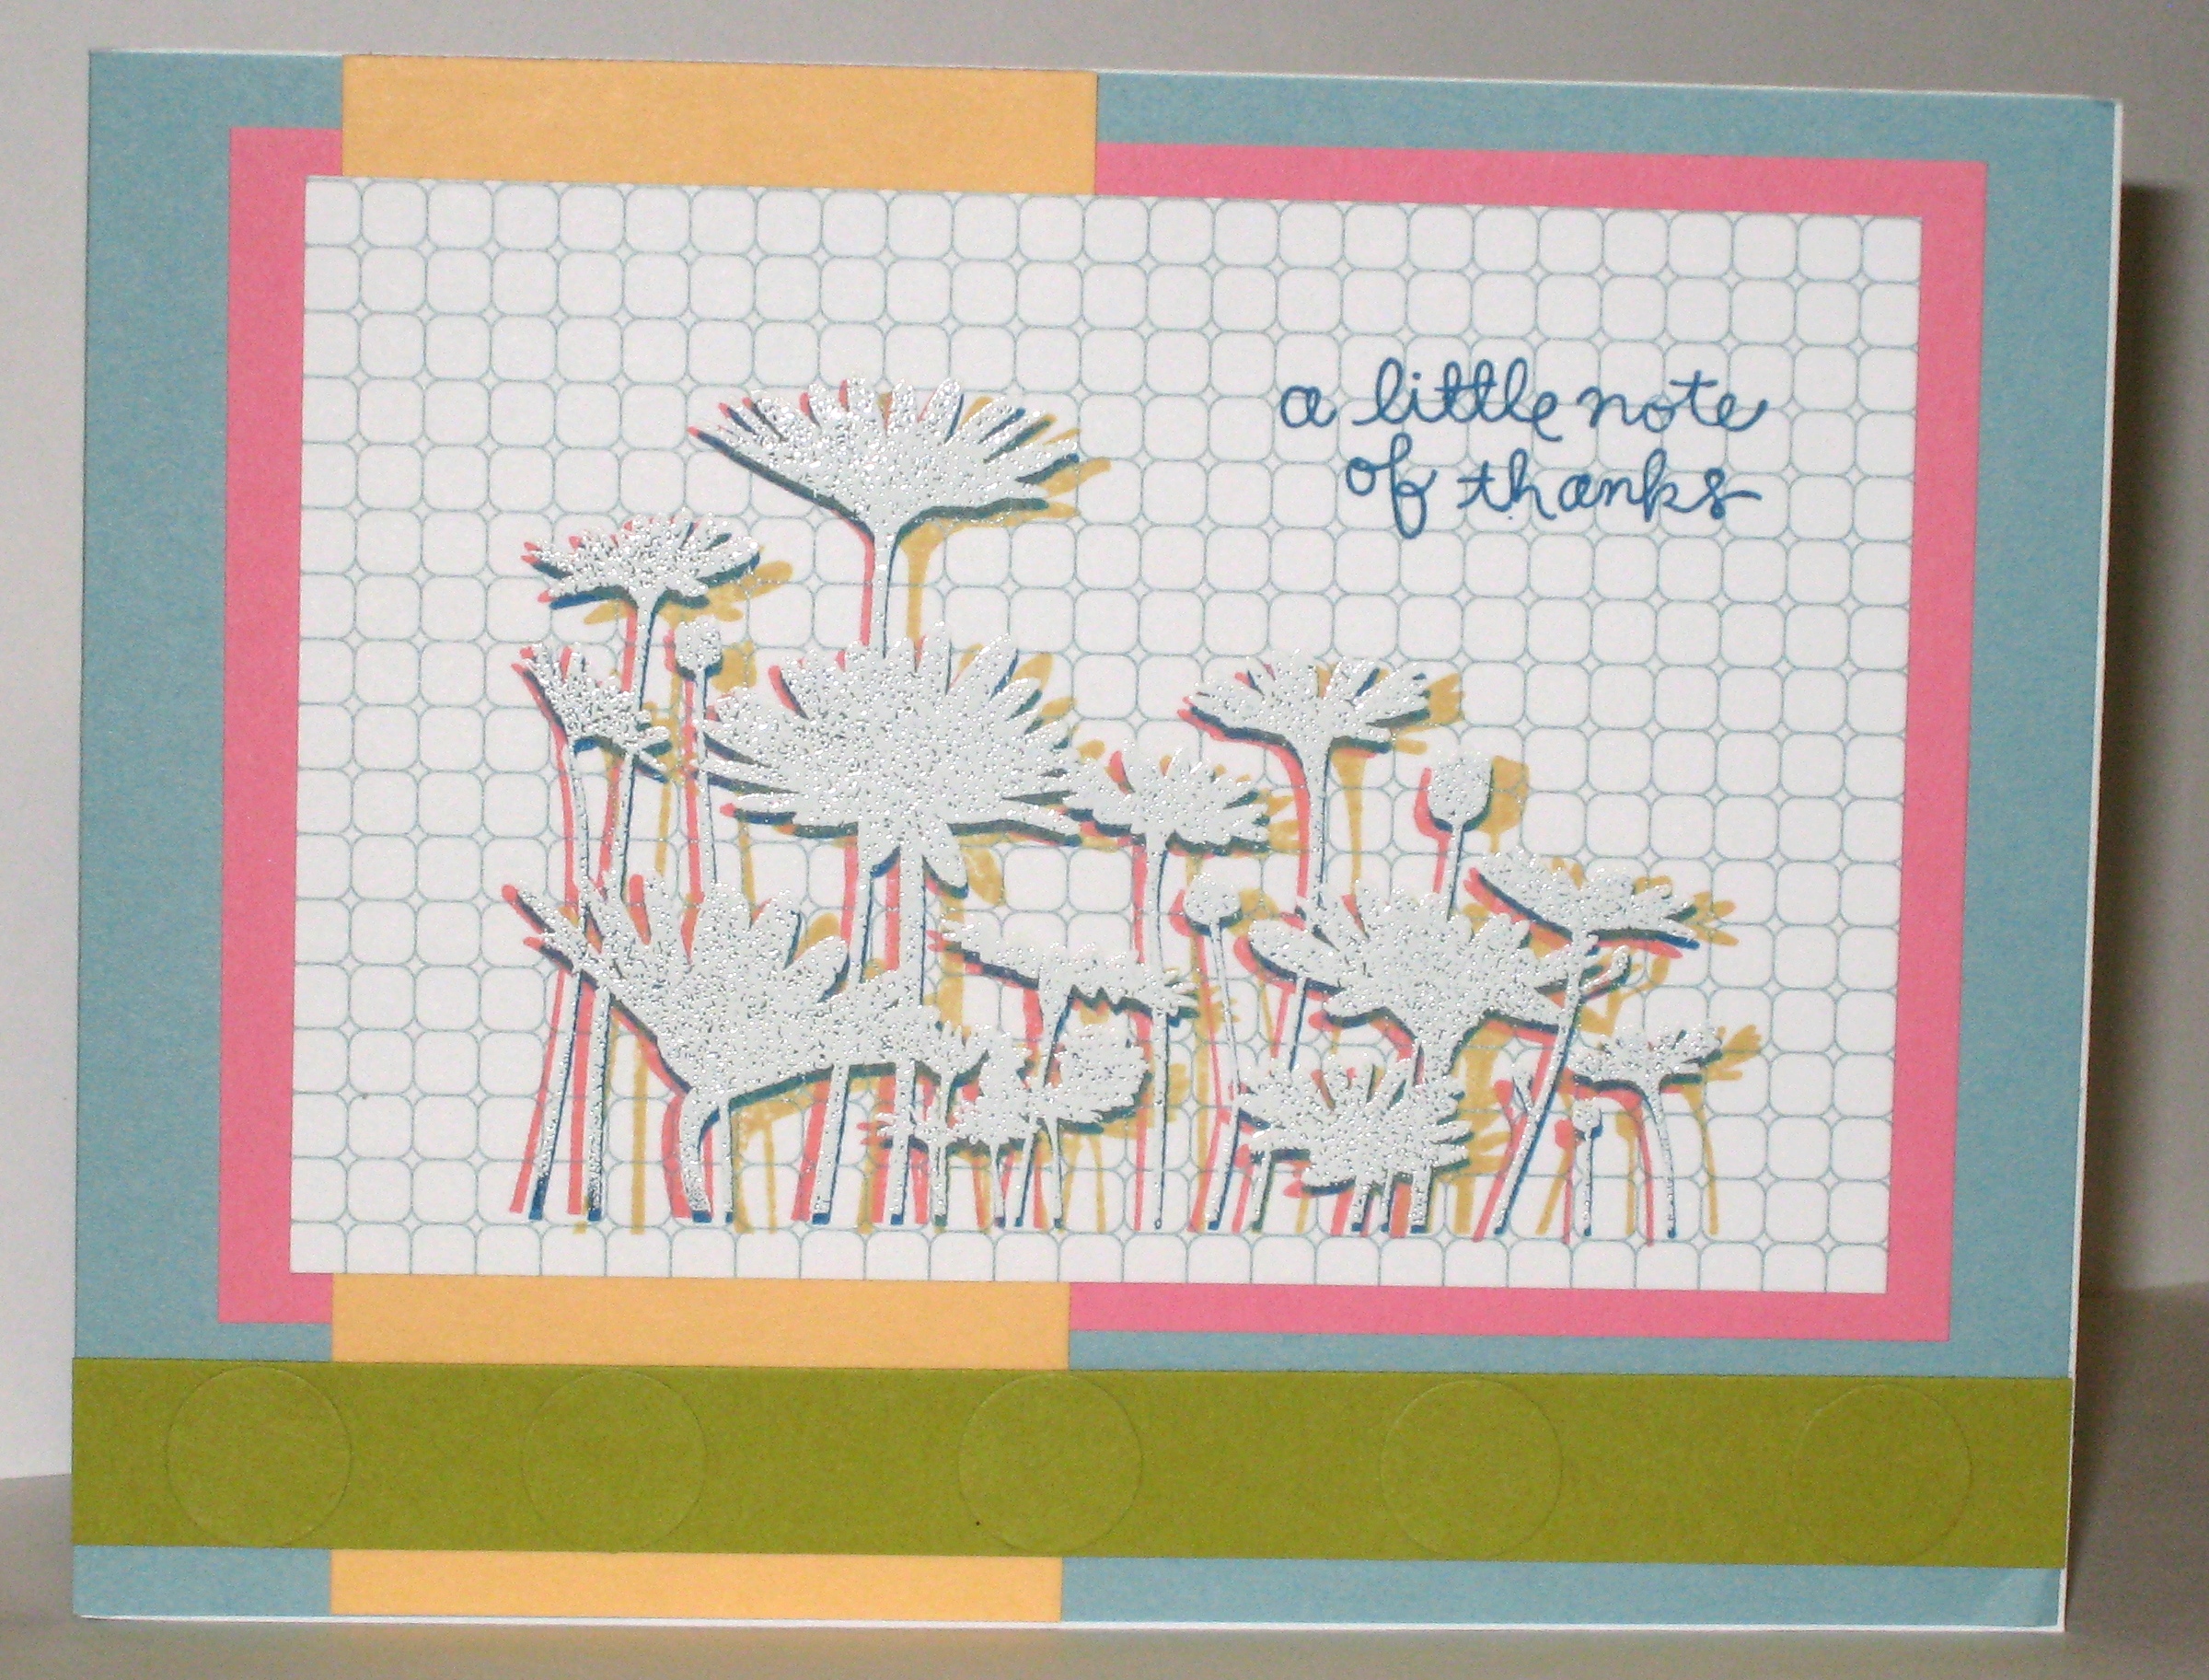
This DSP is from A Walk in the Park and reminds me of graph paper! I stamped the flowers from Upsy Daisy on the DSP four (yes 4) times. First in Pacific Point ink, then Cameo Coral, So Saffron and finally in Versamark and embossed with White embossing powder. I was experimenting and while this is not what I had in mind when I began, the effect is pretty cool. Here is a close up:

The card base is Baja Breeze, layered with a vertical strip of So Saffron, a panel of Regal Rose behind the DSP, and a strip of Kiwi Kiss along the bottom. It’s a little hard to see in the picture, but I punched out 1/2″ circles with my circle punch and glued them to the Kiwi Kiss strip for some faux embossing.
In the upper right corner, I stamped the sentiment from the Note of Thanks Mini Note Kit in Pacific Point ink.
Categorised in Card Designs, Uncategorized

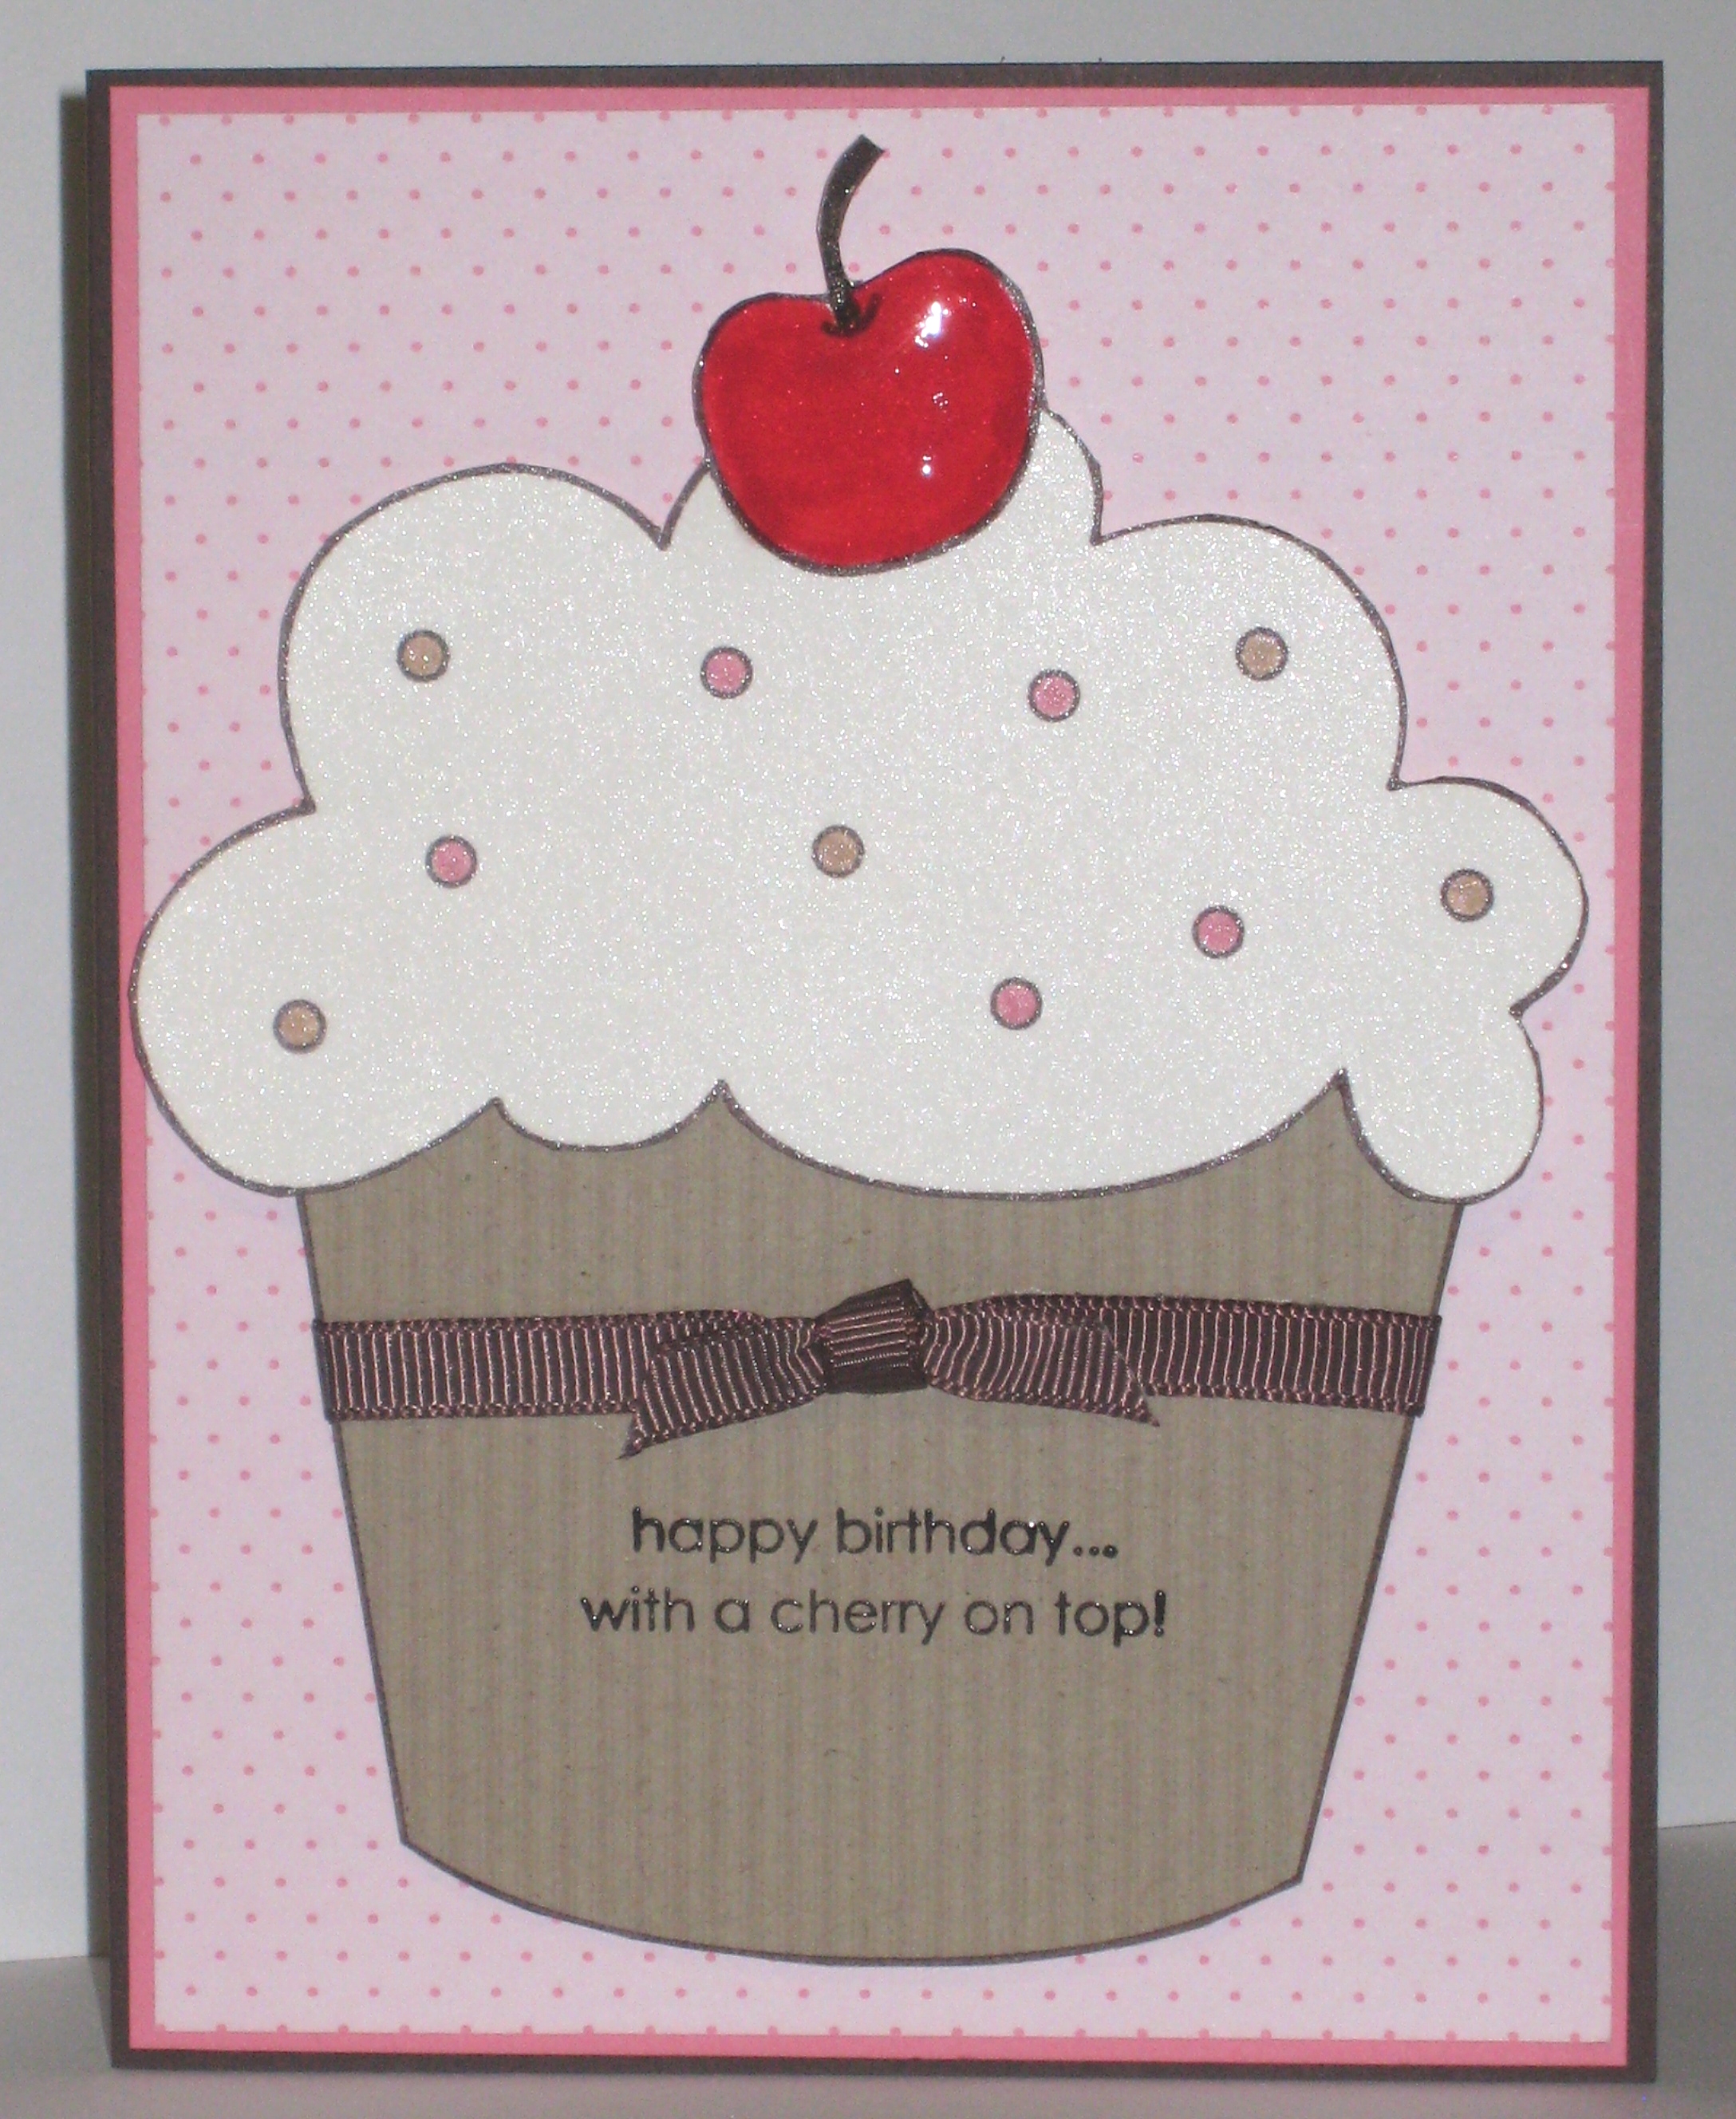
I had this Simple Birthday Thanks stamp for a while and haven’t used it yet. Having an almost 3 year old, I can see a lot of possiblities where cards like this will come in handy (invitations anyone?) I am terrible at paper piecing so this is a very easy one to do–just 2 pieces to cut out!
The card base is Chocolate Chip, layered with Regal Rose and the polka dot DSP is from Sweet Always. That is probably one of my most favorite DSPs ever and I will be sure to order more on June 1st in case it all retires!
For the cupcake, I inked up the bottom “cup” in Chocolate Chip marker and stamped onto Striped Kraft (from the Taste of Textiles). The “top” of the cupcake was stamped the same way onto Shimmery White card stock. Both parts were cut out using my Cutterbee paper snips (Which by the way have a magnetic tip, so you can pick through containers of brads and they will stick to the tip of the scissors!) I colored in the sprinkles with Regal Rose marker and Creamy Caramel marker. The cherry was colored with Real Red marker, and then I used Crystal Effects to make it shiny and 3D.
On the bottom of the cupcake I also stamped a sentiment from Goody Goody Gumdrops in Chocolate Chip Craft ink and embossed it with Clear Embossing powder. The ribbon is 1/4″ Chocolate Chip grosgrain. I popped up the cupcake pieces on dimensionals.
All this talk of chocolate chip and cupcakes has me craving something sweet! Maybe I’ll make my chocolate chip banana bread muffins.
Oops I forgot to mention I was looking through the gallery at www.splitcoaststampers.com and saw this awesome card that made me reach for this stamp!
Categorised in Card Designs, Uncategorized


