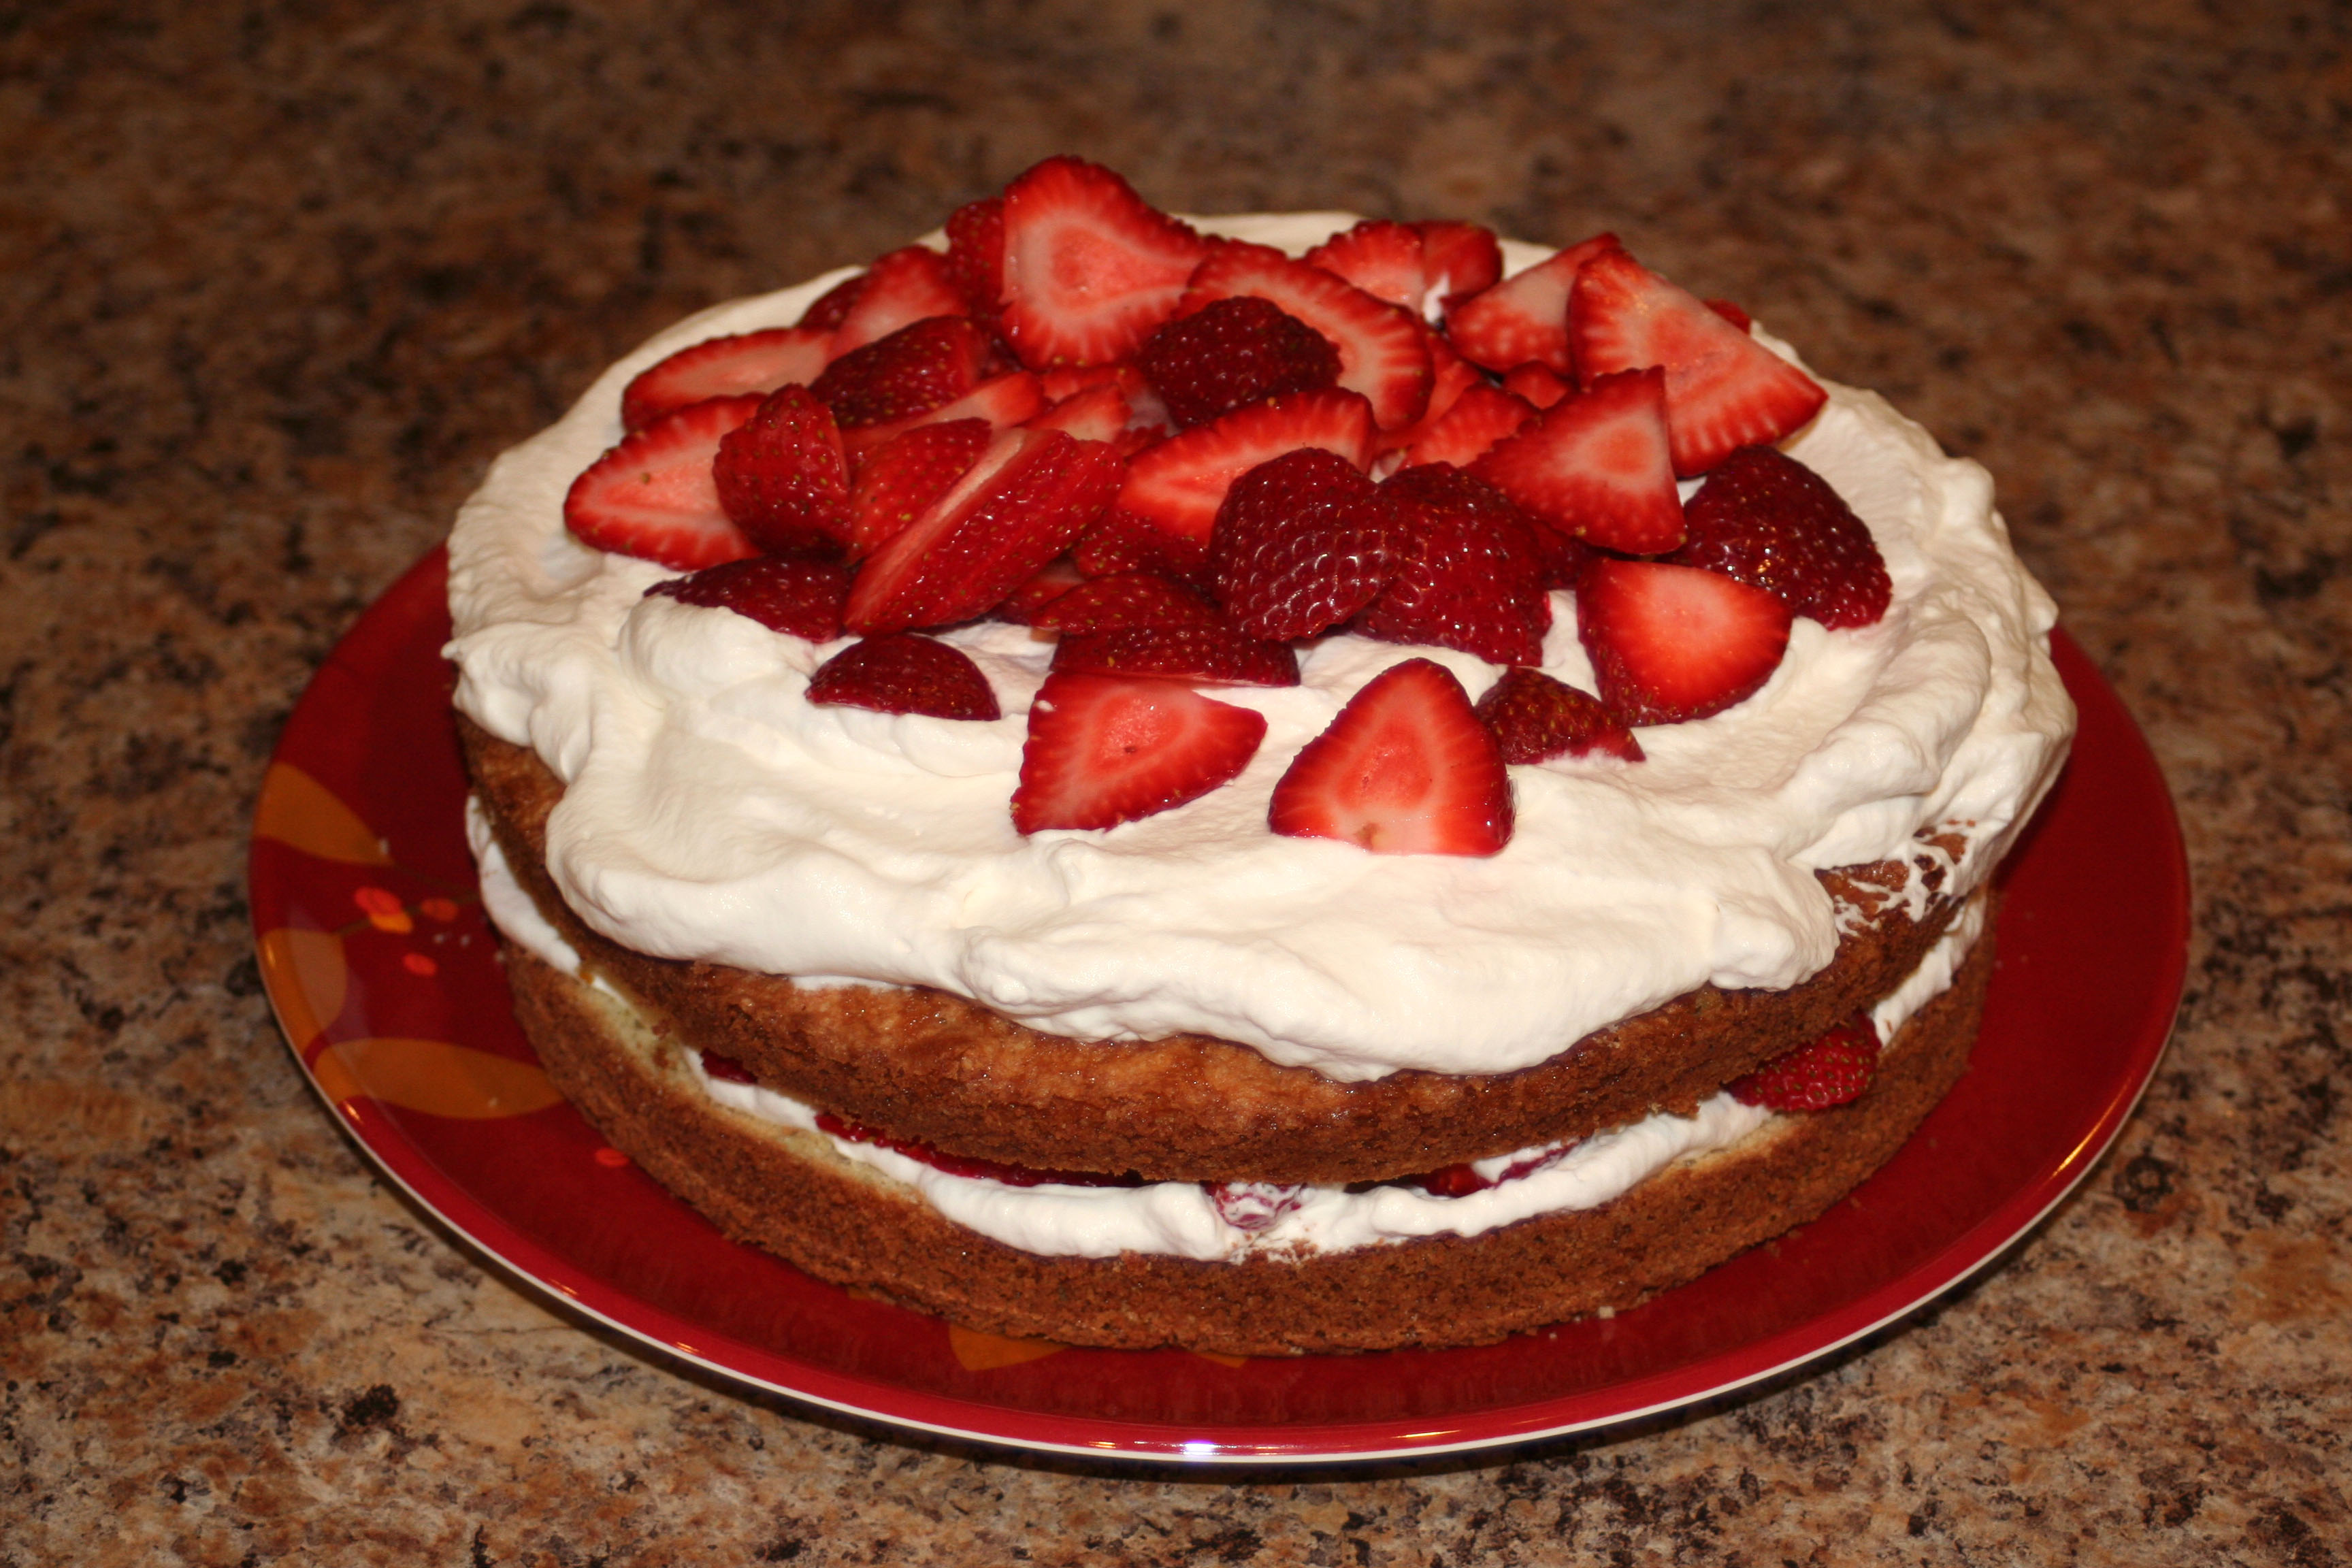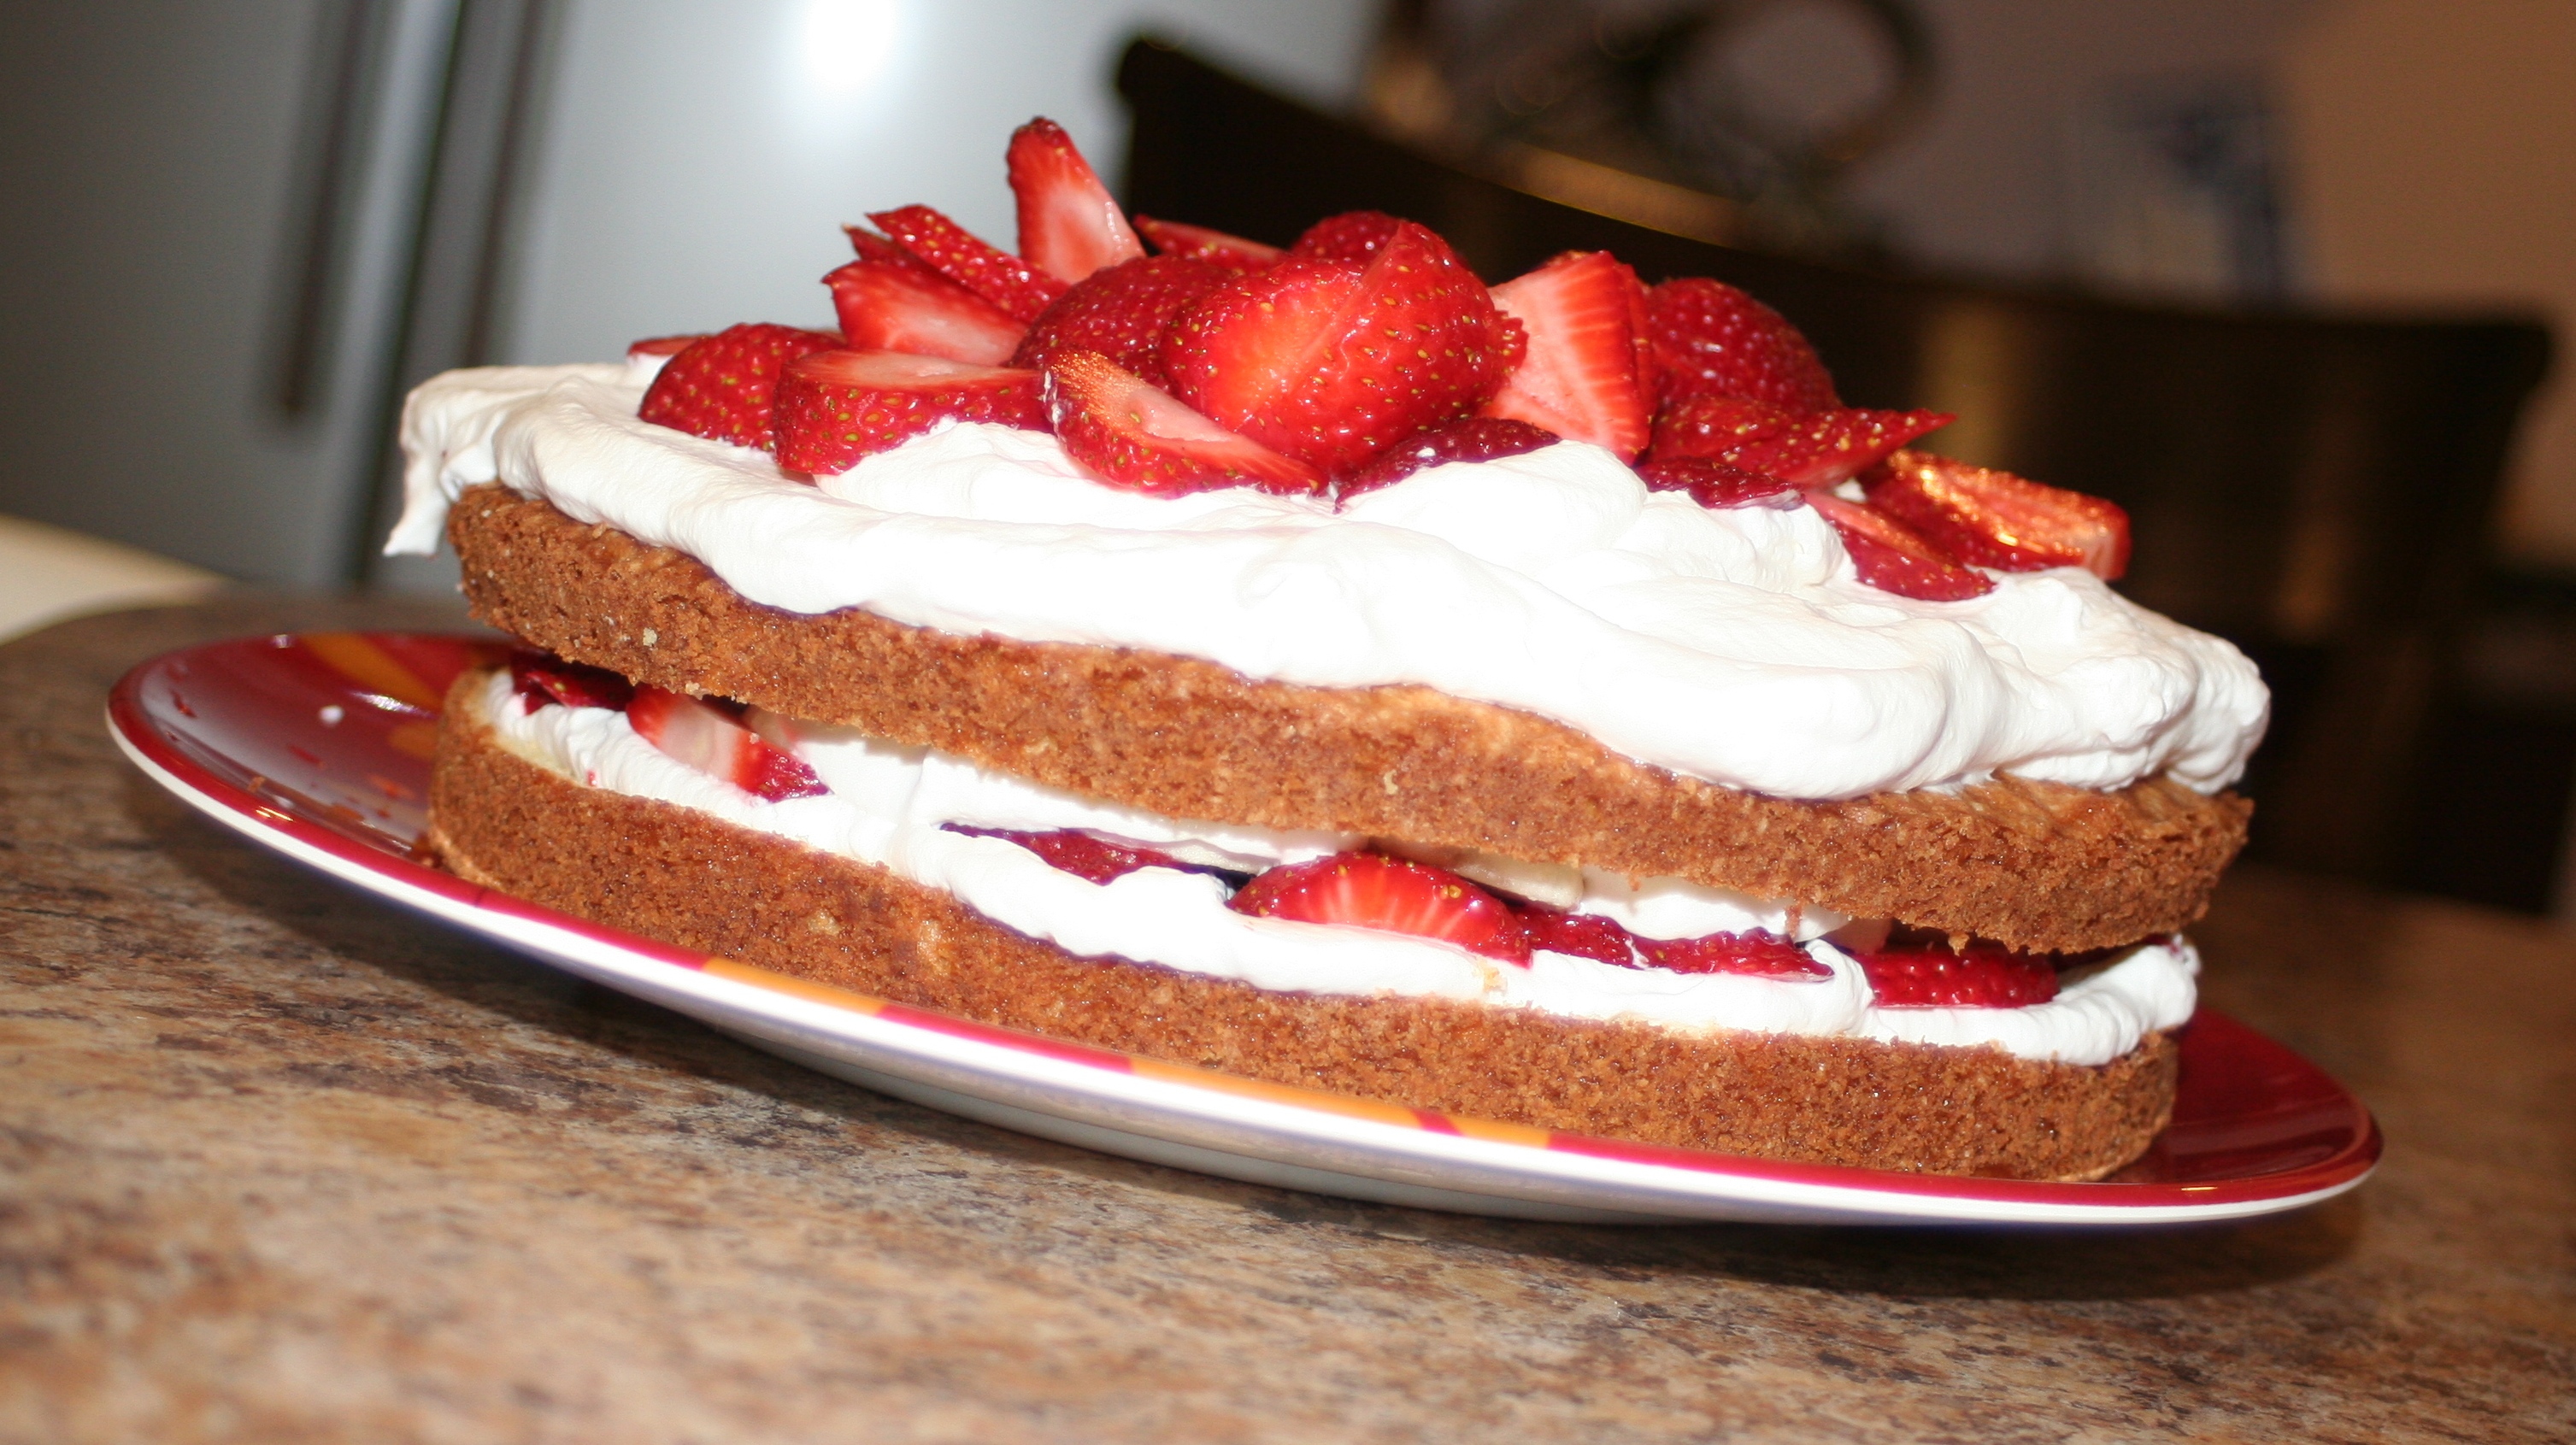
This cake is so addicting I made two of them in as many days and they are both gone! The recipe is Strawberry Country Cake from a Barefoot Contessa Cookbook, but you can also find the recipe online here. It makes two 8″ cakes, but you could probably use one 9″ deep cake pan and cut either 2 thick layers or make a 3 layer cake that way. The cake recipe was foolproof and flawless for me–I followed it to the letter. I did, however, eyeball the heavy cream and strawberries AND I added sliced bananas to the middle layer because I had some ripening ones on hand.

Yummy and pretty easy. It keeps well in the fridge overnight–doesn’t get soggy at all. I can’t attest to keeping it any longer because it didn’t last more than 1 1/2 days in our house!
Categorised in Food, Uncategorized

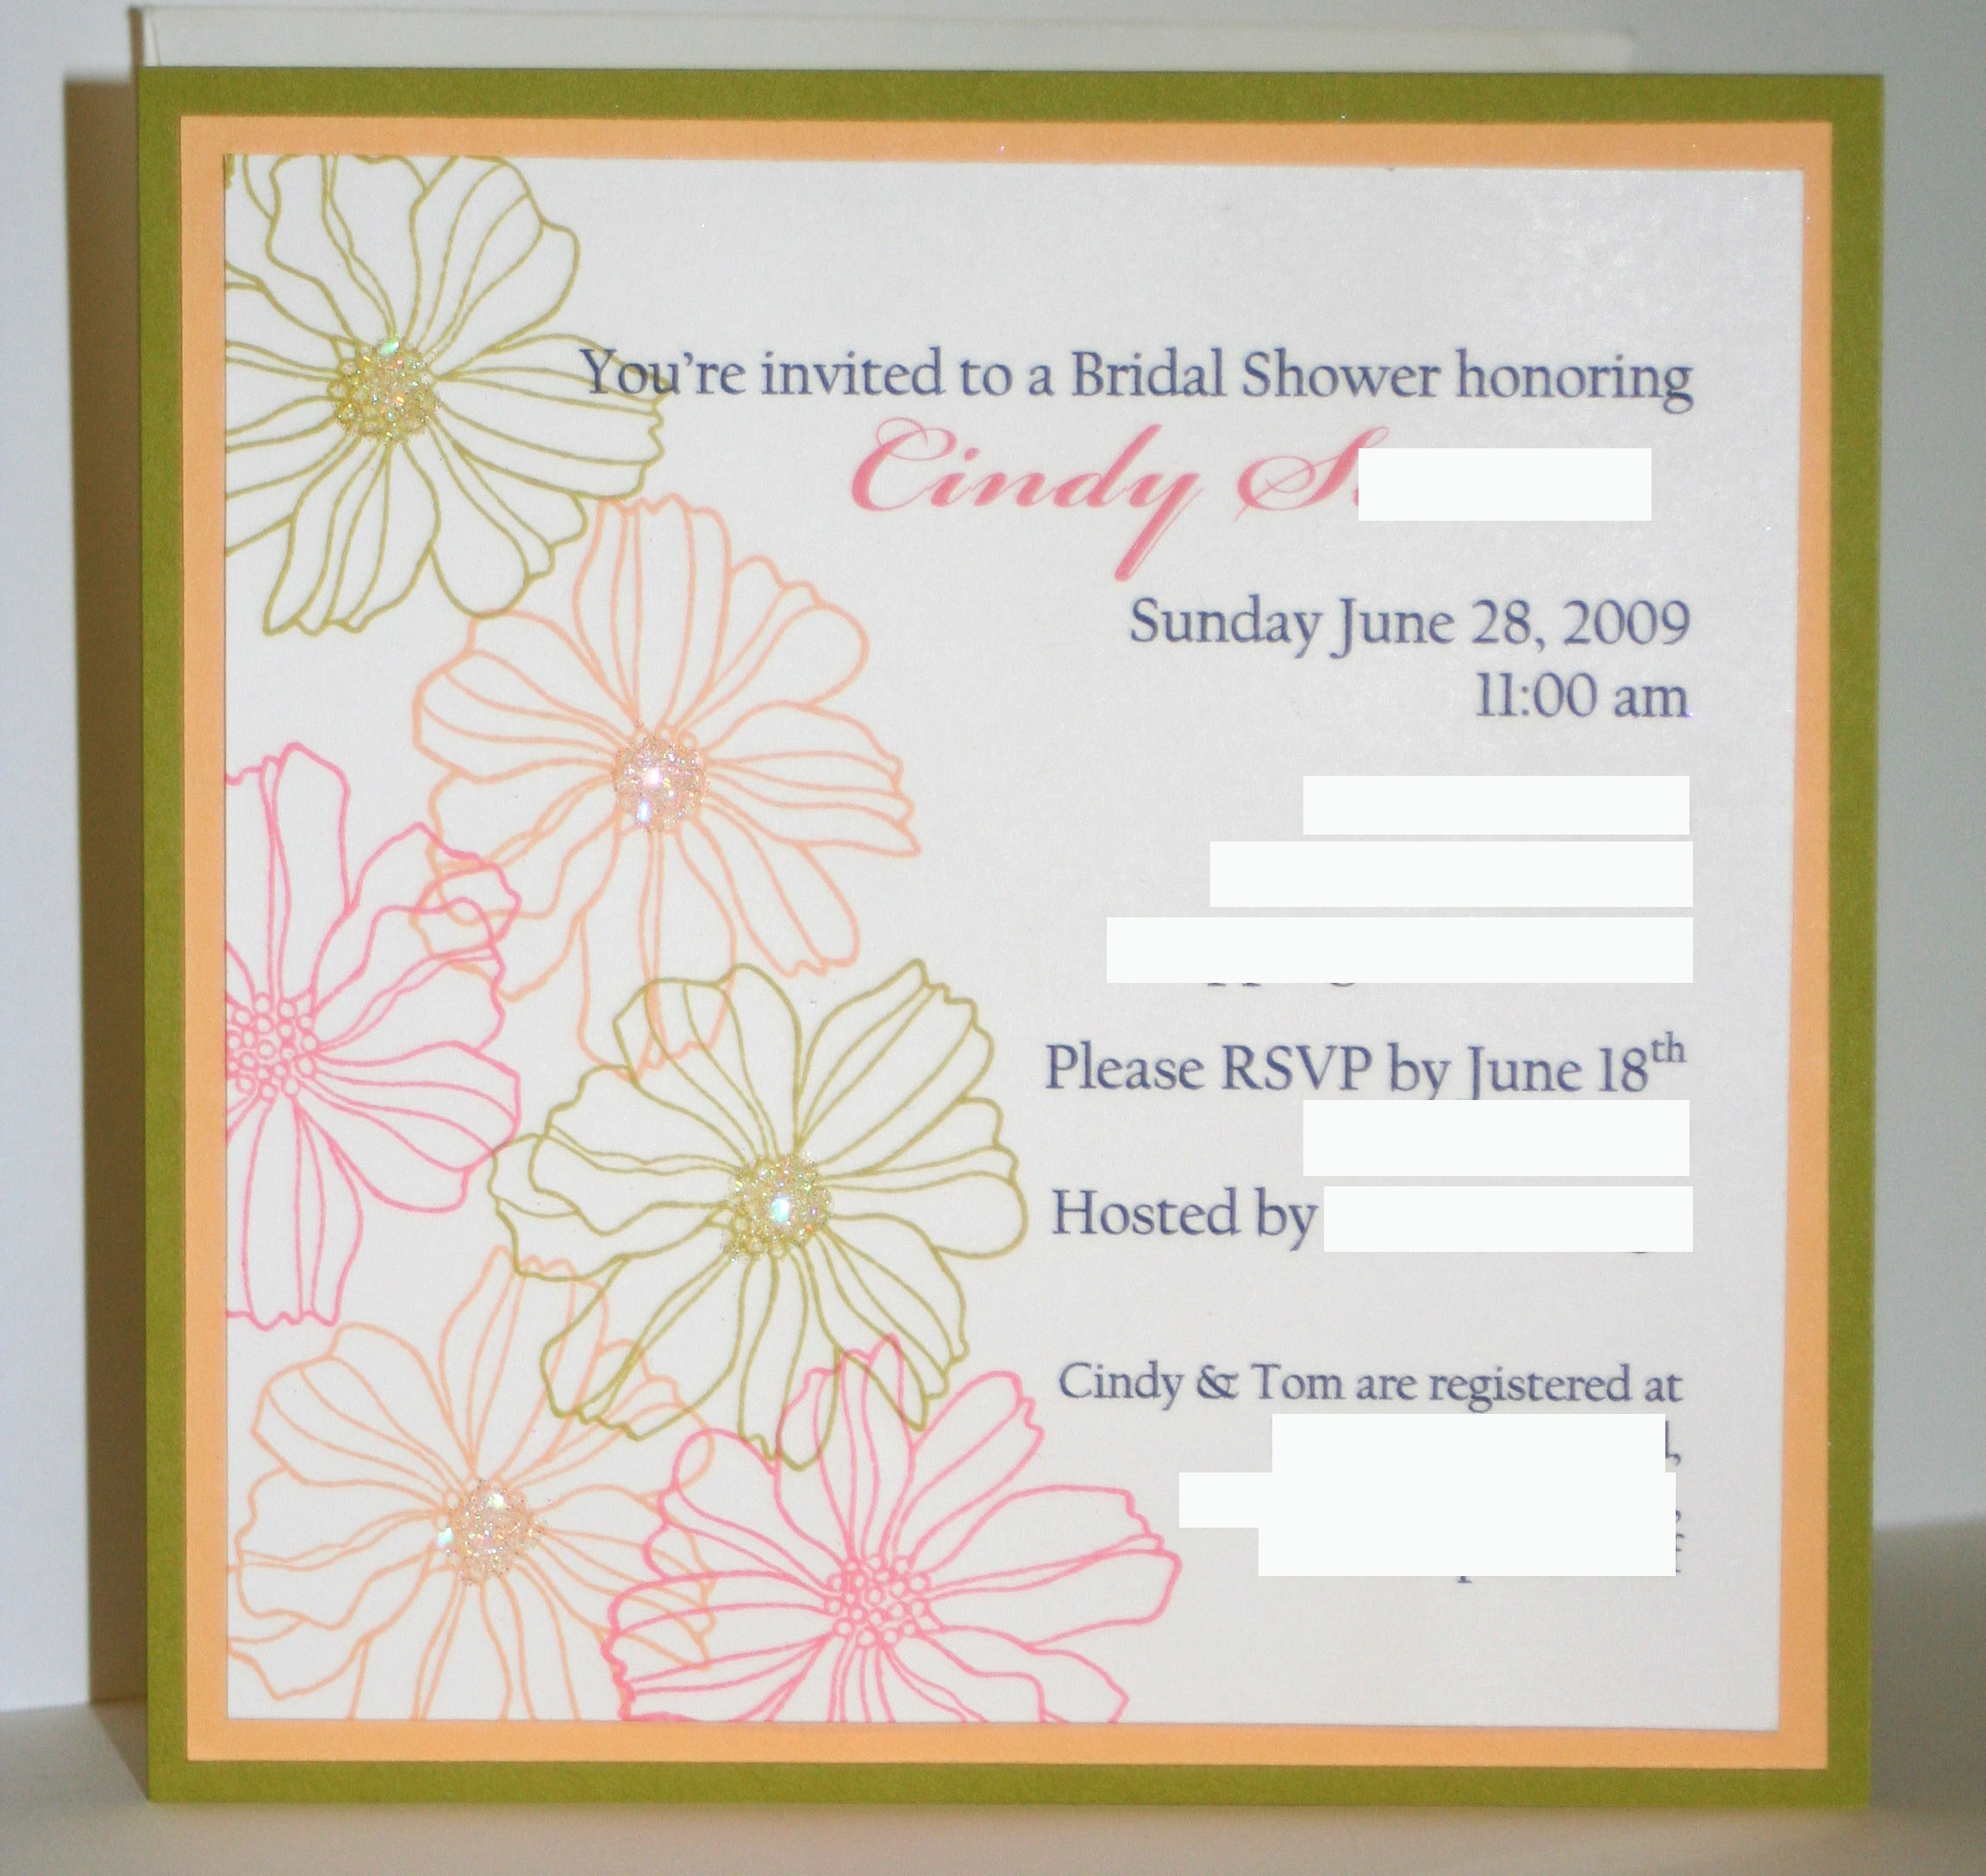
This was the final version of a shower invitation I made. I couldn’t post it until now so as not to ruin the surprise!
Card size is 5 1/4″ square. Background layer is Kiwi Kiss, followed by Apricot Appeal, and the top is Whisper White. I printed the invitations on my printer and then stamped the flowers from the Fifth Avenue Floral stamp set in three colors of ink: Kiwi Kiss, Apricot Appeal, and Cameo Coral. In the centers of the flowers, I dotted some glue using the 2 way glue pen and then sprinkled on Dazzling Diamonds glitter.
Envelopes used were Stampin’ Up! Medium Square Envelopes.
Categorised in Card Designs, Uncategorized

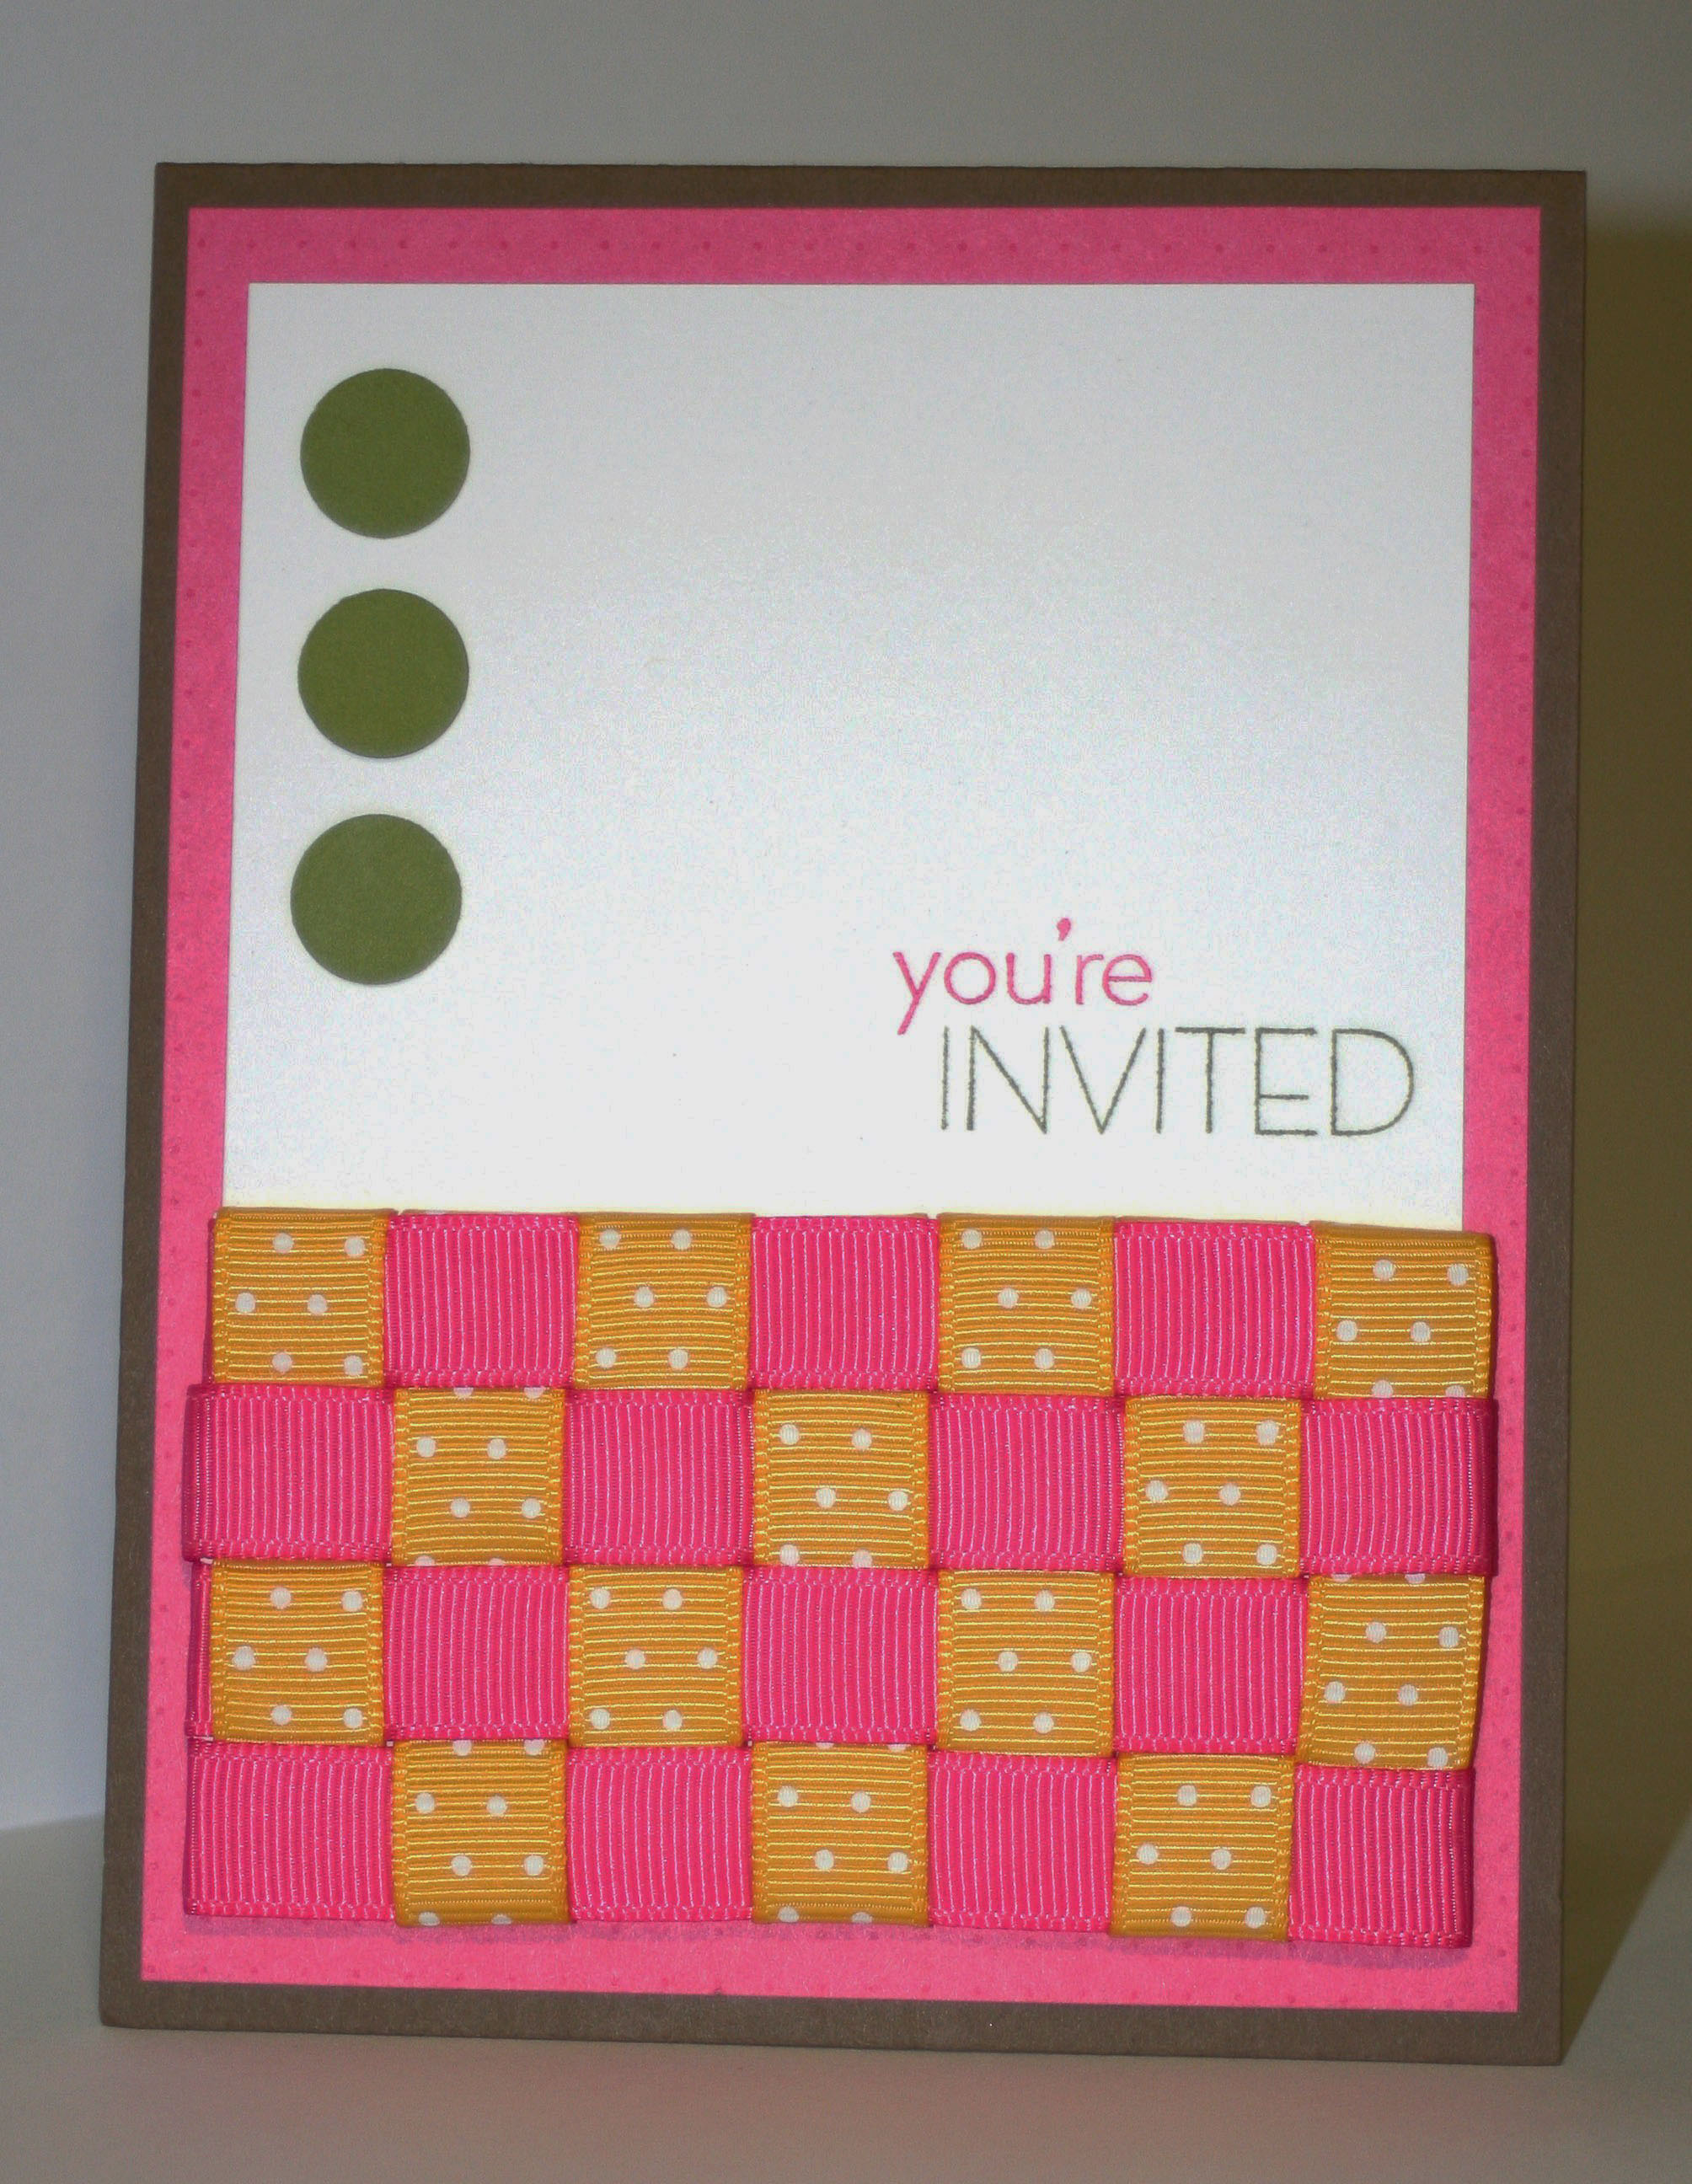
This ribbon weaving technique is so fun and really pops on a card. The idea came from the June 2009 issue of Stampin Success on page 16. I used the new In Color 1/2″ Polka Dot ribbon in this example.
The invitation is made from a 4 1/4″ x 11″ piece of Soft Suede card stock, folded at the top. Next, I used the Lovely Flowers DSP (Hostess Level 3 Bundle) which has a polka dotted Melon Mambo pattern as a 4″ x 5 1/4″ layer. The Whisper White card stock is cut to 3 3/4″ x 3 1/2″. I stamped it using the Introducing stamp set, inking it up with the Melon Mambo Marker and Old Olive Marker. Along the left side, I used my 1/2″ Circle Punch to make 3 Old Olive circles.
As for the woven ribbon panel, I started out with a piece of card stock 2″ x 3 1/2″. This “template” will vary depending on the width of your ribbon. Since I usede 1/2″ ribbon, I made sure my cardstock was sized as a multiple of 1/2″. It doesn’t matter what color card stock you use here, because it will be totally covered by the ribbon. I used the Melon Mambo Polka Dot ribbon, but instead of using the front, I reversed it to the solid back. I chose to leave the Crushed Curry Polka Dots right side up for contrast.
I first cut all my ribbon and laid it out to see how it would look. Then, I applied SNAIL to the back left side of the card stock “template” and attached all my Melon Mambo ribbon ends. Next, I did the same thing along the back top edge of the “template” and attached all my Crushed Curry ribbon ends. Carefully, start weaving the ribbon pieces, making sure to keep them straight and tight together. Little spaces here and there will add up and at the end, you’ll be off by too much! After weaving each row of Crushed Curry down to the bottom, I would wrap the end around the card stock and adhere it with SNAIL. At the end of the Melon Mambo rows, I would do the same. To adhere the finished ribbon panel to the card base, I used 4 strips of Sticky Strip along each side of the panel.
And that’s it–pretty easy once you get the hang of it, and it REALLY adds a fun touch to the card!
Categorised in Card Designs, Uncategorized


