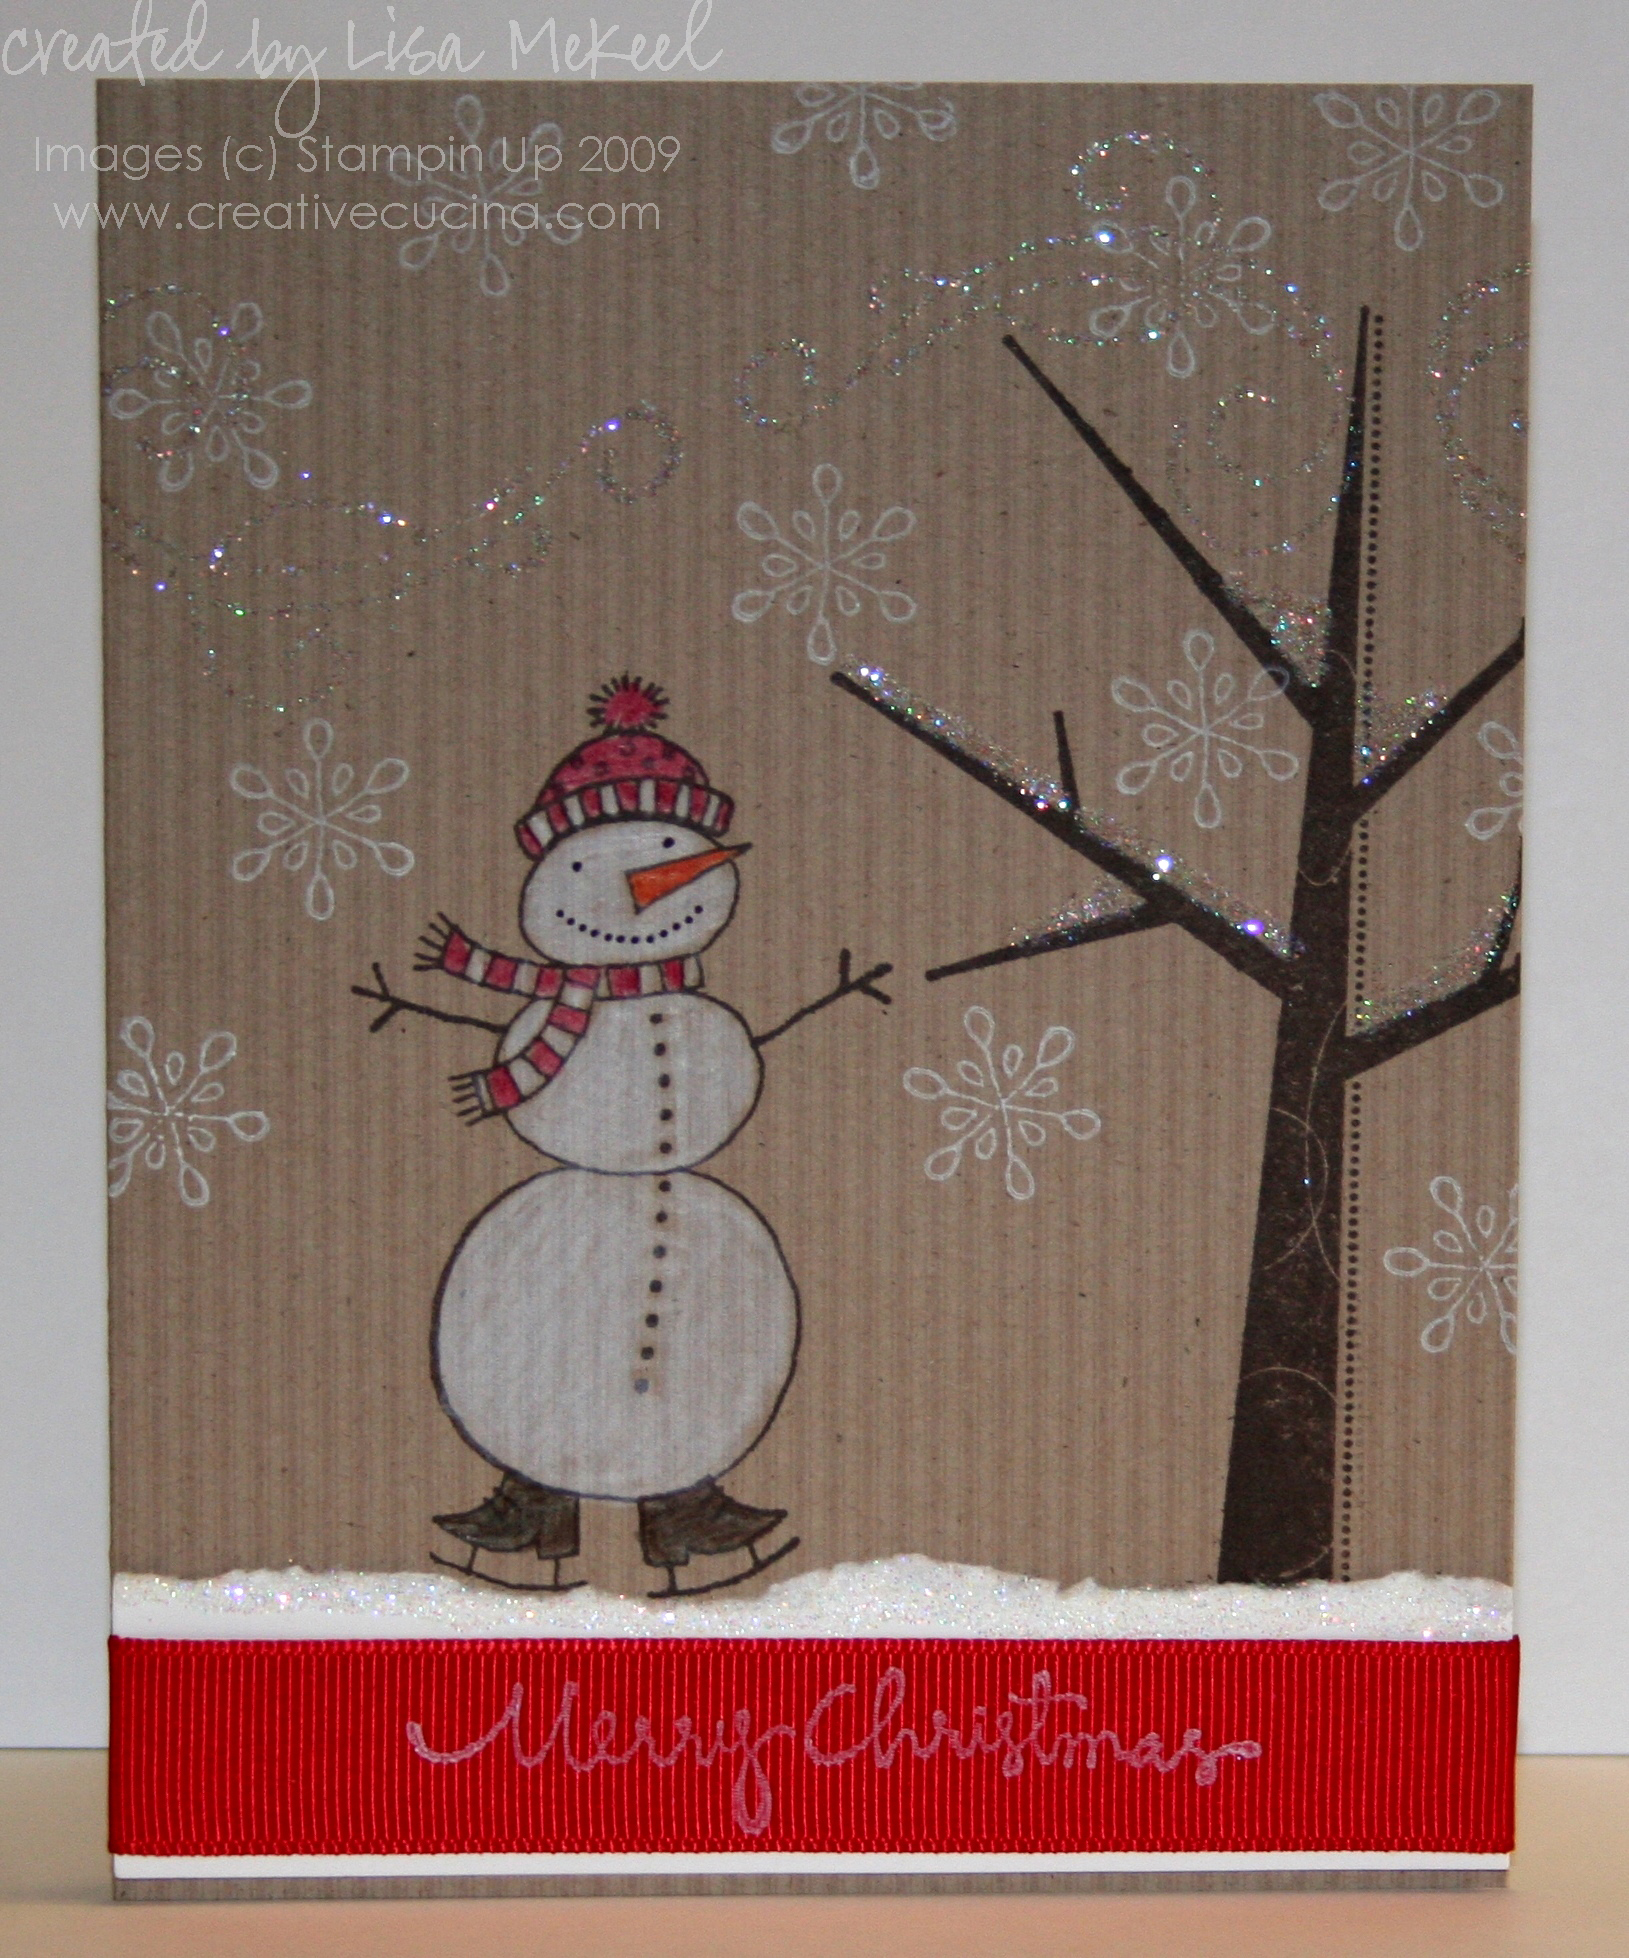
Today, I decided to break out the last 12×12 sheet of Striped Kraft cardstock (from Taste of Textiles) in my stash. I’ve always wanted to try stamping directly on the Kraft and then coloring in with white pencil. I’m not sure if that technique has a name, but I’ve always wanted to do “that”.

As I said, the card base is striped kraft (from retired Taste of Textiles) stamped with the tree from Season of Joy in Stazon Brown ink. The snowman is from Snow Buddies, stamped in Stazon Brown ink and colored in using Watercolor Pencils.
In the background, I stamped the snowflake from Snow Buddies in White Craft ink. The glittery swirl image, from the same stamp set, is stamped in Palette Glue Pad, then stamped on the paper. I added Dazzling Diamonds immediately after stamping. Along the branches I used my MS Glue Pen and Dazzling Diamonds glitter to make snow.
Along the bottom of the card, I took whisper white card stock and tore it for a snowy effect. To make it even more sparkly, I ran my glue pen along the torn edge and added more Dazzling Diamonds. Although hard to see in the picture, I also stamped “Merry Christmas” from Christmas Greetings in White Craft ink on the 5/8″ Real Red Grosgrain Ribbon. Then, I wrapped the ribbon around the white card stock and adhered it to the base.
Categorised in Card Designs, Uncategorized

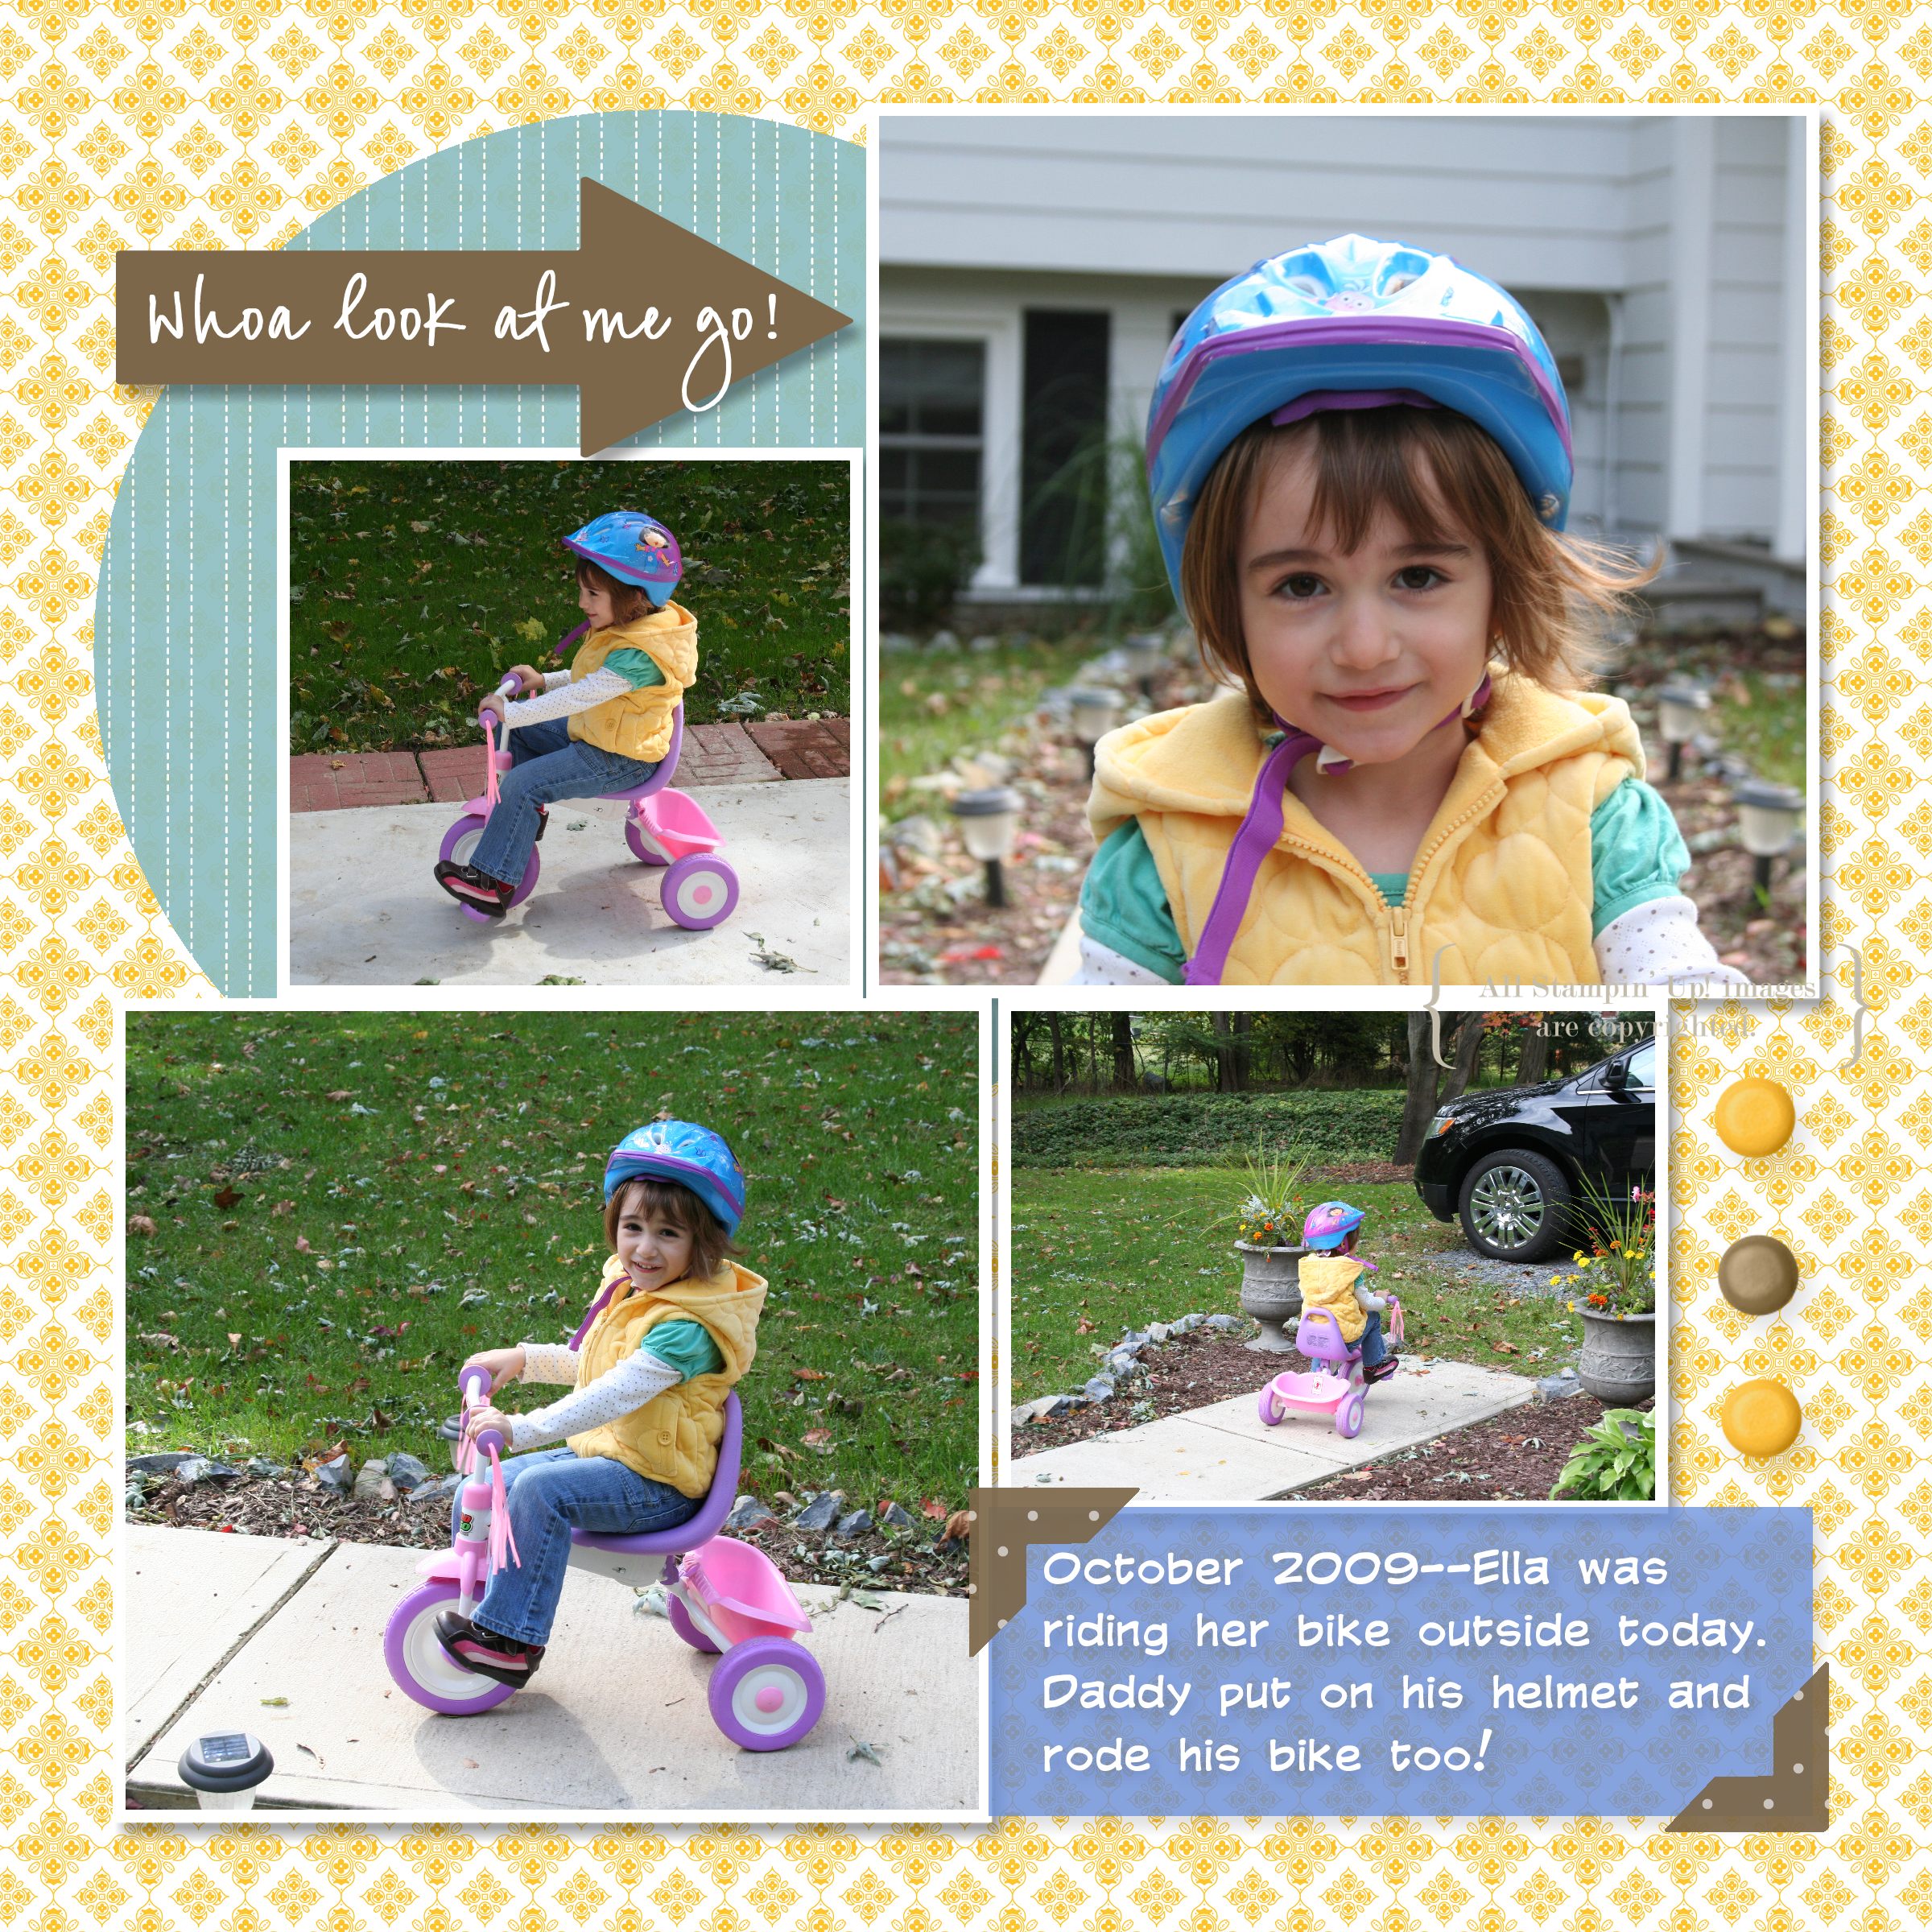
Page 1 of the layout. I used MDS to make the page, starting out with a 12×12 blank layout. I then chose one of the photo layouts and began customizing my accessories. The background is Textile DSP in Crushed Curry. The other colors are Bordering Blue and Soft Suede.

For Page 2 of the Layout, I also chose a photo layout and then customized the rest. The letters and brackets are from Summer Home Kit, the heart is from Hoppy Memories, and I added a Crushed Curry ribbon.
The photos were taken today, and in less than 30 minutes I had these pages done. Now I just have to print them.
Categorised in Scrapbook Pages, Uncategorized

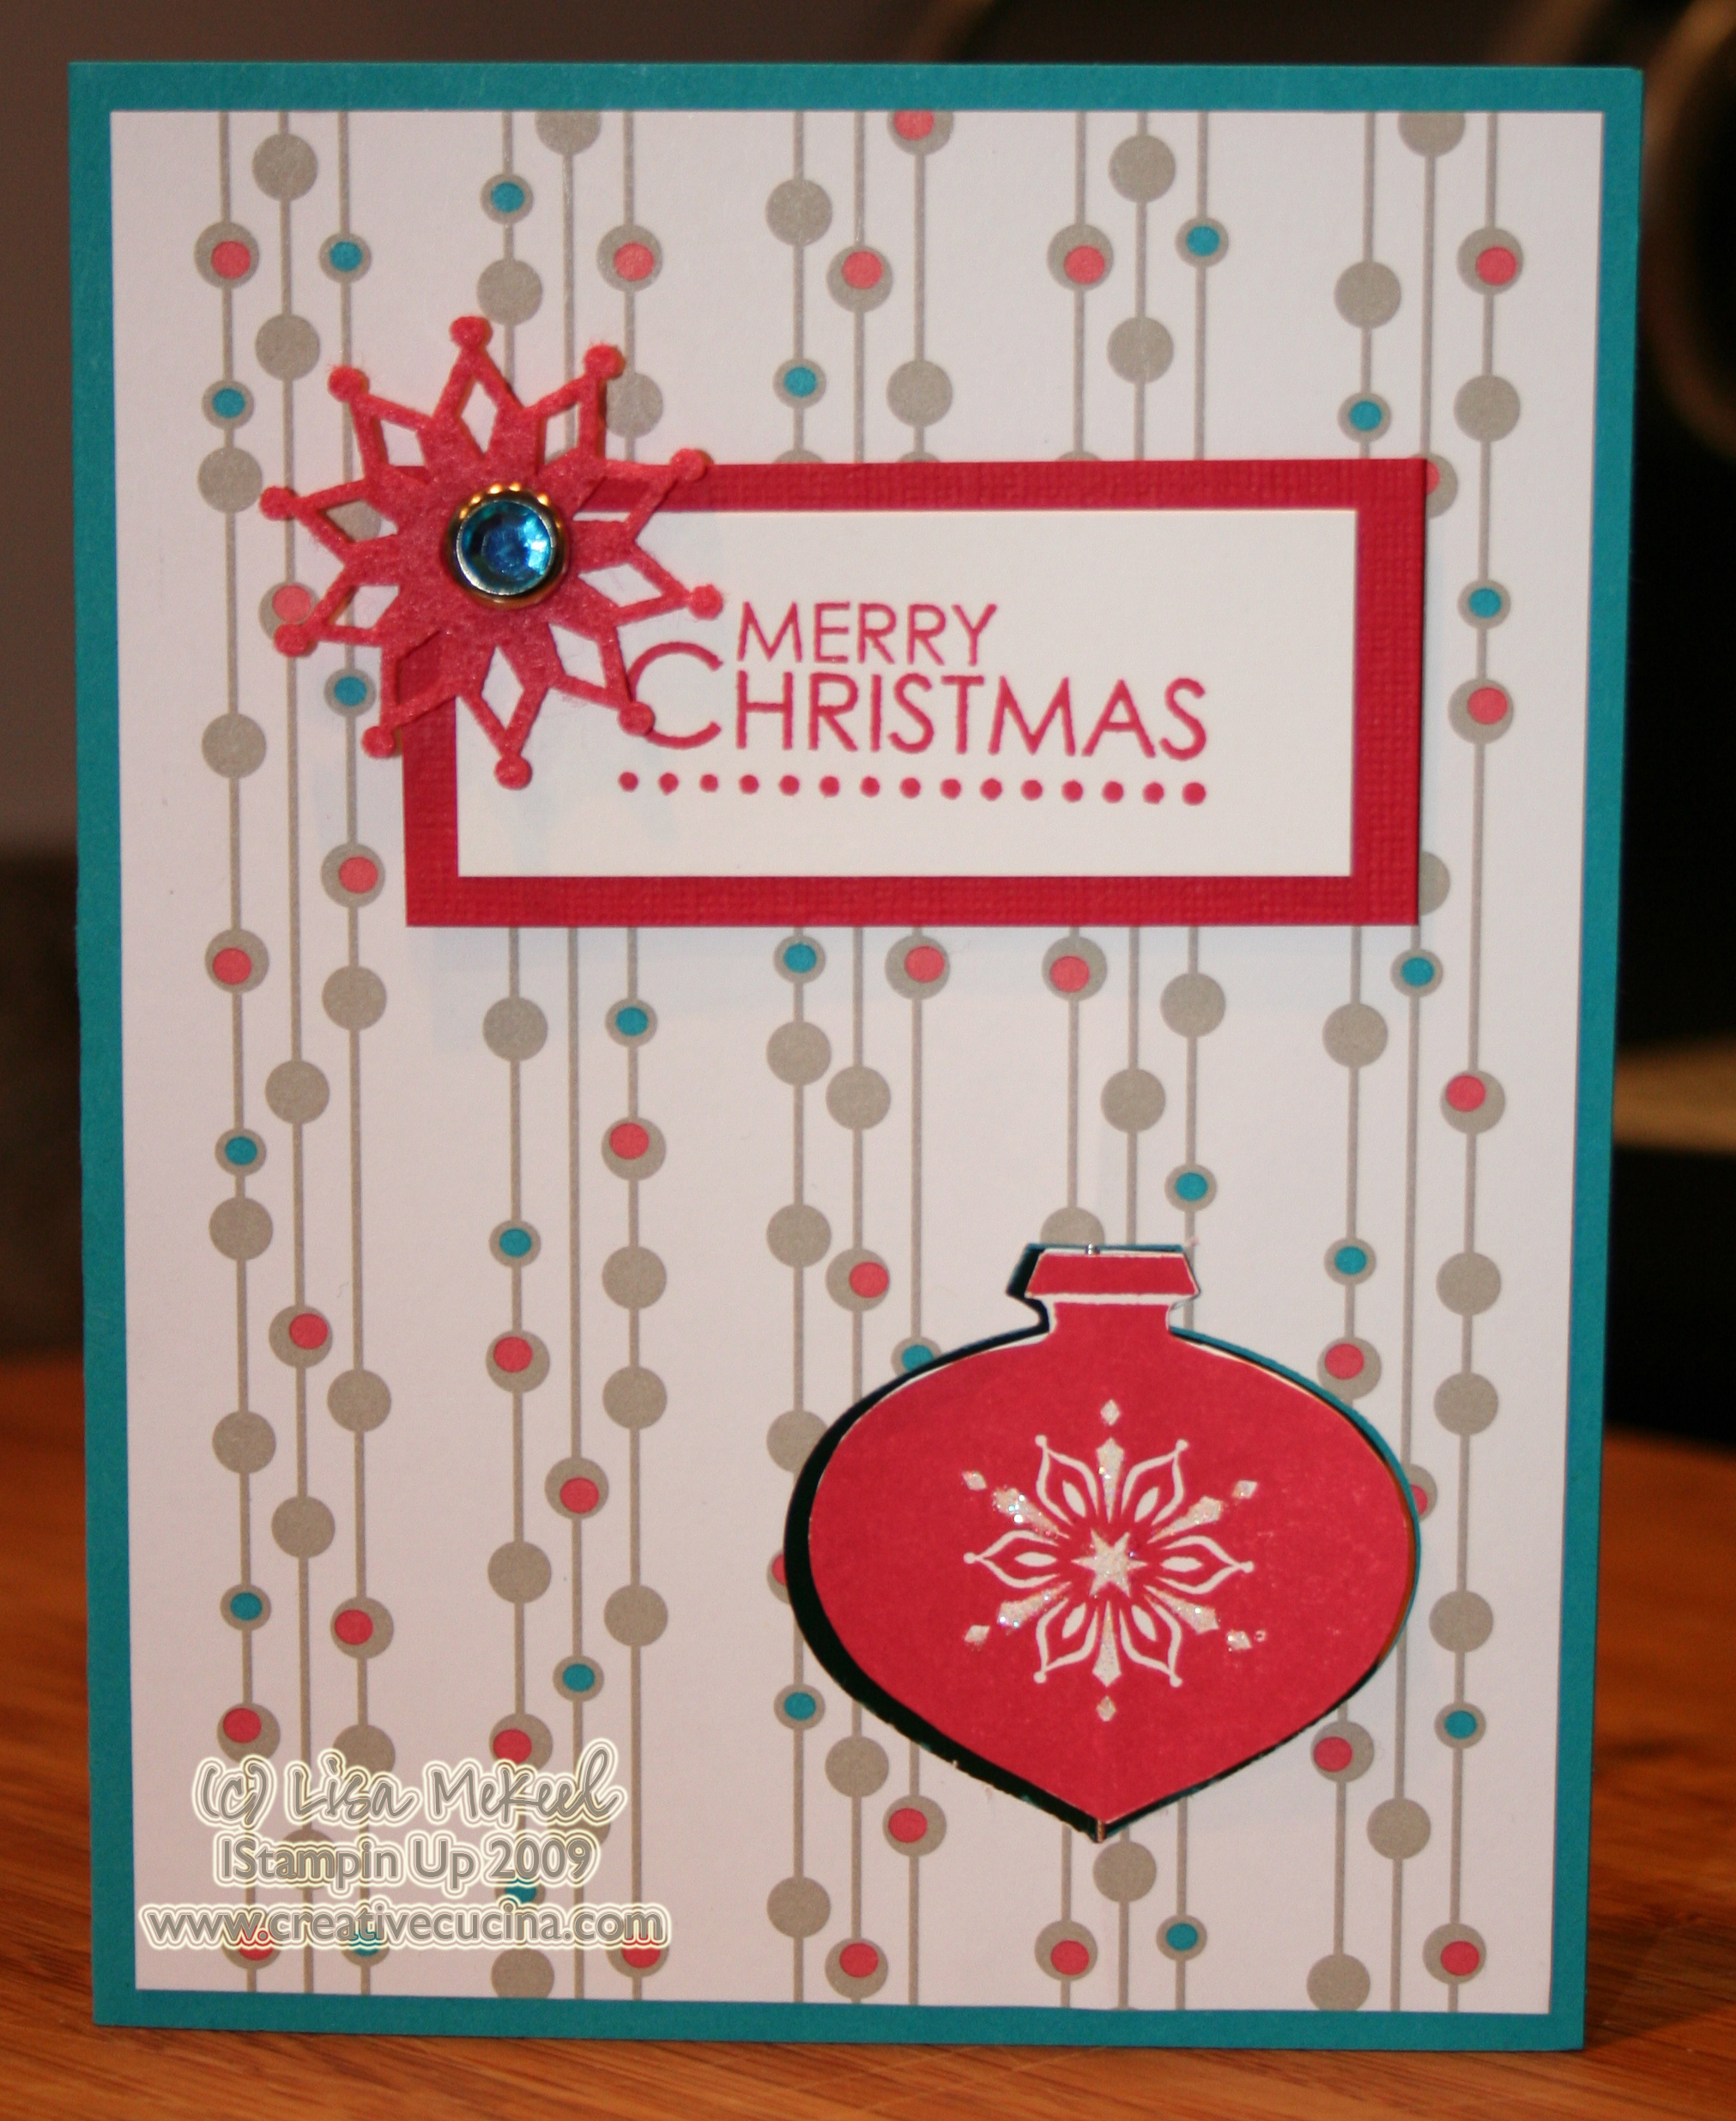
OK, here’s ANOTHER Delightful Decorations card but this time I changed it up a bit and made a suspension card (see tutorial here).
Card base is taken with teal, layered with Holiday Lounge DSP. To make the punch out, I lined up my DSP exactly where it was going to be on the card base and punched the two papers at the same time using the Ornament Punch. Then, I stamped the ornament from Delightful Decorations in Real Red ink on whisper white card stock TWICE, and trimmed them out using my paper snips. Because the punch is slightly larger than the stamp image, the suspension card will work if you trim very close to the image so it will fit in the punched out area.
Next, follow the directions for the suspension card and apply sticky strip to the back side of the DSP, above and below the punch out window. Then, put sticky strip on the back sides of the ornaments you cut out. Attach a piece of dental floss and apply your ornaments. (See tutorial for step by step instructions).
The sentiment is from Season of Joy, stamped in real red ink on whisper white. I layered it with real red textured card stock and then added a Circle Ice Rhinestone Brad and Felt Flurry in the upper corner.
Although hard to see, I added some Dazzling Diamonds to the snowflake on the ornament.
Categorised in Card Designs, Uncategorized


