Pumpkin Pecan Pie Cheesecake

October 15th, 2009 - No Responses

IMG_0846

This cheesecake is even more delicious than it sounds. Recipe is adapted from Pecan Pie Cheesecake in the 2009 Special Issue of Southern Favorites Taste of the South magazine. I had some pumpkin left over from another recipe and thought it would make a great addition to this cheesecake!

Ingredients

Crust

  • 1 3/4 cups graham cracker crumbs
  • 1/4 cup firmly packed brown sugar
  • 1/3 cup butter, melted

Pecan Pie Filling

  • 1 cup sugar
  • 1/3 cup dark corn syrup
  • 1/3 cup butter, melted
  • 2 large eggs
  • 1 1/2 cups chopped pecans
  • 1 teaspoon vanilla extract

Cheesecake Filling

  • 3-8 oz. packages cream cheese, room temperature
  • 1 cup firmly packed brown sugar
  • 1/4 cup white sugar
  • 3 tablespoons flour
  • 4 large eggs
  • 2/3 cup heavy whipping cream
  • 8 oz. pumpkin puree
  • 1 teaspoon vanilla extract

Directions

Preheat oven to 350 degrees. (Note oven temperature change later in the recipe)

  1. Spray or grease bottoms and sides of a 9″ springform pan and wrap the bottom with aluminum foil (optional step but it protects against leaks in the oven.)
  2. Assemble the crust: In a medium bowl, combine graham cracker crumbs, sugar, and melted butter until incorporated. Press into the bottom and slightly up the sides of the pan. Bake for 6 minutes. Remove from the oven and let cool.
  3. Prepare pecan filling: In a medium saucepan, combine all ingredients and set over medium heat until mixture comes to a boil, stirring constantly. Reduce heat to low and simmer until thick and syrupy, approximately 8 minutes, again stirring constantly. Remove from heat and allow it to cool slightly, 5 minutes or so. Pour the pecan  filling over the baked crust and set aside.
  4. Lower oven temperature to 325 degrees.
  5. Make the cheesecake filling: In the bowl of a stand mixer, add cream cheese and beat until creamy. Add brown sugar, white sugar, and flour, beating until fluffy. Add in eggs one at a time, beating well to incorporate after each addition and scraping the bowl often. Next, add whipping cream, pumpkin puree, and vanilla extract. Beat until combined.
  6. Pour cheesecake mixture over pecan pie filling.
  7. Bake for 1 hour at 325 degrees. After 1 hour, turn oven off and leave the cheesecake in the oven with the door closed for 1 more hour.
  8. Remove from oven and run a knife around the edge of the cheesecake. Do not loosen springform pan yet.
  9. Allow to cool completely and refrigerate at least 4 hours before serving.
IMG_0844

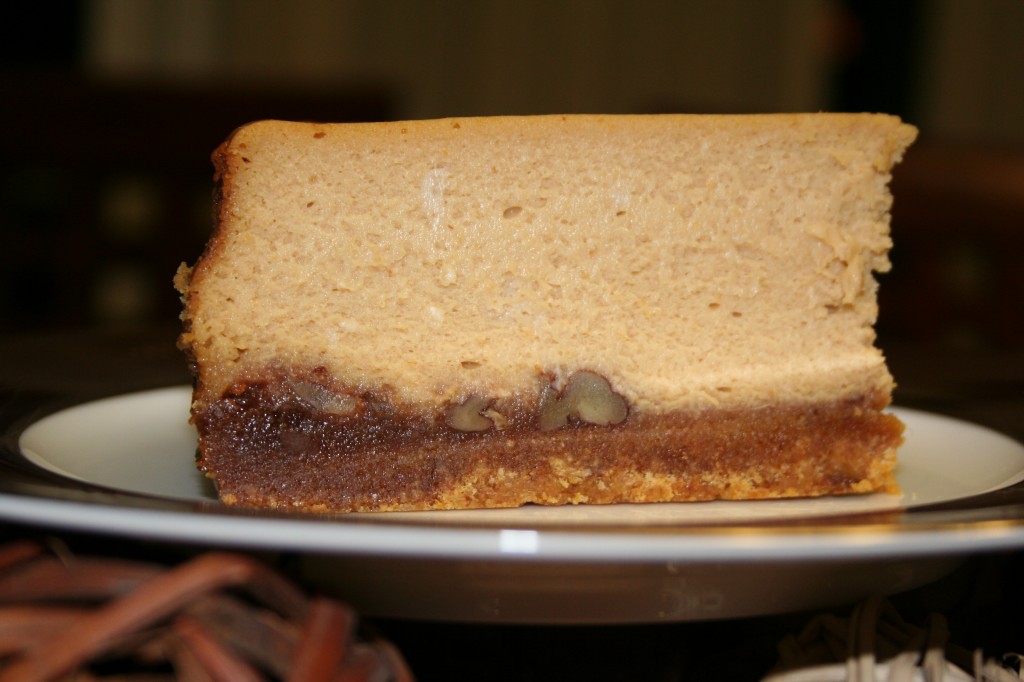
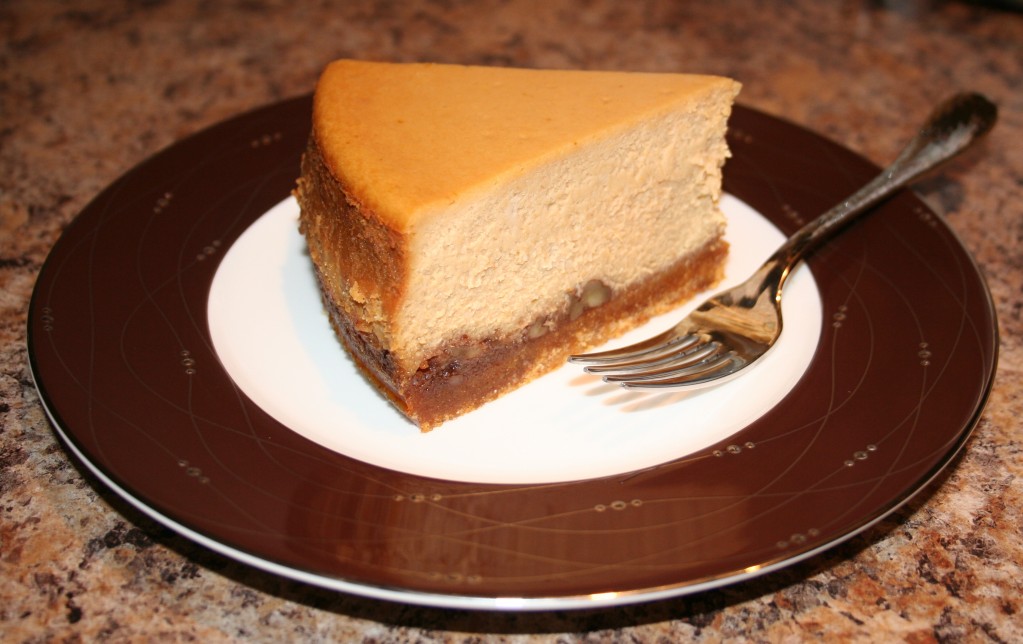
This really is SO good. Maybe it’s because I haven’t had cheesecake in a while, but this pumpkin pecan pie cheesecake hit the spot! The pecan filling sort of seeps into the crust, making a crunchy almost candy/cookie type crust. The cheesecake is creamy with a hint of pumpkin. It’s going to be on my Thanksgiving menu for sure! And despite all the sugar it’s not overly sweet, like pecan pie can be sometimes.
IMG_0831

The Magic Pumpkin–2 Ways

October 14th, 2009 - No Responses

IMG_0811

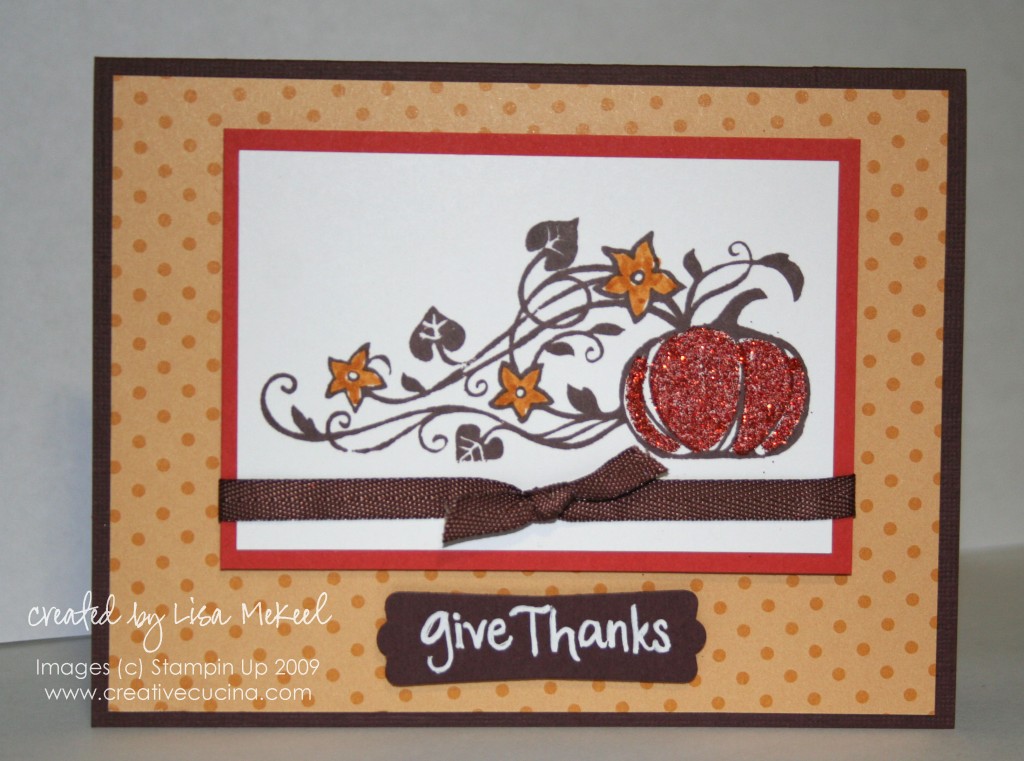
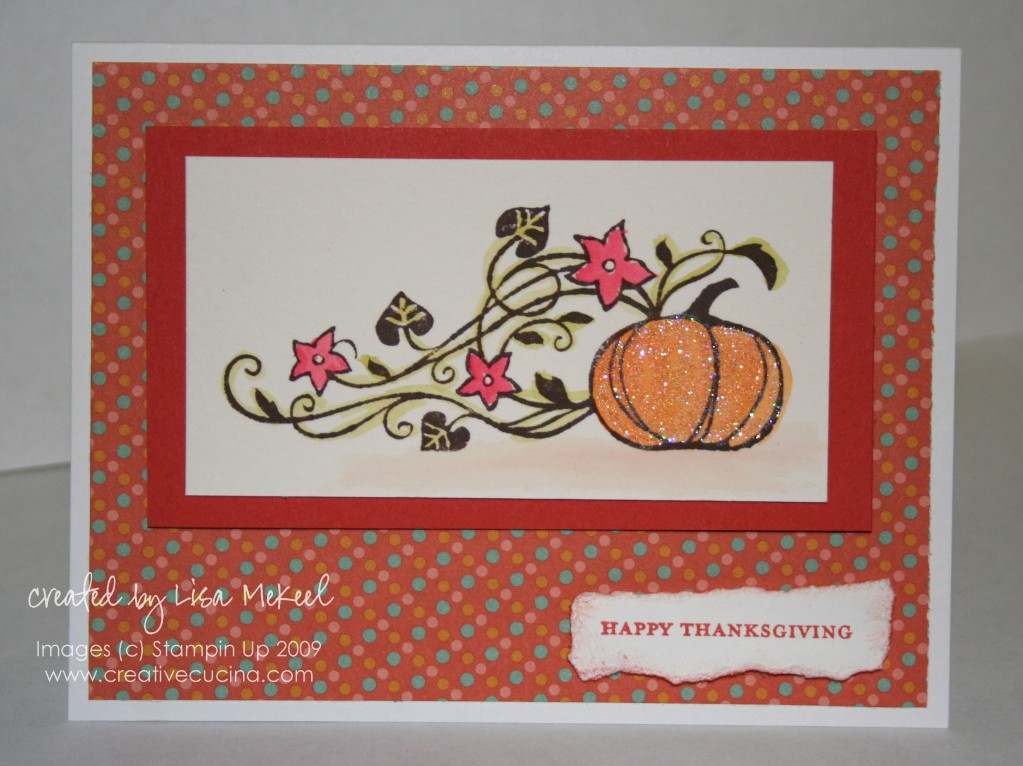
Something about the glitter on this pumpkin just makes me smile. I think it makes the card. The image is from a clear stamp (which I swore I’d never buy again…but I had a gift certificate…and it was there…and I bought it). I stamped the pumpkin image onto Watercolor Paper with Brown Stazon ink. Then, I colored it using Aquapainter and different color inks. After coloring in the pumpkin, I added Dazzling Diamonds with my 2 Way Glue Pen. That is layered onto dusty durango card stock.

The card base is white card stock, layered with Autumn Vines DSP. The sentiment is from Teeny Tiny Wishes, stamped in dusty durango ink onto whisper white card stock that I tore and sponged the edges.

IMG_0813

This card uses the same stamp but I changed up the colors a bit. Base is chocolate chip card stock, layered with Autumn Vines DSP, this time in a polka dot more mustard pattern.

The image layer was stamped on Whisper White card stock in Brown Stazon ink again, with just the flowers colored in More Mustard marker. I added Supernova Fine Cosmo Glitter in Orange to the pumpkin using the 2 Way Glue Pen. I then layered some dusty durango card stock, tied some Chocolate Chip Twill 1/4″ Ribbon and attached it to the base using dimensionals.

The sentiment is hand written in White Gel Pen on chocolate chip card stock I punched out using the Modern Label Punch.

Christmas Card Money Holders

October 13th, 2009 - No Responses

Edited to Add: Please note the dimensions for these cards should measure no more than 6 1/2″ x 3 1/4″ when folded. I accidentally typed 3 1/2″ when I posted originally. I’m sorry for any confusion!

These cards are longer than the ones I usually make, and are meant to hold money or a check without having to fold the bill or check in half. For all of these projects, overall card size is 6 1/2″ x 3 1/4″, which correspond to Stampin Up’s Small Open-End Envelopes. Inside, I lined the card with whisper white or very vanilla card stock cut to 3″ x 6 1/4″. I also used the Slit Punch to make a little “lip” in the card to hold the bill or check, or even a gift card.

IMG_0788

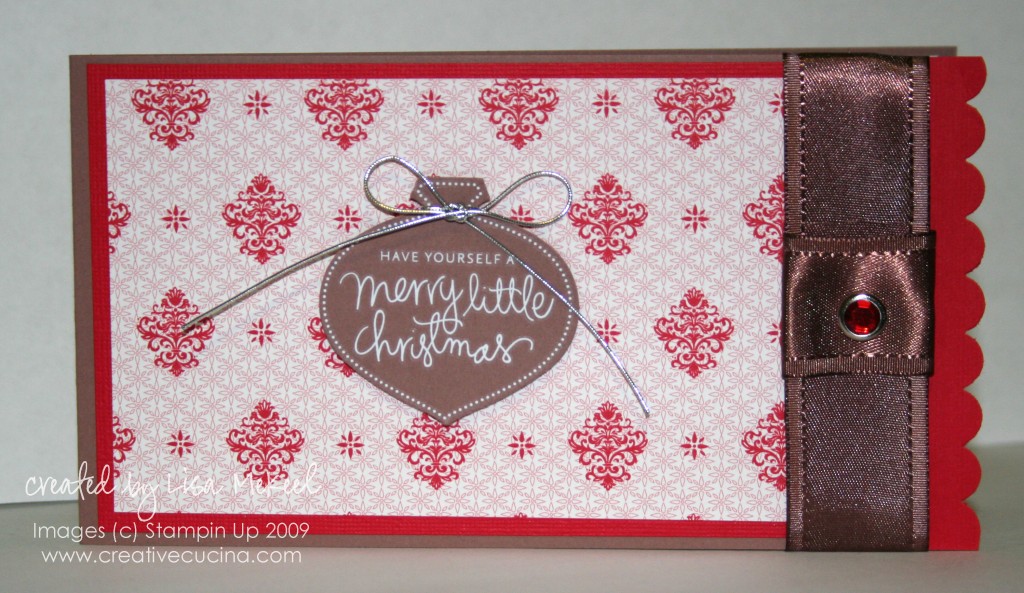
The first card was made from a 3 1/4″ x 12″ piece of close to cocoa card stock, scored at 5 1/2″. This will leave the back flap of the card 6 1/2″ long and the front flap an inch shorter. To make up the difference, I attached a strip of real red card stock that I scalloped with the Scallop Edge Punch.

Chocolate Chip Satin Ribbon covers any seams. I wrapped the ribbon around the entire card front and glued the top piece to the bottom piece of ribbon with SNAIL. Then, I took a shorter piece and wrapped it around the ribbon, creating a loop that I secured with glue dots. Slide the seam side underneath the vertical ribbon strip and using the cropadile, punch a hole through all the layers of ribbon. Add a Fire Circle Rhinestone Brad and there you have it!

The card front is layered with real red textured card stock and Christmas Cocoa DSP. In the center, punched out a close to cocoa ornament using the Ornament Punch and applied a rub on from Merry & Bright Rub Ons. Some Silver Elastic Cord was tied in a bow around the neck of the ornament and then it was attached to the base with dimensionals.

IMG_0790

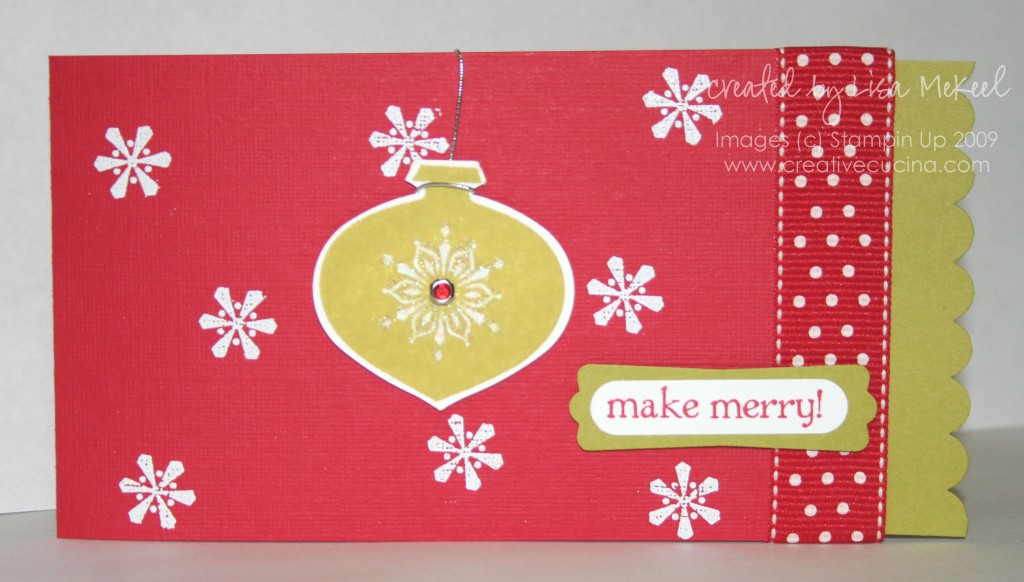
Here is another long card made the same way described above. Base is real red textured card stock, with a kiwi kiss scalloped edge. Real Red Polka Dot Ribbon hides the seam.

I stamped the snowflake from Merry (retired) in Versamark and heat embossed it with White E.P. The ornament from Delightful Decorations was stamped in Kiwi Kiss ink on whisper white and punched out using the Ornament Punch. I added dazzling diamonds glitter to the center of the ornament and a Fire Circle Rhinestone Brad. Next, I tied Silver Elastic Cord to the ornament and wrapped it around the inside.

The sentiment is from Berry Christmas stamped in real red ink on whisper white that I punched out using the Word Window Punch layered on a kiwi kiss Modern Label Punch. Both the ornament and sentiment are popped up on dimensionals.

IMG_0795

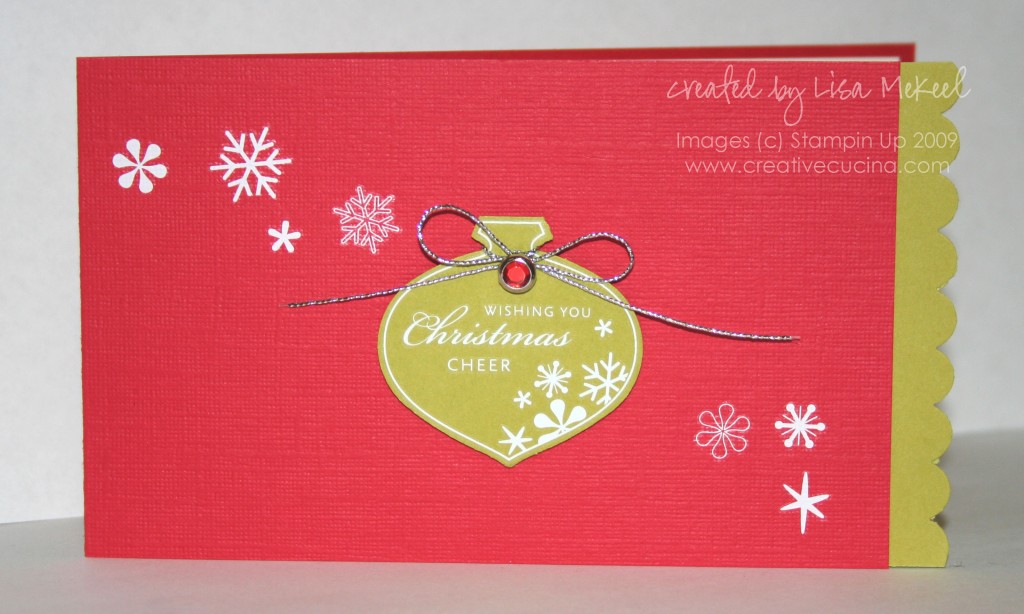
Using the same colors as above, I only used rub ons from Merry & Bright Rub Ons to decorate this card. The ornament is kiwi kiss card stock, punched with the Ornament Punch. I added a Fire Circle Rhinestone Brad and Silver Elastic Cord tied in a bow around the neck of the ornament, which is attatched to the base with dimensionals.

IMG_0793

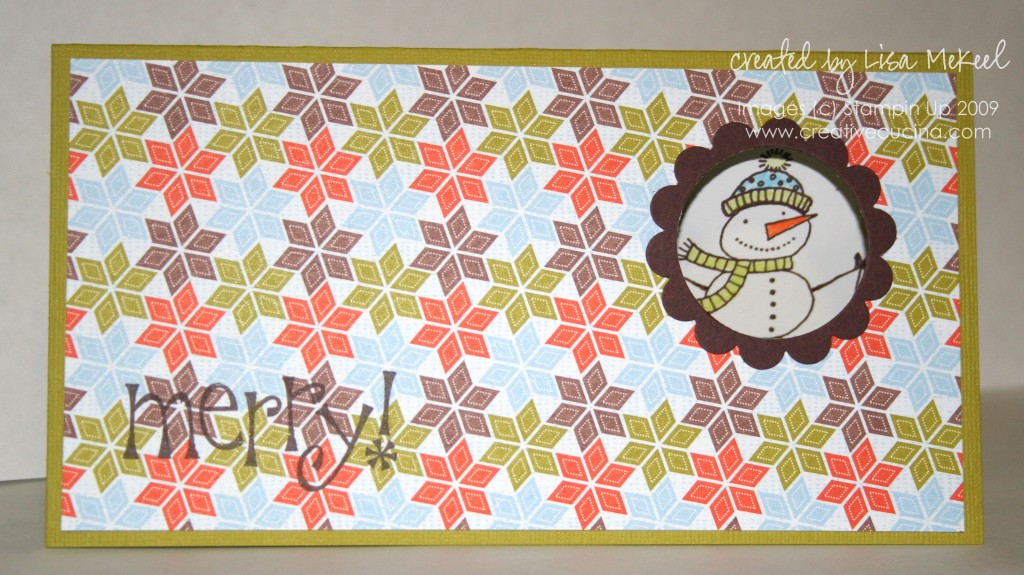
This might be my favorite one of the bunch! The base for this snowman card is cut to 6 1/2 x 6 1/2″, scored on one side at 3 1/4″ so the fold is on the top edge. Card base is textured Kiwi Kiss, layered with the Bulk Buy Holiday DSP that was part of the Inventory Clearance. I attached the DSP to the base and then using my 1 3/8″ Circle Punch, punched a hole through both layers of paper.

To get the scallop window, I took a piece of Chocolate Chip card stock and punched a 1 3/8″ circle. Then, I took the Scallop Circle Punch and centered it over the 1 3/8″ hole I just punched from the chocolate chip card stock. Punch it out and you have a scallop circle window! Glue the scallop circle window to the front of the card.

Inside, I lined the card with a 3″ x 6 1/4″ piece of whisper white card stock. Making small pencil marks, I drew where the window lined up with the inside of the card. Then, I stamped the snowman from Snow Buddies in Brown Stazon ink and colored him in with Watercolor Pencils and Blender Pen. Around the base of the snowman, I added Dazzling Diamonds glitter (not shown).

Outside, I stamped the “Merry” sentiment from Merry (retired) in Brown Stazon ink in the lower left corner of the card.

IMG_0804

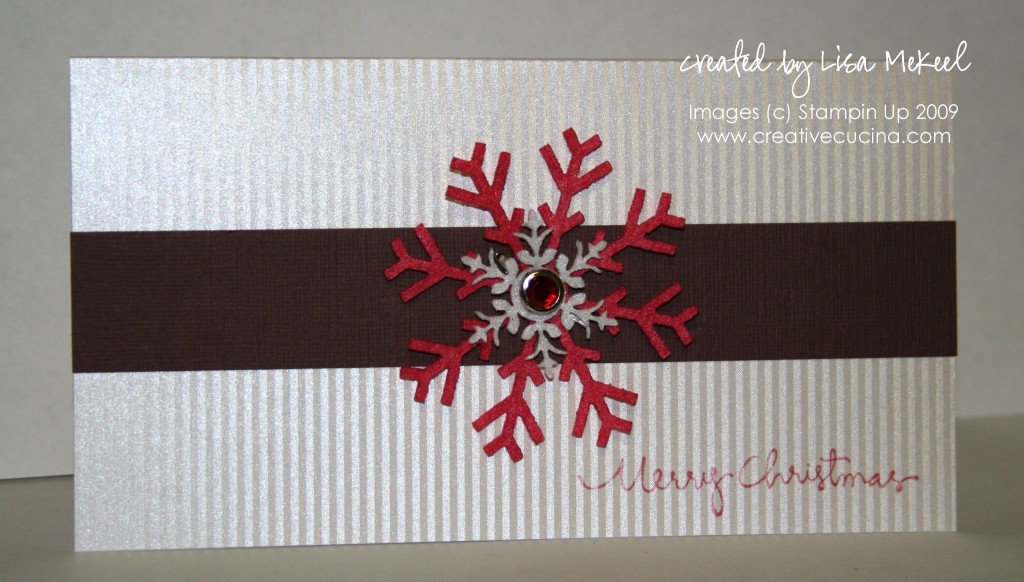
Finally, I made a money holder card using the shimmery white paper from Taste of Textiles (retired). This is another top fold card, cut to 6 1/2″ x 6 1/2″, scored at 3 1/4″ with the fold on top. I added a strip of textured chocolate chip card stock across the front and layered two snowflakes from Felt Flurries. In the center, I punched a hole using the cropadile and added a Fire Circle Rhinestone Brad, which I adhered using a large glue dot.

The sentiment, stamped along the bottom right corner, is from Christmas Greetings and is in real red ink. Inside, I stamped the corresponding sentiment from the same set (not shown).

Bad Behavior has blocked 402 access attempts in the last 7 days.

css.php