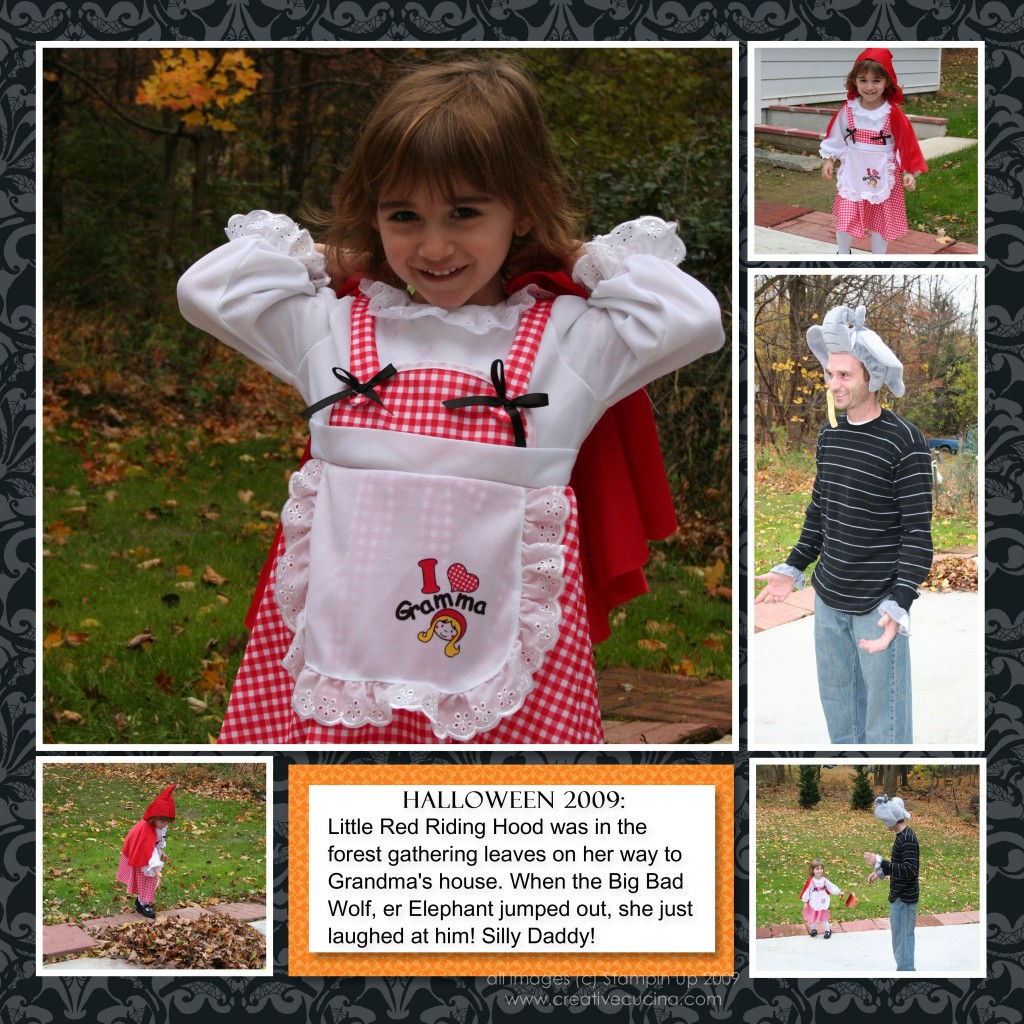
Page 1: This is before we went out trick or treating with Ella. The elephant costume was a leftover from last year. I took it out just for the heck of it and made my husband try it on. Then I couldn’t resist taking his picture. He didn’t find it as funny as I did. I’m still laughing…
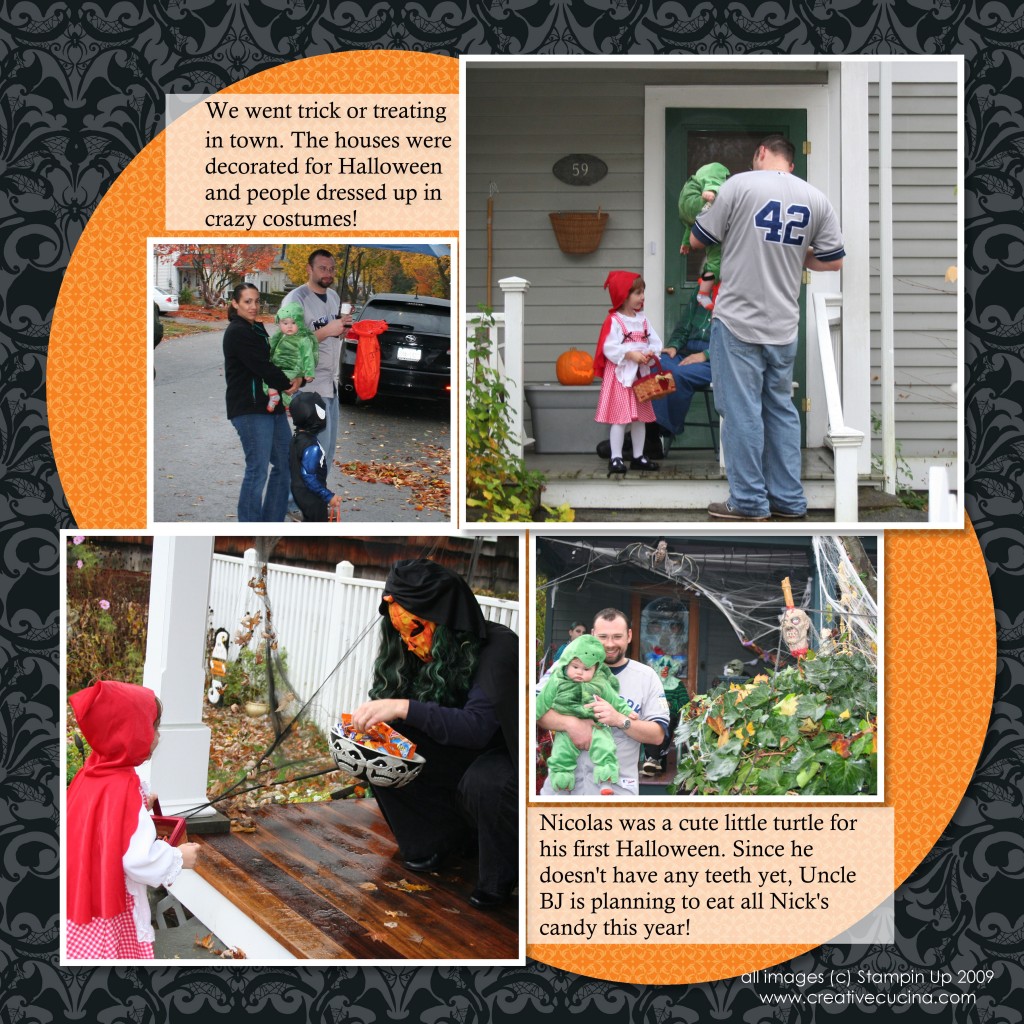
Page 2: Scenes from trick or treating. The street we went to is known for its decorations and everyone goes all out. My nephew was a turtle–poor kid. At least he didn’t cry like mine did her first halloween. These pages were made with My Digital Studio using one of the photo layouts and then I added paper from Cast A Spell (one of the latest downloads available).
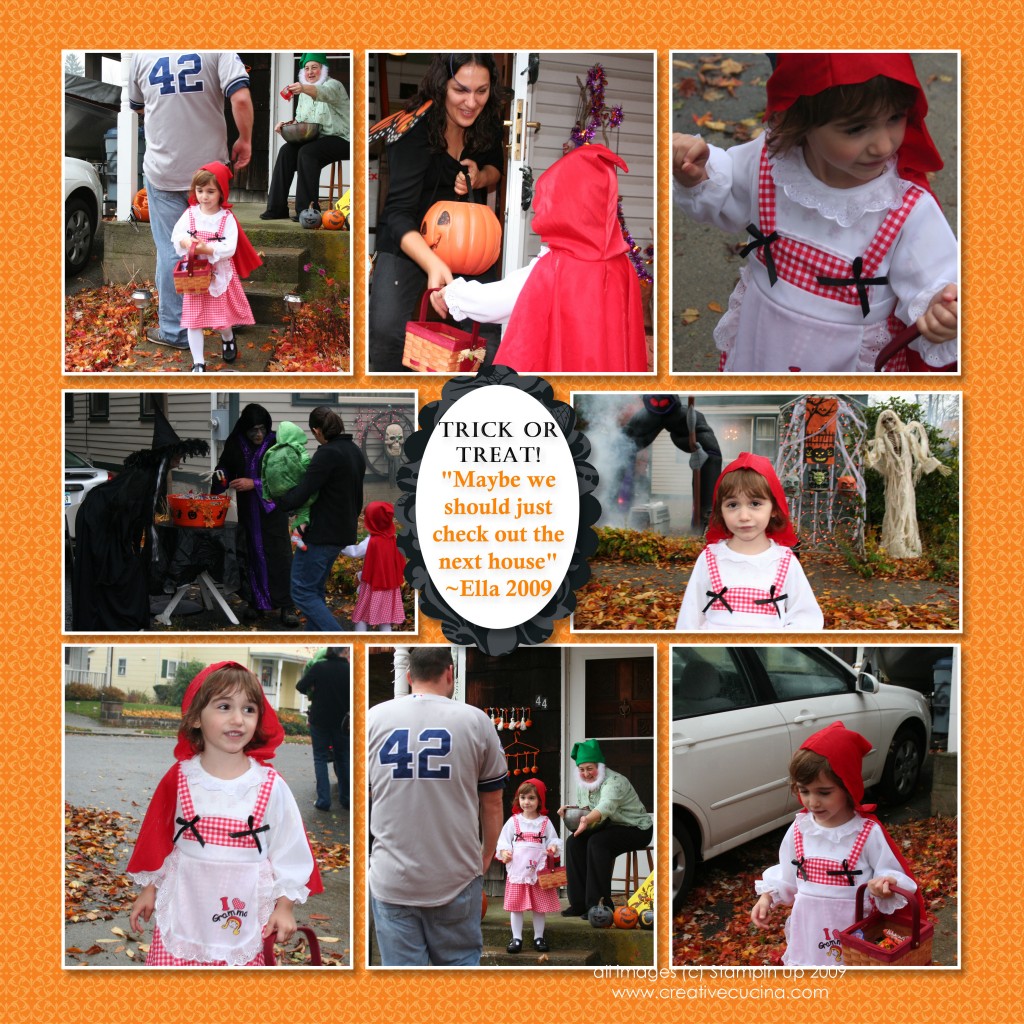
Page 3: More scenes from trick or treating. Ella got the concept pretty early on that she had to say “Trick or Treat”, then take a candy. “Thank You” was hit or miss, we had to remind her a few times. And after every house she left, she would say “Maybe we should just check out the next house”. I guess she was really excited and couldn’t wait to get some more candy!
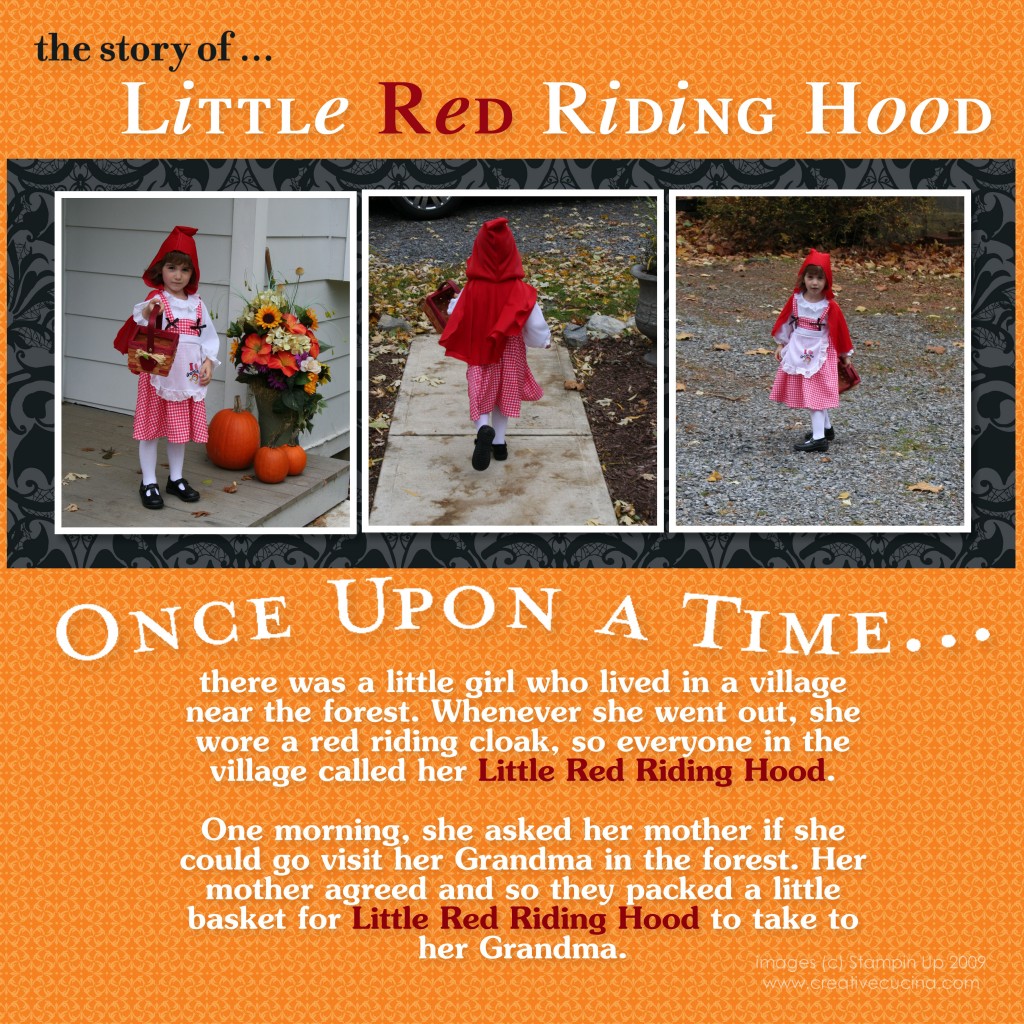
Page 4: The story of Little Red Riding Hood. This page has a few pictures of her skipping along and I couldn’t resist putting part of the story in. She had her little basket and her costume apron said “I love Gramma”. It was all just too cute!
Categorised in Scrapbook Pages, Uncategorized
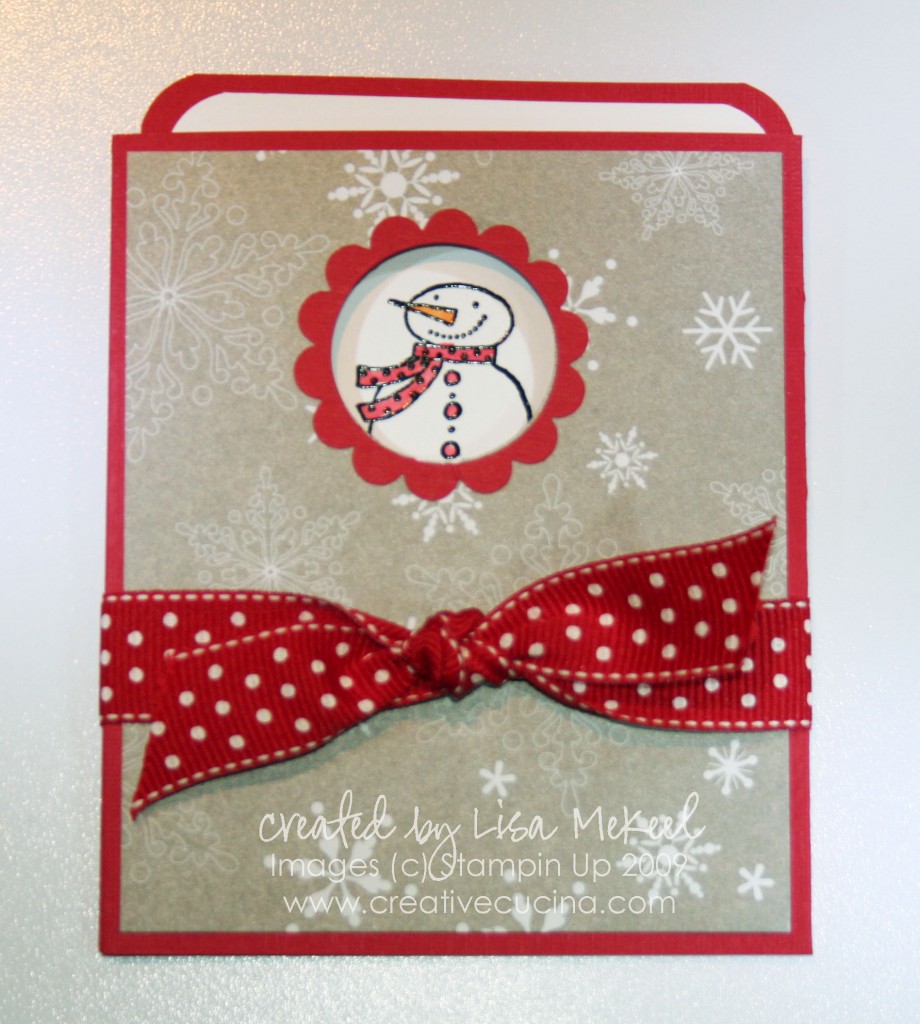
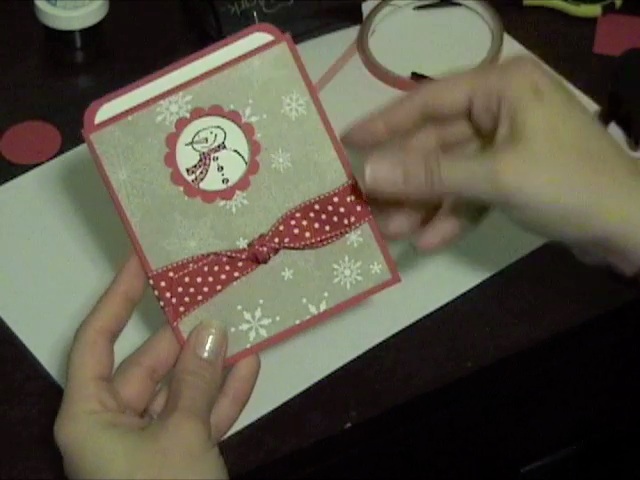
This is the card I made in my video tutorial (see previous post). Outside pocket was made using Real Red textured card stock, with Christmas Cocoa DSP on the front panel. Inside, the slide out portion was made using Real Red and Whisper White card stock, with the upper corners rounded by the Corner Rounder Punch.
Stamp is from Snow Buddies (a Level 2 Hostess set) that I embossed with black embossing powder, colored in with Aquapainter. The window on the front was made from 1 3/8″ Circle Punch and Scallop Circle Punch. The ribbon is Real Red Polka Dot Ribbon.
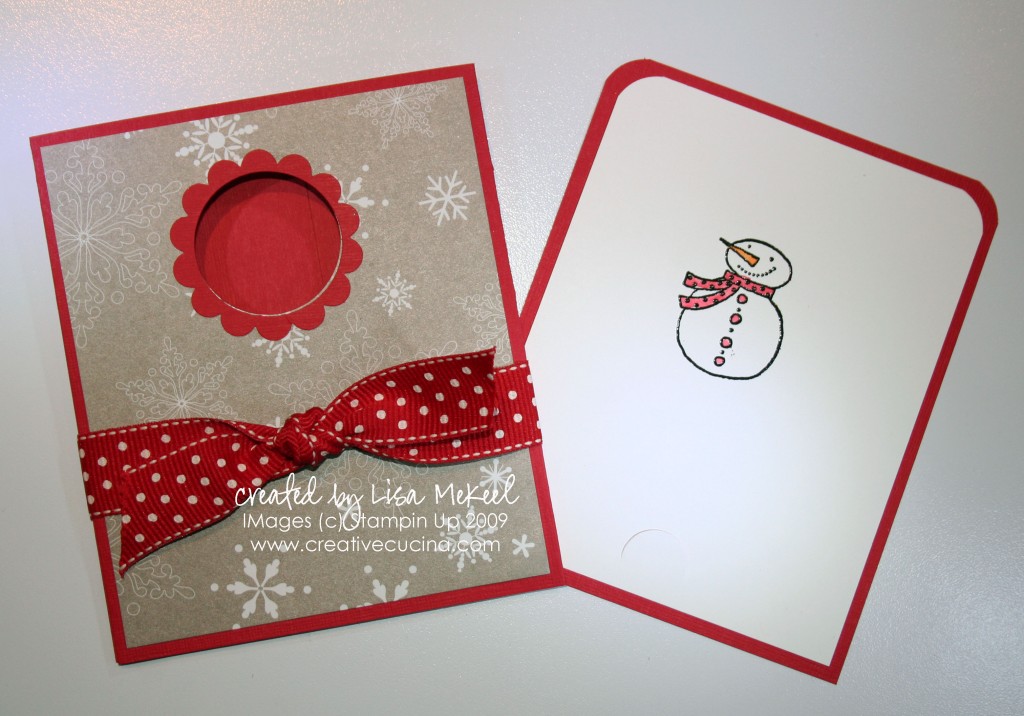
It’s hard to see in the photo, but I punched the insert with the Slit Punch to make it a gift card holder.
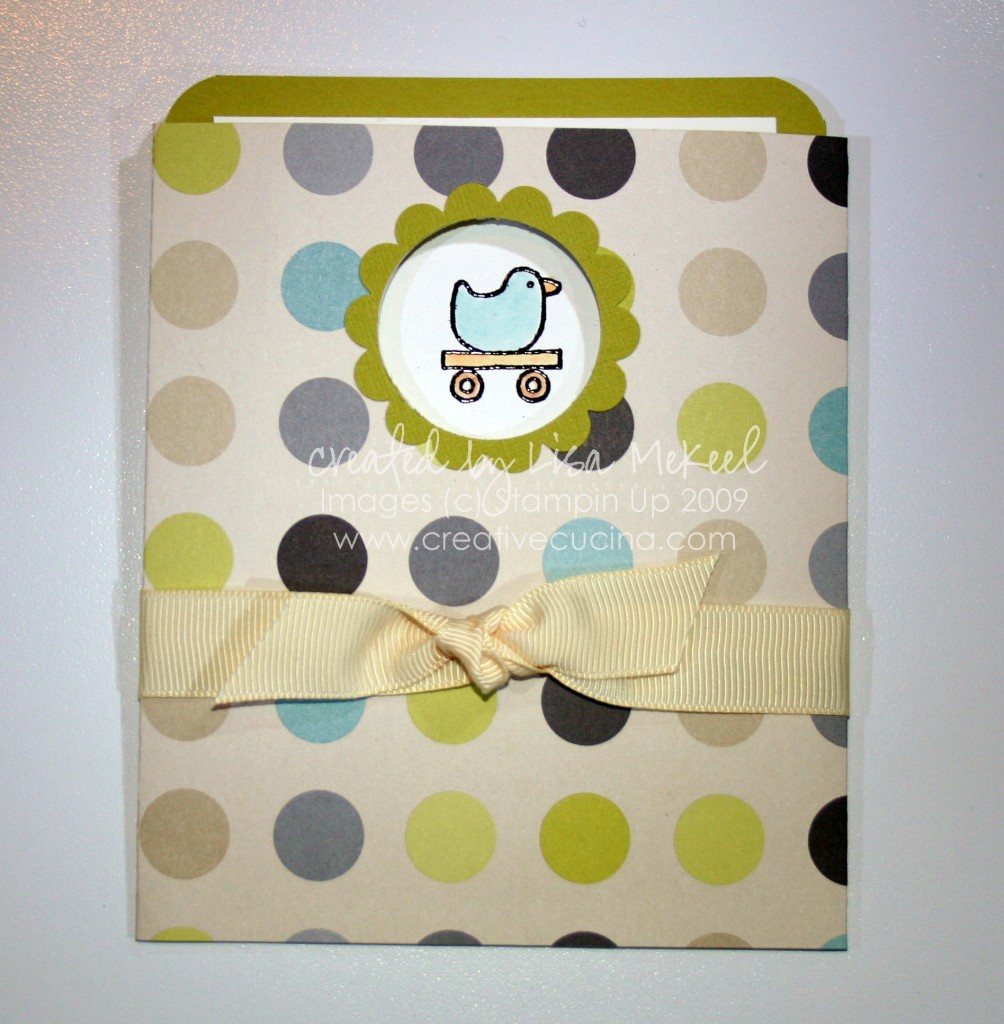
This version uses Urban Oasis DSP (retired) as the outer jacket. The inside is Kiwi Kiss layered with Whisper White card stock. Again, I used the Corner Rounder Punch on the tops only. Stamp is from Goody Goody Gumdrops (Retired Hostess Set), embossed with Black embossing powder and colored in with Aquapainter. To finish it off, I tied some Very Vanilla 5/8″ Grosgrain Ribbon around the card.
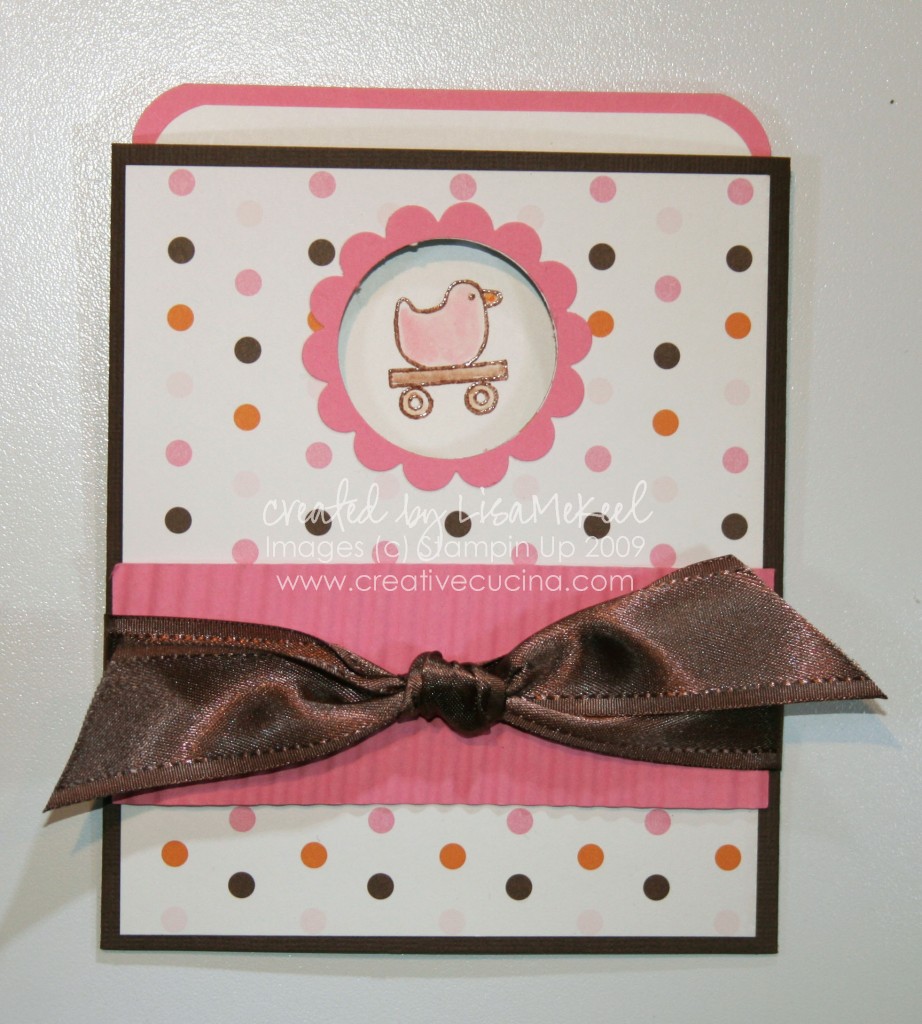
Yet another version in a more girly color scheme. This would make a great baby shower card for a little girl, or simply change the stamp image to a cupcake and you have a fun birthday card! Card base is chocolate chip, layered with Sweet Always DSP in the polka dot pattern. I ran a strip of regal rose card stock through the crimper, attached it to the front with dimensionals and then tied some fabulous Chocolate Chip Satin Ribbon around the front.
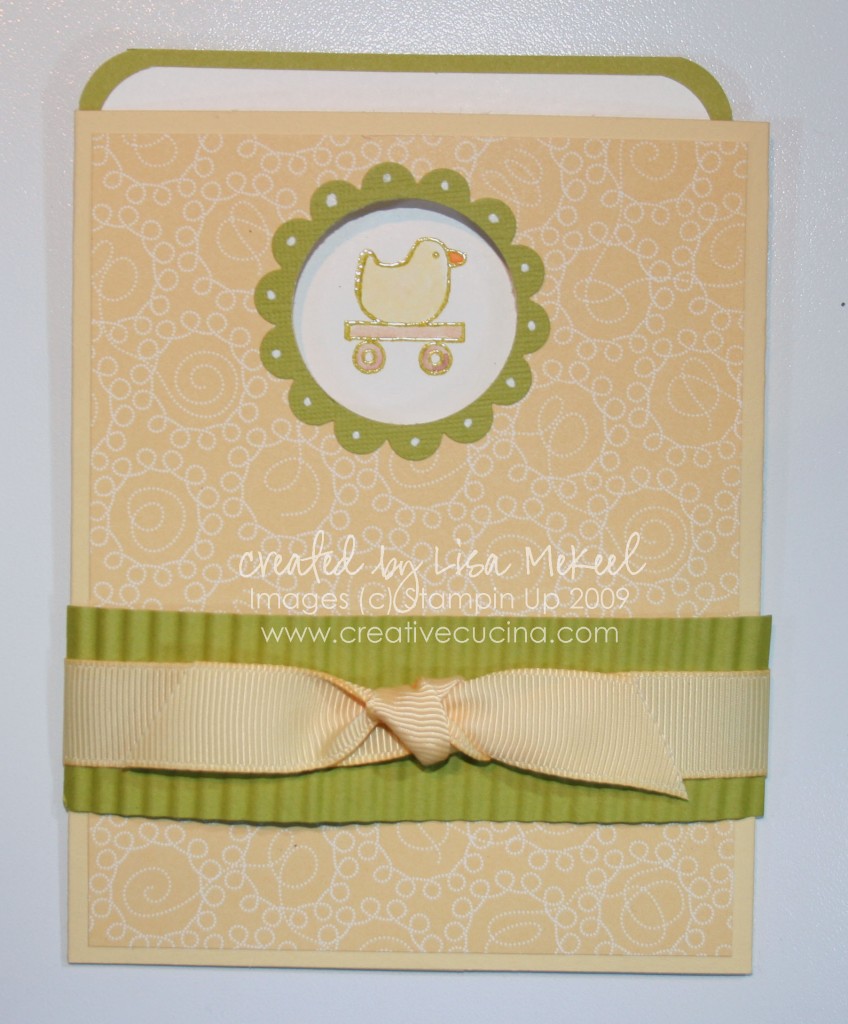
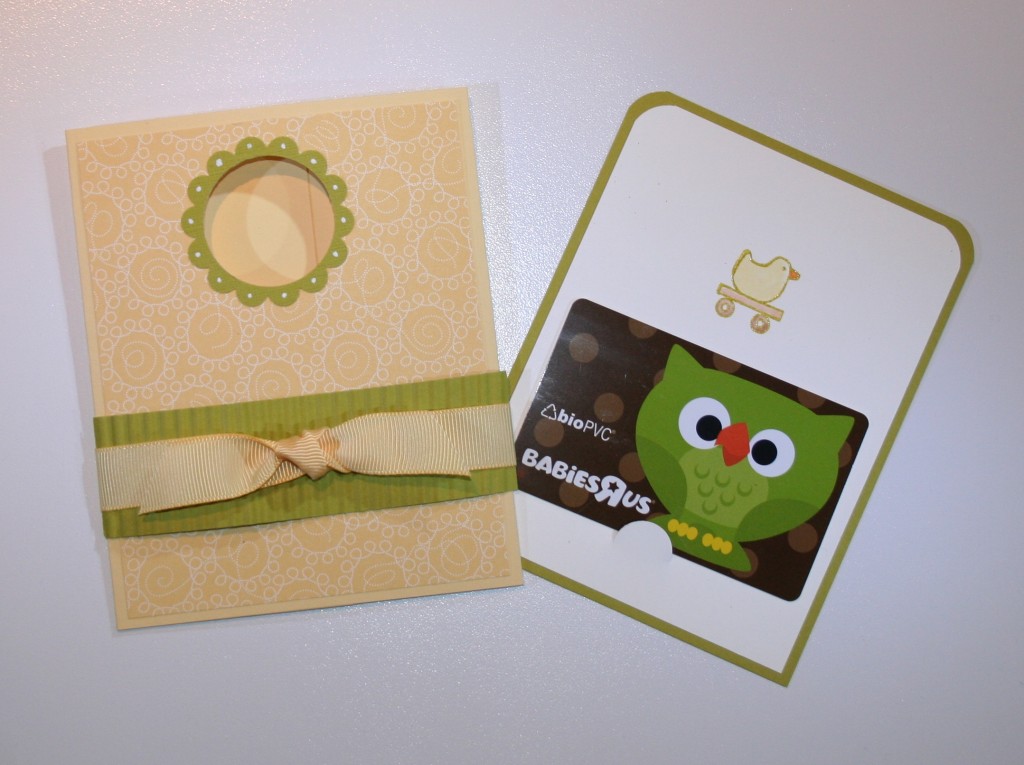
Finally, this is the version I’ll be giving to my friend for her baby shower. Inside, I made a slit using the Slit Punch to hold a gift card. The outside is Barely Banana card stock, layered with Delicate Dots DSP (from last SAB). The green is Kiwi Kiss and the duck is from Goody Goody Gumdrops.
Categorised in Card Designs, Uncategorized
Here is a video demonstrating how to make a Slide Out Pocket Card. This particular one is a Christmas gift card holder but I also show examples of baby shower card versions.
P.S. Making a video is harder than I thought! I’m sorry the lighting isn’t great I’ll know better for next time. All dimensions will be listed at the bottom of this post in case you miss something in the video. Thanks for watching!
Dimensions for Slide Out Pocket Card:
- Main piece of card stock (or DSP) cut to 5″x11″; Scored at 6 3/4″ and 2 1/2″
- DSP for front panel (optional) cut to 4″ x 4 3/4″
- Inside layers/Pull out pieces: 2 different colors of card stock, one cut to 4″x5″ and the other cut to 3 3/4″x4 3/4″
Categorised in Card Designs, Instructional Videos, Projects, Uncategorized


