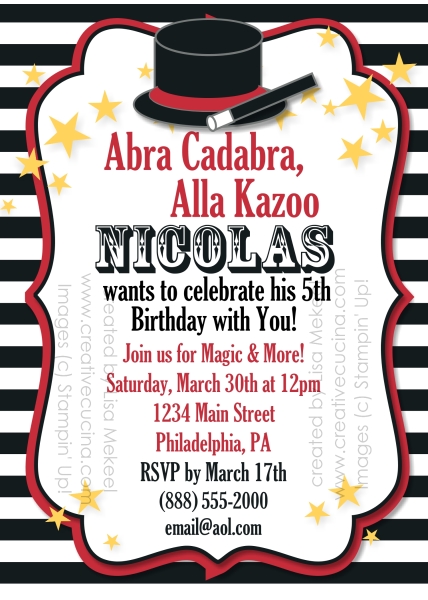
Magic theme birthday invitation. Custom printing/Digital download available. Coordinating cupcake toppers, banner, and personalized signs also available! See the matching Thank You card below.
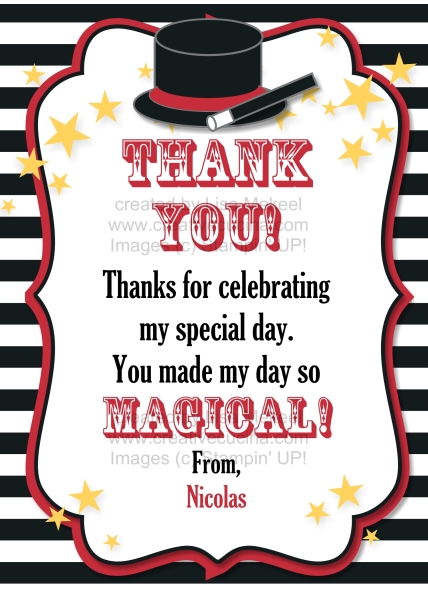
This is an invitation for a little boy’s Magic themed birthday party. My sister sent me a picture she found on Pinterest and I recreated the invitation using My Digital Studio. Here is a link to the original picture. She was surprised I was able to make it look almost exactly like the original. There really isn’t anything you can’t do with MDS!
Everything except for the hat and wand were ready to go images. I had to make the top hat and magic wand using Punch Shapes such as the square, oval, circle, etc.
The stars are from July Fourth Stamp set. The background is part of the Essentials Designer Series Paper.
Categorised in Card Designs, Uncategorized
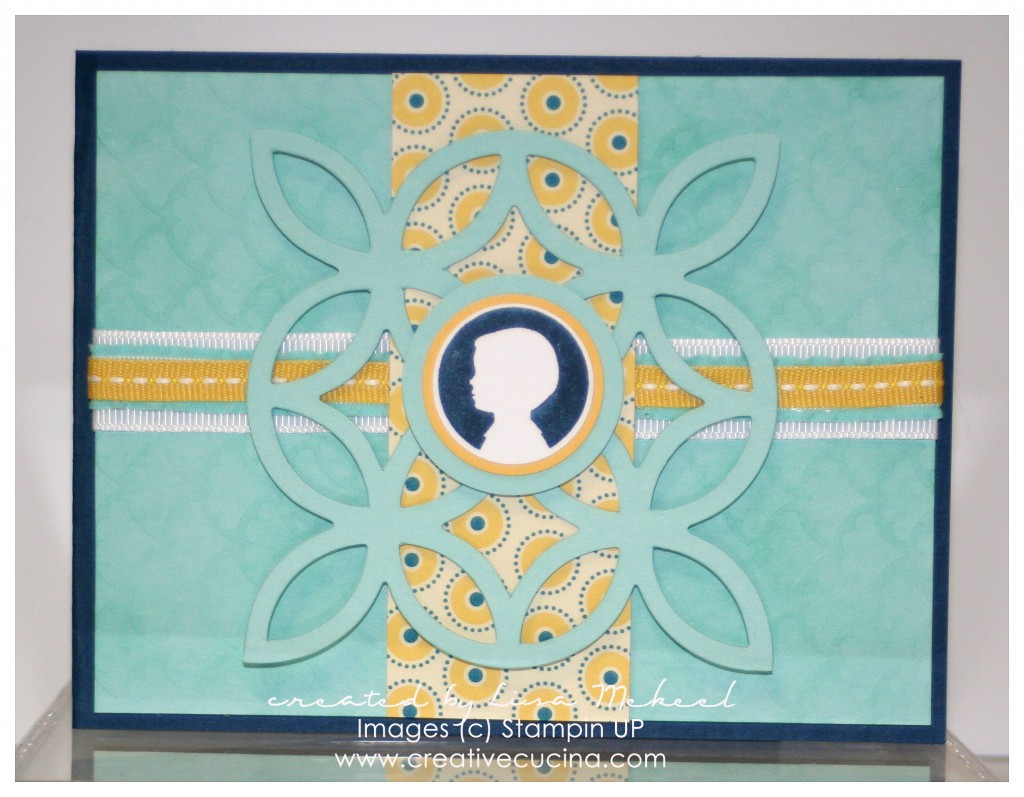 I made this card a while ago, while I was pregnant with my son, or very soon after he was born. I can’t remember July and August–it was all a blur. Two hours of sleep a night does that to your brain!
I can remember this: I used things from the new 2012-2013 Stampin UP catalog! The base is In Color Midnight Muse, a great navy blue and I’m not a navy blue person. To brighten things up, I used Pool Party card stock, another In Color, texturized with the Fancy Fan Letterpress plate. I inked up the plate with Versamark (you could also use Pool party ink) and then ran it through the Big Shot for some texture and pattern.
The stamp is from Special Delivery, a new hostess set. I inked up the boy silhouette with Midnight Muse ink and stamped it on Whisper White card stock. I layered it with Daffodil Delight and Pool Party circles.
Some of the other elements used on the card are Lattice Bigz Die, Summer Smooches DSP, Pool Party Ruffled Ribbon, Daffodil Delight Stitched 1/4″ Grosgrain Ribbon, and Whisper White 5/8″ Grosgrain Ribbon.
Categorised in Card Designs, Uncategorized
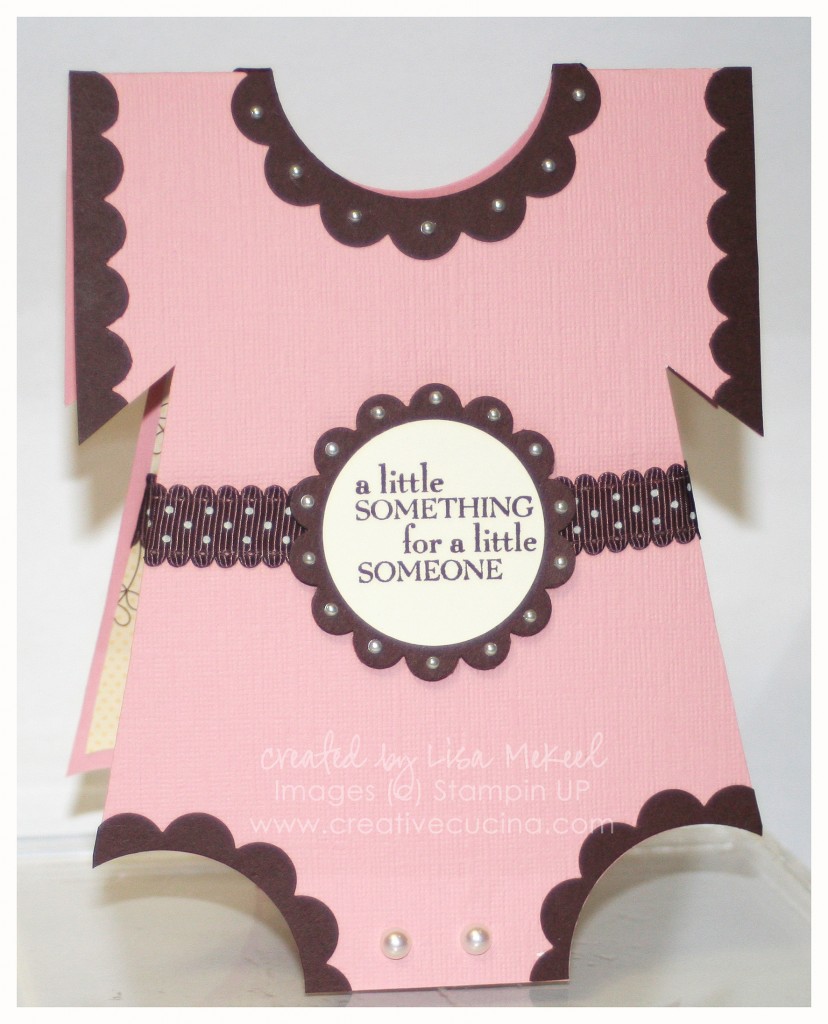
Here is a cute card idea for a baby shower or baby gift. My friend Cindy had a baby girl a few months ago and this was the card I gave her. I found some tutorials available online, but in the end, I just eyeballed it and made my own version of the Baby Onesie card.
I started with a standard size card–Blushing Bride textured card stock cut to 4 1/4″ x 11″ folded in half. Then, I used the 2 1/2″ Circle Punch for the neck and leg openings. Using scissors, I cut a line from the leg opening to about 3/4 of the way up the card, then notched out the area under the sleeve. I kept the card folded when I punched the holes and cut the lines to ensure it was the same on the front and back.
Around the leg and neck openings I added some Chocolate Chip trim with the 2 3/8″ Scallop Circle Punch. An easy way to do this is to punch a 2 1/2″ Circle out of the card stock first. You will actually not need the circle for this. Then, take the 2 3/8″ Scallop Circle Punch and line it up around the open circle on the sheet of card stock. Use this scalloped ring around the neck opening and cut another one for the legs.
Along the sleeves, I used the Scallop Edge Border Punch and Chocolate Chip card stock. Some Basic Pearls were added around the neck just to make it extra girly. Basic Pearls also were used for the buttons at the bottom.
The sentiment is from Best Yet, a retired hostess set. I stamped it on Very Vanilla and punched it out with the 1 3/8″ Circle Punch, layered with the Scallop Circle Punch. The ribbon around the waist is Chocolate Chip Scallop Dot Ribbon.
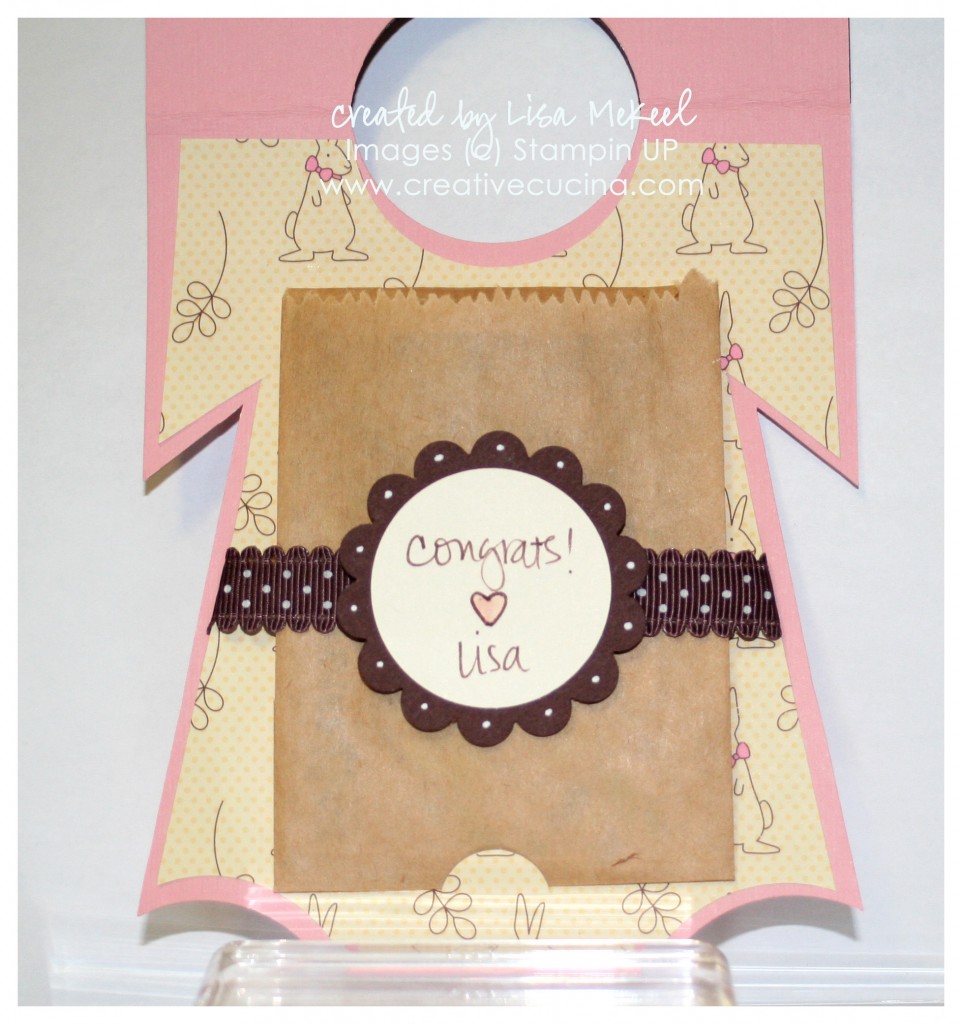
Inside, I lined the card with a cute bunny patterned paper from retired Nursery Suite DSP. To hold a gift card, I used the Slit Punch on the inside to create a little half circle to slide in and hold a gift card. The ribbon helps hold the gift card as well.
Categorised in Card Designs, Uncategorized


