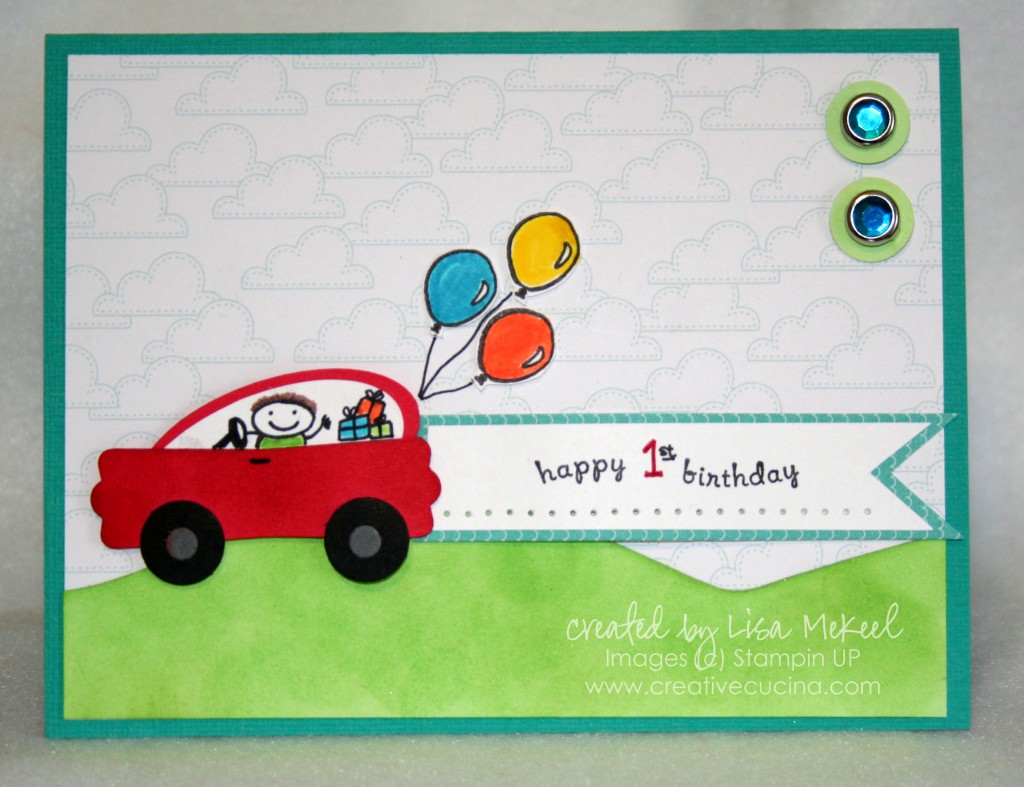
This card is for my nephew’s 1st Birthday, and although it’s not very babyish, it does fit the theme of his party (and the cake I’m making for him).
The card base is Bemuda Bay textured card stock, layered with the cloud patterned paper from Welcome Neighbor. (Yes, I know, I use this paper on almost everything I make, but it’s so varied and I love the colors so much that I find myself reaching for it time and time again.)
I made the hills by freehand cutting Gable Green card stock, and then sponged them all over using Gable Green ink and a Sponge Dauber.
The sentiment is from On Your Birthday, which I inked up using the Basic Black Marker (leaving out the “o” in this “Happy O’ Birthday”–I’m not even sure what that means anyway!) I drew in “1st” using Real Red Marker and Basic Black Marker. The Whisper White card stock is layered on yet another piece of Welcome Neighbor DSP, and I notched the edges to make it look like a flag or banner. I also Paper Pierced along the bottom edge of the sentiment and attached it to the card using Stampin Dimensionals.
As for the little red Punch Art Car, I made it using the Modern Label Punch for the body of the car and the Large Oval Punch for the window/hood.
- First, I punched out Real Red card stock with the Modern Label Punch and sponged it with Real Red ink.
- Then, I punched two Large Ovals–one from Real Red, one from Whisper White. I layered the White on top of the Red, leaving a Red border, and then trimmed the bottoms so they would not stick out past the bottom of the “car”. Adhere the White Oval to the Red Oval.
- Using SNAIL adhesive, attach the hood of the car to the back of the Modern Label Punch out, positioning it as shown.
- Draw or stamp a little person driving the car. I also drew some gifts in the back seat and added a door handle.
- Make tires for the car using the 1/4″ Circle Punch (in Basic Black) and the Cropadile’s larger hole punch (in Basic Gray). Attach the tires to the car with SNAIL Adhesive.
That was pretty easy! Now, I adhered the car to the base using Stampin Dimensionals and stamped some balloons from the All in the Family Accessories set onto Whisper White. I colored them in with Markers, cut them out, and attached them to the card base with Mini Glue Dots. Then, I used the Basic Black Marker to draw strings from the balloons to the back of the car.
Finally, in the upper right corner, I added 1/4″ Circles of Gable Green card stock with Ice Circle Rhinestone Brads in the darker blue to tie all the colors together.
Categorised in Card Designs, Uncategorized

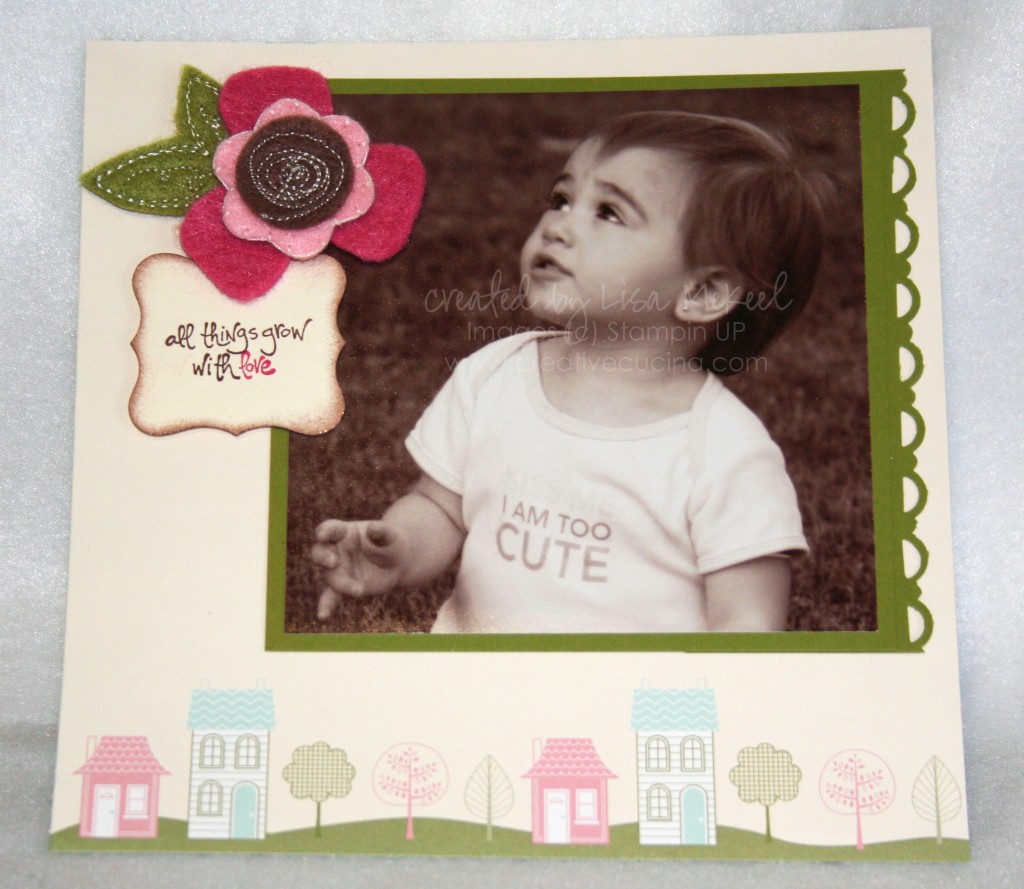
It’s been ages since I’ve made a scrapbook page. I don’t normally make 6×6 Scrapbook Page Layouts, but I had this picture of my daughter on my desk, then I saw this cute patterned paper from Welcome Neighbor, and I just went from there. Since the page is small, I wanted the focus to be on the photo.
The 4″x4″ photo is layered onto a 4 1/4″ square of Old Olive card stock. I then took a 4 1/4″ x 2″ strip of Old Olive and used the Scallop Trim Border Punch to make the scalloped edge, tucking it under the Old Olive photo mat.
In the upper corner, I added Sweet Pea Stitched Felt flowers and leaves, layering them with Glue Dots and attaching it to the page with a large Glue Dot. It gives the page a pop of color and since she’s looking up in that direction in the picture, it was a good place to put the flower.
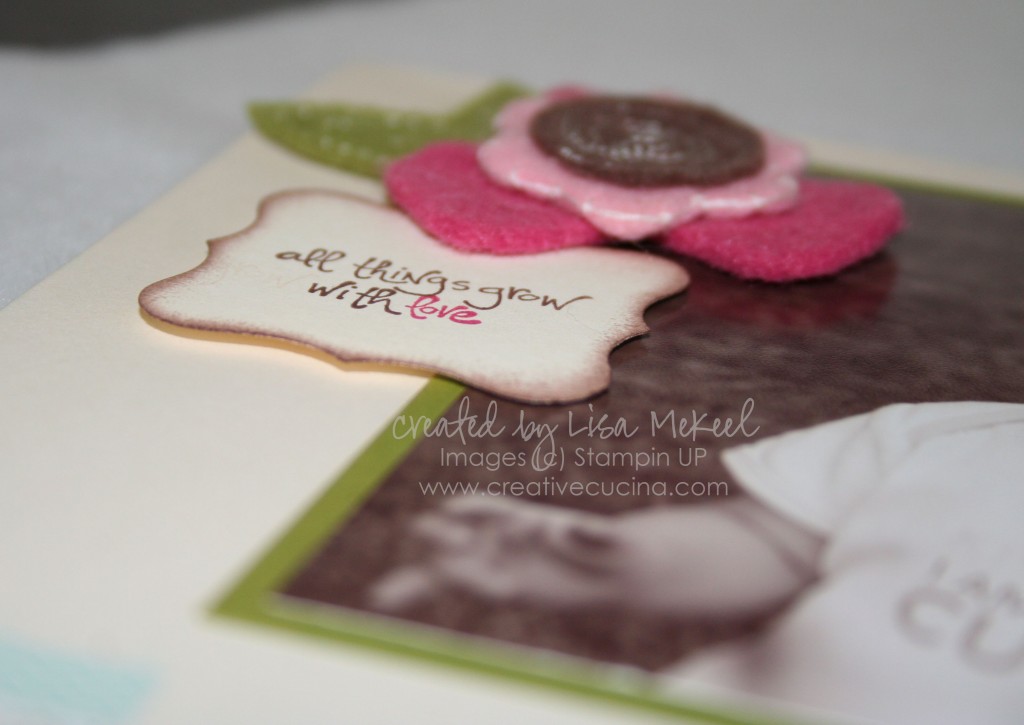
I kept journaling to a minimum so the focus would be on the picture. The sentiment “Everything grows with love” is from Love Matters (retired–but has many great sayings in handwriting style font). I inked up the different parts of the stamp using the Chocolate Chip and Rose Red Markers, then stamped it onto Very Vanilla using the Stamp-a-majig to get a 2 line setup.

Next, I punched out the Very Vanilla card stock using the Curly Label Punch and sponged the edges using a mixture of Close to Cocoa Reinker and Champagne Shimmer Paint. I just add a drop of Reinker and a drop of Shimmer Paint into an old brad or button container, dip a Sponge Dauber in, and start sponging. This combo makes a really nice Bronze colored shimmery ink, which goes great with the sepia tones in the picture. I attached it to the page using Stampin Dimensionals.
That’s it–pretty simple. I think I like the 6″x 6″ size page for 1 photo layouts. I will be trying more 6″x6″ pages to see what other types of layouts work best. Thanks for stopping by today!
Categorised in Scrapbook Pages, Uncategorized

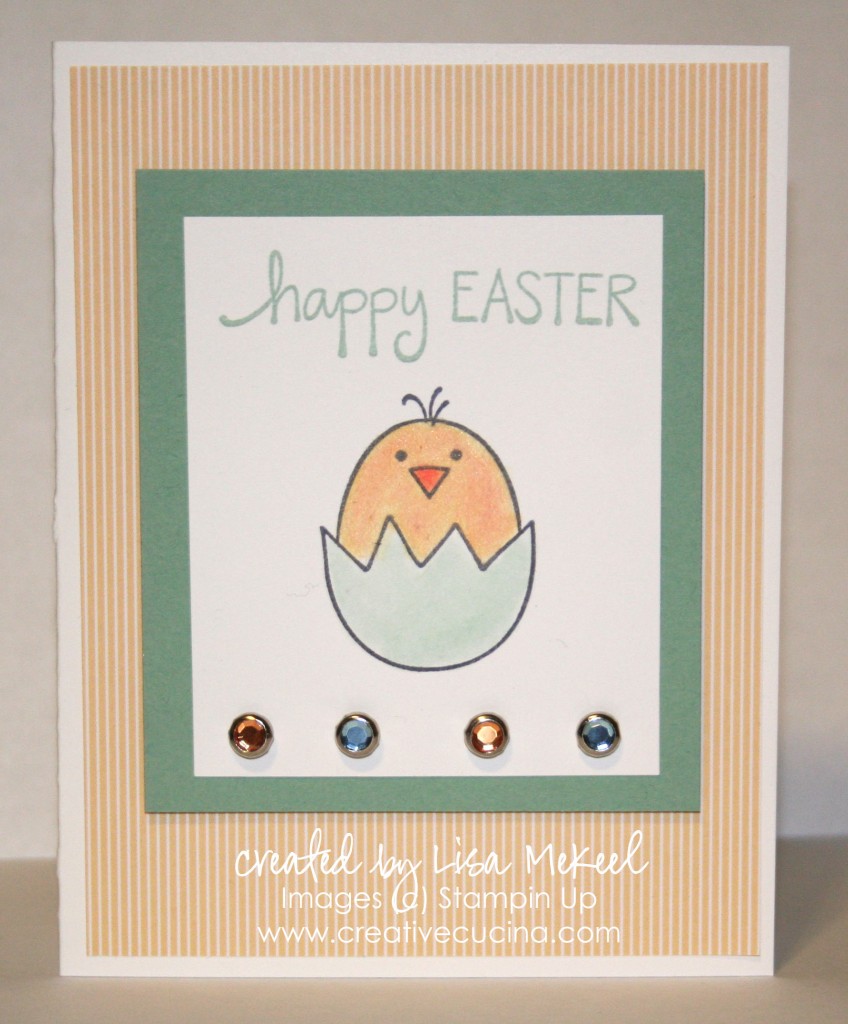
Sorry to keep bombarding you with this little chick image but it’s so cute I couldn’t stop myself from using it in almost every Easter card I made this year. I found the stamp and the sentiment a few weeks ago as they were calling my name from the bin they were in at the store. You can see what else I’ve made with them here.
The card base is Gina K Luxury white base weight, layered with a So Saffron striped paper from Welcome Neighbor DSP paper pack. I stamped the chick/egg in Basic Gray ink on Whisper White paper and colored the image with my Aquapainter and ink pads for a soft watercolor effect.
The chick was “fluffed up” using Martha Stewart Flocking Powder in White. I applied 2 Way Glue all over the chick, then added the Flocking Powder. It’s really somewhat translucent, and just lets whatever color is underneath still show through the fluff.
I matted the image on Sage Shadow card stock, and stamped the sentiment in Sage Shadow ink. Then, using the Cropadile, I punched four holes along the bottom and added Circle Rhinestone Brads in shades of light blue and yellow. That was adhered to the base using Stampin Dimensionals.
Categorised in Card Designs, Uncategorized


