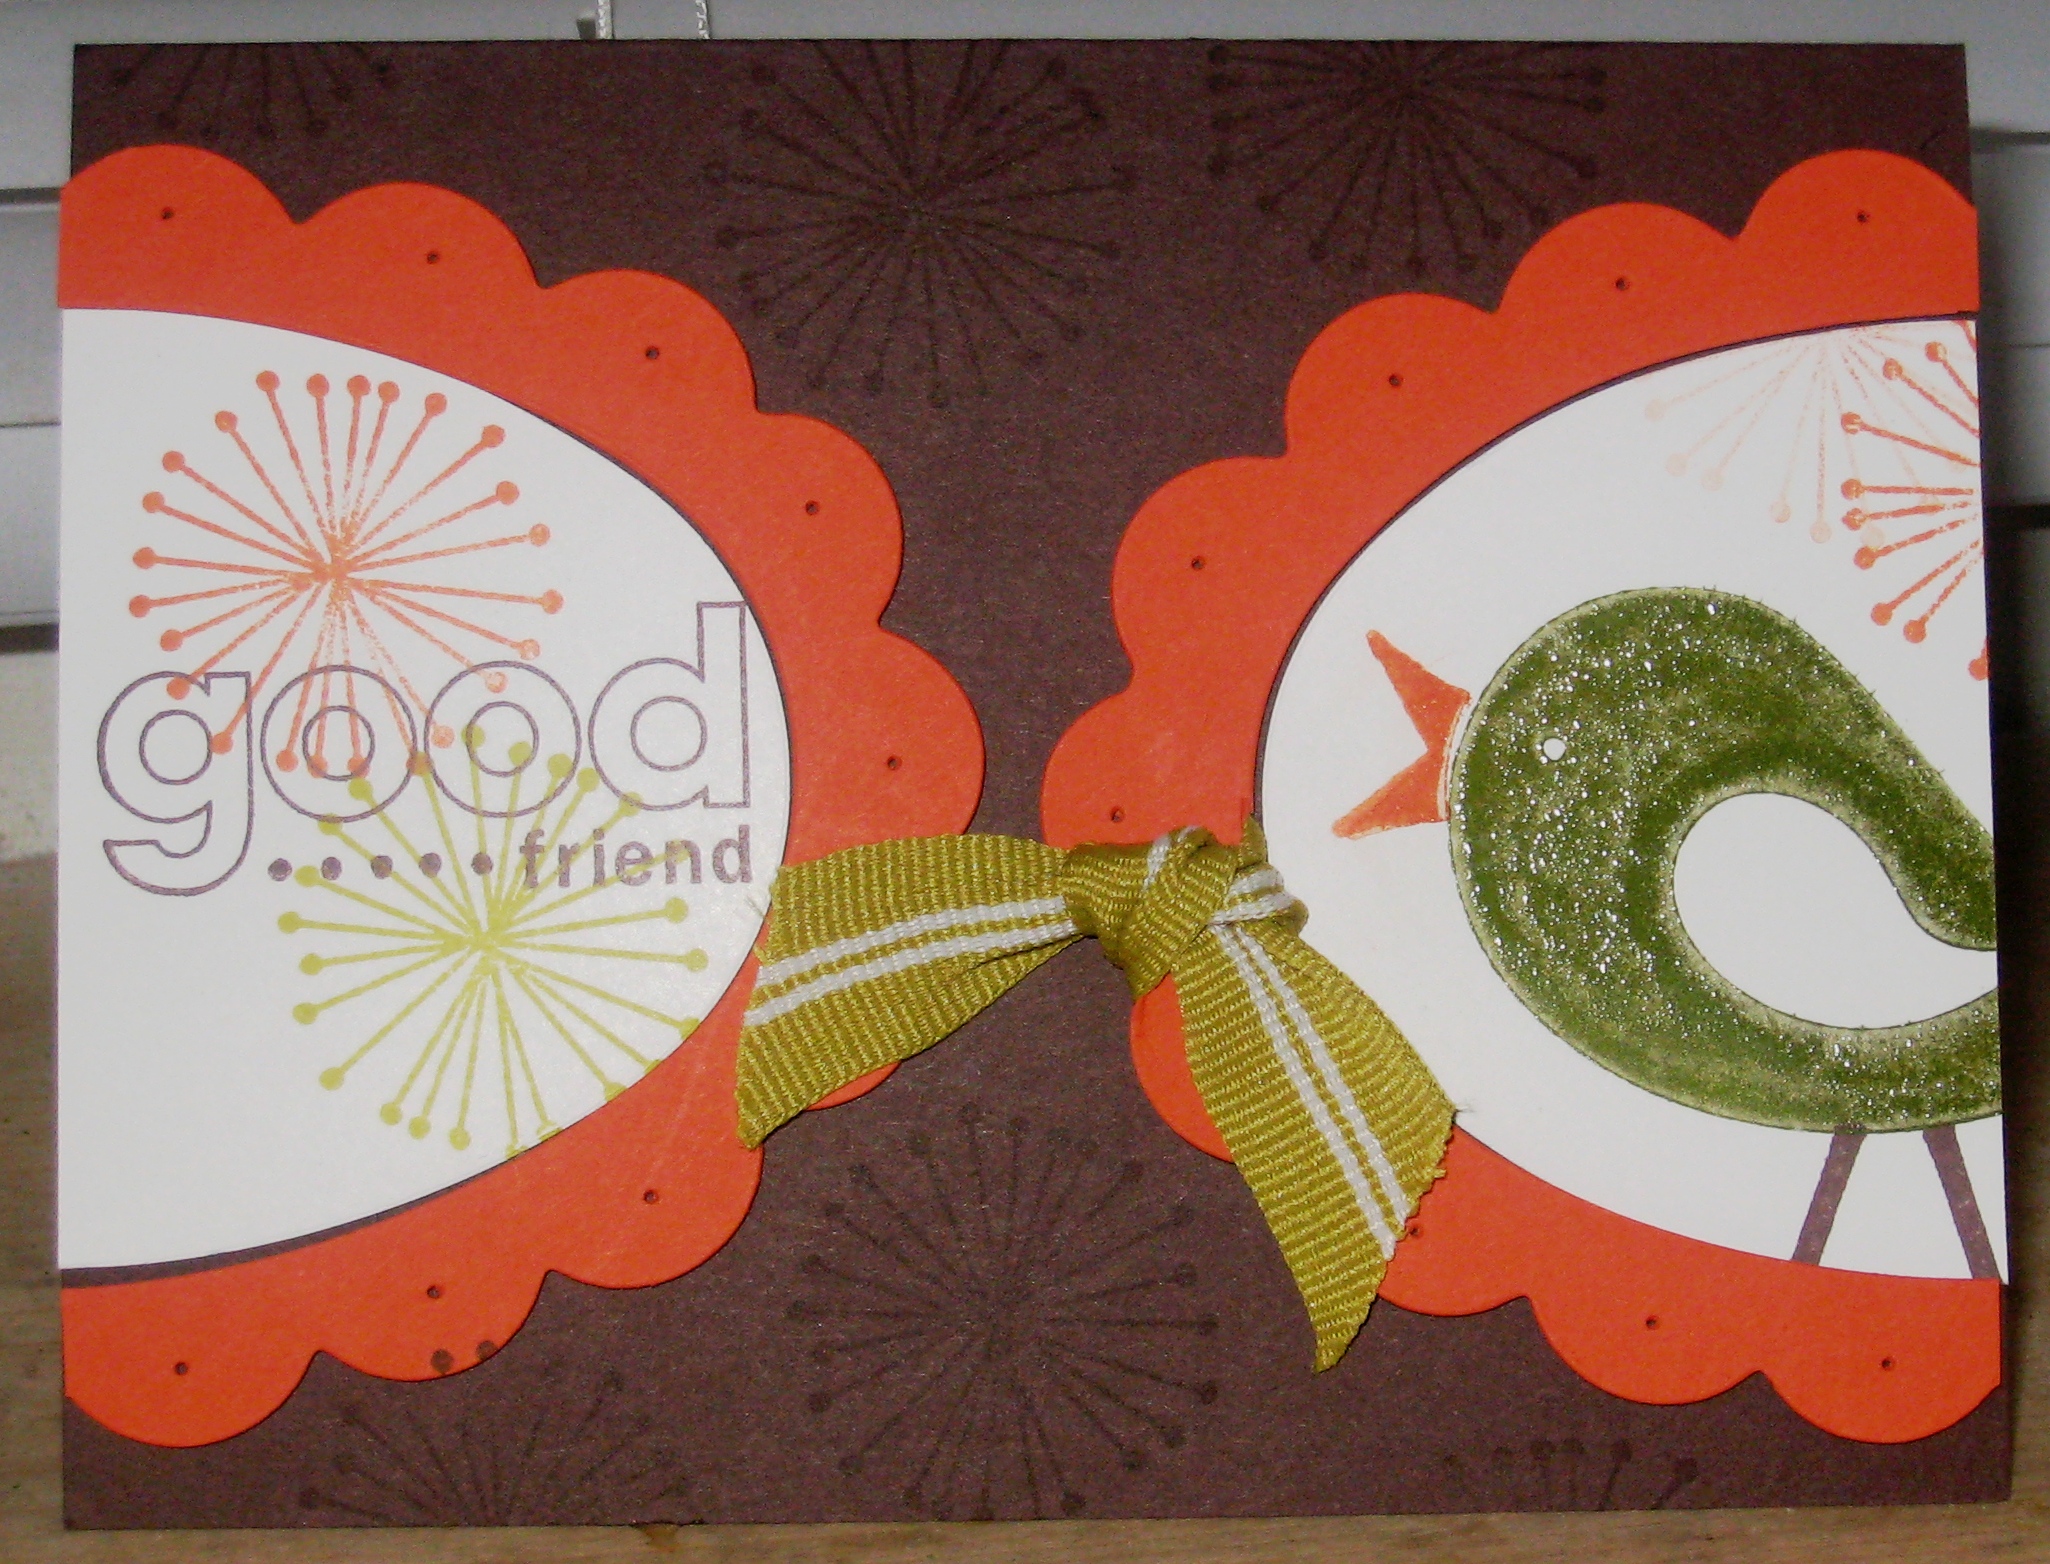
Interesting layout, no? I know it kind of looks like a bra but I figured I’ll just keep going with it and maybe it will turn out nice in the end. LOL!
Using Good Friend, a great retro set–plus that bird is very addicting–this is the third card I’ve made featuring my feathered friend. I stamped the bird in Old Olive craft ink and used clear embossing powder on him. The beak is stamped in Tangerine Tango and the legs are chocolate chip. I also stamped that flower/sunburst in Tangerine Tango and another in So Saffron above the bird. On the other side, I used Kiwi Kiss and Tangerine Tango for the flowers and the sentiment in Chocolate chip.
The scalloped ovals were cut from Tangerine Tango cardstock using the Bigz Die and the Big Shot. I paper pierced them and popped them up on dimensionals. To finish off the card, and give it another pop of color, I tied a piece of striped Kiwi Kiss ribbon around the frame.
Categorised in Card Designs, Uncategorized

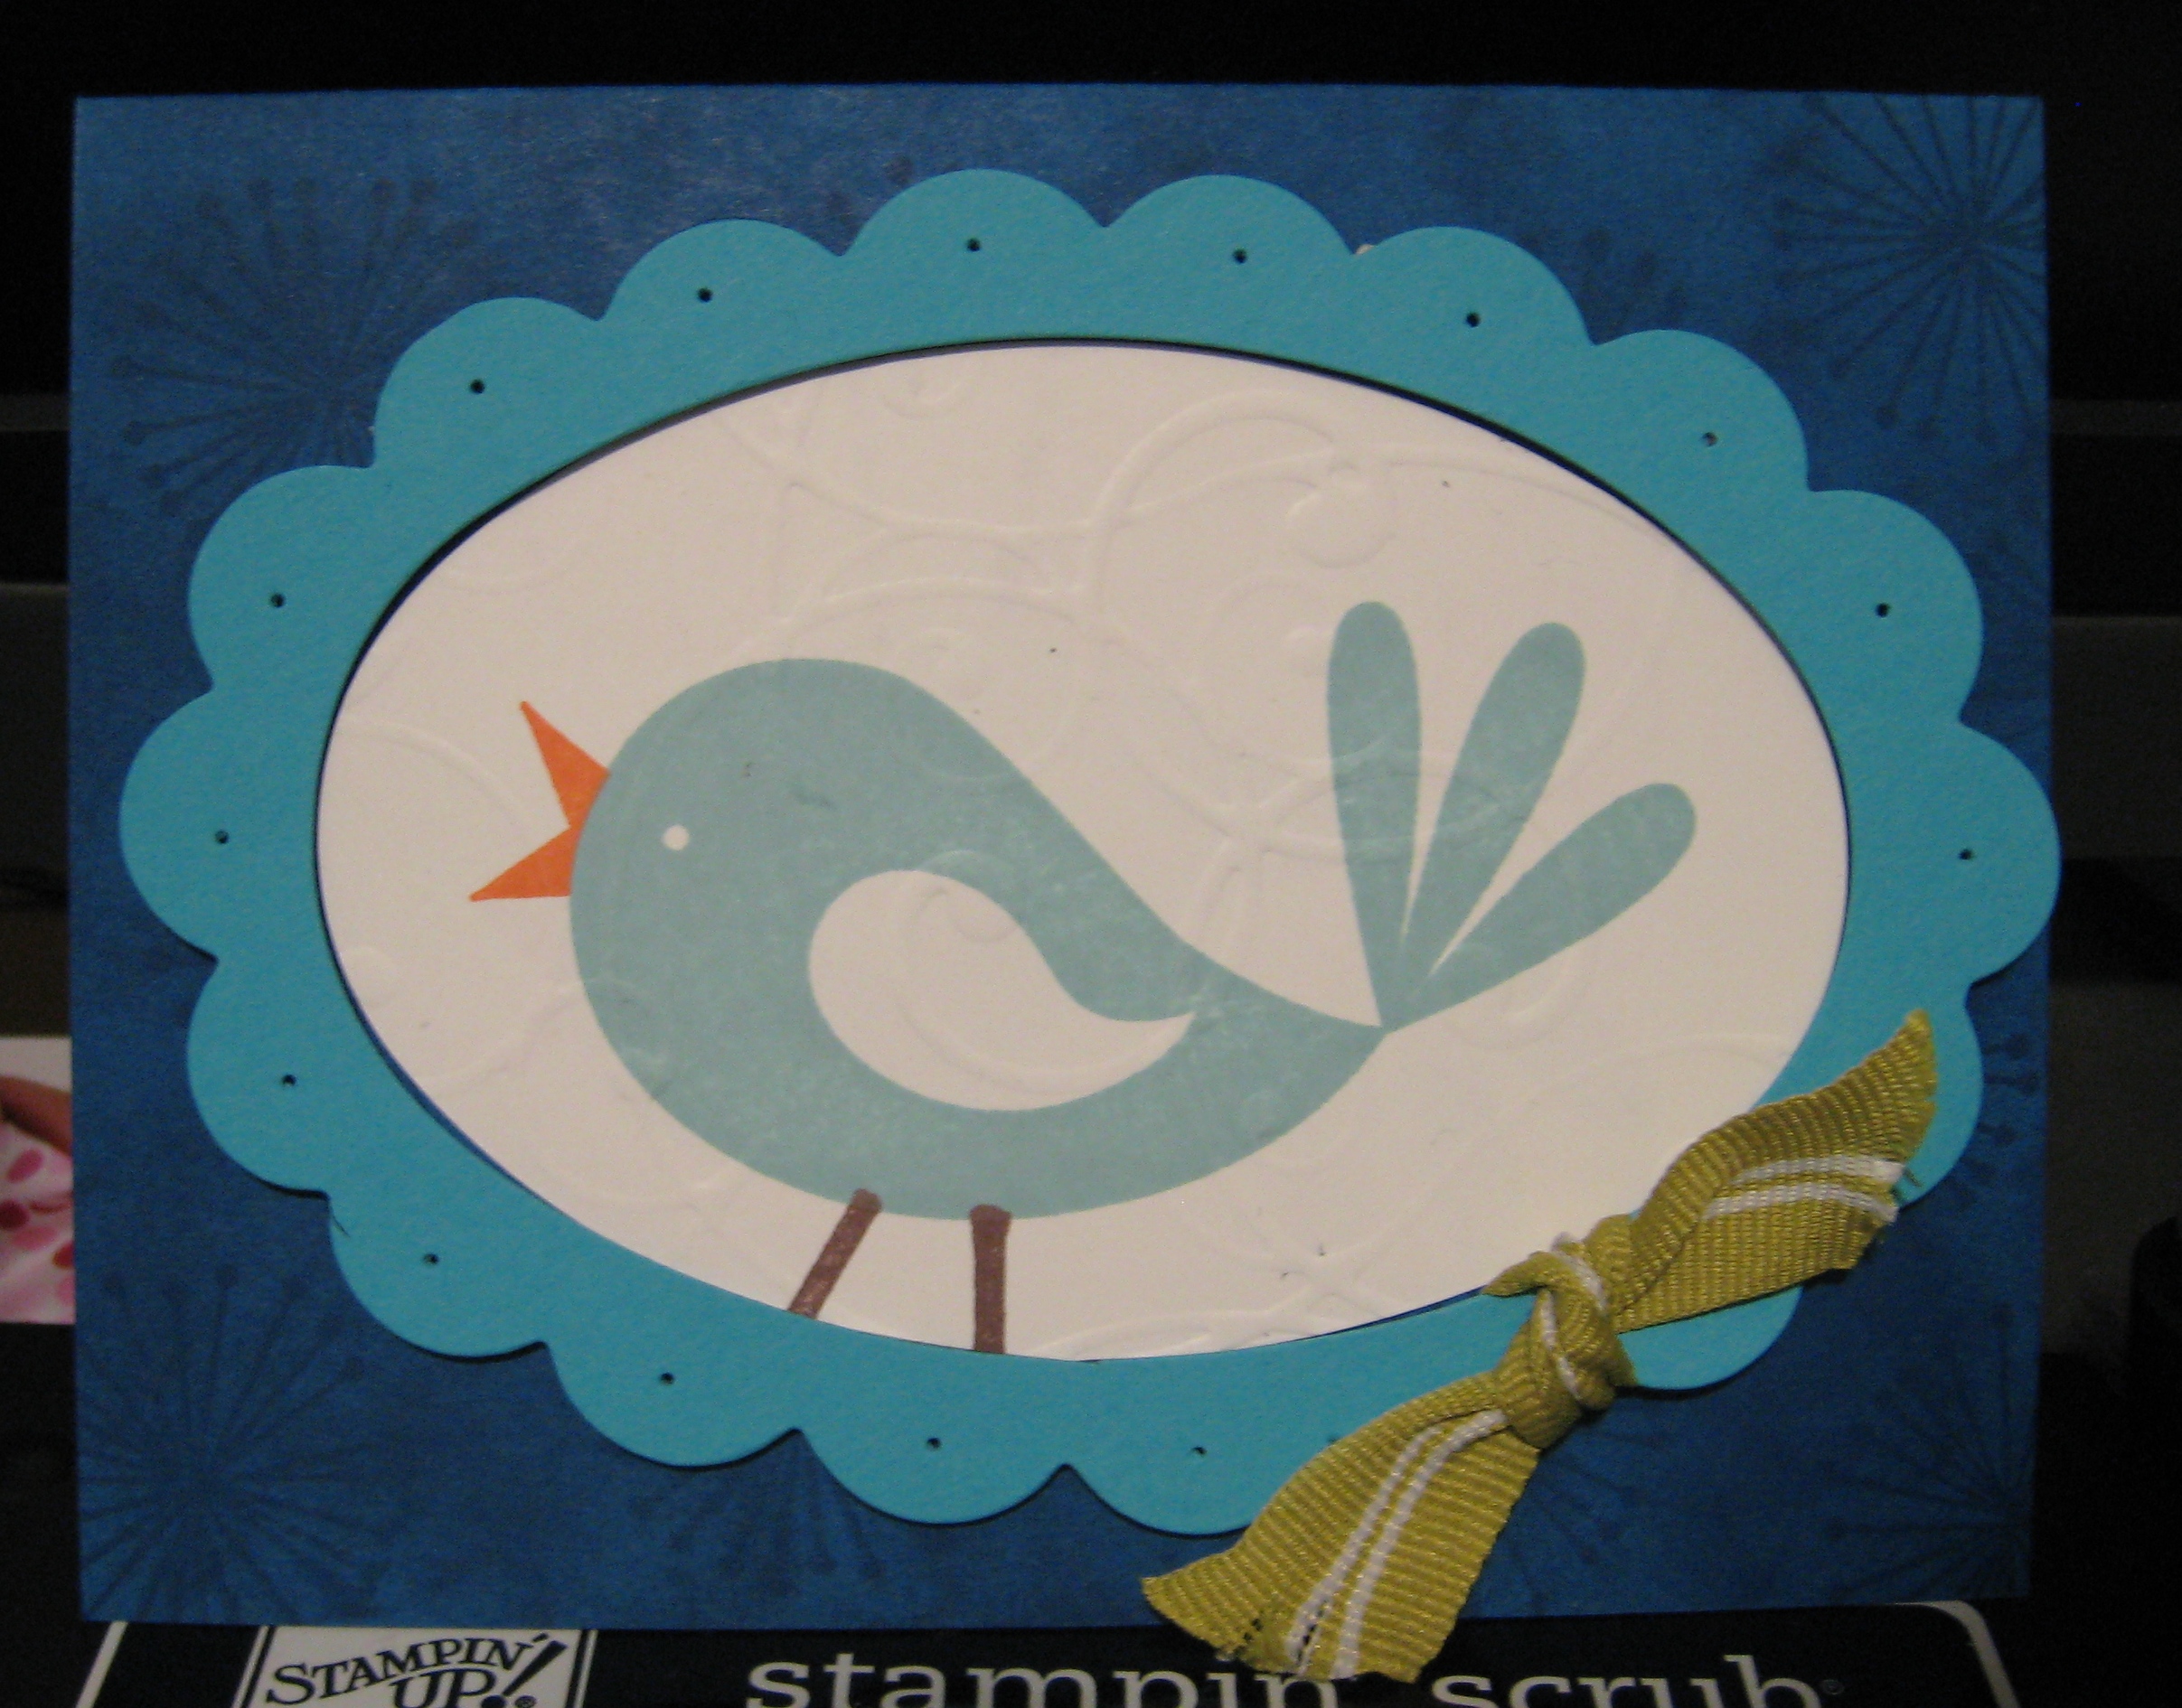
This card was inspired by a card I saw on Splitcoast today. You can view it here. I got the new Scallop Oval Bigz Die for the Big Shot and wanted to try it out. While I must confess I don’t own the Big Shot myself (I’m borrowing my upline’s) I do have the Cuttlebug. The Bigz Dies fit the cuttlebug but some of the larger ones do not. This card also uses the Texture Plates for the Big Shot (shown on the white oval).
I started out with Pacific Point cardstock (I never use this color so I’m trying to branch out). I stamped it with the flower from Good Friend and then sponged Pacific Point ink all over it to tone down the flowers and give it a little texture. The scalloped oval was cut from Tempting Turquoise and Whisper white. I stamped the bird in Baja Breeze, the beak in Tangerine Tango, and the legs in Chocolate chip. Then I ran the stamped oval through the Big Shot using the swirly Texturz Plate.
The scalloped oval frame was paper pierced and popped up on dimensionals. The white oval is adhered directly to the card front. A piece of striped Kiwi Kiss 5/8″ ribbon tied around the frame finishes it off.
Categorised in Card Designs, Uncategorized

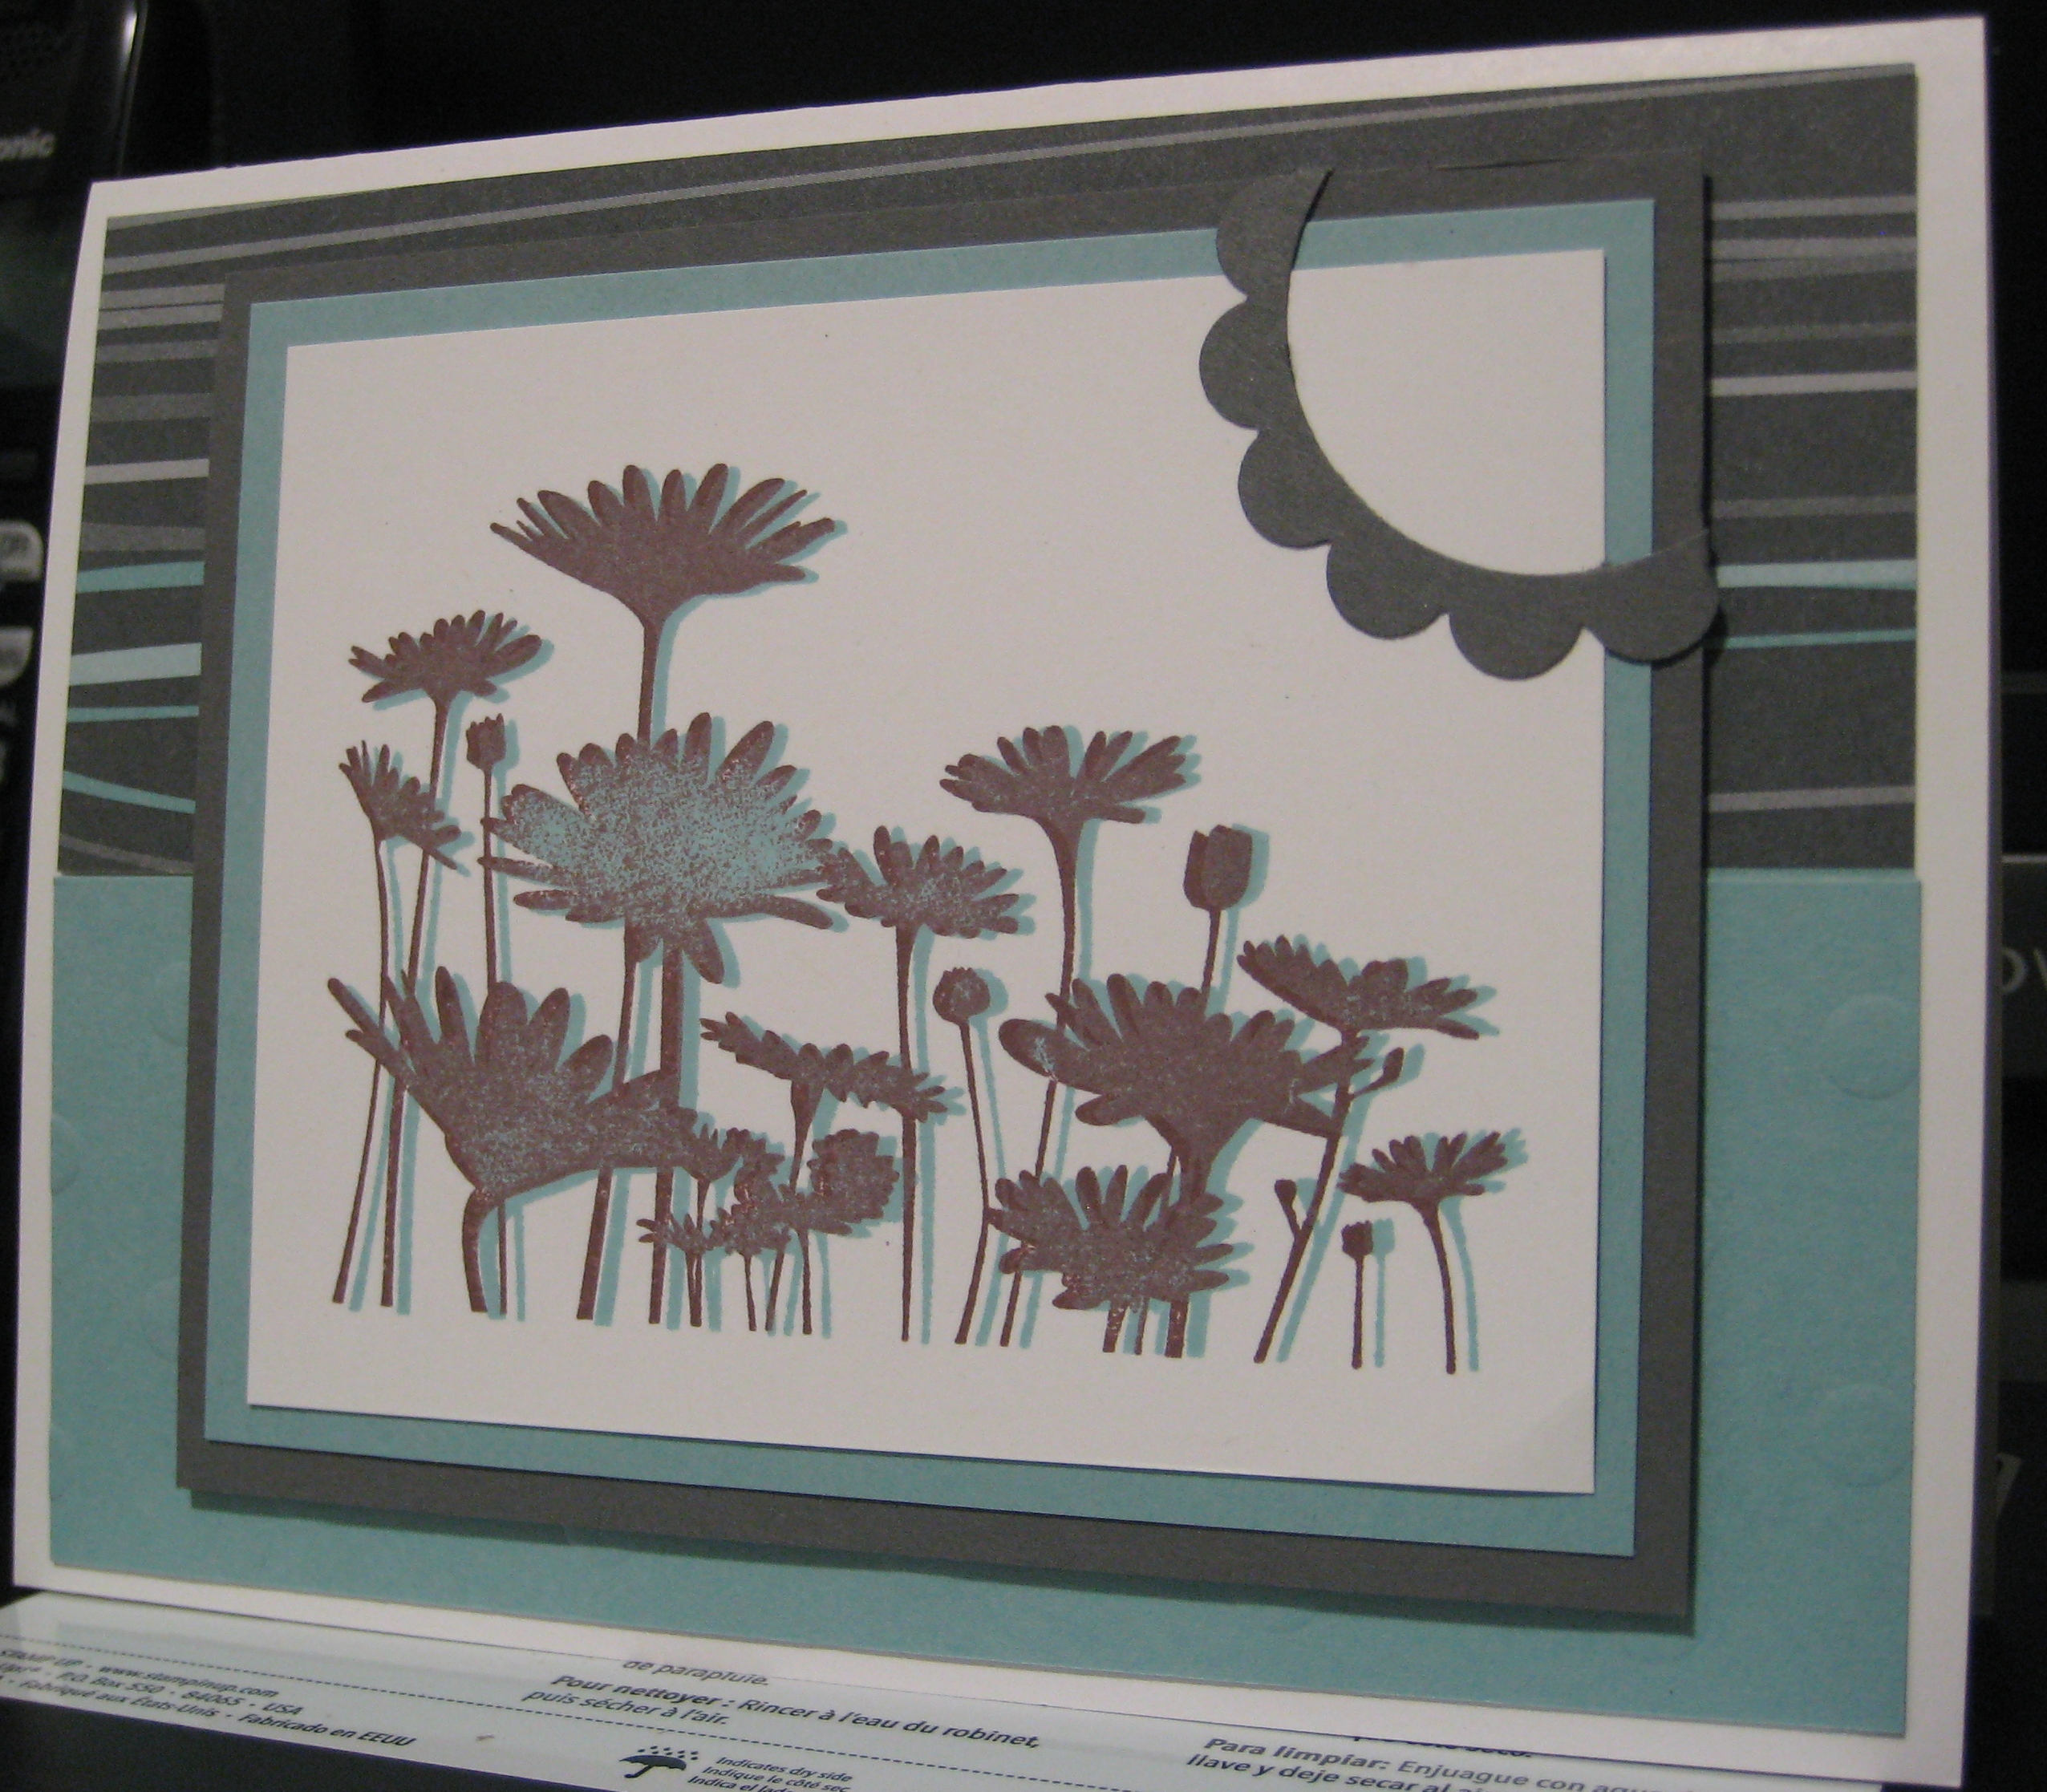
I still love the Upsy Daisy set. And I think I got it on sale so that makes me like it even more! This first card actually came from a mistake. When I stamped the image in chocolate chip ink and it didn’t come out clearly (see that large flower left of center) I was going to throw it away and start again. But I had an idea to stamp on top of it in Baja Breeze and I loved the results! I might try 2-step stamping this set more often now.
As for the rest of the card, the base is Whisper White, with a layer of Baja Breeze (ran through the Big Shot with polka dot Texturz Plate) and a piece of Urban Garden DSP. The image is stamped on Whisper White layered on a piece of Baja Breeze and Basic Gray Cardstock. Lastly, I punched out a Basic Gray “sun” and wrapped it around the right corner of the top layer. To do this, I take my 1 3/8″ circle punch and punch a piece of cardstock. Then I take the scallop circle punch and center it over the hole I just made. Punch, and you have a scalloped ring!

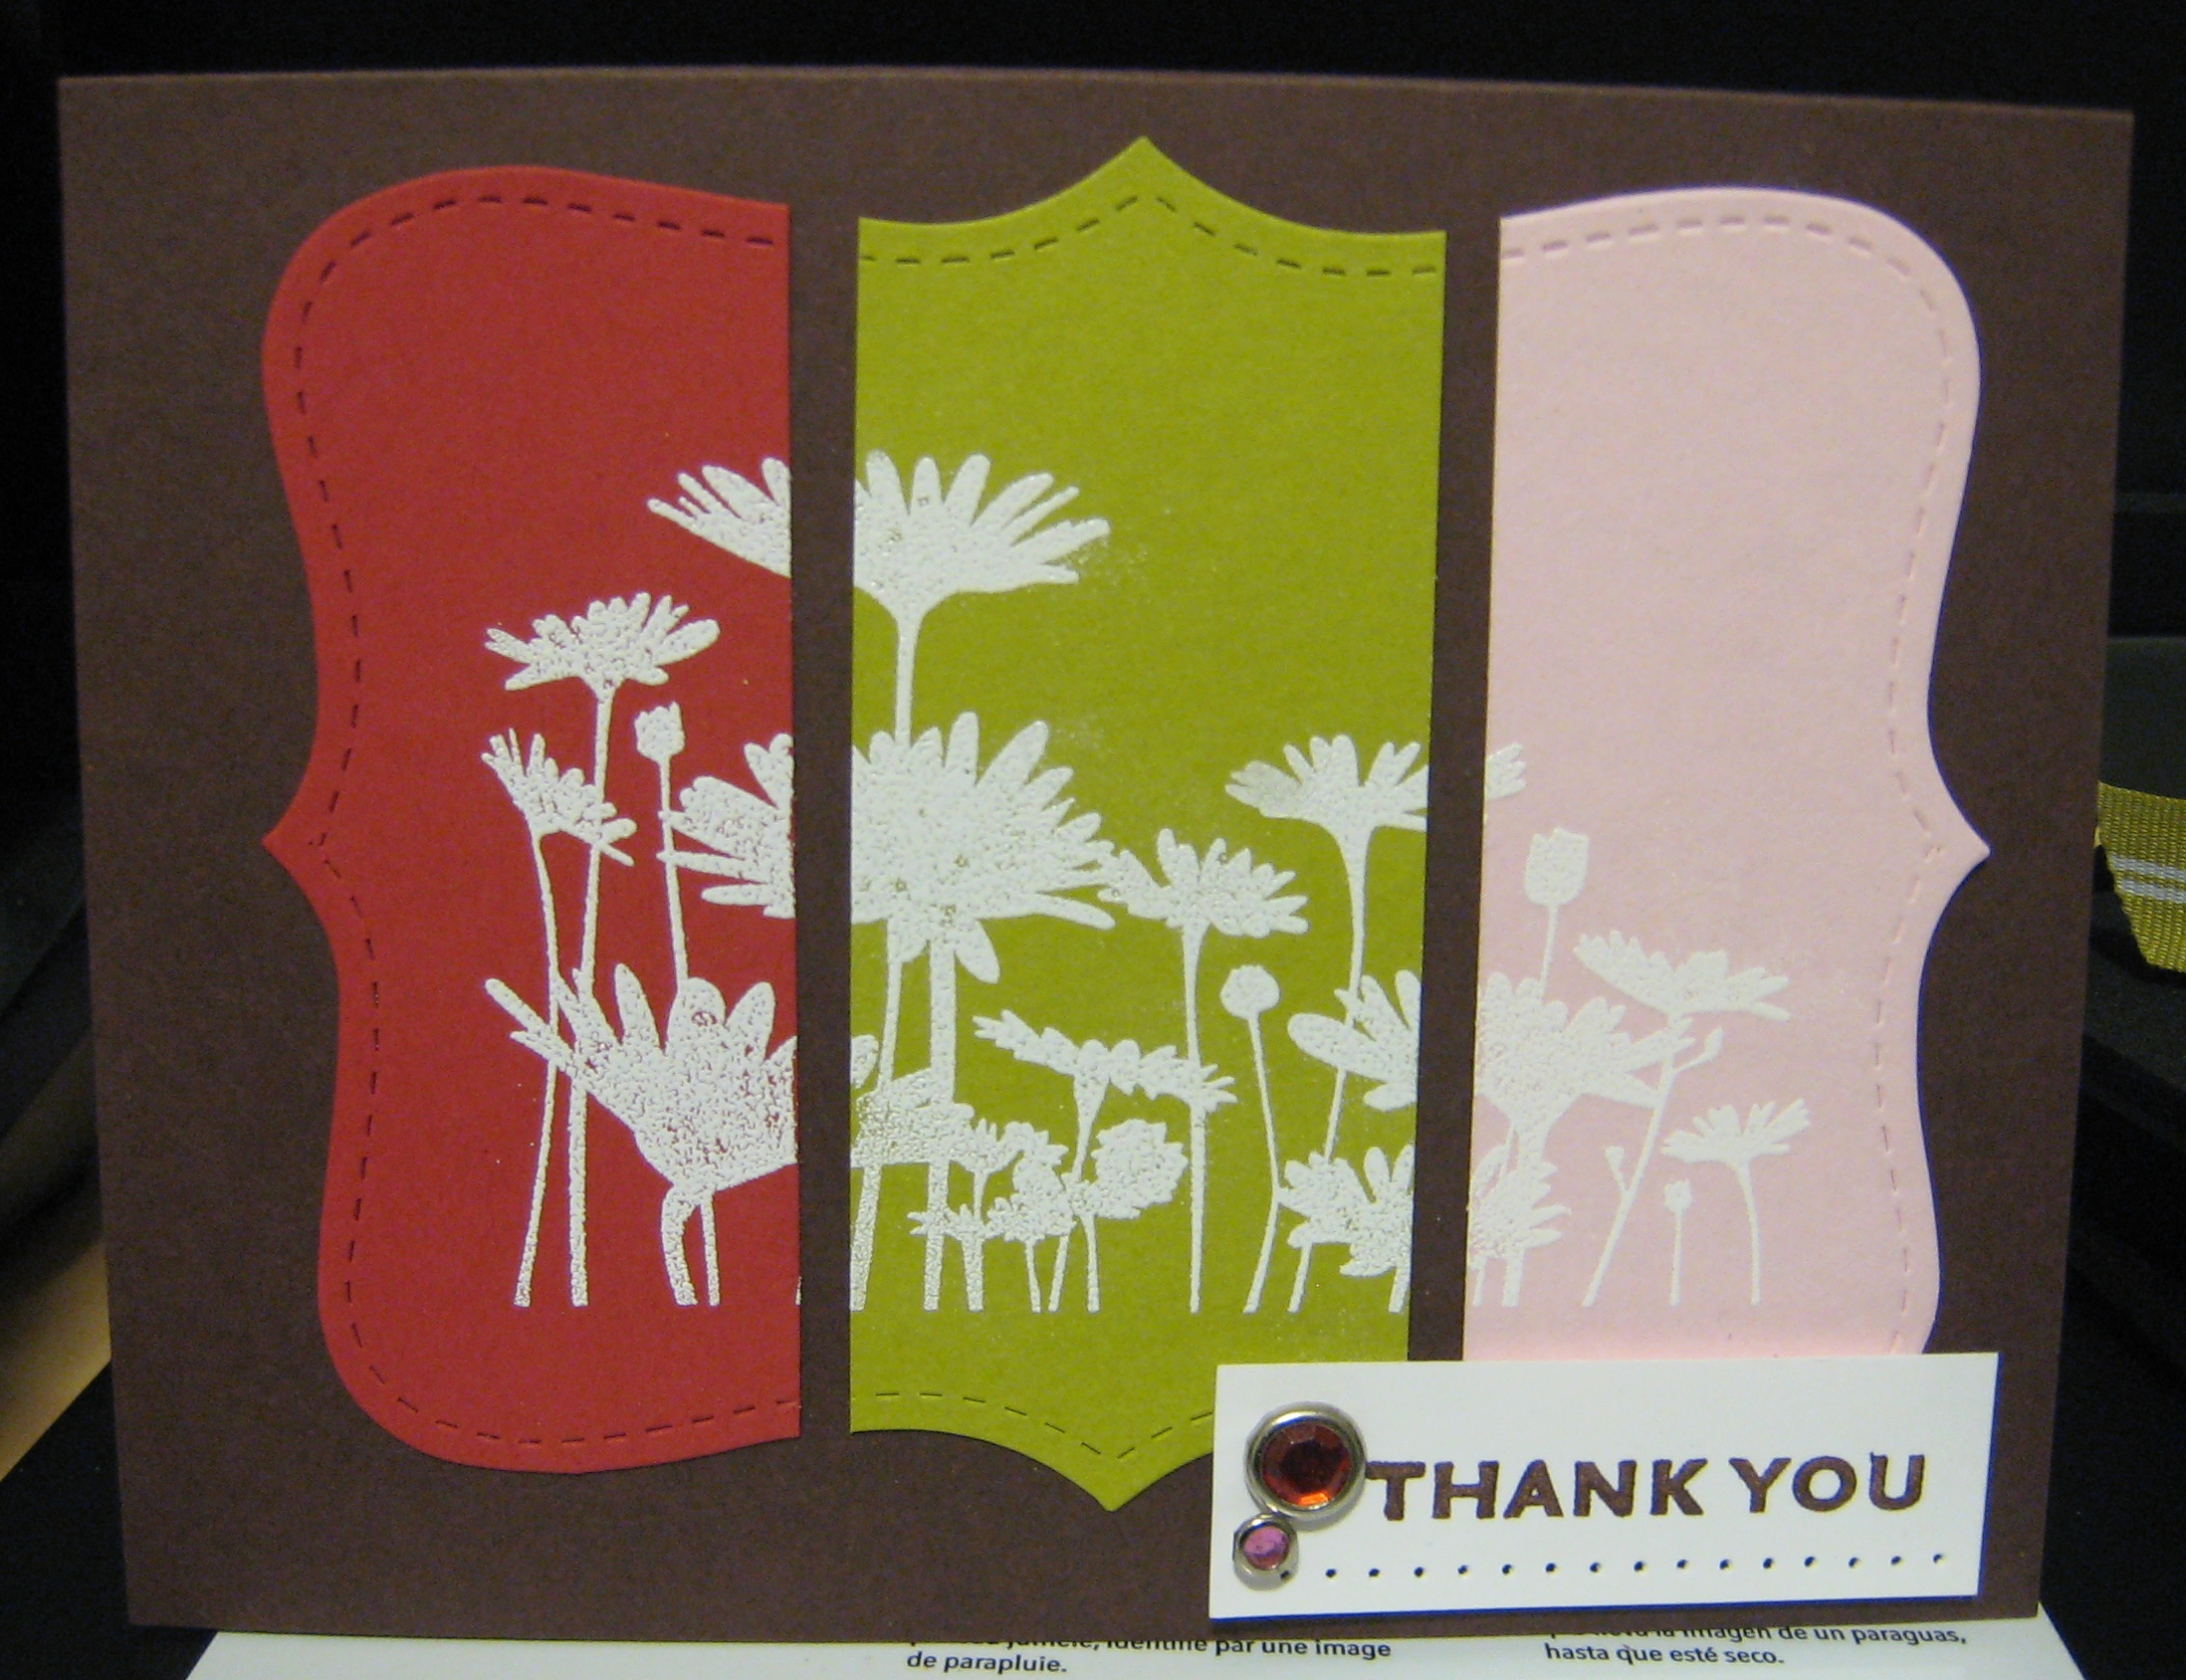
The above card was CASED from one I saw on Splitcoast a couple of weeks ago. I can’t find it again but I wanted to credit whoever it was that did it. Originally, the image was stamped on three rectangular pieces separated, like you see here. I was trying to use the Big Shot so I decided to pull out the Top Note Bigz Die and try the same technique. All stamps are from Upsy Daisy.
Technique: This is the way I did it: First, I cut out 3 separate die cuts with the Top Note die using Riding hood red, kiwi kiss, and pink pirouette cardstock. Next, I cut them each into 3 pieces. Then, I took a left side piece of Red, a middle piece of Kiwi, and a right side piece of Pink and adhered them to a sheet of scrap paper using Tombow Temporary snail adhesive (All 3 pieces were butted up against each other). I inked my stamp with White Craft ink and stamped the image on the tri-color Top Note cut out. Then I used white embossing powder and my heat gun to give it a raised, shiny effect. Lastly, I removed each piece from the scrap paper and permanently adhered them to the card base (chocolate chip). As for the sentiment, I used the chocolate chip marker to ink up just the “Thank You” and stamped it on whisper white. I paper pierced underneath the words and added 2 rhinestone brads. The whole sentiment layer is popped up on dimensionals.
Categorised in Card Designs, Uncategorized


