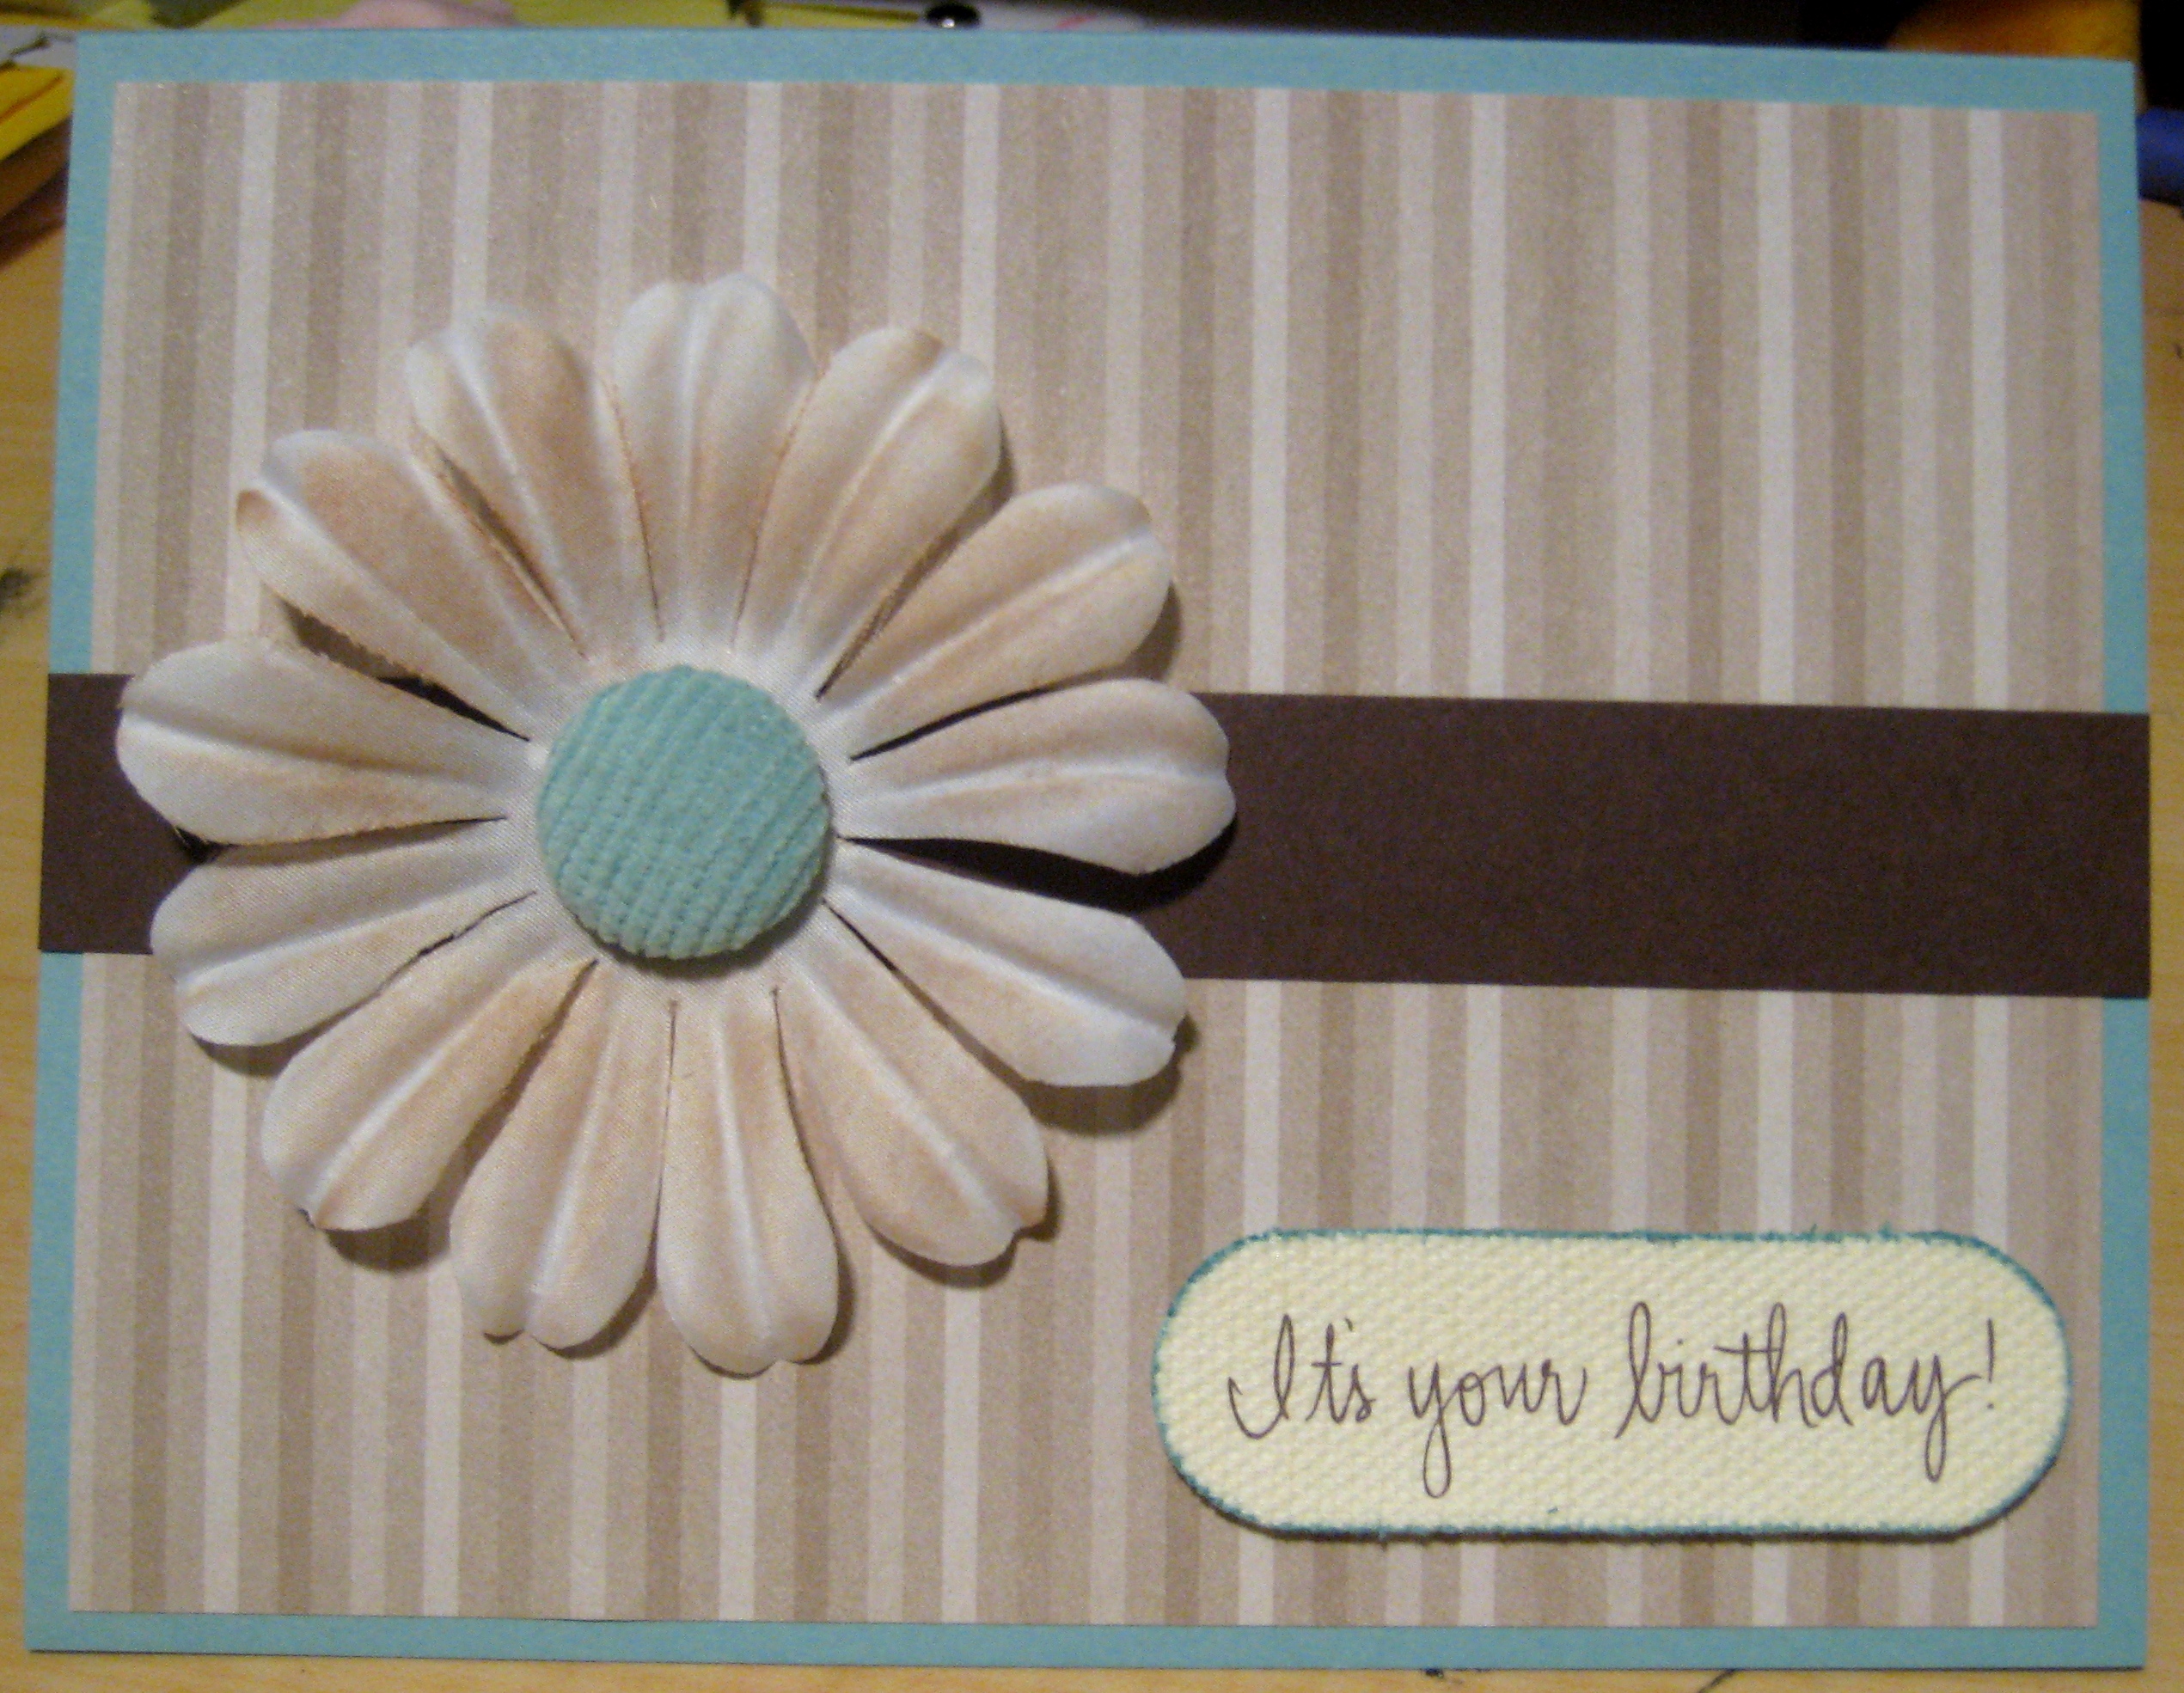
A very simple card. DSP is from Urban Oasis, mounted on a piece of Baja Breeze card stock. I put a strip of Chocolate Chip card stock across the center, and a flower from the Pretties bulk kit that I sponged with Creamy Caramel anchors the left side. In the center of the flower, I used a Baja Breeze Corduroy Brad. The brads have a tendency to slide down, so I put glue dots behind it to adhere it flat against the flower.
The sentiment is a rub on from Fashion District–I love that font! I used this oval shaped Canvas Cut and swiped the edges in Baja Breeze ink before applying the rub on. The canvas cut is adhered to the card base with dimensionals.
I may end up doing more to this card eventually, but for now I’m going to leave it as is and add it to my stash of ready to go birthday cards. Which reminds me, I am in serious need of masculine birthday cards! I don’t own any “manly” stamps so if anyone has any suggestions, I’m all ears. What do you like to use for masculine birthday cards?
Categorised in Card Designs, Uncategorized
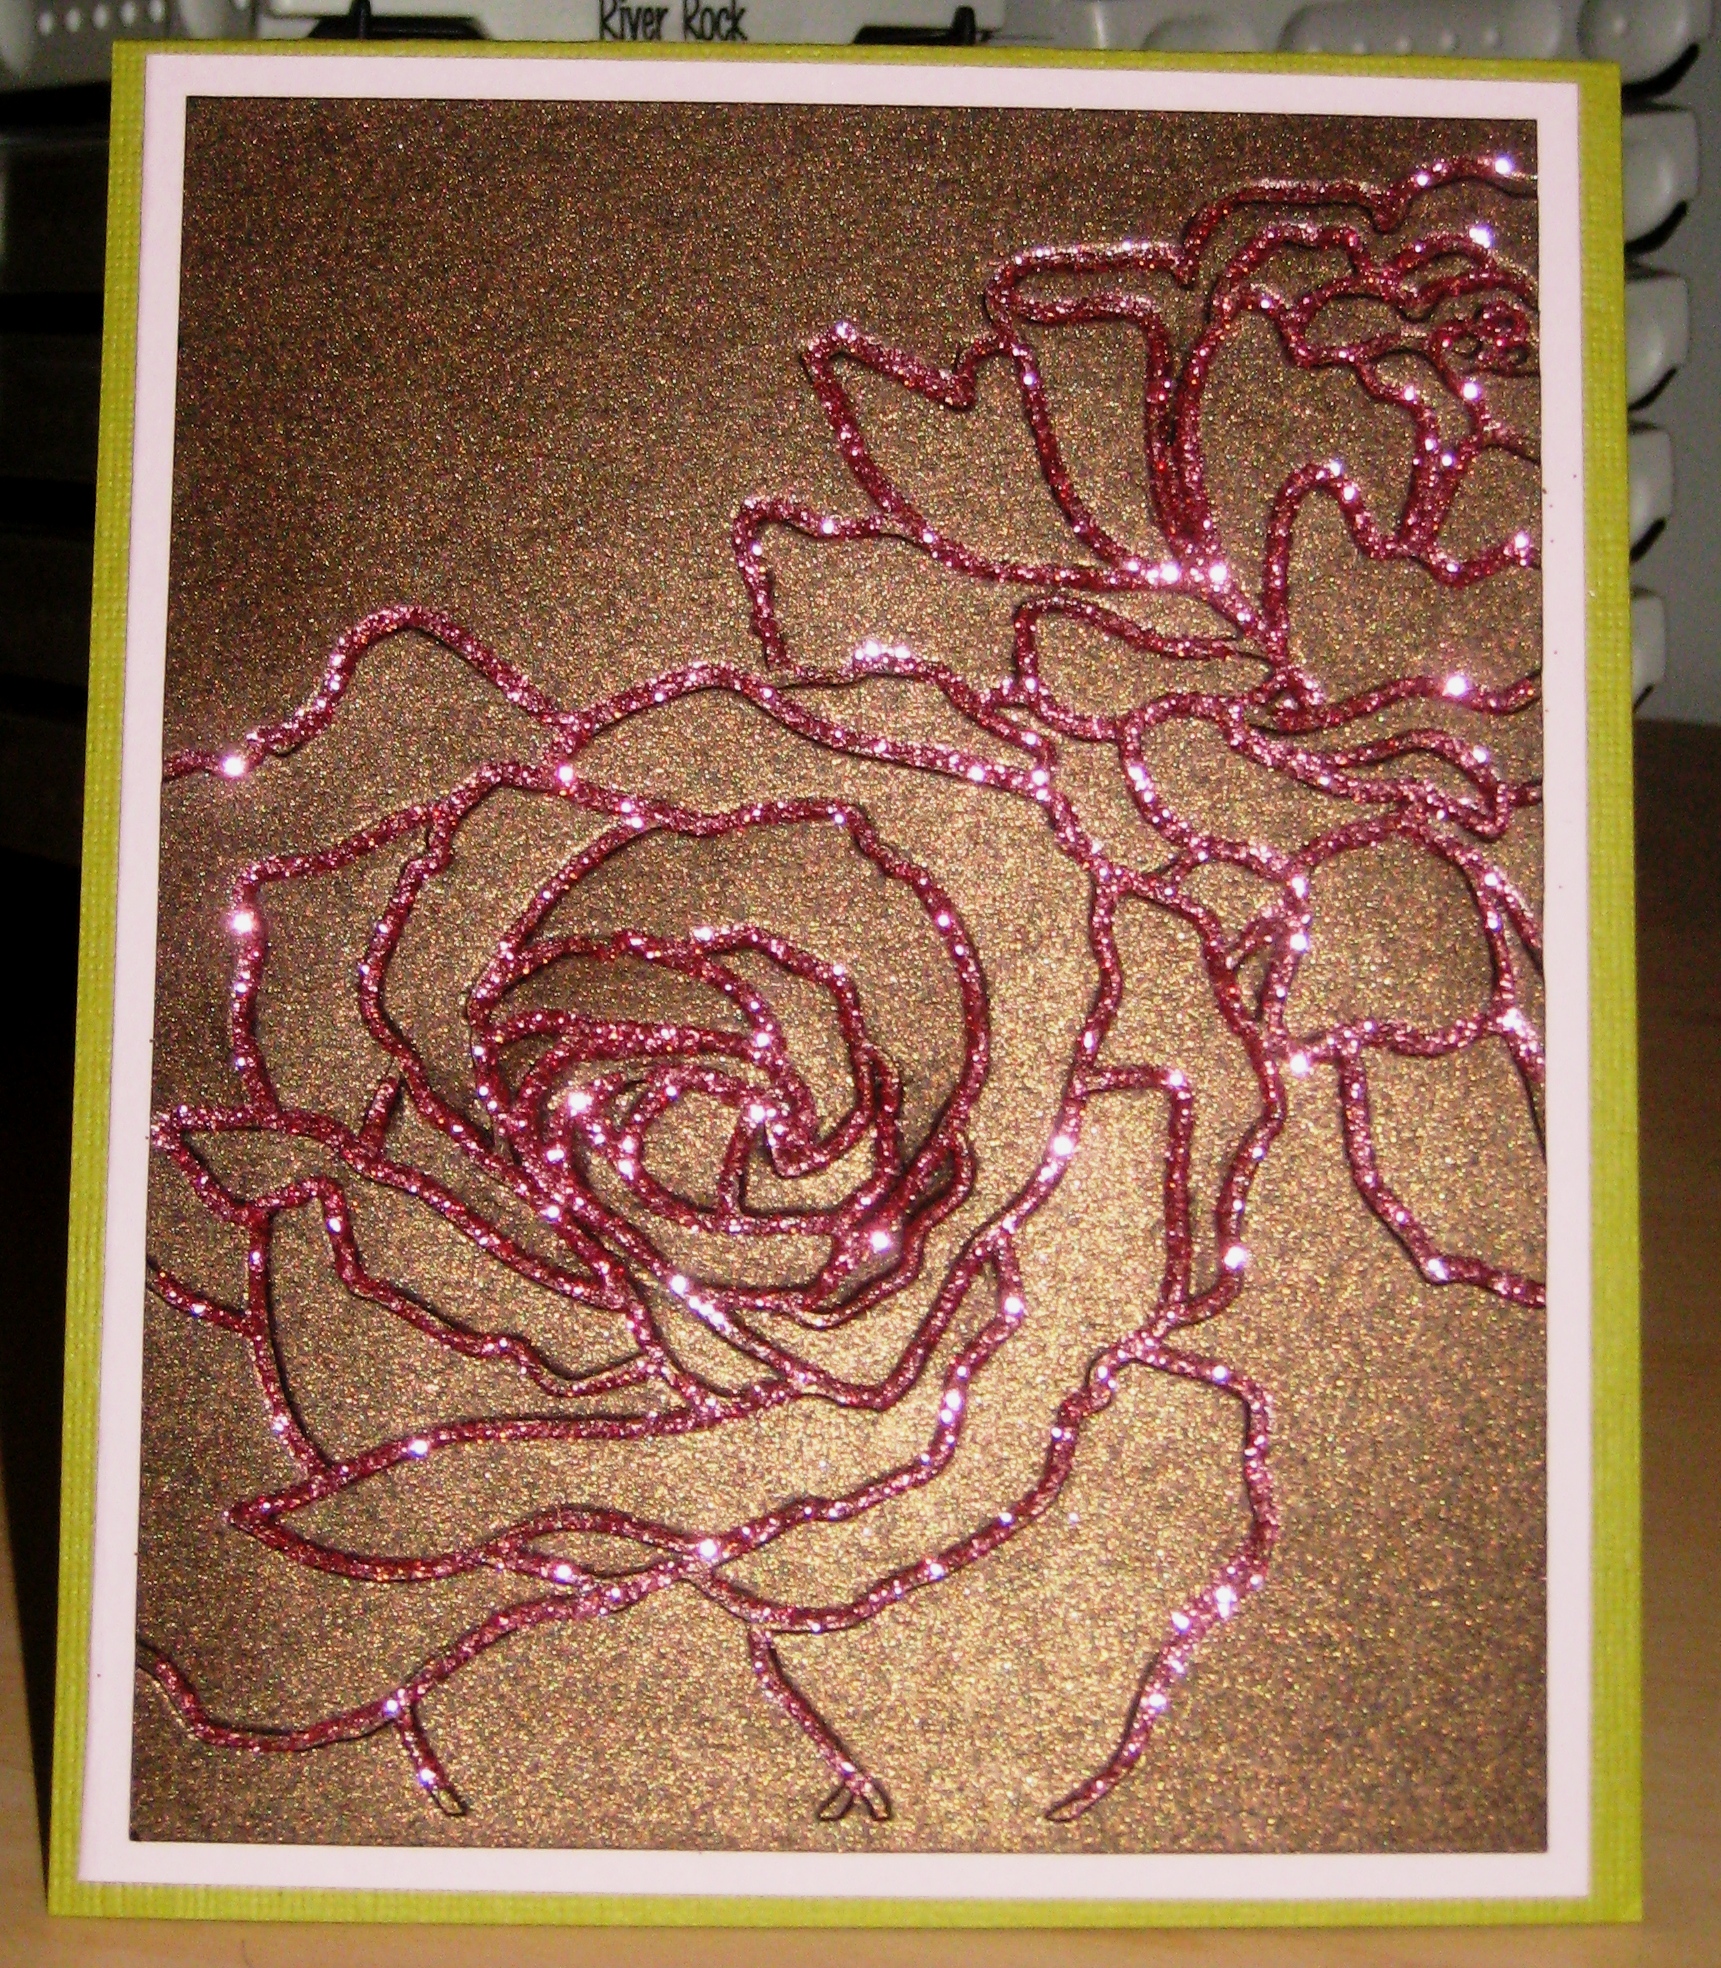
This card was made with the Manhattan Flower Textured Impressions die. It provides a really deep impression, which I’ve found yields better results on thicker cardstock. Speaking of card stock, the Bronze paper is from Taste of Textiles. It’s REALLY nice stuff!
After running the Bronze card stock through my CB with the Manhattan flower die, I ended up with one side being embossed and the other side debossed. Using the debossed side, I took my Martha Stewart fine glue pen and traced around the design. Then, I used my Supernova Fine glitter in Pink to add MAJOR sparkle! See close up for detail.
The Bronze layer was glued onto a piece of Pink Pirouette card stock, and that in turn onto a piece of Textured Kiwi Kiss card stock.
Categorised in Card Designs, Uncategorized
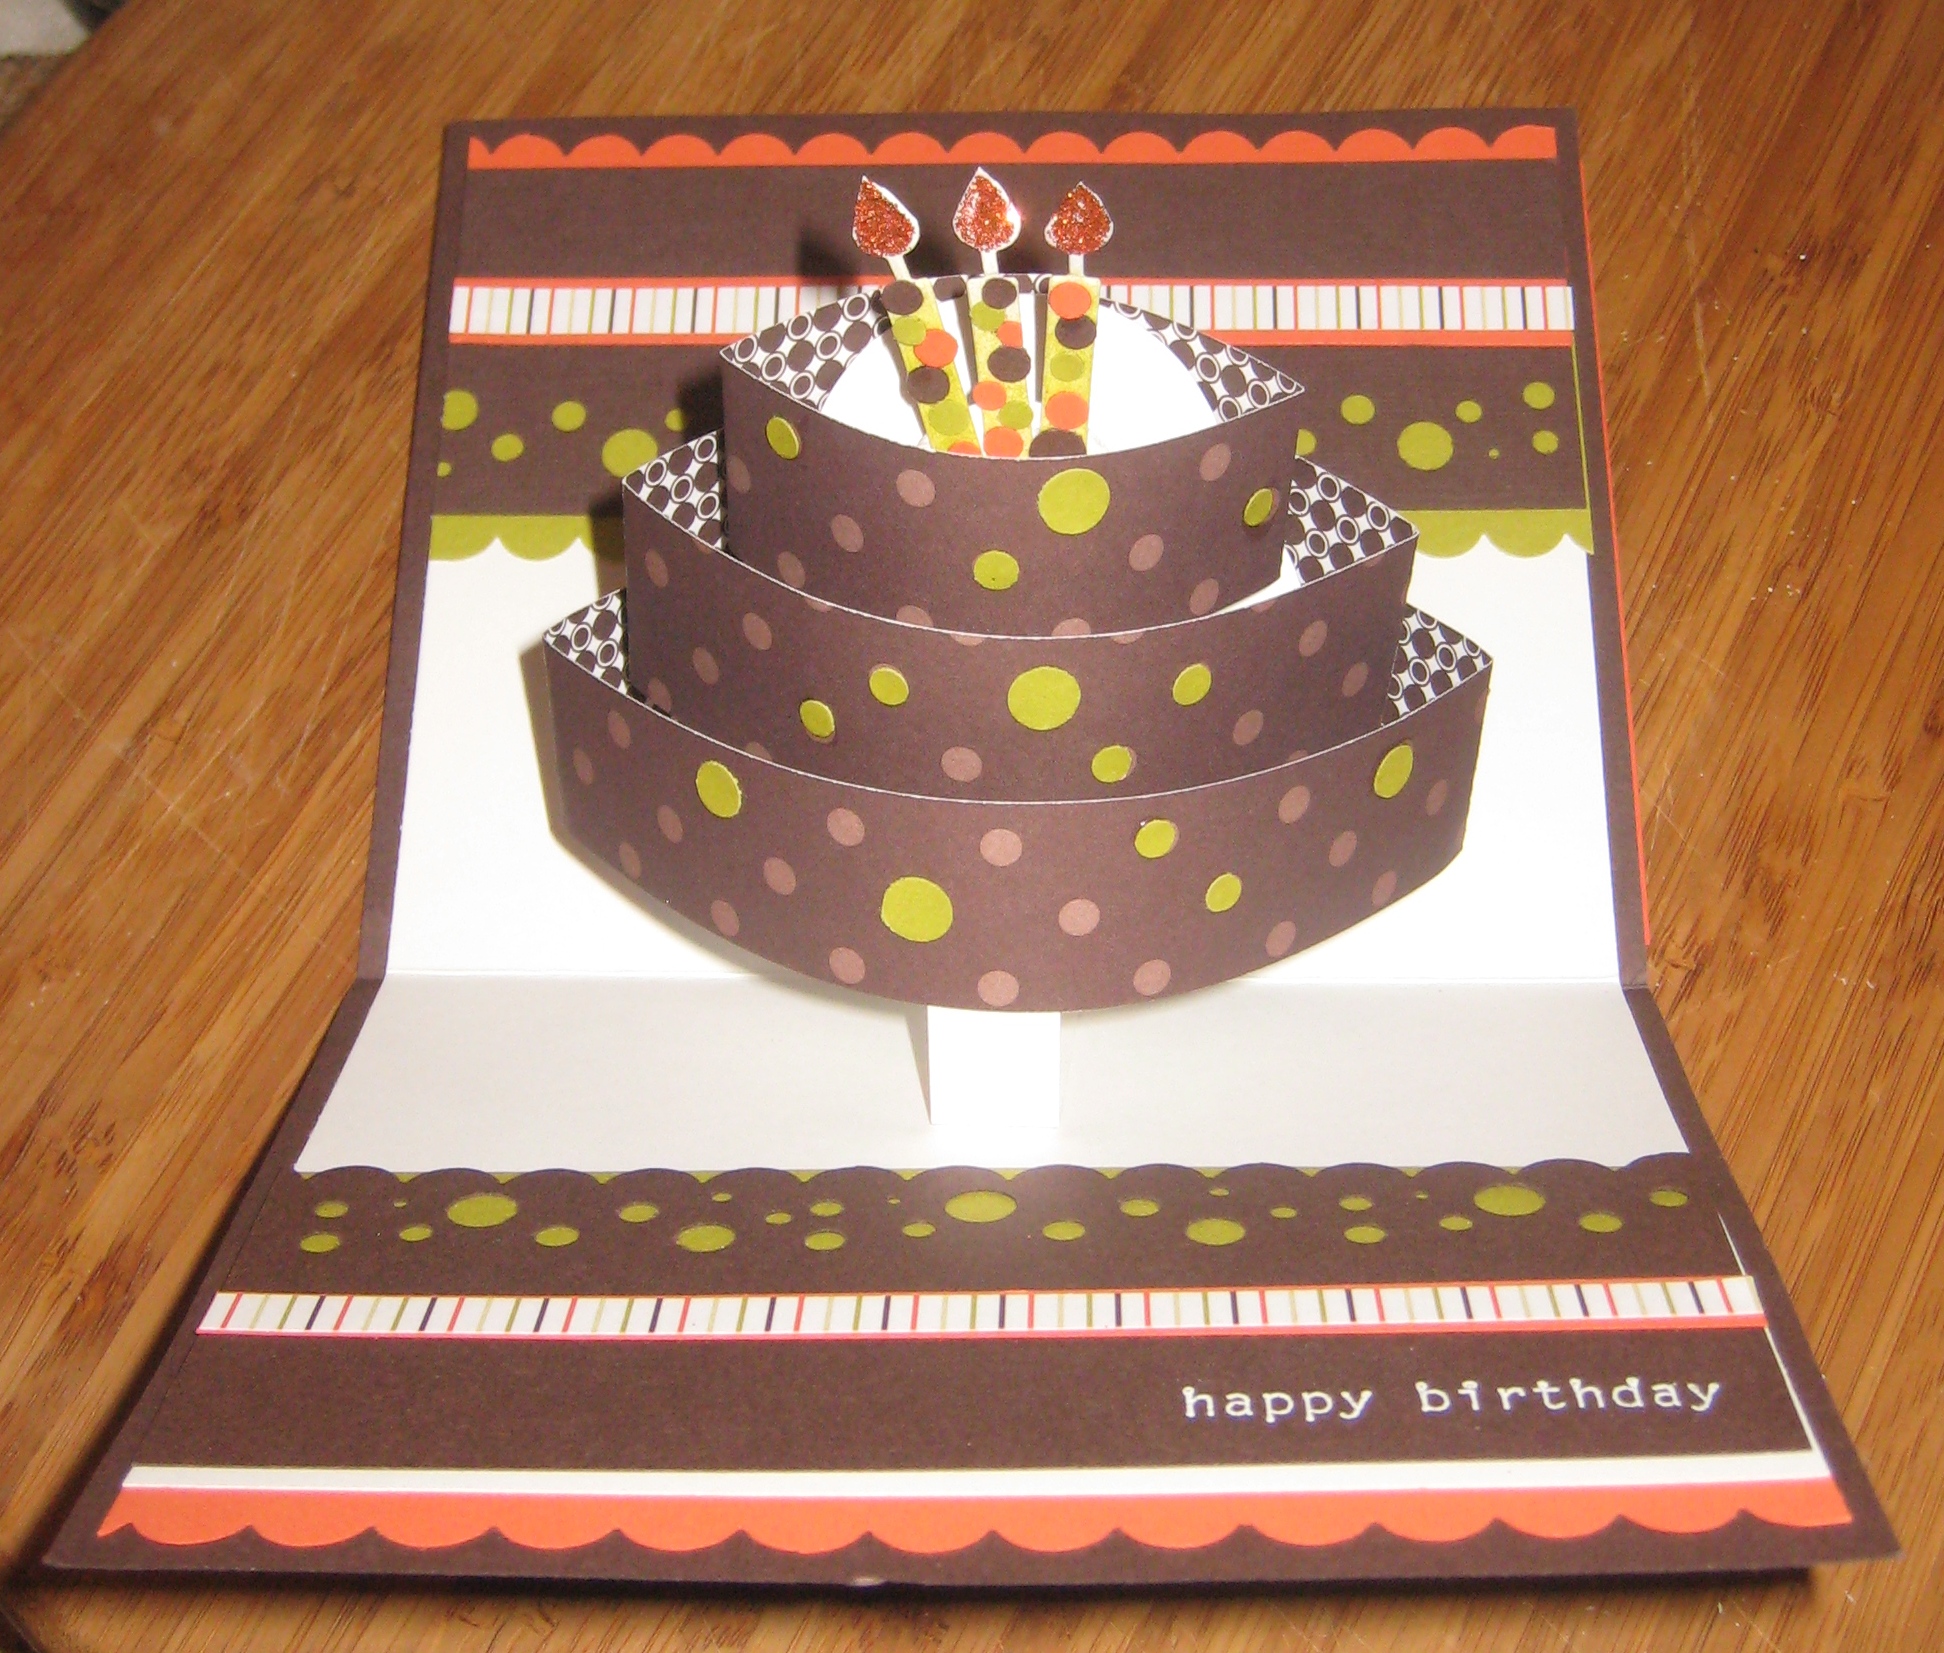 OK so I have to admit this Sizzix 3D Cake die has been a bit of a roller coaster for me. At first, I was so excited to get it. Then I tried to use it in my Cuttlebug (which it’s not really made for but it does work if you do a lot of tweaking), and I hated it. Finally, I saw this card today and Jan inspired me to give this project another go.
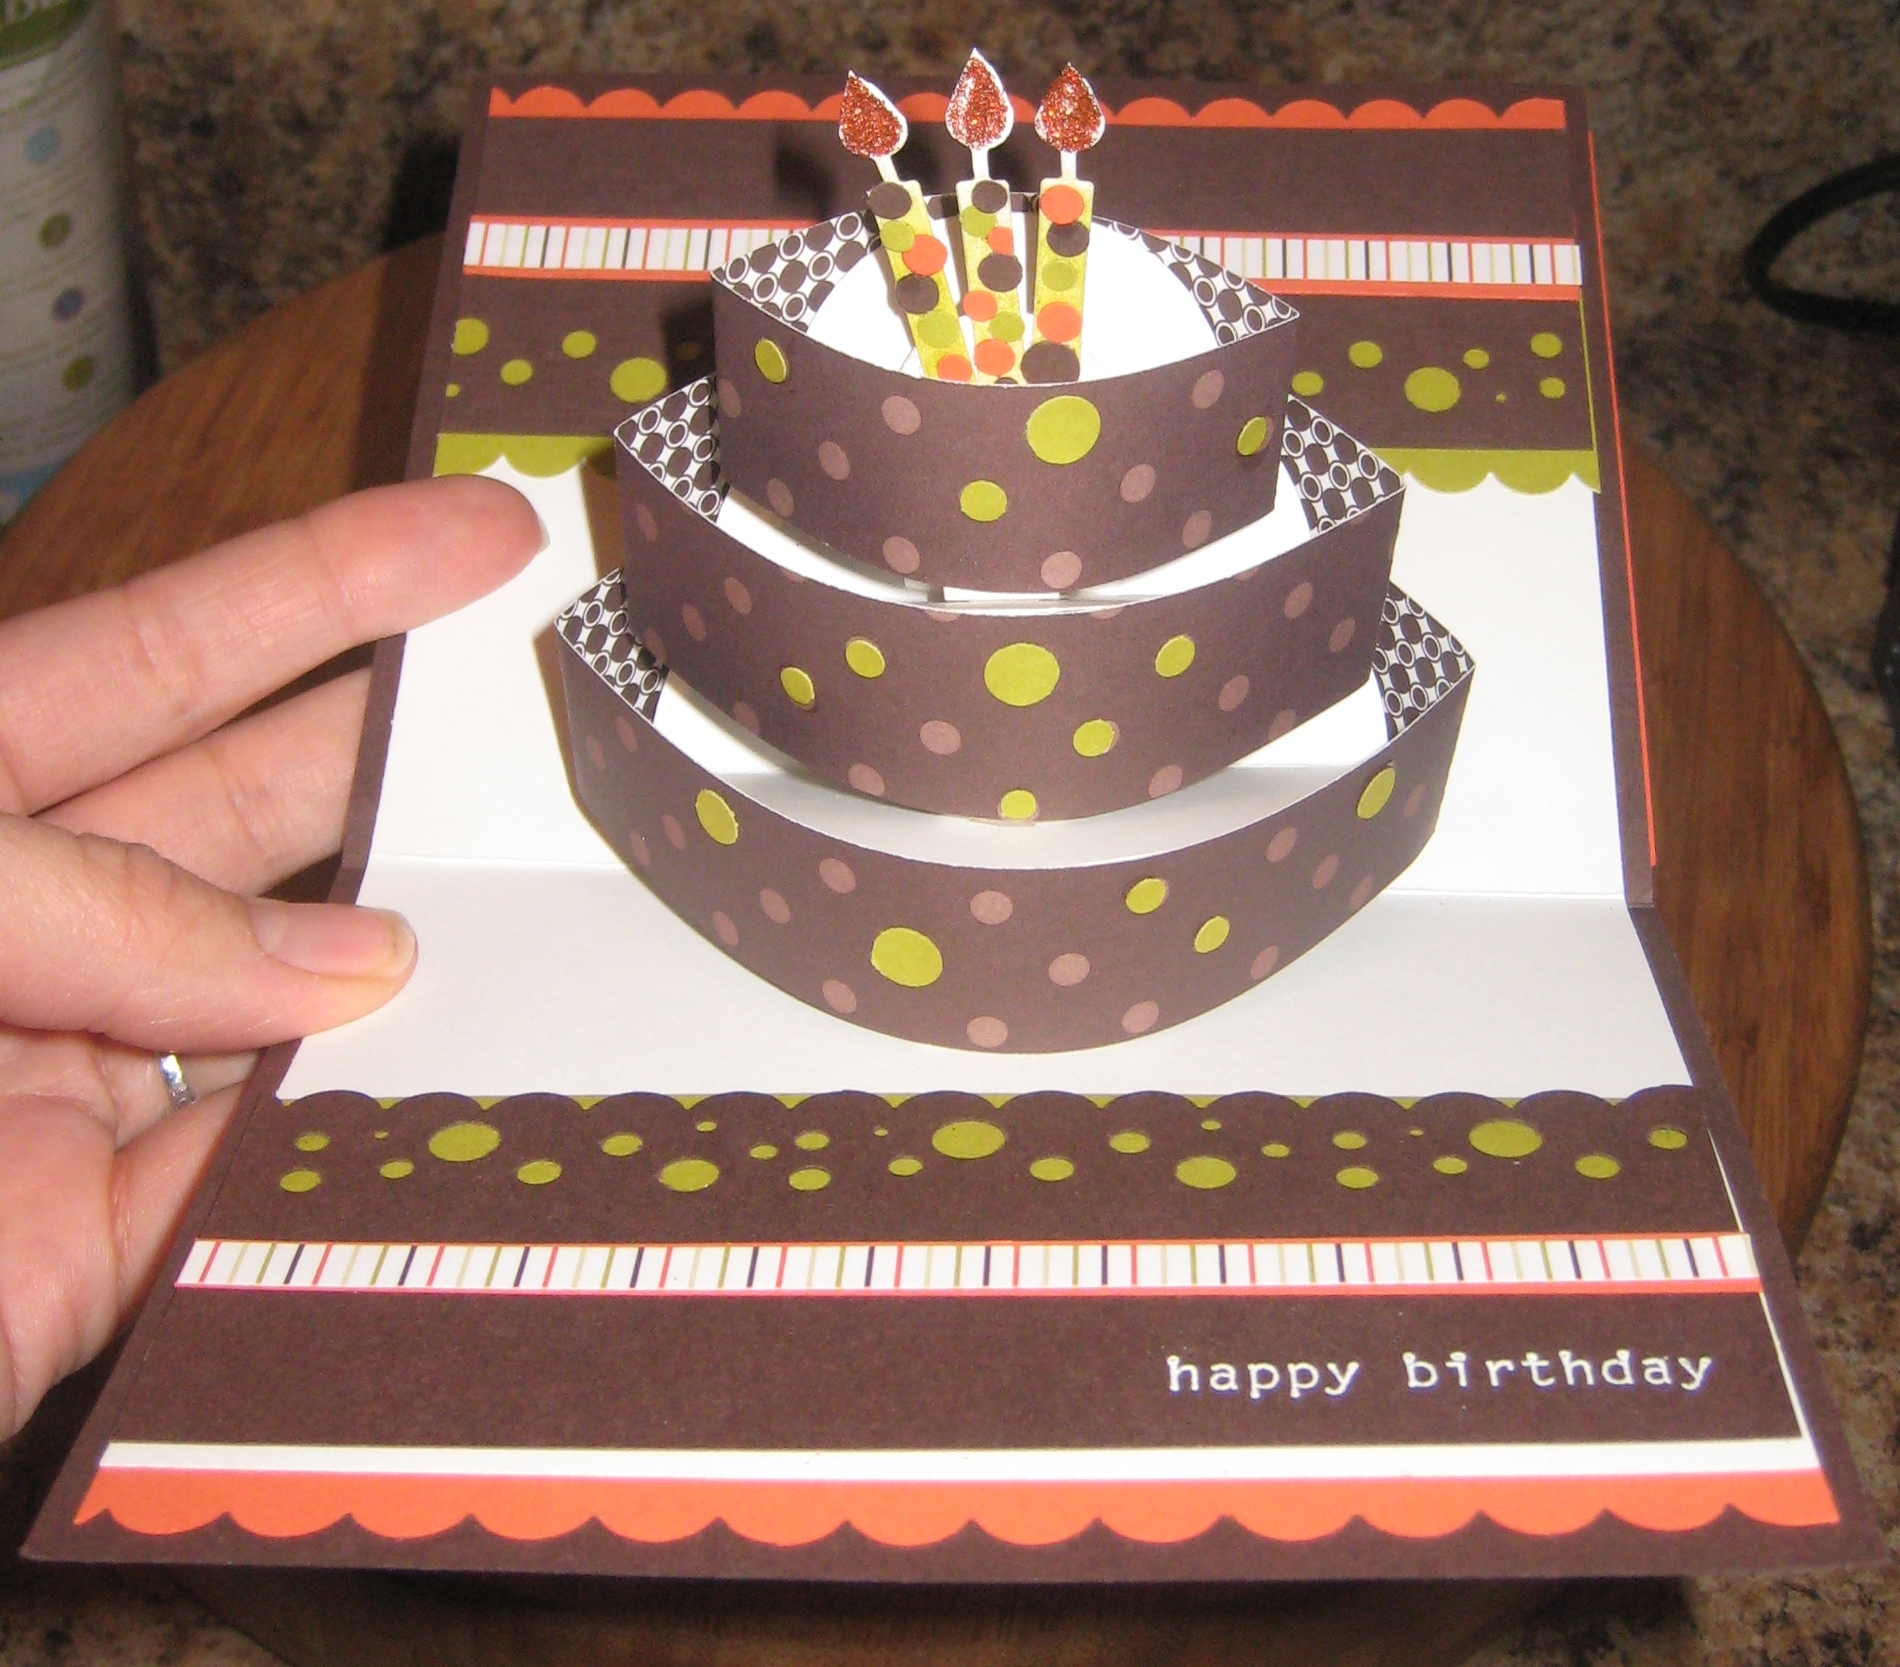
Opening up the card
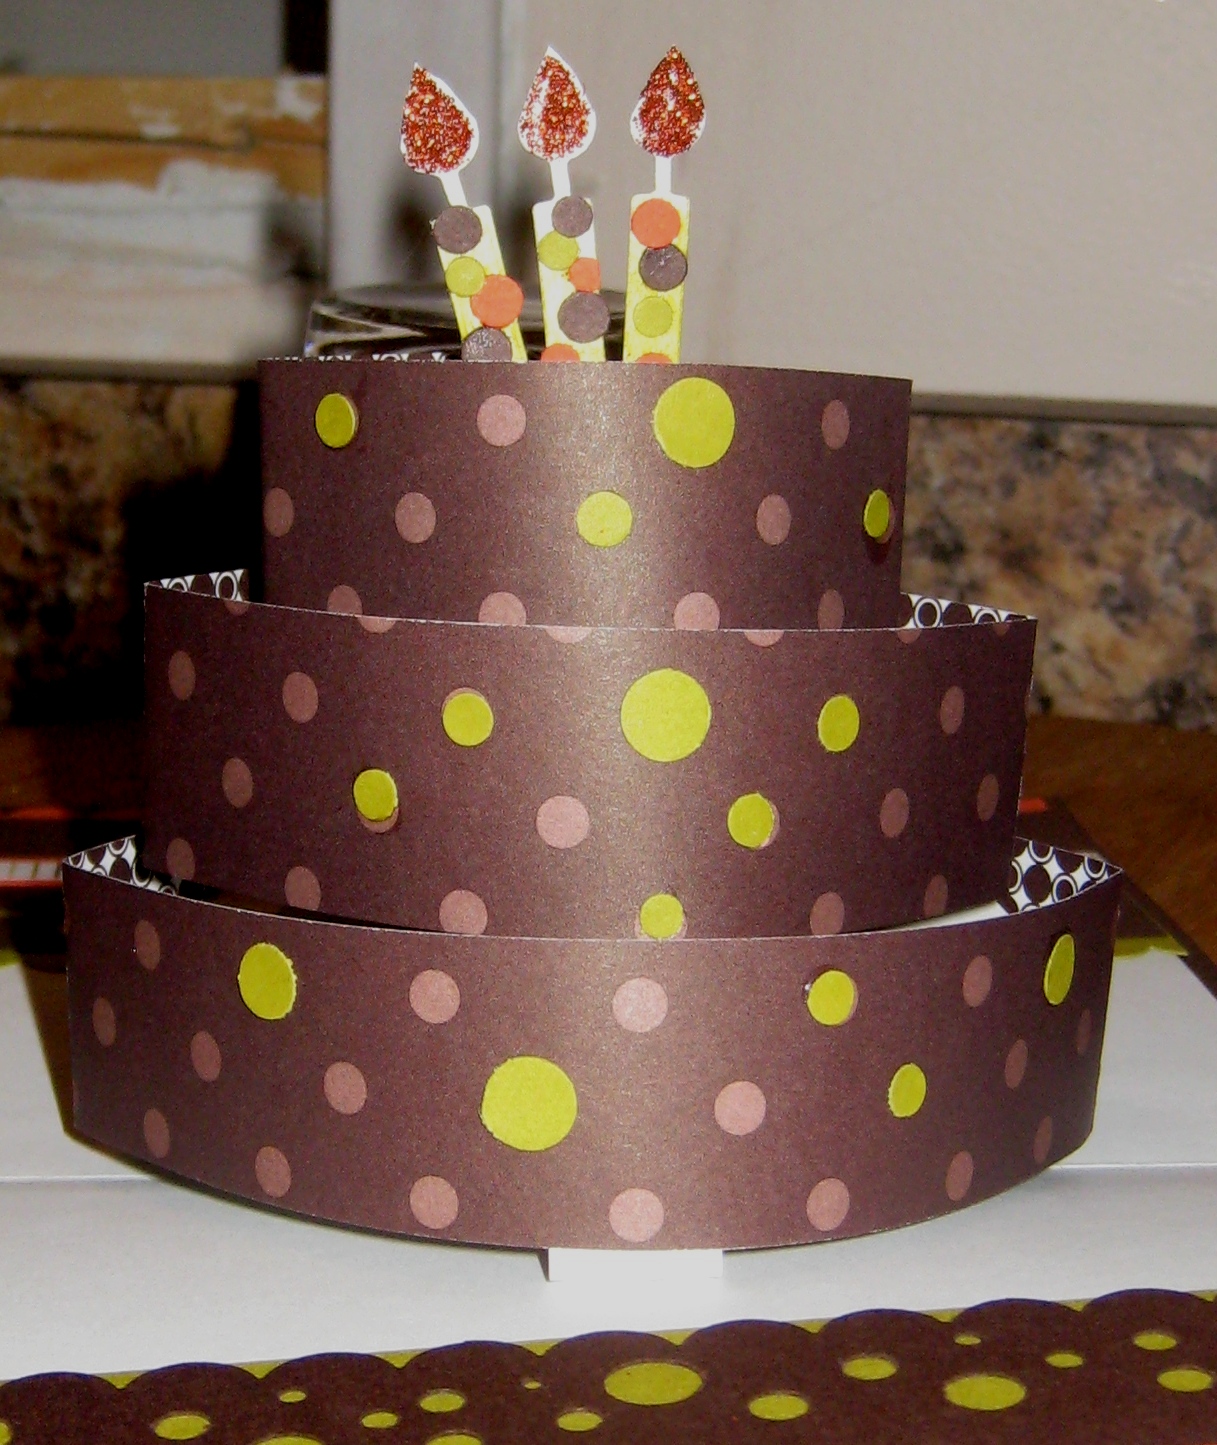
Close up
Supplies/Directions
- First I cut out all of the pieces for the cake using the 3D Cake Die and assembled it as per the instructions. I used Georgia Pacific white cardstock for the template pieces and Chocolate Chip DSP for the strips around the cake layers. The cake is mounted on a piece of 5 1/2″ x 8 1/2″ GP white cardstock, folded in half.
- Then, I glued that piece of white cardstock to a 5 3/4″ x 9 1/2″ piece of Textured Chocolate Chip cardstock, folded in half.
- Next, I decorated the top and bottom edges with Kiwi Kiss, Tangerine Tango, and Chocolate Chip cardstock. The striped paper is Hawaii Papaya DSP. I used the Scallop Edge Punch and the new EK Success Border Punch “Swiss Cheese”.
- I stamped “happy birthday” from last year’s SAB set Birthday Whimsy in White Craft ink and embossed it with White embossing powder.
- The candles were sponged with Kiwi Kiss ink first, then I glued some of the little dots that were punched out with the EK Success Swiss Cheese punch onto the candles. Finally, I used the Orange Supernova Fine Glitter on the “flames” with 2-way Glue and adhered the candles to the cake using Sticky Strip.
- I added some Kiwi Kiss dots to the cake using left overs from the Swiss Cheese punch.
- Lastly, I decorated the outside of the card. I used a piece of Tangerine Tango cardstock, 5 3/4″ x 4 1/4″, Chocolate Chip DSP 5 3/4″ x 3 3/4″, and adhered them to the card front. The strip across the front is Kiwi Kiss punched with the Scallop edge, chocolate chip, and a strip of Hawaii Papaya DSP. I stamped “happy” from Happy Everything in Chocolate chip ink, added two 5/16″ Basic Jumbo Brads in Brown, and adhered that to the card wih dimensionals.
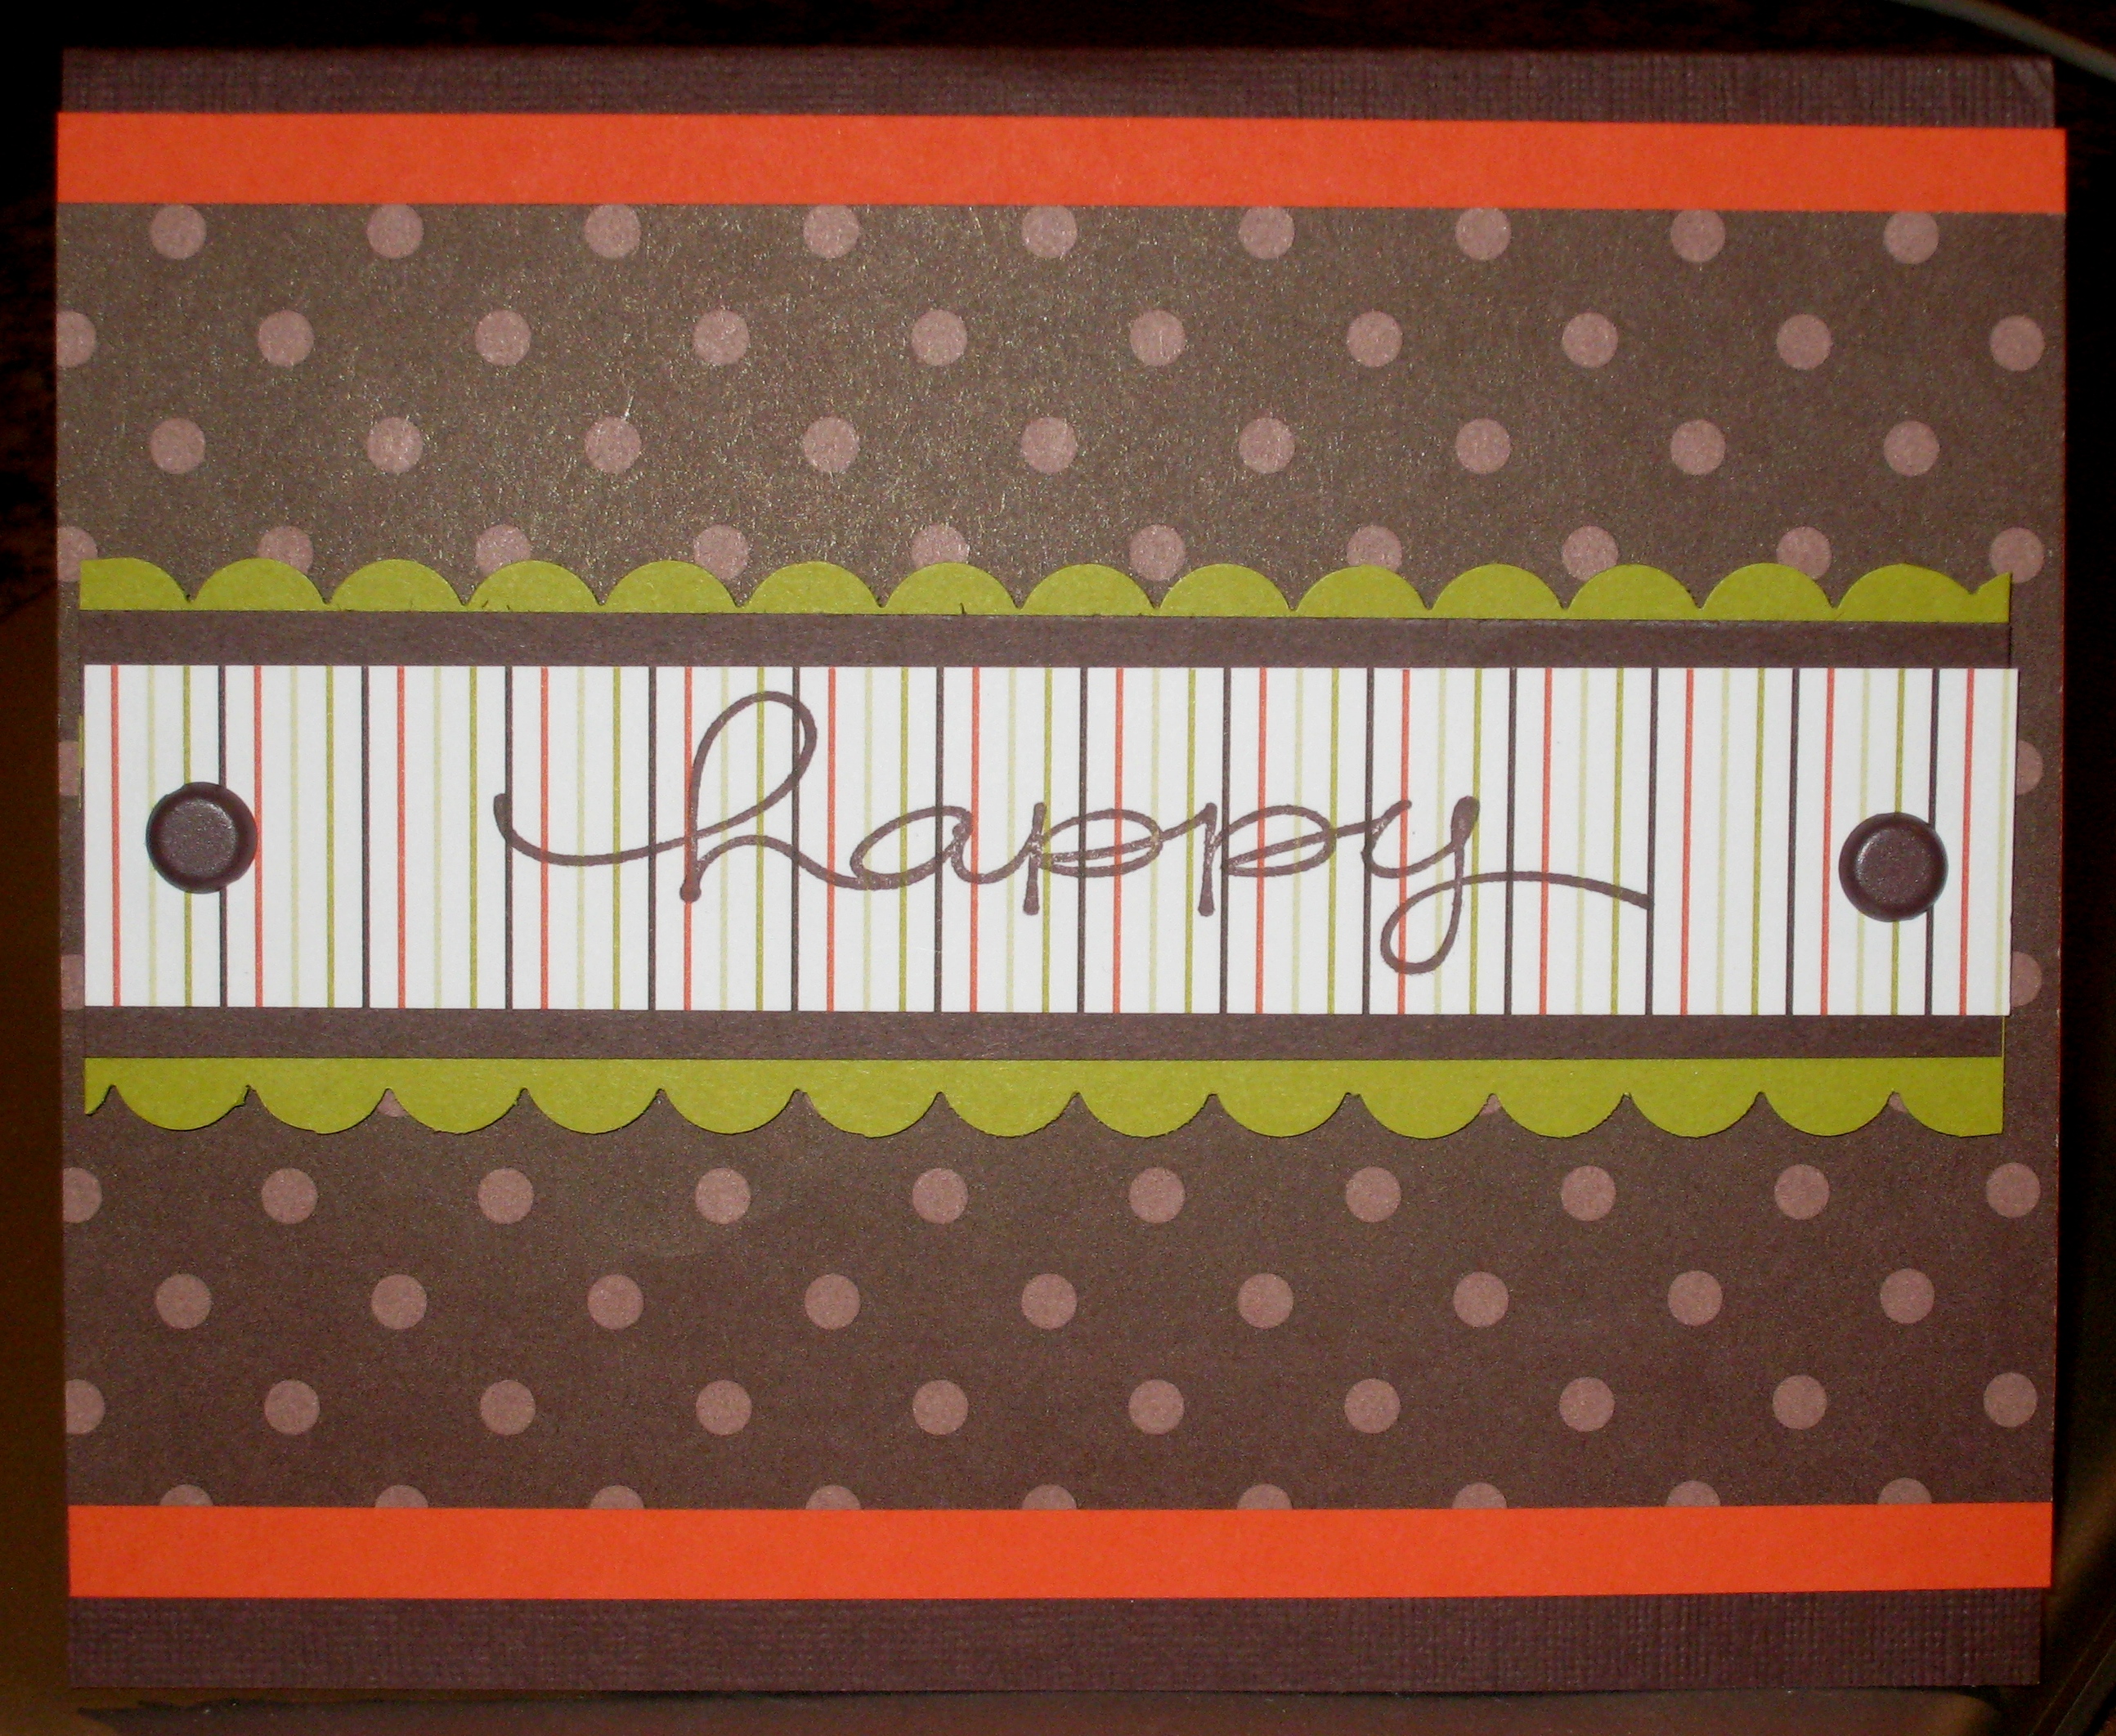
Front of Card
Categorised in Card Designs, Uncategorized


