Dazzling Flowers

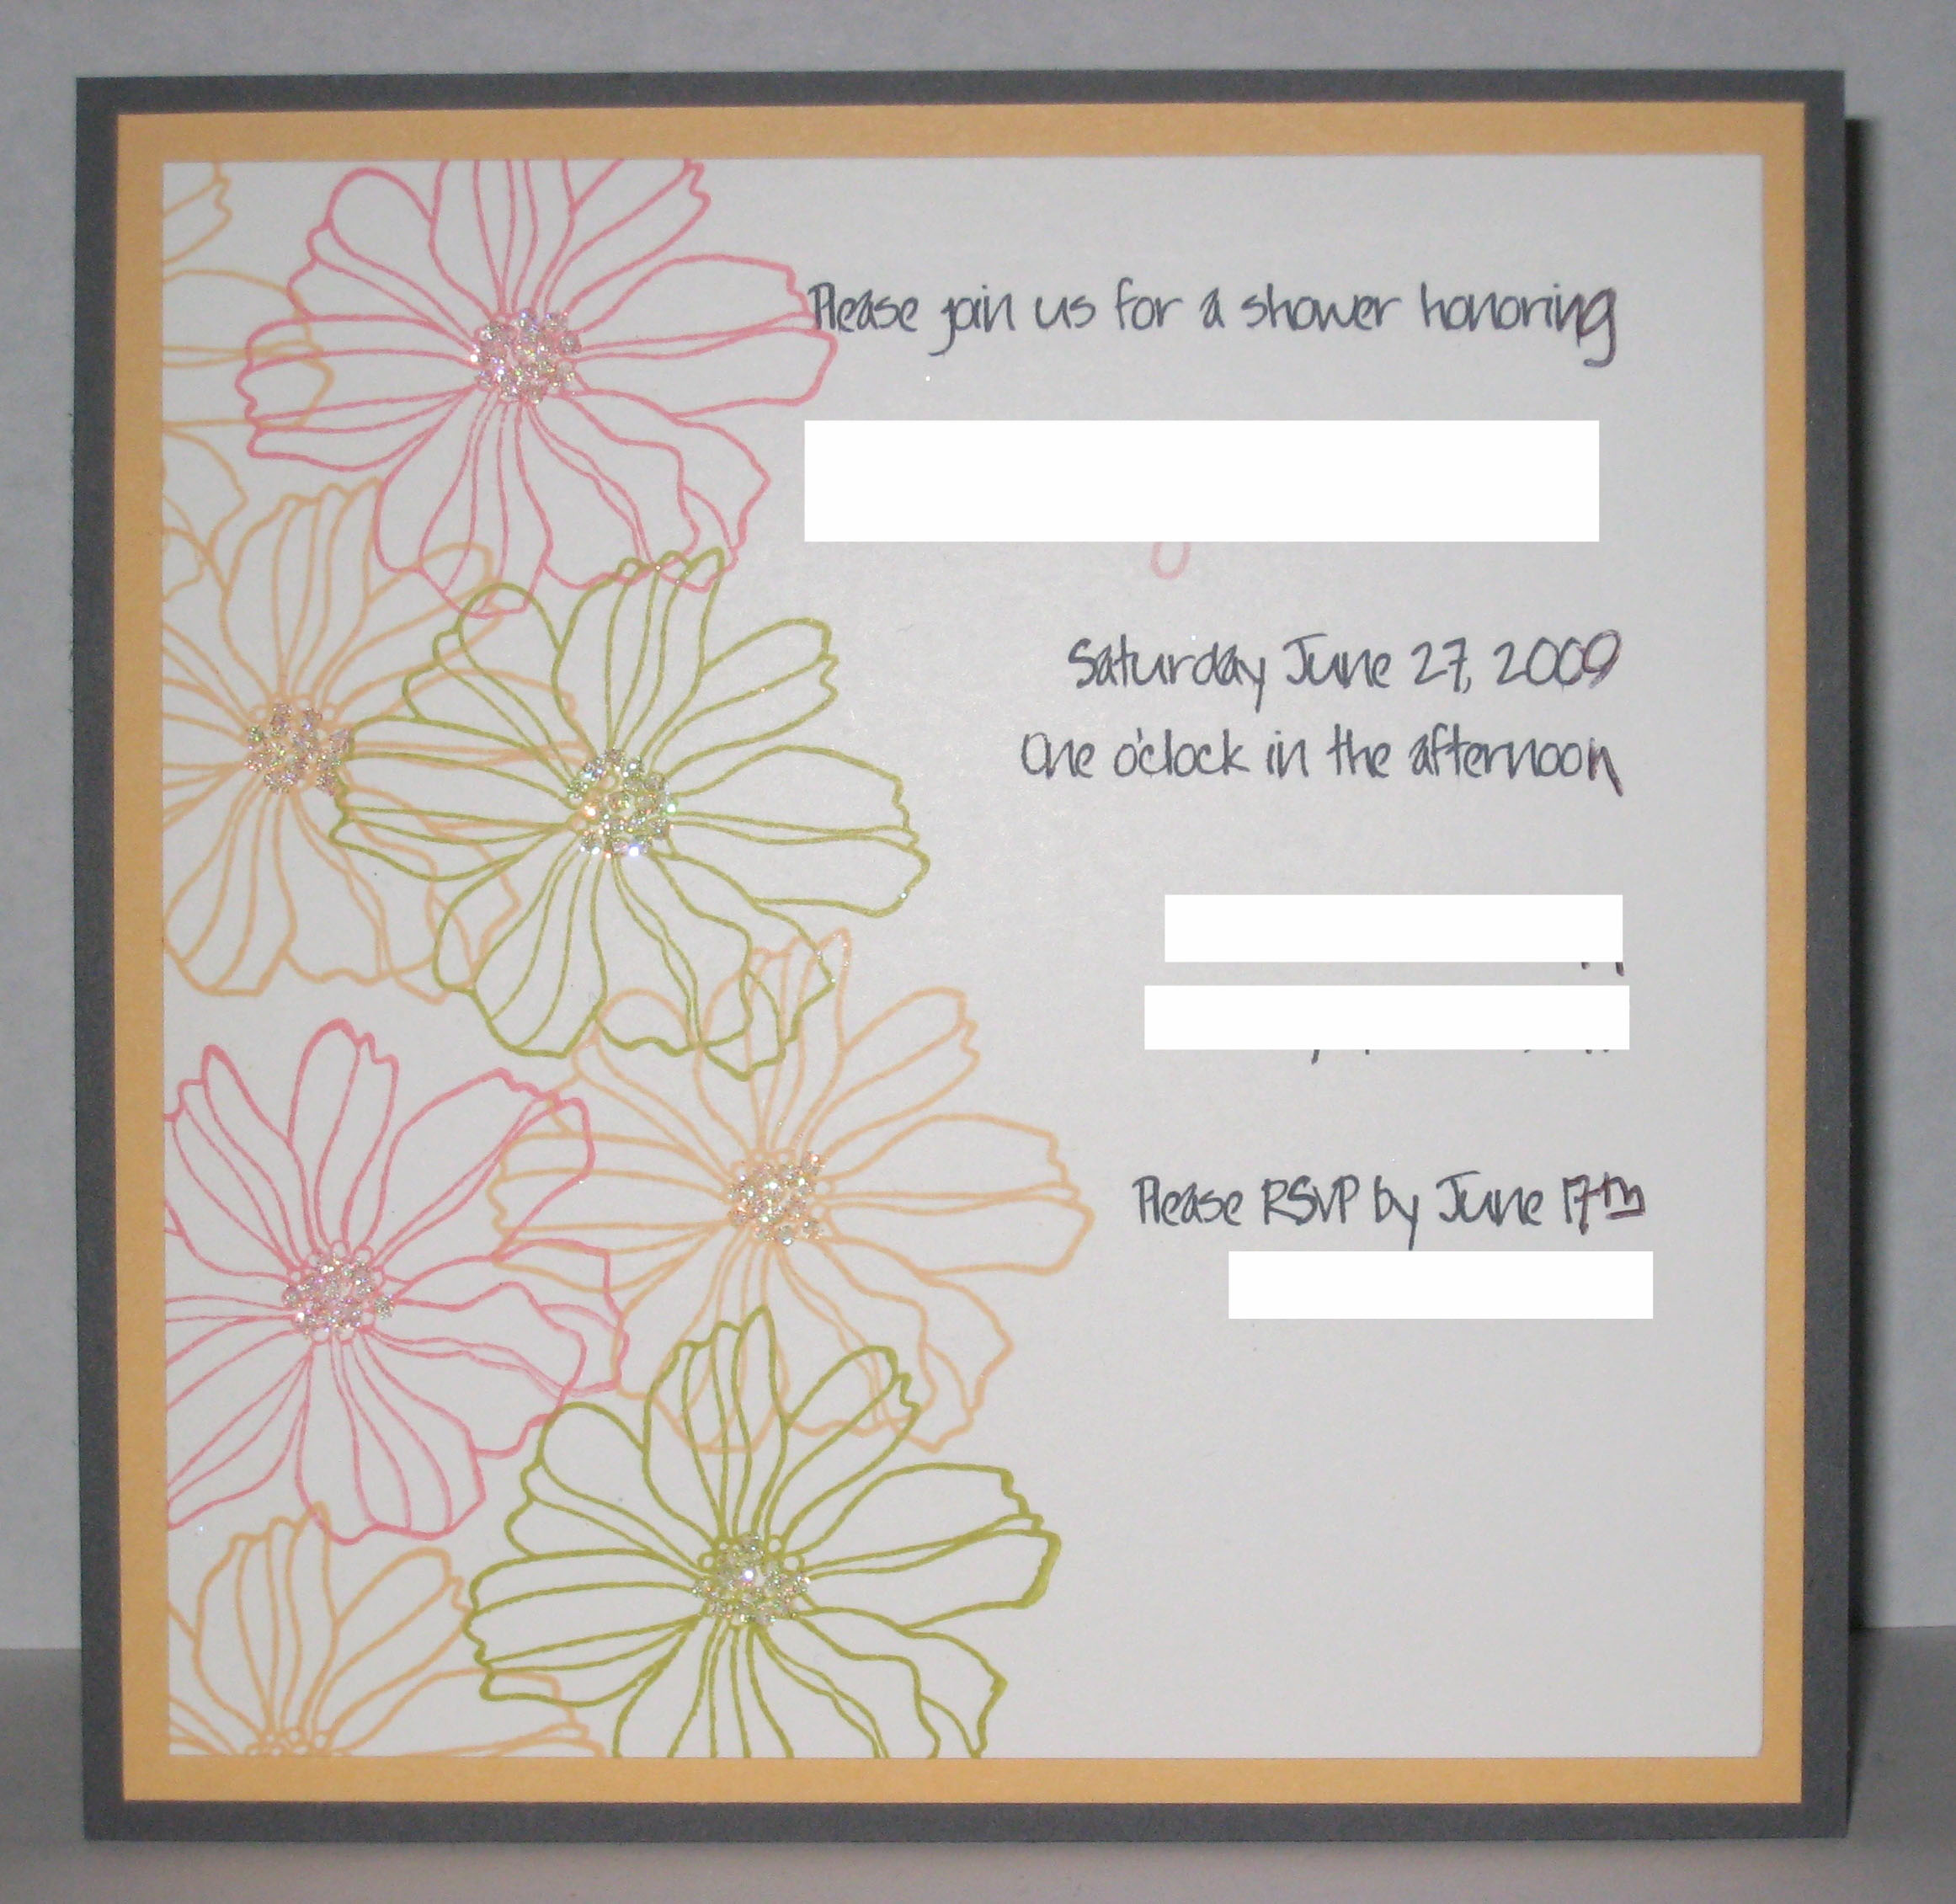
Another sample to get my creative juices flowing. I will show this to my friend who asked me to help her with her Bridal Shower invites. Being that she’s not sure on the theme or color scheme yet, I’m going with bright summery colors since it’s going to be in June/July.

The base here is a 5 1/2″ square of Basic Gray card stock. That was layered with a 5″ square of Apricot Appeal and a 4 3/4″ square of Whisper White.  As in my previous post, I ran the White through the printer first, then cut it to size. Here, I used Fifth Avenue Floral stamp set, and stamped one of the flower images in Cameo Coral, Kiwi Kiss, and Apricot Appeal several times along the left side. Next, I took my Martha Stewart Glue Pen (great product btw) and dotted some of the glue onto the centers of the flower. Then, I sprinkled Dazzling Diamonds glitter on the glue and there you go–Sparkly Centers!
Flower Shower

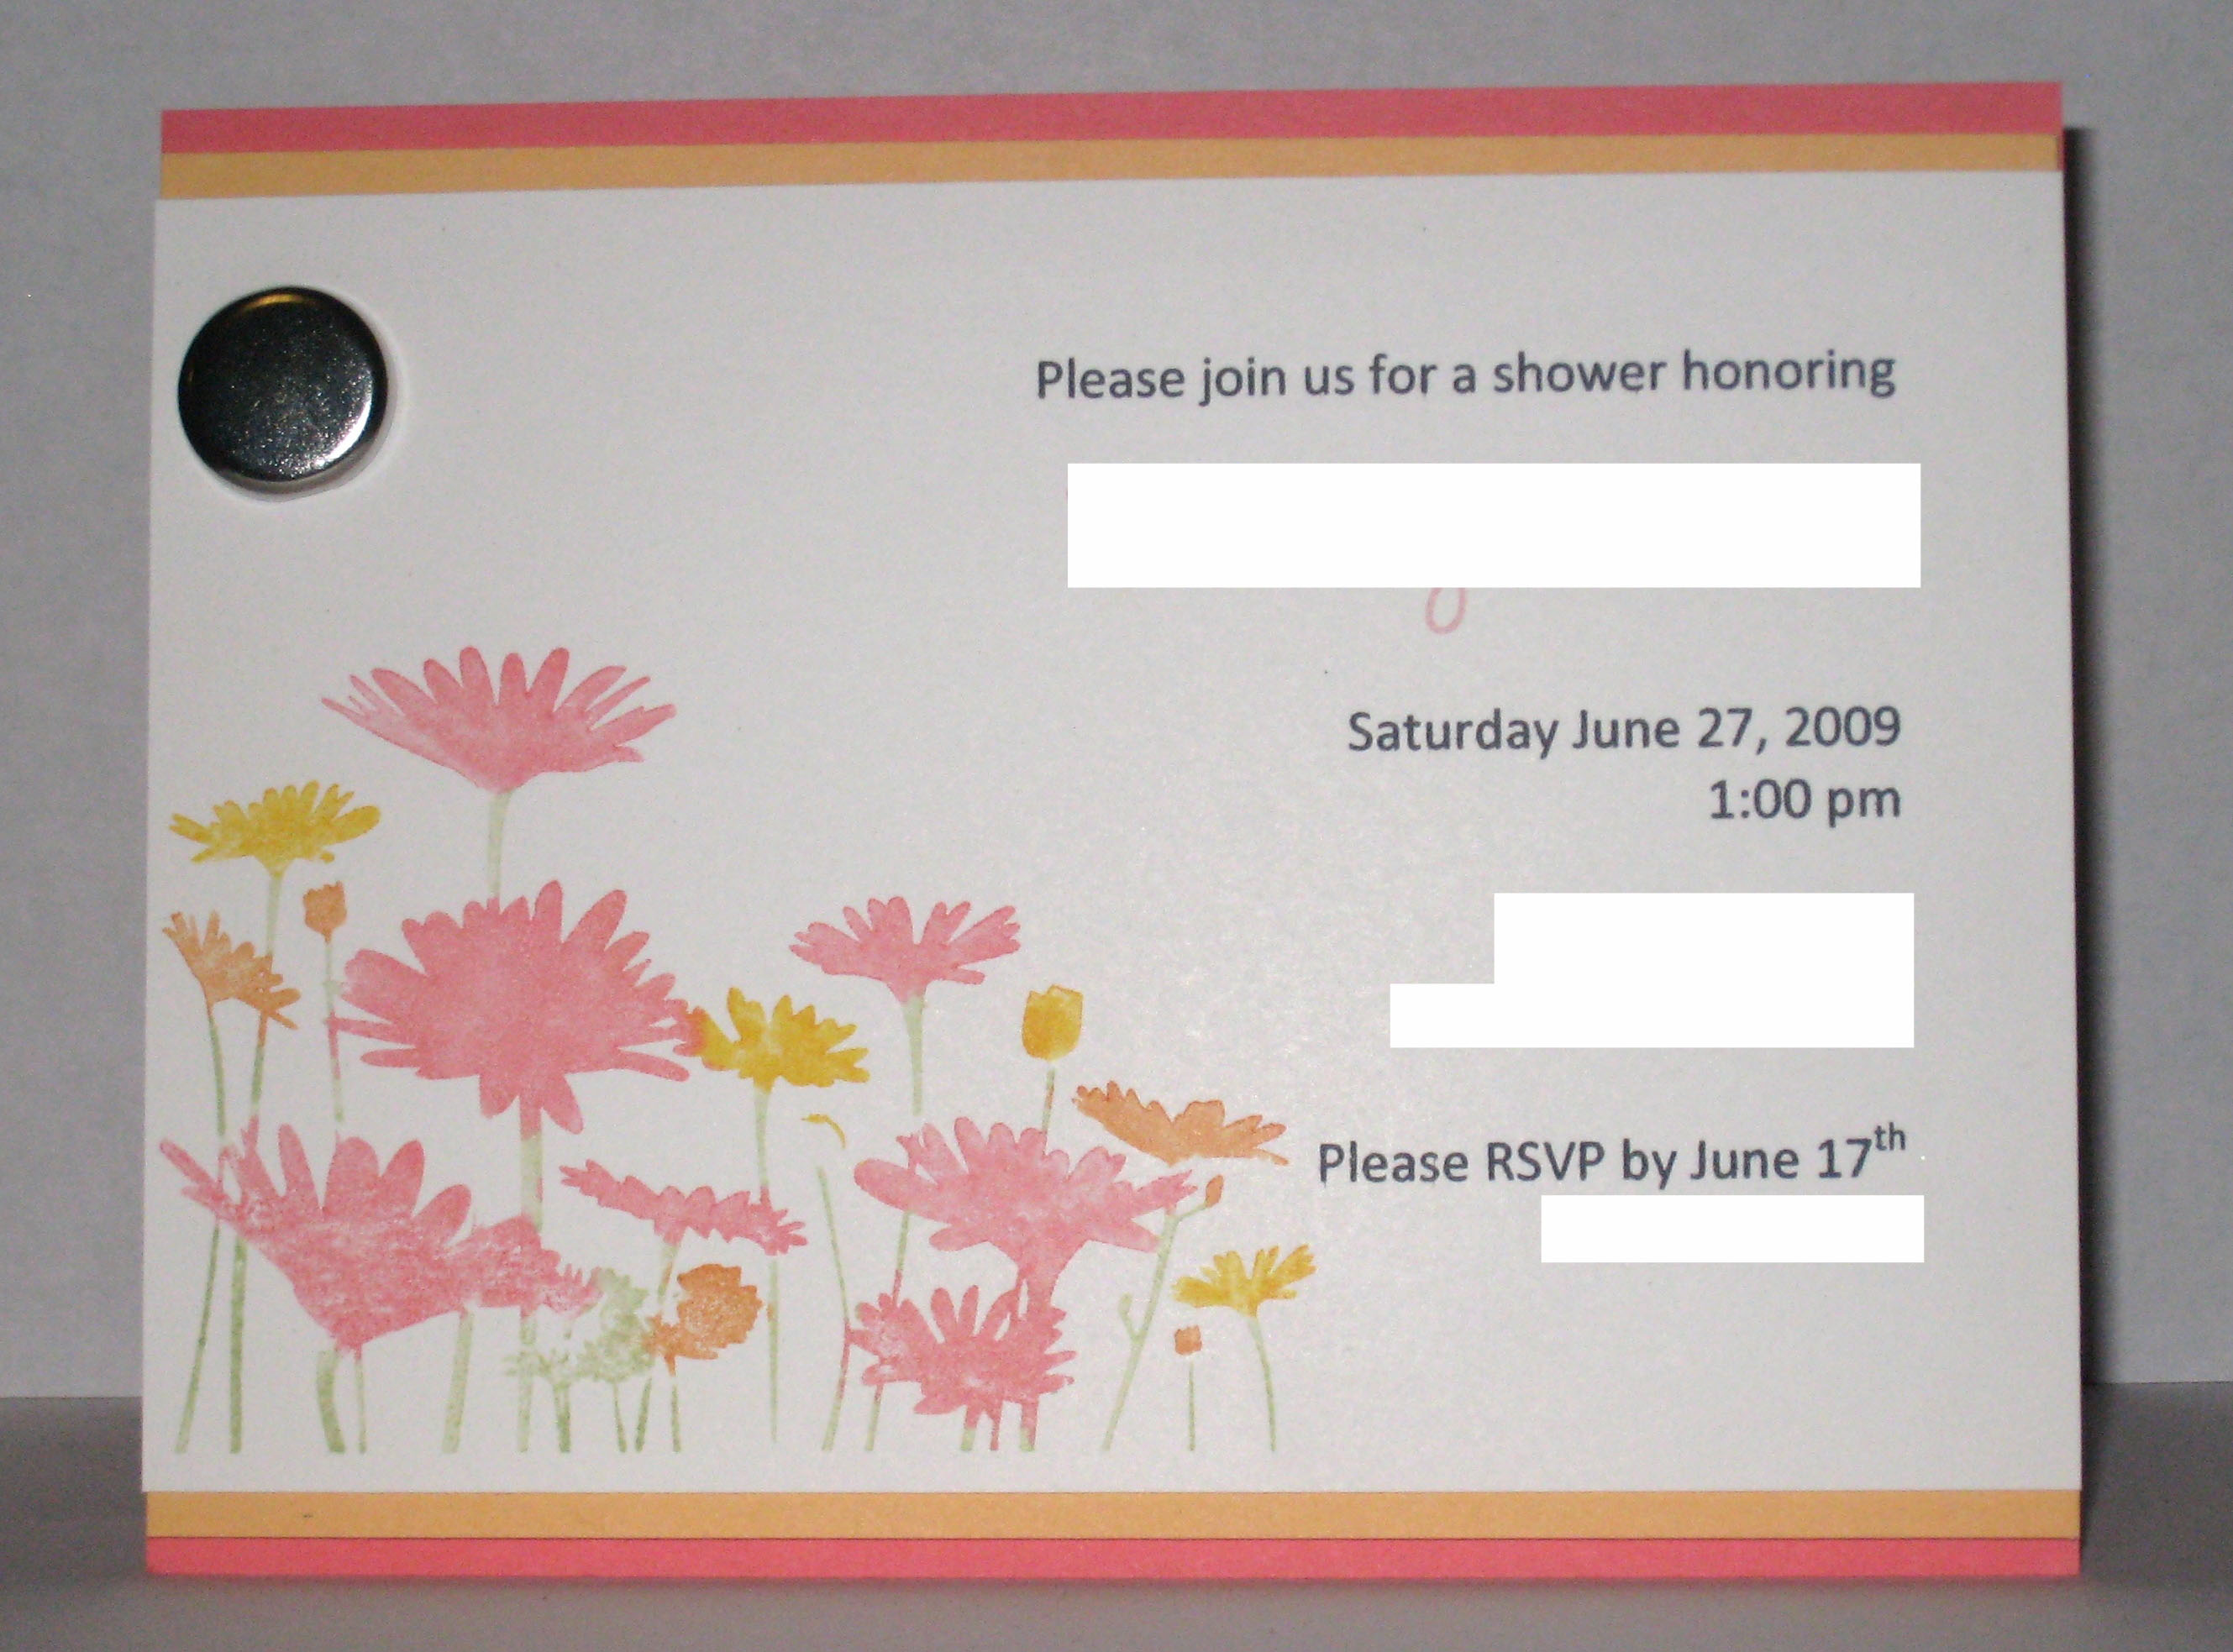
A friend asked me to make her Bridal Shower invitations. I’ve got some ideas brewing, but she’ll have the final say. I made a few samples for her to look at. Keeping in mind these are invitations and have to be made in mass, I’m trying to keep things relatively simple and easy to reproduce. I’m not sure coloring each flower from Upsy Daisy stamp with markers is easy but I like the way it looks!

The card base is Cameo Coral 4 1/4″ x 5 1/2″ layered with a piece of Apricot Appeal cut to 4″ x 5 1/2″. The Whisper White layer was run through the printer and then cut to 3 3/4″ x 5 1/2″. Next, I stamped the flower from Upsy Daisy by coloring the image directly on the stamp with Stampin Up Markers. I used Old Olive and Certainly Celery for the stems, Pixie Pink, Cameo Coral, Summer Sun, and Pumpkin Pie for the flowers. If you notice, the flowers are two-toned, which I achieved by starting with the lighter color, then going back over the tips of the flower with the darker shade.

Here is a similar version I made, this time coloring the flowers each in a single color. I also added a Jumbo Basic 5/8″ Brad in silver to add interest to the top corner. Using the cropadile, I punched a hole in the Whisper White layer and put in the brad, then I adhered the White layer to the base using dimensionals.

And the last one…#4

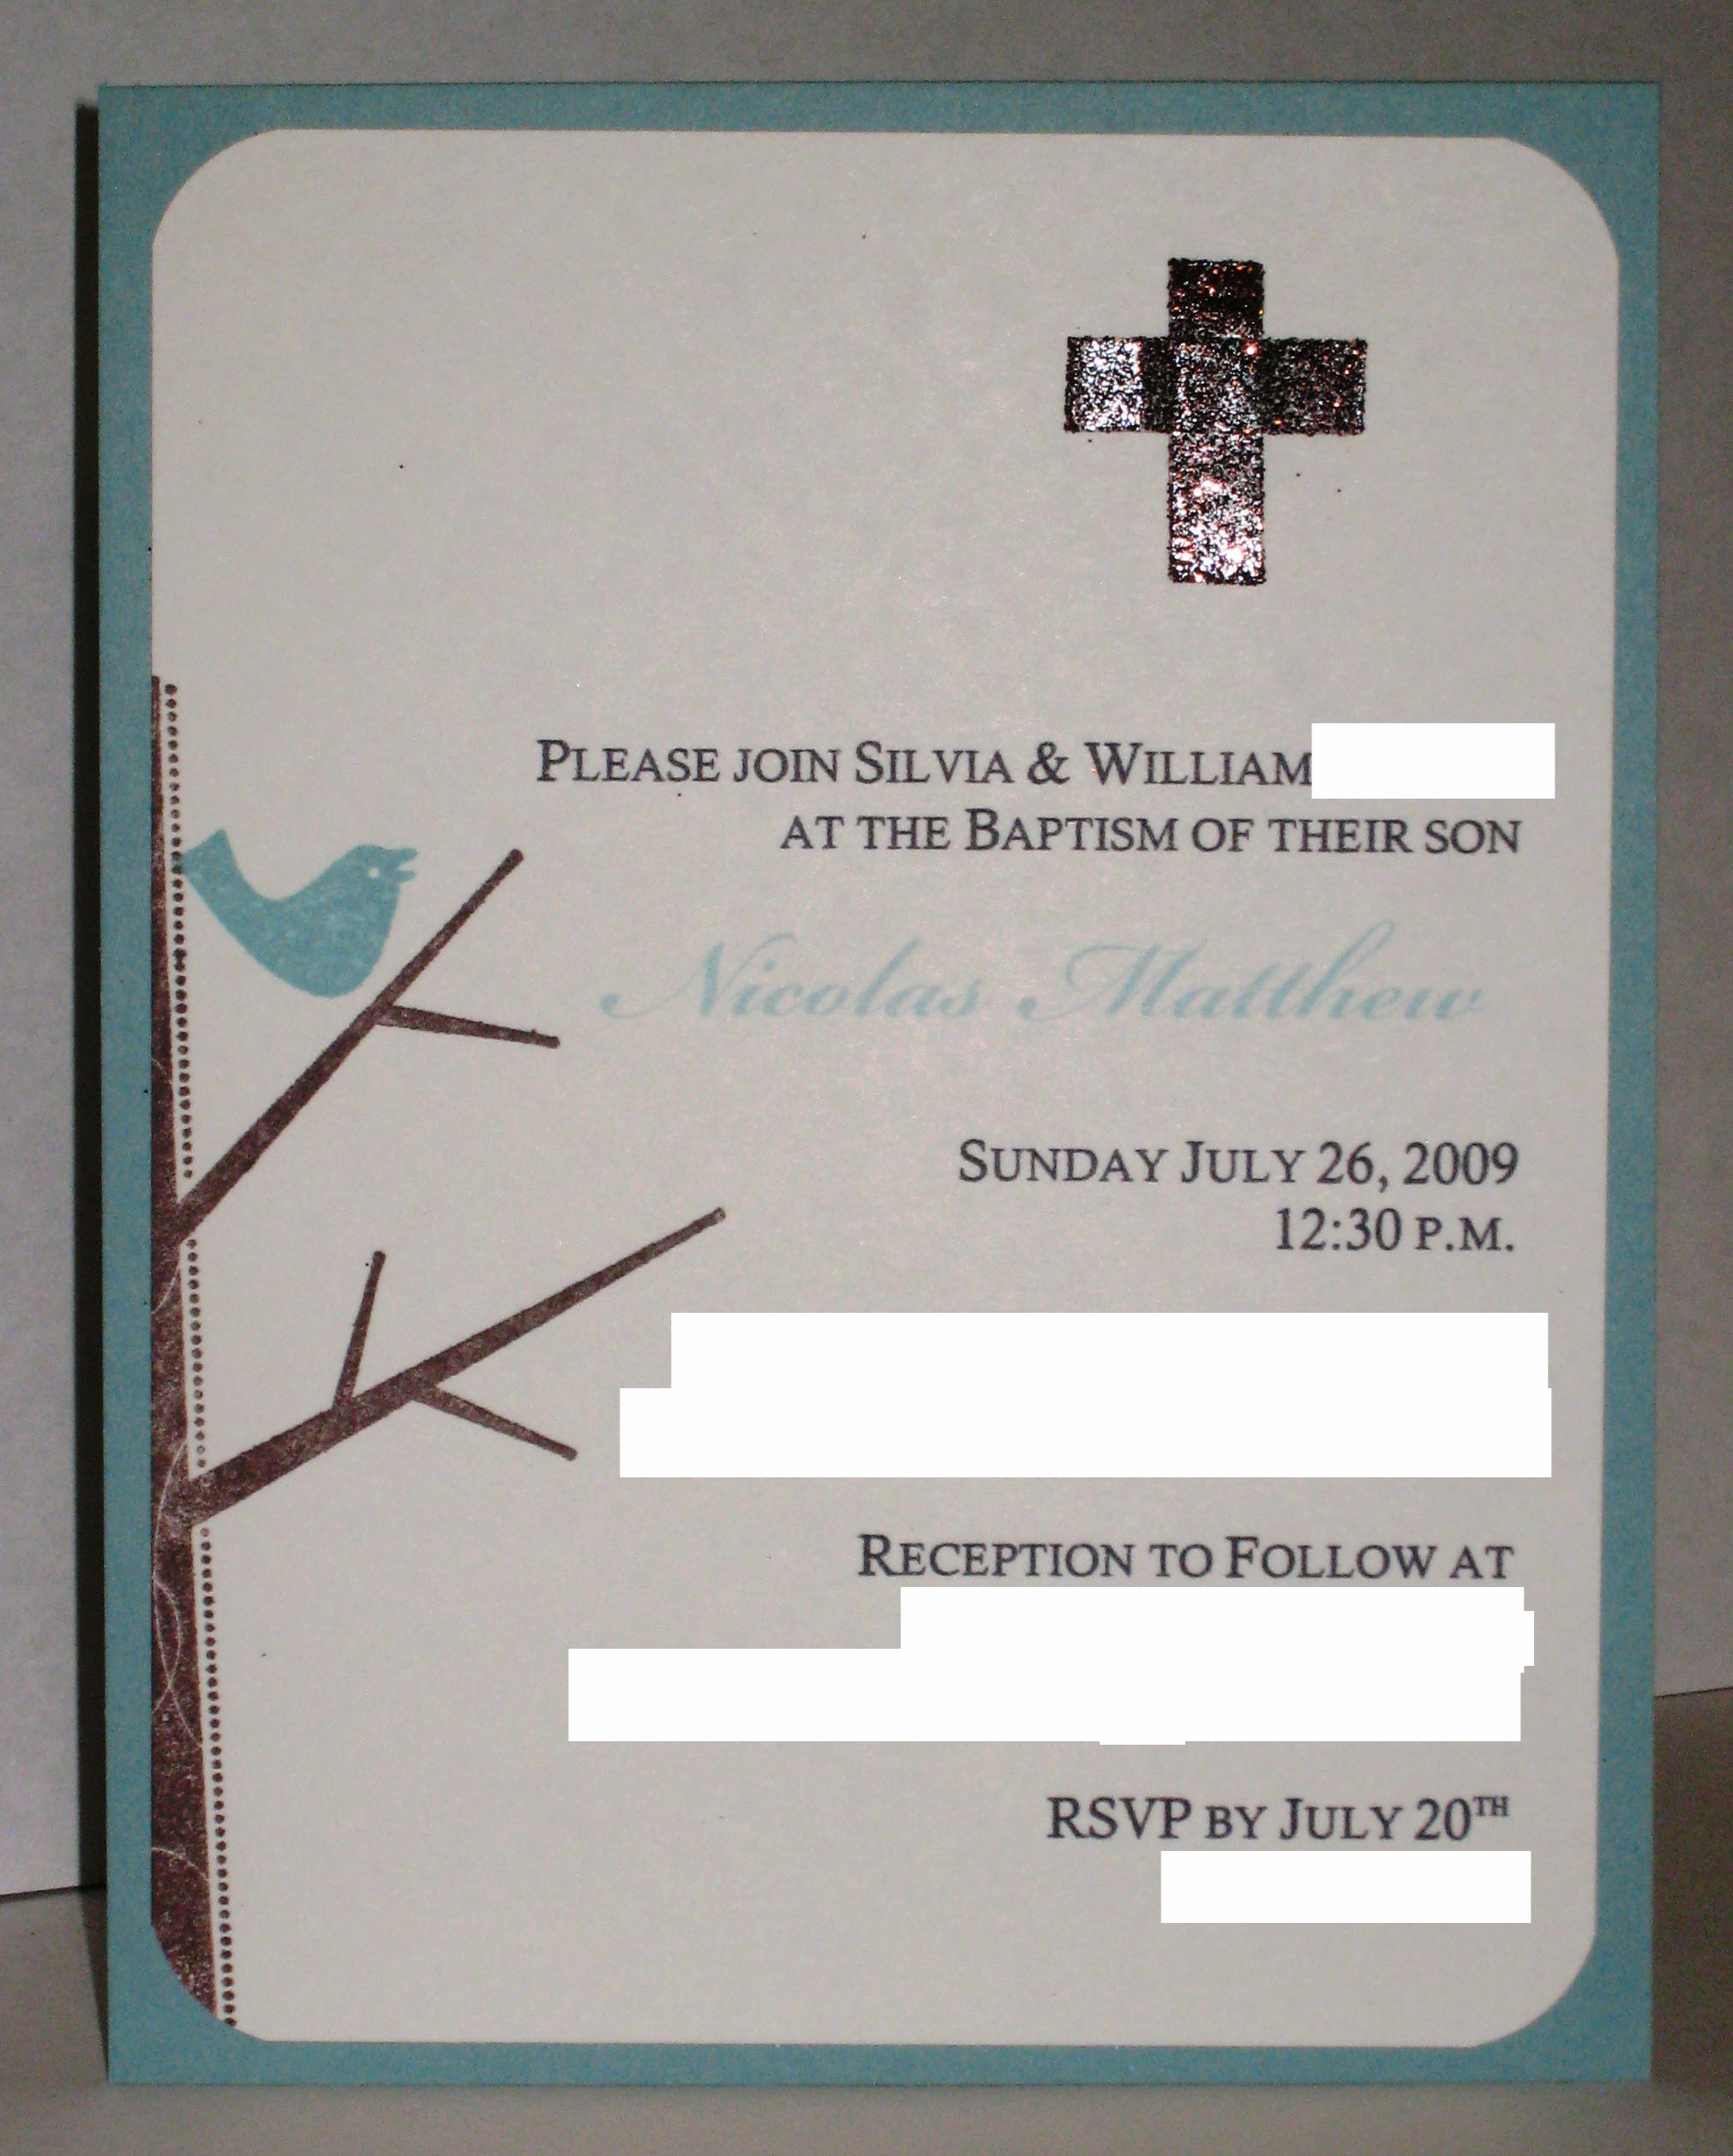
This sample invitation was also based on the www.tinyprints.com version I mentioned earlier. It uses the stamp set Season of Friendship which is one of my all time favorites (I say that a lot don’t I?) but this one truly is one of my faves!

Card base is a 4 1/4″ x 5 1/2″ piece of Baja Breeze layered with a 4″ x 5 1/4″ Whisper White. I printed the invitation wording out on the computer first, then cut the paper to size, rounded the corners with my corner rounder punch, and stamped the tree in Chocolate Chip ink. The bird was stamped in Baja Breeze ink.

At the top, I added a glittery cross by using sticky tape and Brown Supernova Fine Cosmo Glitter. It sticks great and holds up well. Hardly any glitter rubbing off at all even if I try to rub my finger over it. Please see my previous posts for tips on how to make the cross.

Bad Behavior has blocked 1547 access attempts in the last 7 days.

css.php