Altered Domino Magnets

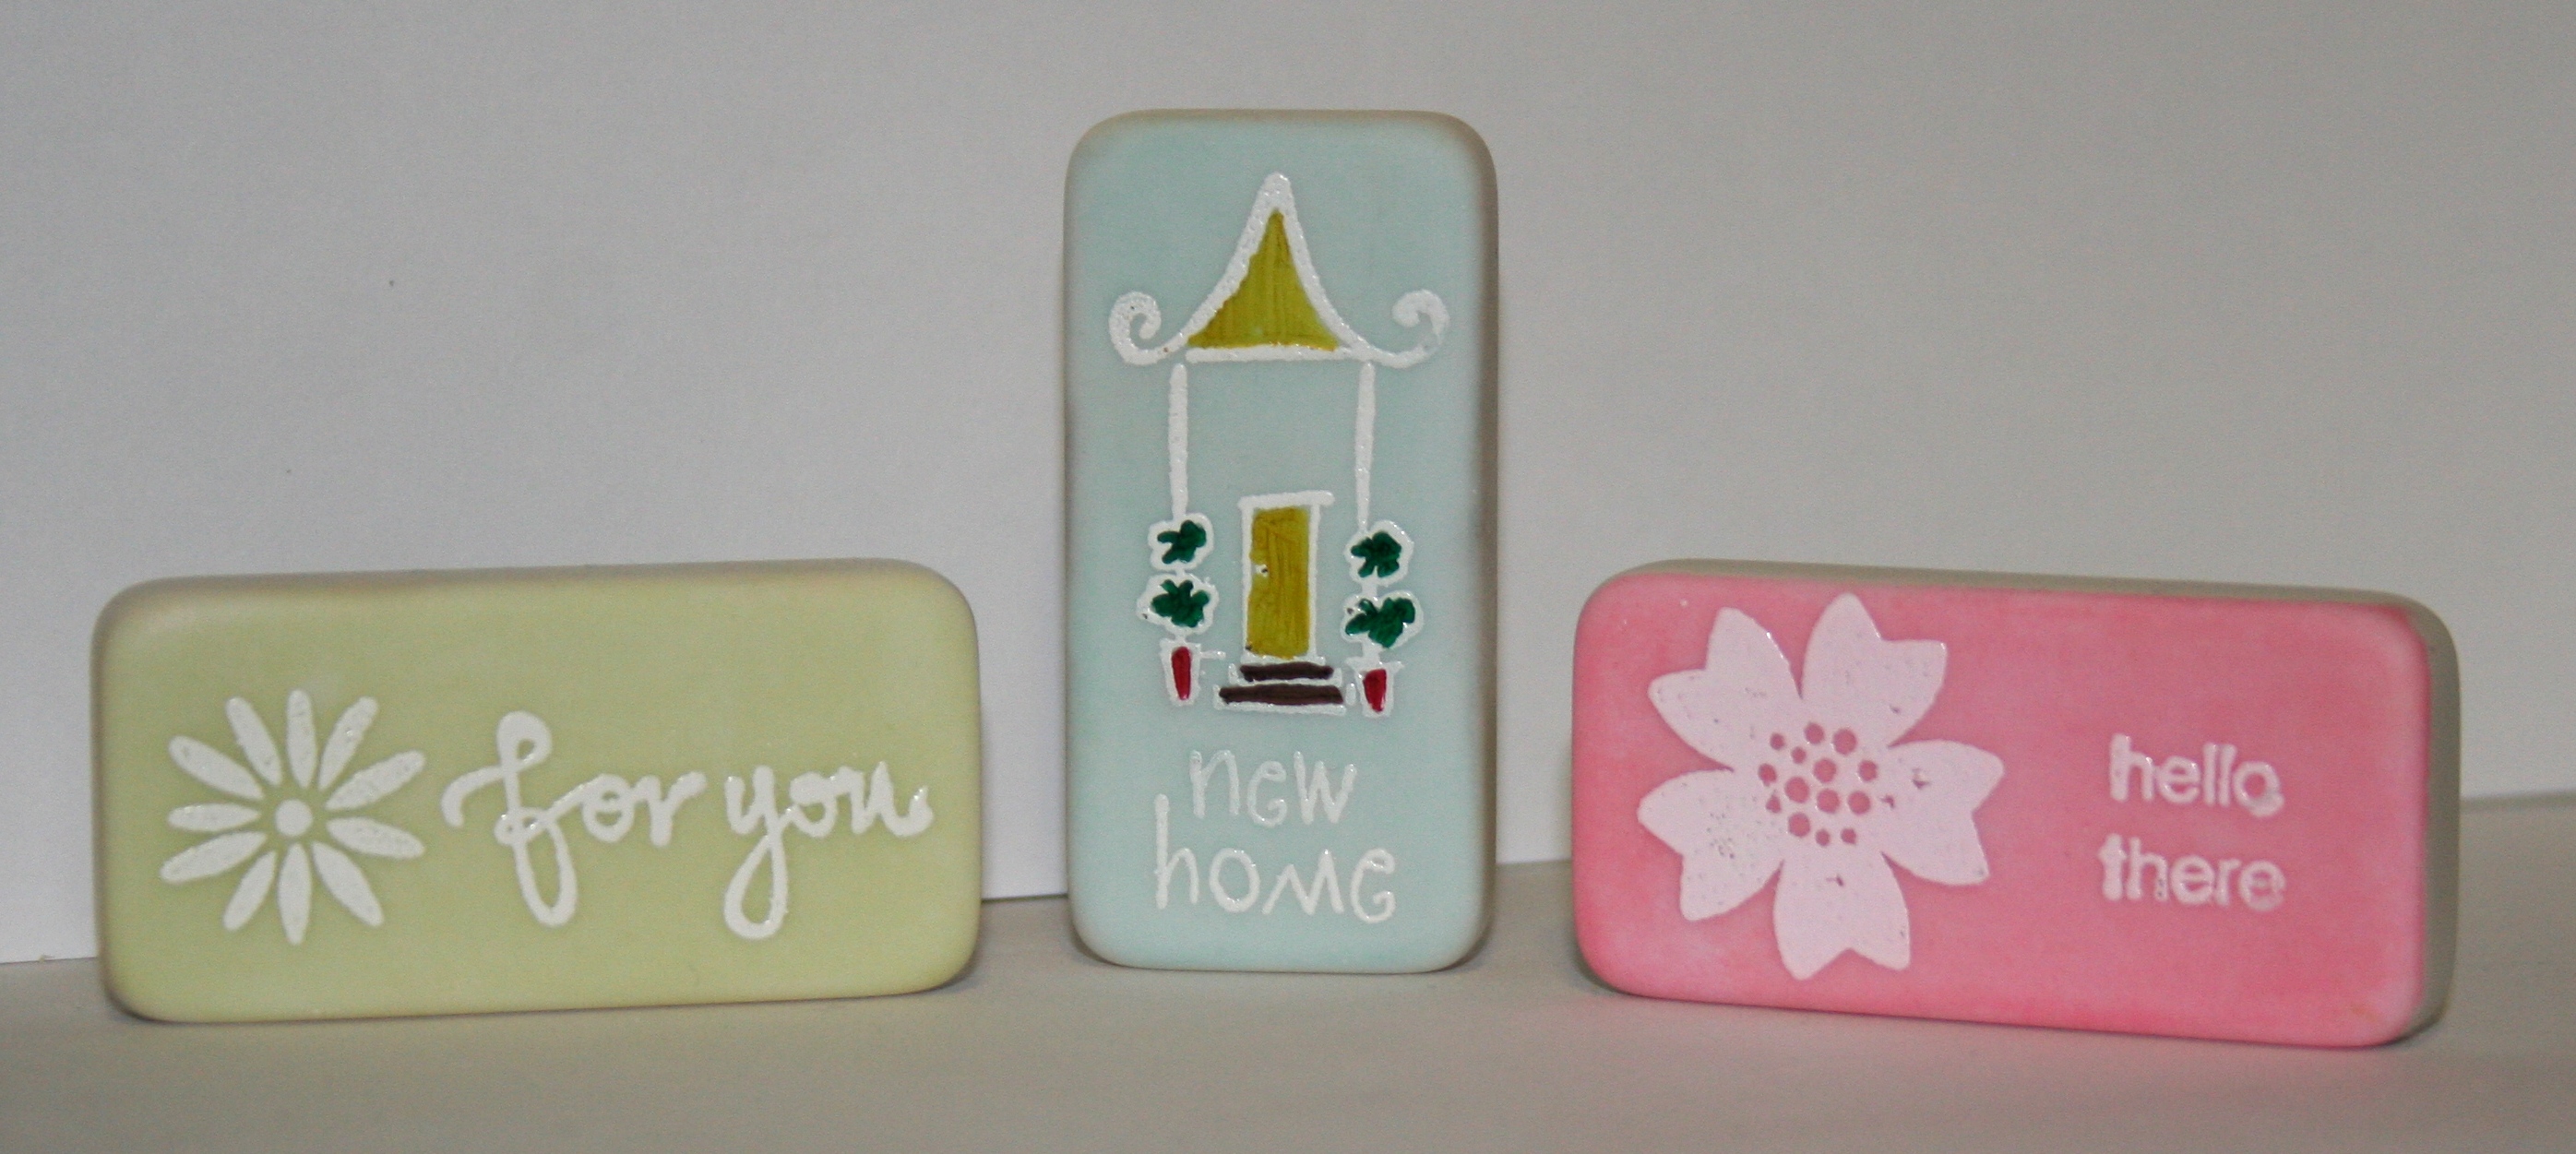
This is my first attempt at making Domino Magnets. I used the tutorial on splitcoaststampers.com but I didn’t seal mine (yet). From left, the colors are Certainly Celery, Baja Breeze, and Cameo Coral.

After a lot of trial and error, this is the way I had success: I stamped onto a freshly sanded domino in White Craft ink, then embossed with White Embossing Powder. After heating for a while and waiting for the embossed image to fully dry (learned that the hard way), I applied my reinker using a tissue. I rubbed the color into the domino and wiped off any excess. The embossed image resists color, leaving you with a crisp white image.

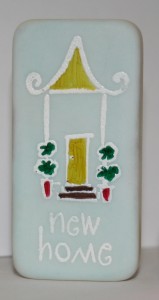
For the New Home domino, I colored the image using Prismacolor Markers (any permanent marker will work). Stamp is from Katie & Co. (Michaels’s $1 stamp). Here is a close up:

Other stamps used are from Great Friend, Goody Goody Gumdrops, and Eastern Blooms. On the back I glued on a magnetic disc using Crystal Effects.
Chipboard Coaster Album

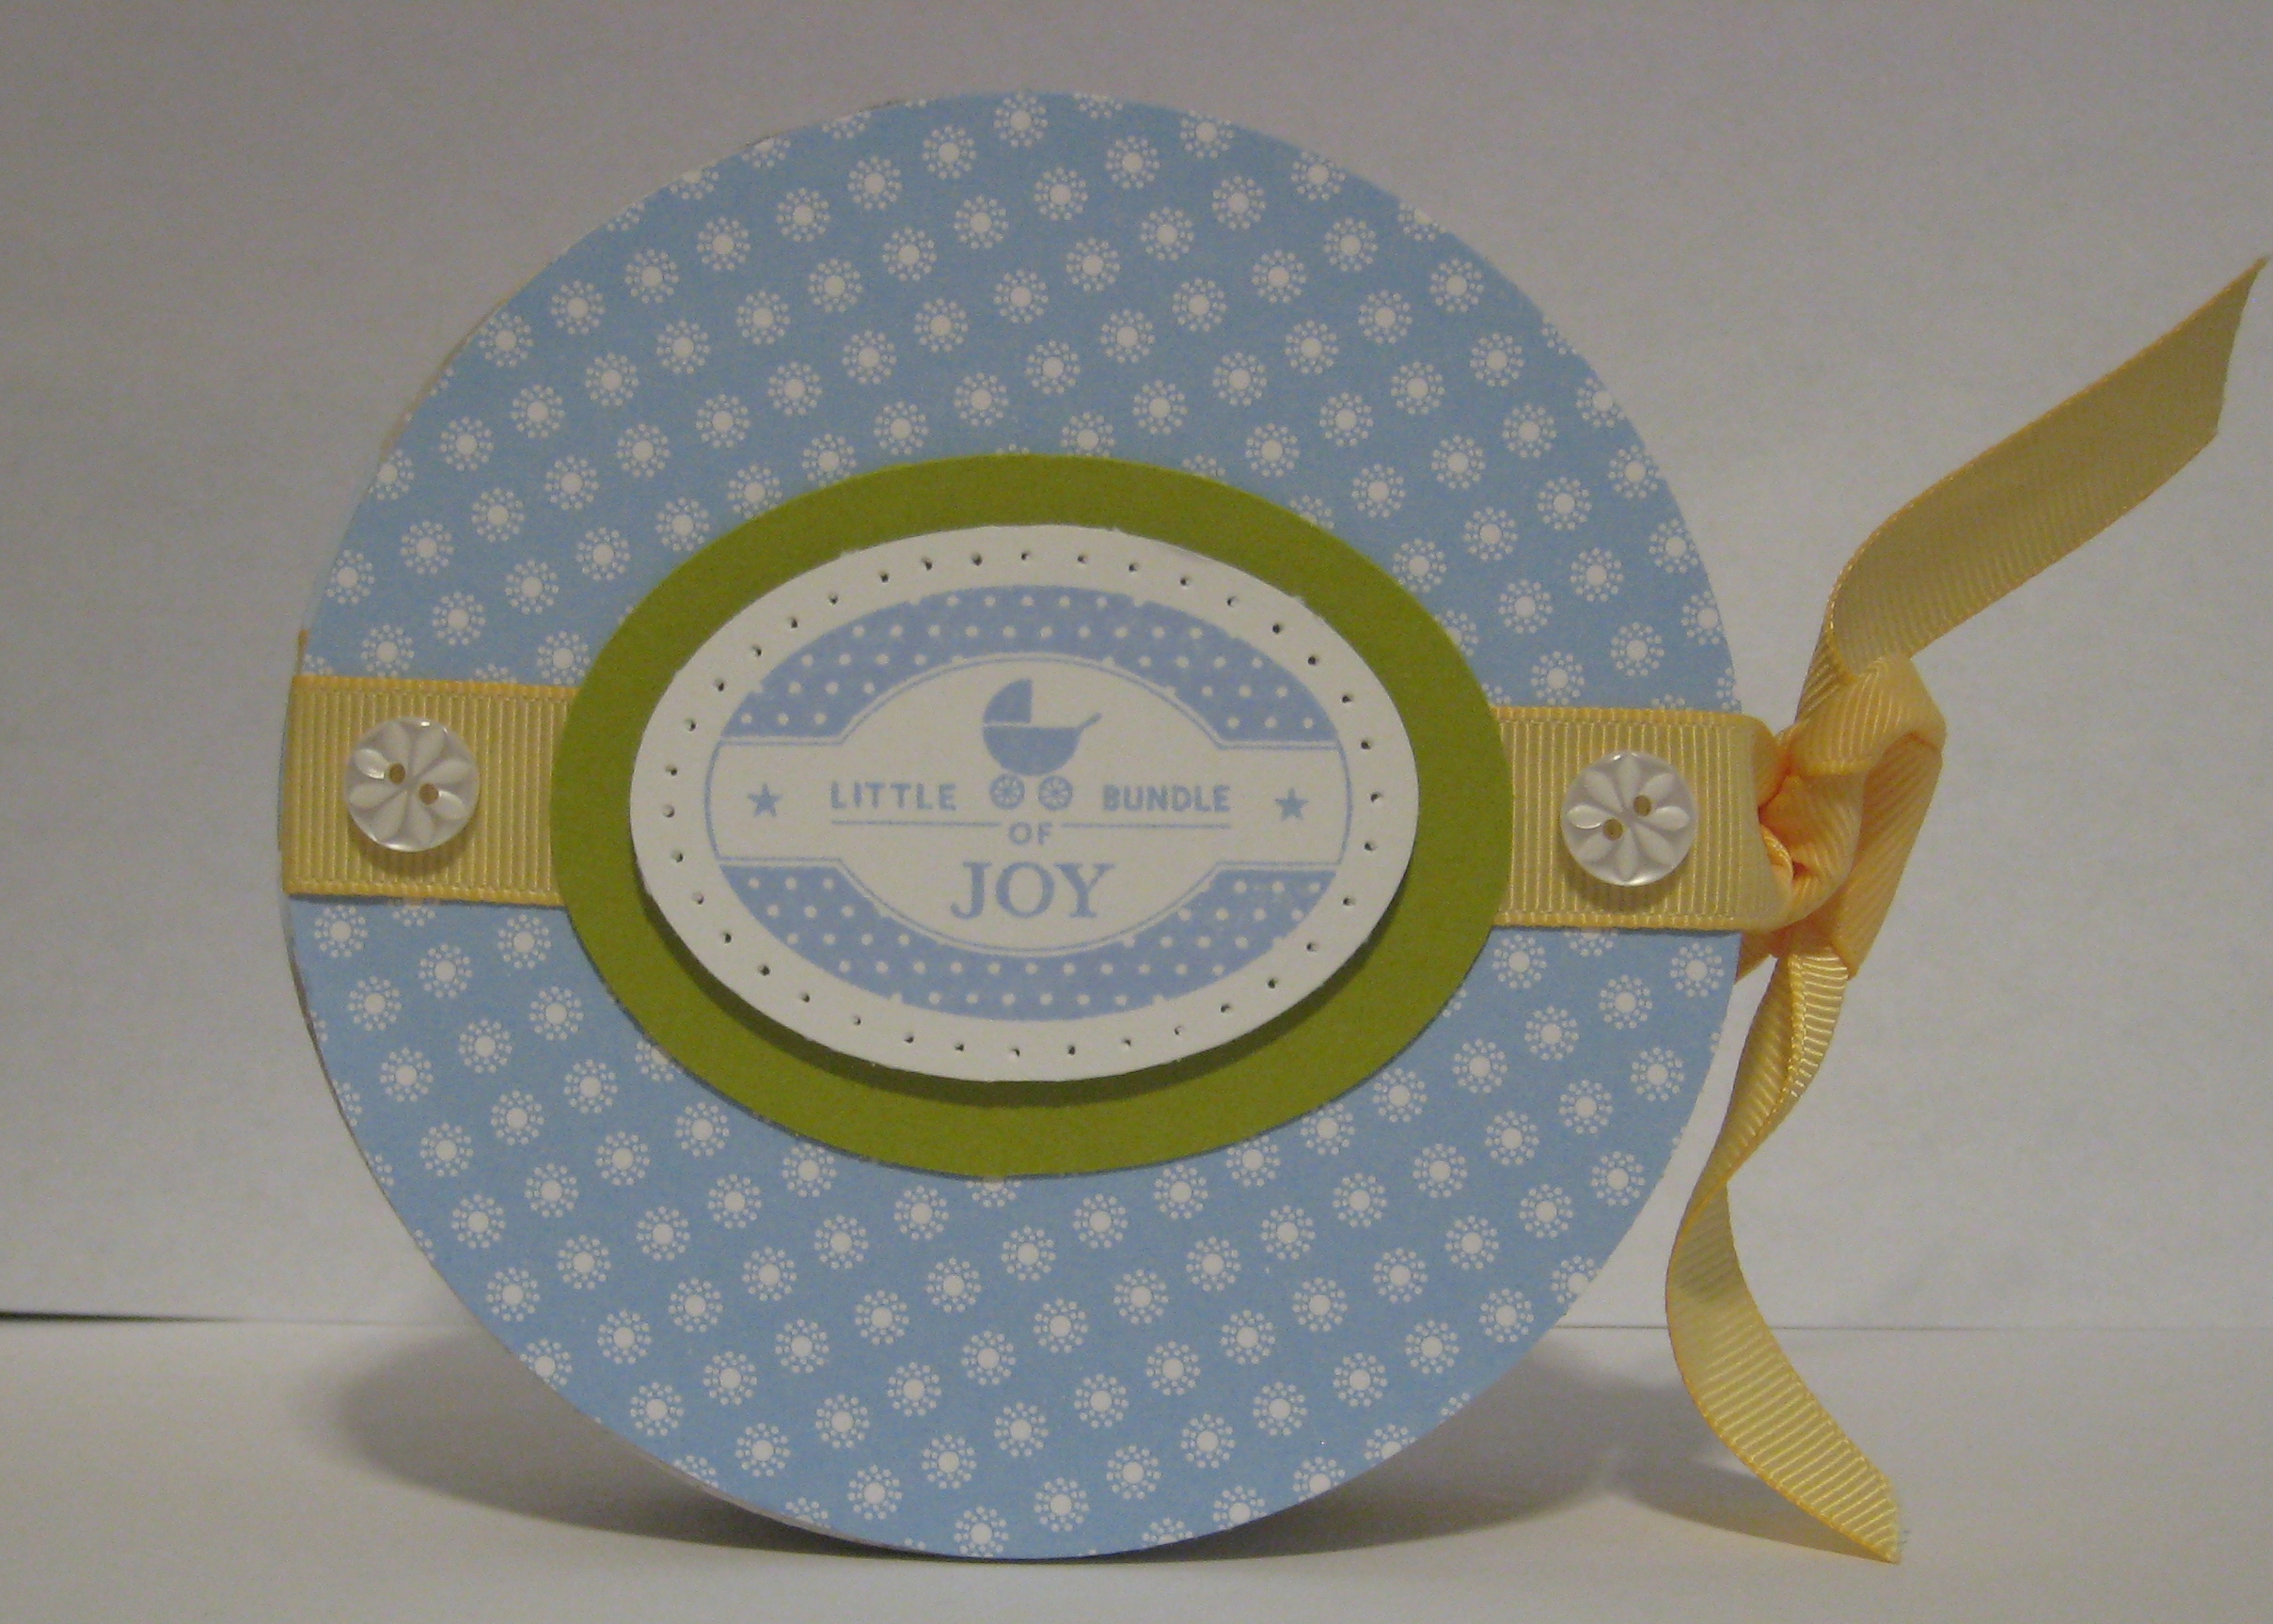
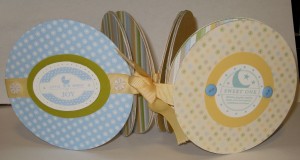
My nephew was born Monday March 30th at over 8lbs. My poor sister! But now I have lots of excuses to make baby projects and scrapbooks! When I saw April’s Stampin Success I knew right away I wanted to try the chipboard circle album on page 5. With the baby coming, this would be a great gift to give my sister and her husband, filled with the baby’s first pictures.

Directions were provided in SS but some things I had to figure out on my own, and if anyone else wants to make this project, I have some additional suggestions/tips included below.

Supplies:

  • Chipboard Sheets
  • Clear Circle Die & Big Shot  OR Coluzzle and brute force will work too
  • Designer Series Paper and Card Stock
  • Glue and/or Glue Stick and Snail or Sticky Strip
  • 5/8″ Grosgrain Ribbon (or wider will work too)
  • Embellishments

Instructions:

The instructions said to use the clear circle die, chipboard sheets, and your Big Shot to cut out 7 circles. I have none of those things!  I went crazy trying to find chipboard that wasn’t pre-cut, which I did at AC Moore. Chipboard Mat Stacks in the card stock aisle, colored sheets of chipboard, almost a shame to cover them up, but I had to use the SAB Lots of Dots DSP for this project!  How to cut circles without the Big Shot you ask? My Coluzzle, and it was a lot of manual labor, cutting, and re-cutting, but I got it done.

Fast forward to the 7 circles being cut from chipboard. You’ll need 14 circles of DSP to cover each “page” of your album, and 7 card stock circles, any color because it’ll be covered up. Start by lining up your 7 chipboard circles face down, about 1/4″ apart, and place your ribbon across, leaving at least 8″ at the beginning and 4-6″ at the end of the album. Glue the ribbon to the backs using snail or sticky strip.

Next, adhere the 7 card stock circles to the backs, over the ribbon, using glue stick or Tombow Mono Multi. If you want to save time and paper, you could just leave this card stock and not cover it with DSP but I chose to use DSP in my case. Now, flip over your album and adhere 7 circles of DSP to the front side using glue stick or Mono Multi.

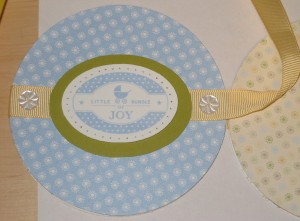
This next step is important: If you want to be able to tie the ribbon and hold the album closed, you have to wrap the ribbon across the front “cover” so that it looks like this:

Embellish the pages using whatever you like. For the cover, I used a stamp from Punches Three stamped in Bashful Blue onto Whisper White and cut out the oval with my Coluzzle. I paper pierced the edge and cut out a larger oval from Kiwi Kiss card stock, layering the two with dimensionals. The buttons are from Button Latte, adhered with glue dots.

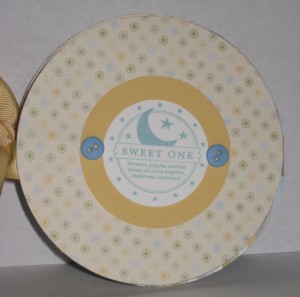
On the back cover I stamped an image from last year’s SAB set So Many Scallops and layered it on a So Saffron 1 3/8″ Circle. The blue buttons are from Soft Subtles.

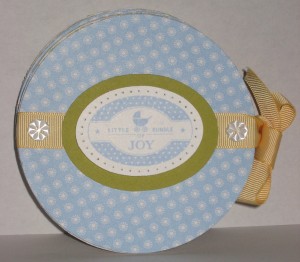
More views:

Fold up the album like an accordian and tie the ends of the ribbon so that it stays closed. I’m going to print out pictures from the hospital and the baby’s first day home and put them in the album for my sister. I’ll cut out the photos using the Coluzzle as well. I may add embellishments as I go. Also, one of the pages will be a “stats” page with his name, weight, length, etc.

Thanks for looking, and if anyone has any questions, I’ll be glad to answer them.

The Easter Bunny is Coming!

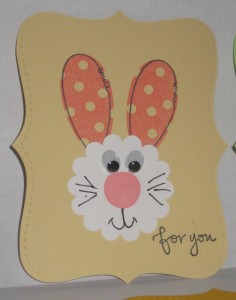
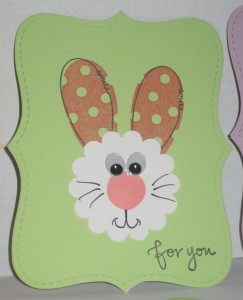
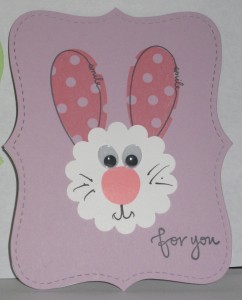
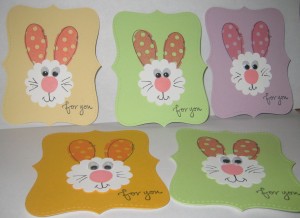
I made these Bunny Tags for my nieces’ and nephews’ Easter gifts. I forgot to take a picture of the back, but I created a little pocket by gluing half of a Top Note to the bottom, making sure to glue around the bottom and two sides only. That way, the top is open, which can hold money, a gift card, etc. In their case, it will be money (shhh don’t tell them!)

As for the bunny, I stamped the polka dot petal from Pick A Petal in Cameo Coral for the ears. Then, I used Basic Gray ink for the outlines. Next, I punched out the face from Whisper White card stock using the Scallop Circle Punch. The bunny’s nose is also from Pick a Petal, stamped in Cameo Coral. I drew on the mouth and whiskers, and glued on googly eyes to finish off the face.

In the lower right corner, I stamped the “for you” sentiment from Great Friend in Basic Gray ink. When I give these out, I’m going to tuck some money in the back pocket and attach them to a chocolate Easter egg with ribbon. I may put a jumbo eyelet in the top and slip the ribbon through there.

Here they all are:

Bad Behavior has blocked 476 access attempts in the last 7 days.

css.php