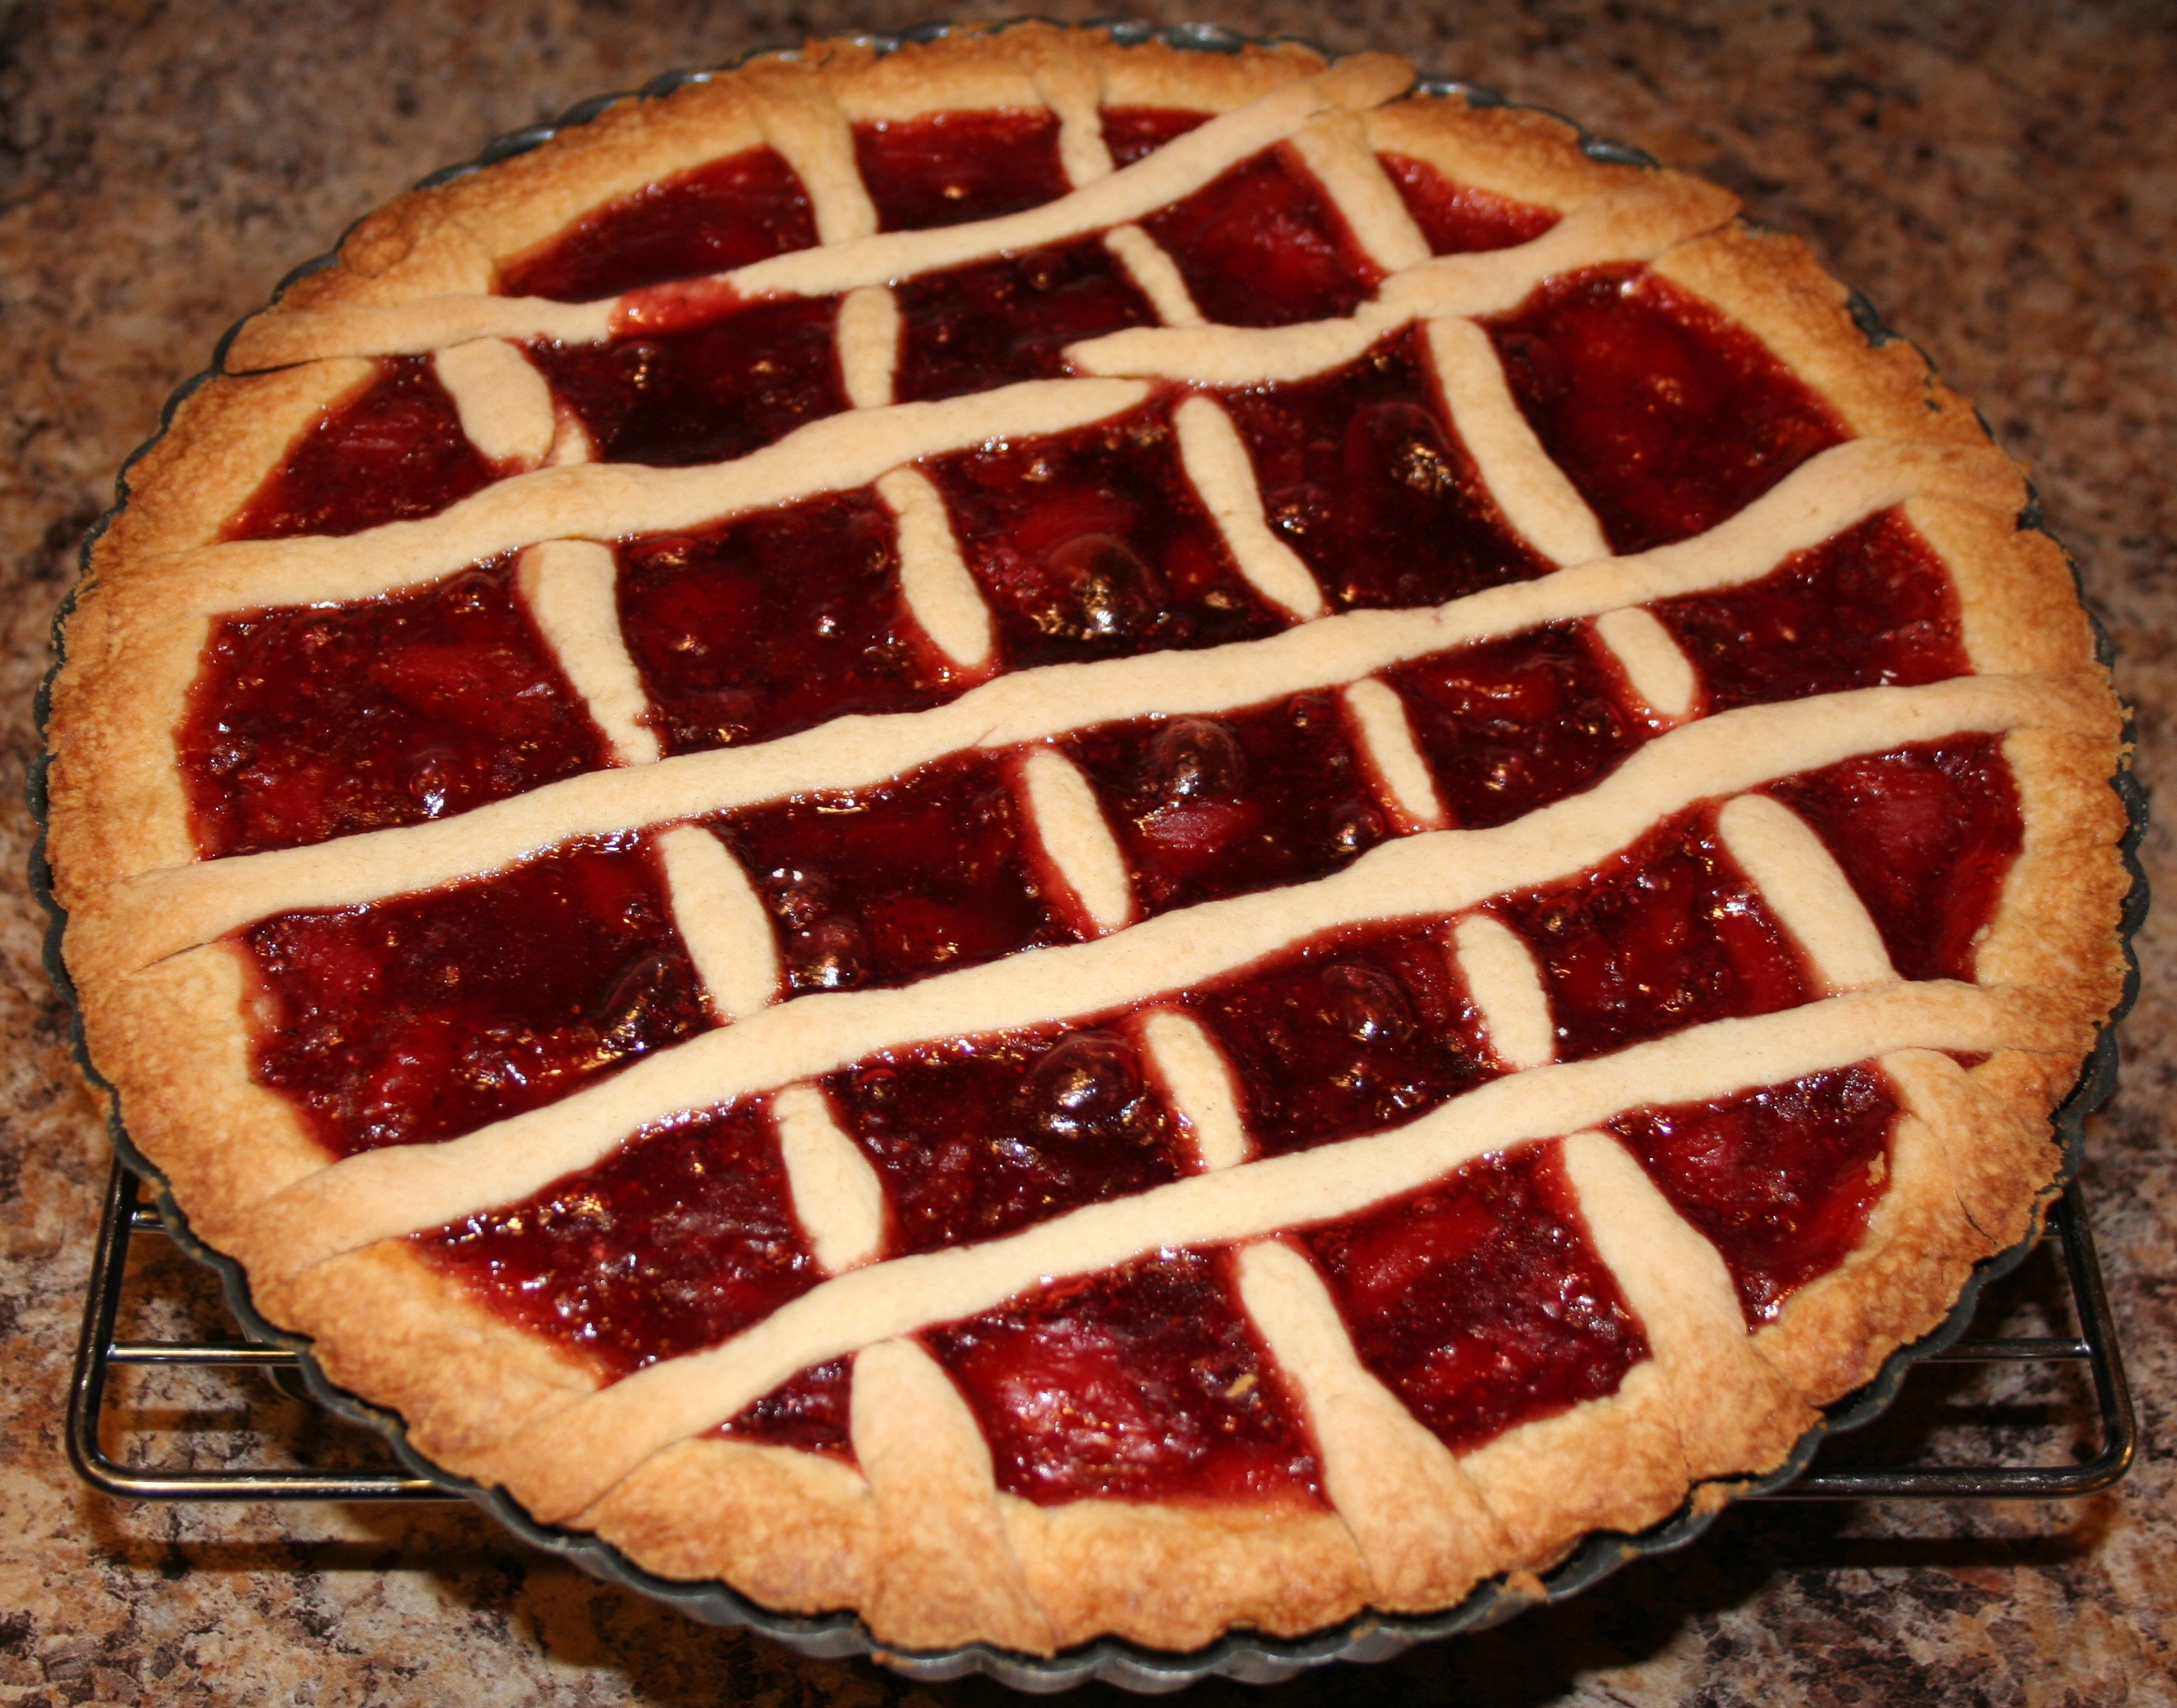
Roasted Banana Cupcakes with Honey Cinnamon Frosting

Yes, the name alone is delicious. The recipe is from Martha Stewart’s Cupcakes Book. I had some bananas and instead of making the old banana bread recipe (which is great nonetheless) I opted for something new.

The recipe worked out great for me, even though my egg whites deflated while waiting for the roasted bananas to cool (poor planning on my part). And if you’ve never roasted bananas in their skin, they will get BLACK but the banana inside gets so sweet and concentrated. It REALLY made a difference in the recipe. Oh and the frosting–to die for! Different than the usual buttercream, it really makes these cupcakes stand out.

Ingredients
3 ripe bananas, plus 1 to 2 more for garnish
2 cups cake flour (not self-rising), sifted
1/2 teaspoon baking soda
1/2 teaspoon baking powder
3/4 teaspoon salt
1/2 cup (1 stick) unsalted butter, room temperature
3/4 cup sugar
3 large eggs, separated
1/2 cup sour cream
1 teaspoon pure vanilla extract

1. Preheat oven to 400 degrees F. Line standard muffin tins with paper liners. Place 3 whole unpeeled bananas on a baking sheet and roast 15 minutes (the peels will darken). Meanwhile, sift together cake flour, baking soda, baking powder, and salt. Remove bananas from oven and let cool before peeling. Reduce oven temperature to 350 degrees F.

2. With an electric mixer on medium–high speed, cream butter and sugar until pale and fluffy. Add egg yolks, one at a time, beating until each is incorporated, scraping down sides of bowl as needed. Add roasted bananas, and beat to combine. Add flour mixture in three batches, alternating with two additions of sour cream, and beating until just combined after each. Beat in vanilla.

3. In another mixing bowl, with electric mixer on medium speed, whisk egg whites to soft peaks; fold one-third whites into batter to lighten. Gently fold in remaining whites in two batches.

4. Divide batter evenly among lined cups, filling each 3/4 full. Bake, rotating tins halfway through, until a cake tester inserted in centers comes out clean, about 20 minutes. Transfer tins to wire racks to cool completely. Cupcakes can be stored up to 3 days at room temperature, or frozen up to 2 months, in airtight containers.
1 cup (2 sticks) Unsalted Butter, softened
2 1/2 cups Confectioner’s Sugar, sifted
1/4 teaspoon Ground Cinnamon
2 tablespoons Honey
Makes enough for 16 cupcakes

With an electric mixer on medium speed, beat all ingredients until smooth. Use immediately, or refrigerate up to 5 days in an airtight container; before using, bring to room temperature and beat until smooth.

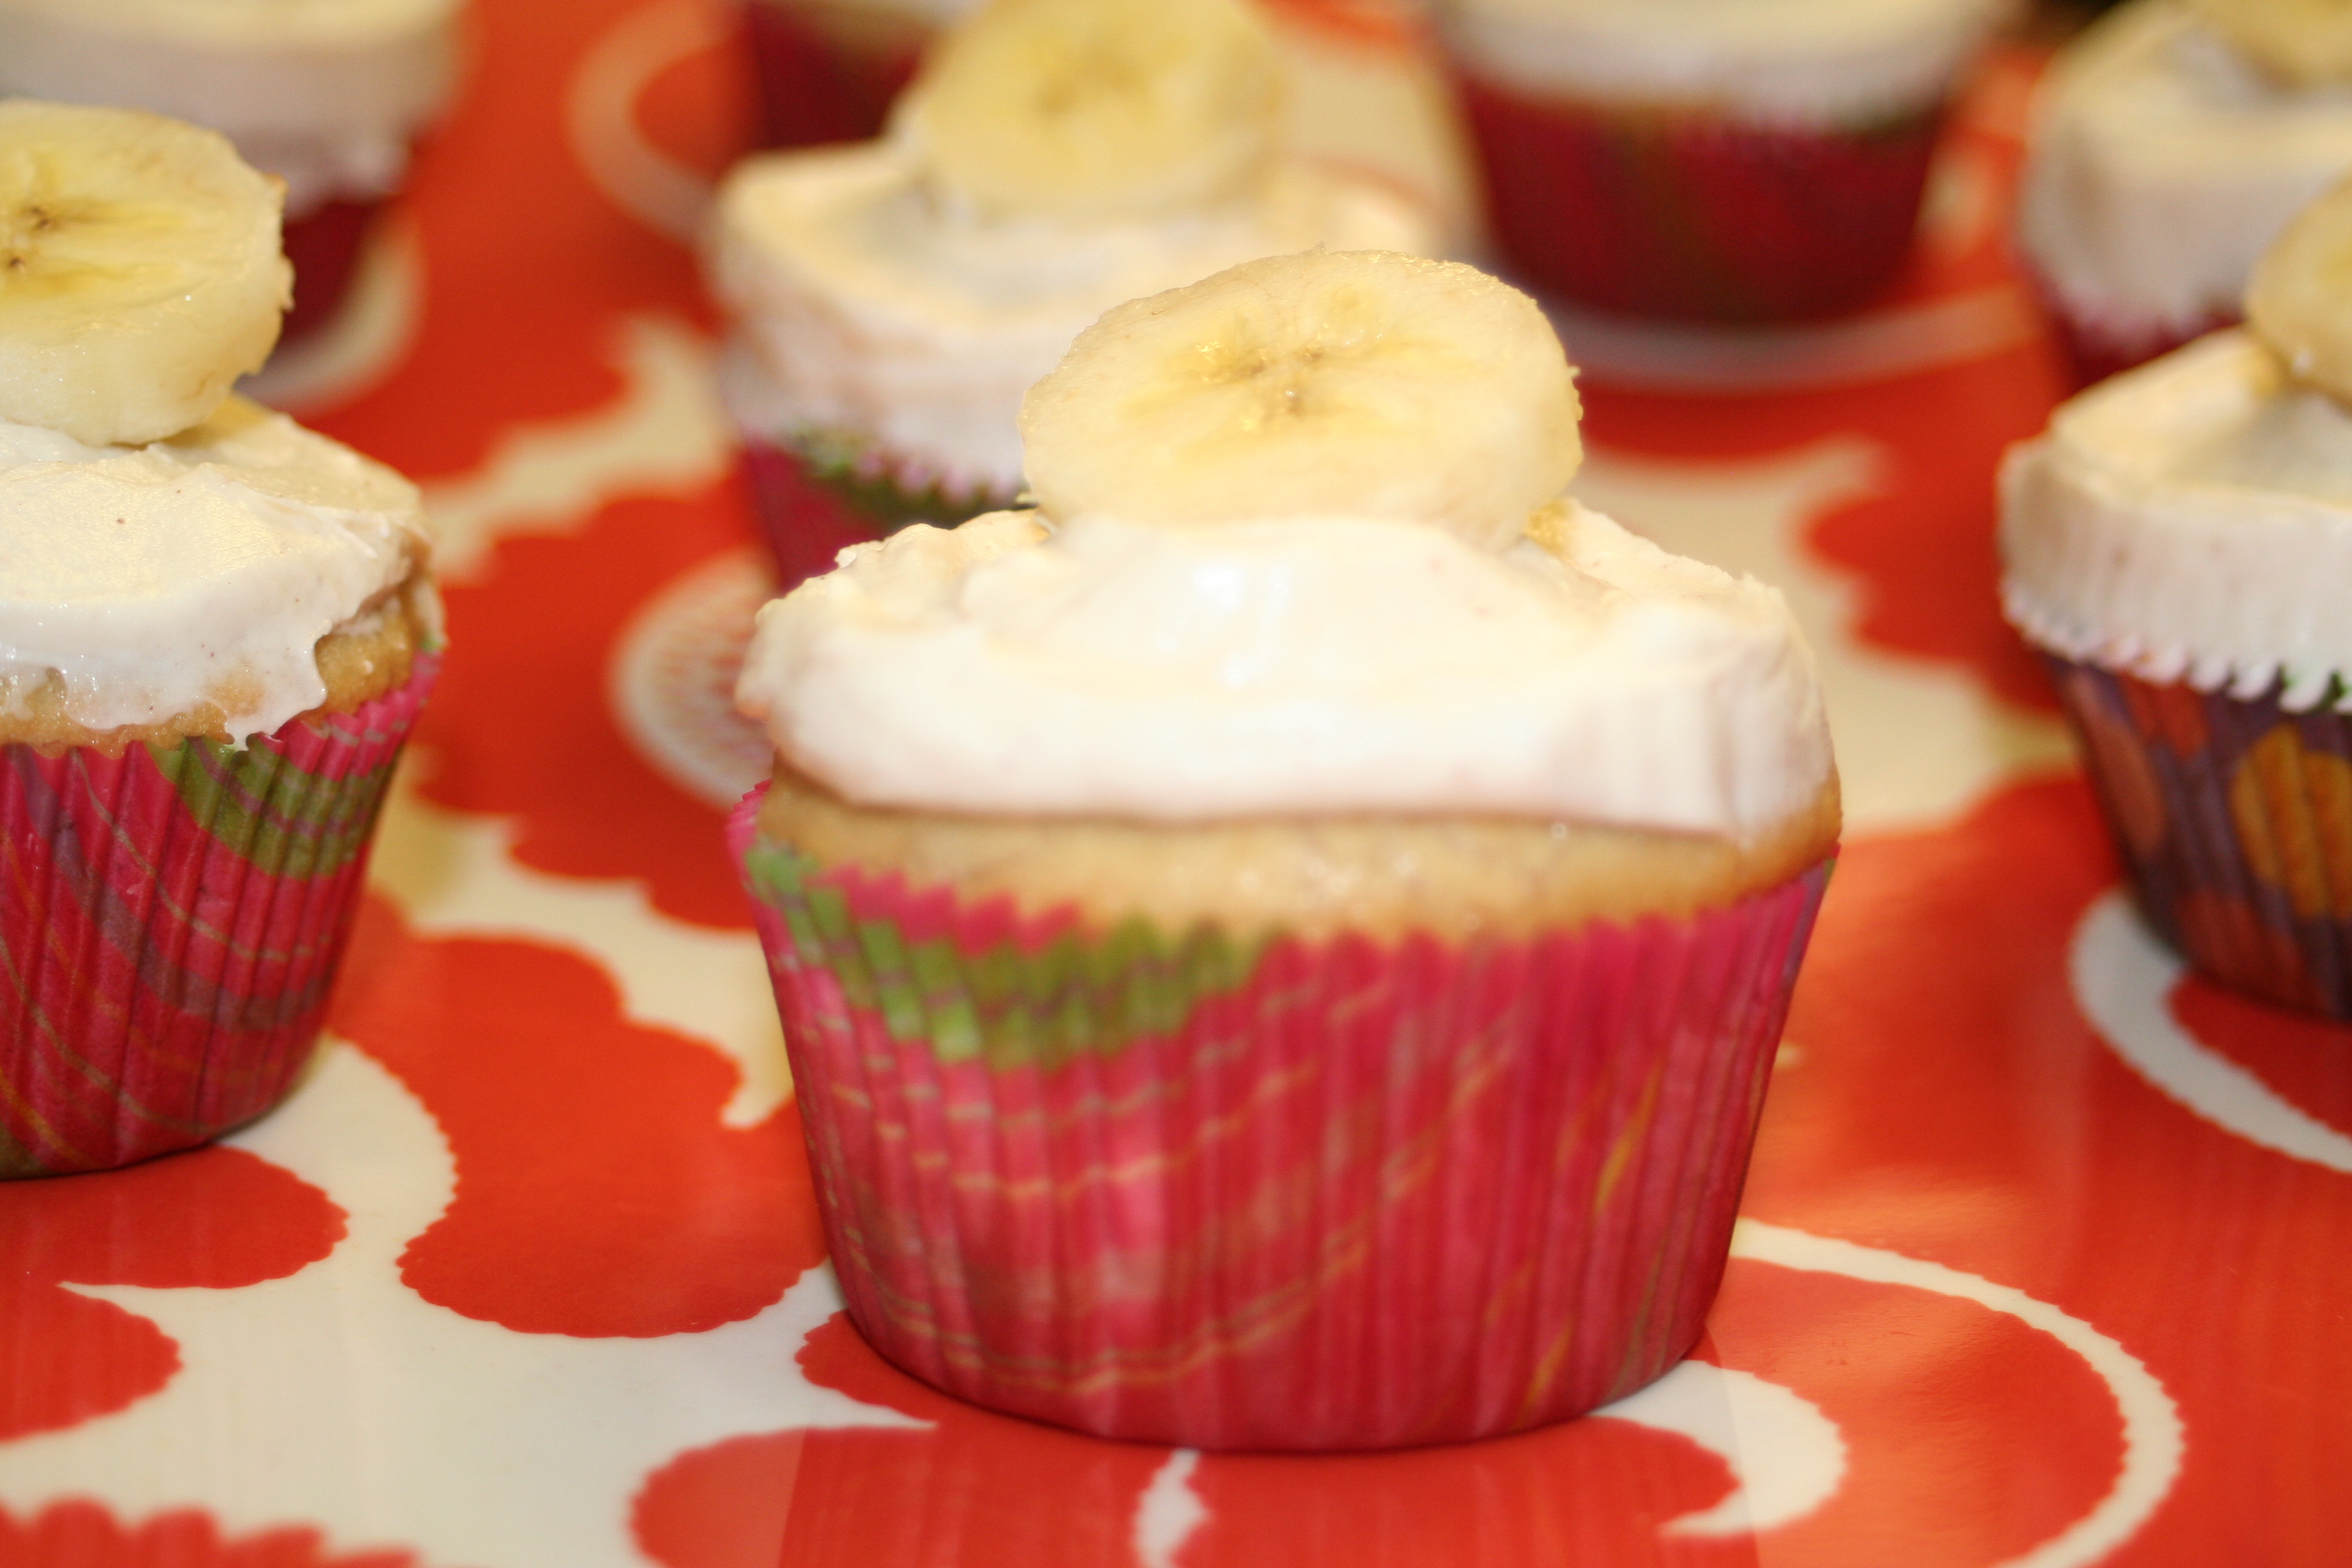
Cupcake Pops

How cute are these?! I saw them on Bakerella’s blog a while ago and made a mental note that I had try these ASAP. My daughter’s upcoming 3rd birthday seemed like the perfect opportunity for some tasty cupcake pops so I tried the recipe and IT WORKED!

Mine did not come out perfect but for my first time I was more than pleased! I was going to make chocolate lollipops using the Candy melts and lollipop molds but that candy is just so sweet I couldn’t tolerate it! That’s how I came across these cupcake pops. They’re really chocolately, not overly sweet, and will please both the kids and adults at the party.

Directions:

  1. Take a 9×13″ baked and cooled cake and crumble it up either using your hands or a food processor.
  2. Mix in a little less than 1 jar of frosting (about 2 cups).
  3. Stir until the cake and frosting is combined and mixture turns into a homogeneous “lump”.
  4. Cover and let chill in the refrigerator or freezer until mixture firms up a bit.
  5. Using a small ice cream scoop or your hands, form “dough” into balls a little smaller than a golf ball, about 1 1/2″ across.
  6. Allow dough to chill again (you can even come back to it the next day).
  7. Roll dough balls into log shape and press bottom into a small flower shaped or fluted cookie cutter. Shape the top of the ball to look like the cupcake top and pop it out of the cookie cutter. See video on Martha Stewart for a great visual.
  8. Dip your cupcake bottom into melted chocolate and place them upside down onto a cookie sheet. Pop a lollipop stick into the bottom (dip it in melted chocolate first). Chill until chocolate sets.
  9. Now you’re ready to dip the tops. I chose white melted chocolate. Dip and swirl around for a frosted cupcake look. Top with sprinkles or other decorations and set lollipop in a styrofoam block or bowl of sugar/salt/rice until set.
  10. Wrap in plastic baggies and tie with a twist tie (optional)

——————Some Tips & Tricks———————-

For my cake pops, I used boxed Betty Crocker Chocolate Fudge Cake. It was easy and since I was going to pulverize the cake anyway, I didn’t bother making the cake from scratch. (Plus I secretly like boxed cake mix better–anyone else???) The frosting was Betty Crocker Milk Chocolate Frosting, but you could use any combination you like.

Instead of straight chocolate candy melts, I used half dark chocolate candy melts (which are still painfully sweet in my opinion) and half Ghiardelli bittersweet chocolate chips. That combination resulted in a rich, dark, chocolately covering.

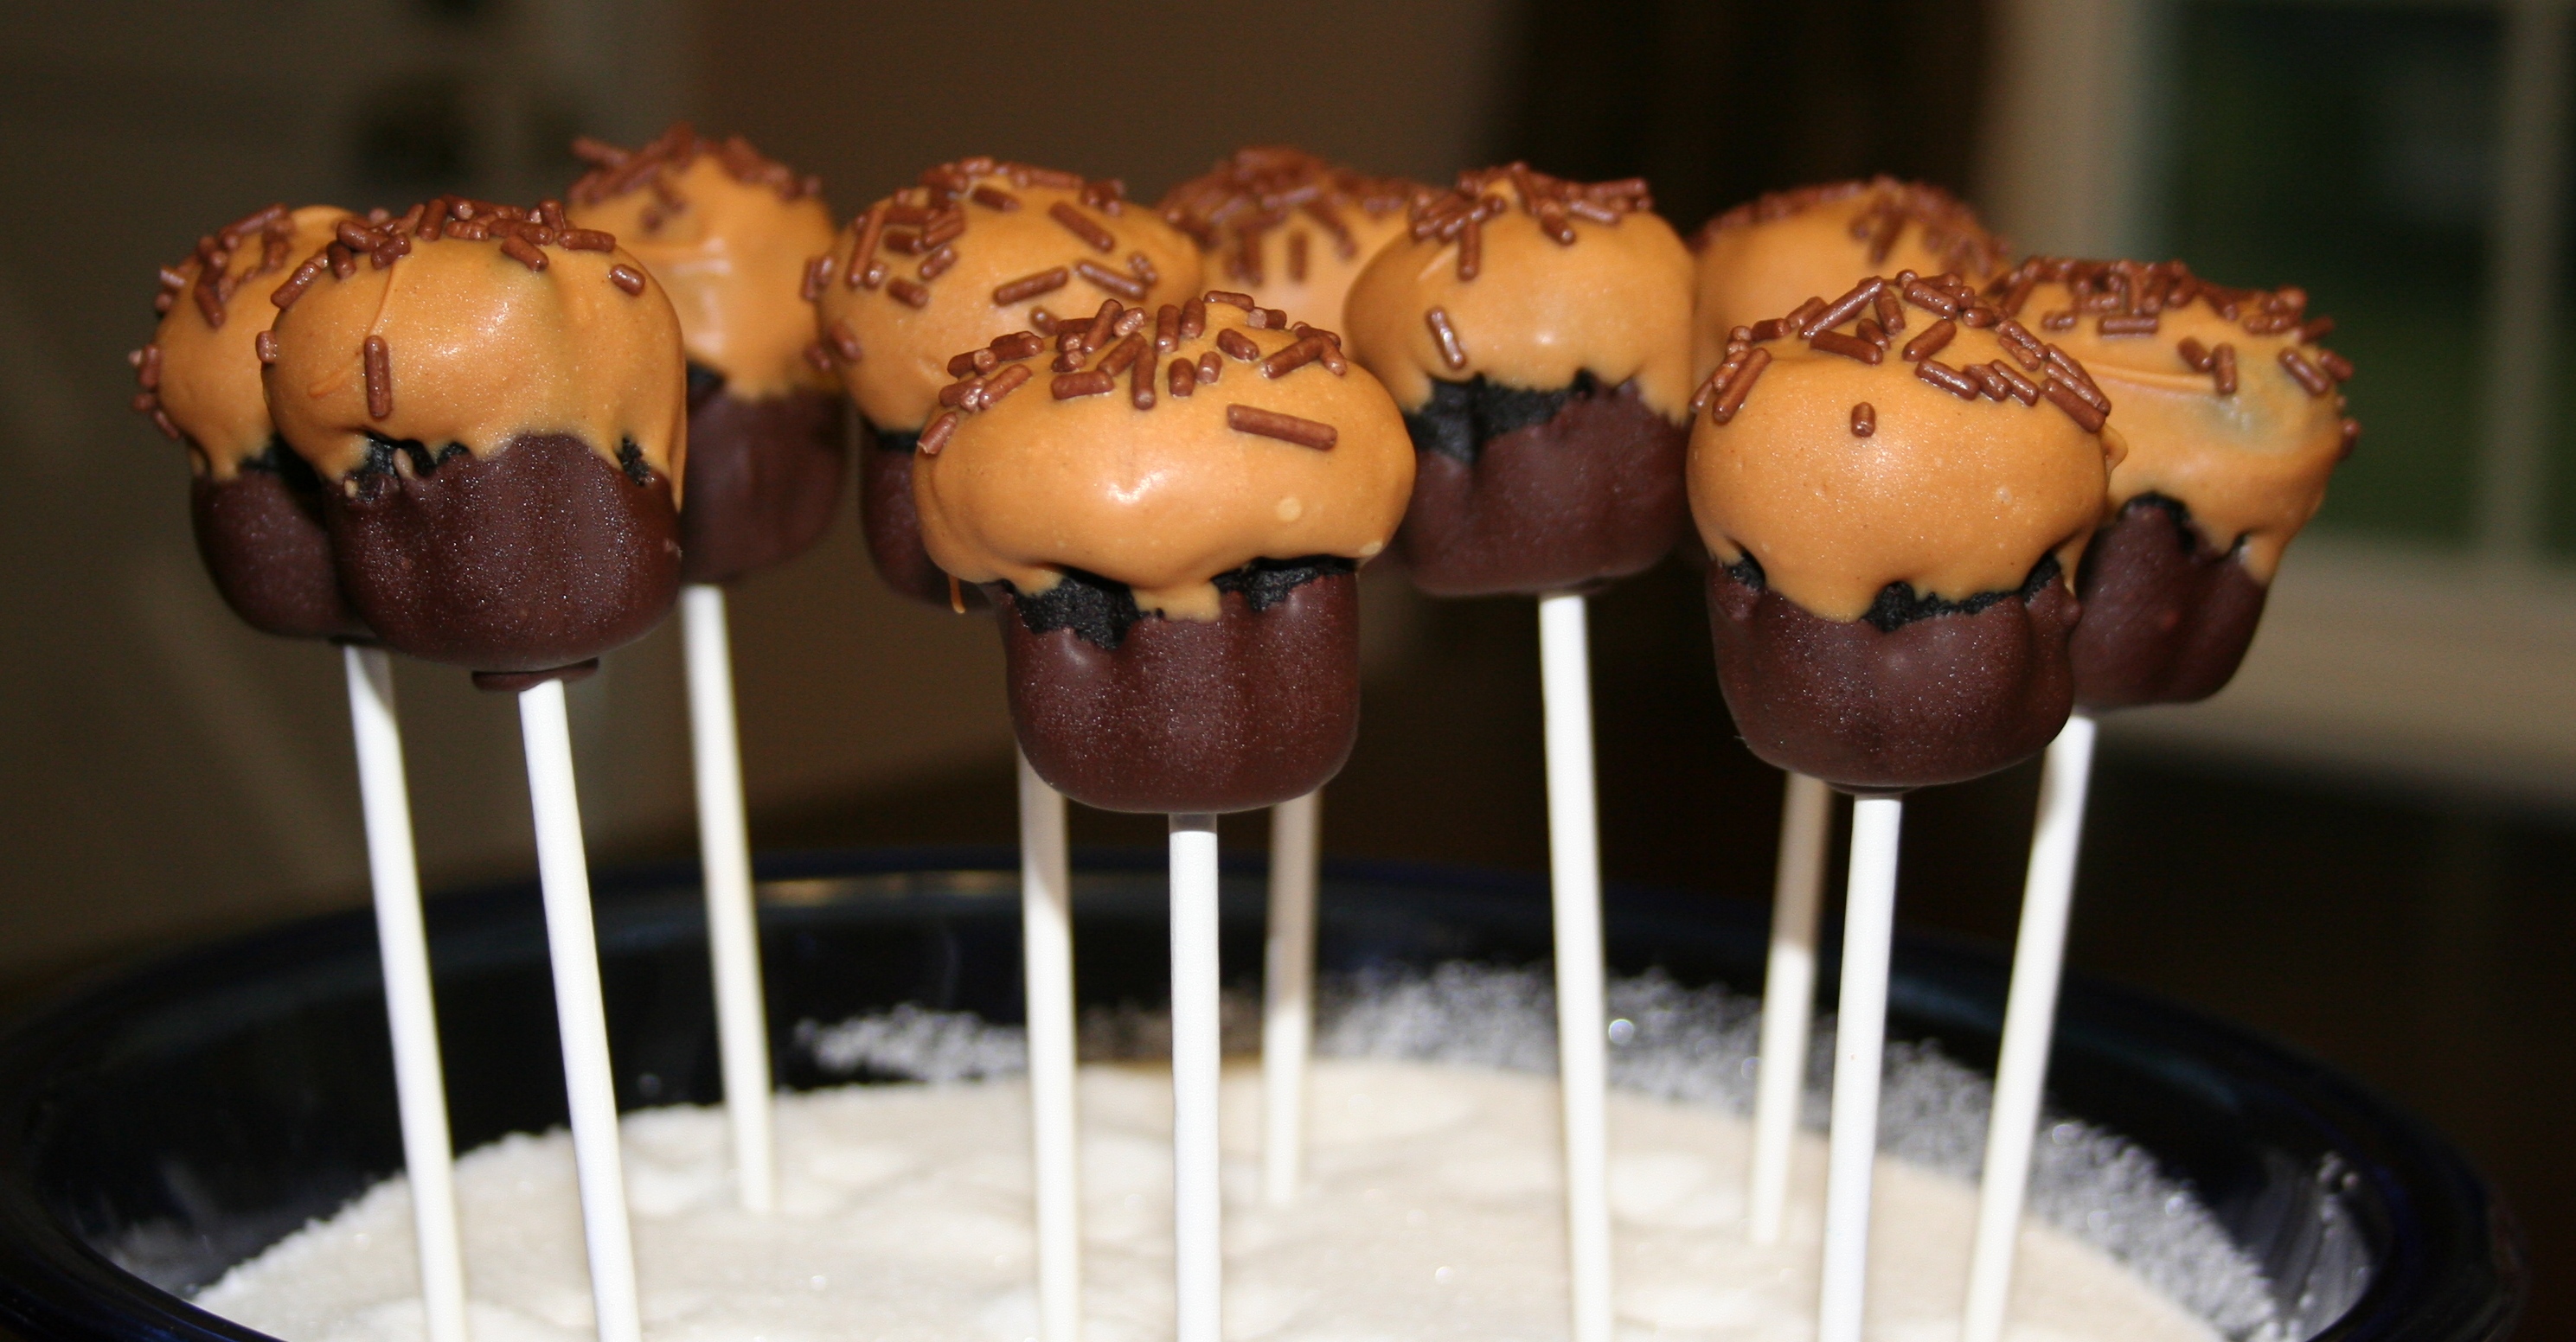
Peanut butter candy melt topping with dark chocolate base and chocolate sprinkles.

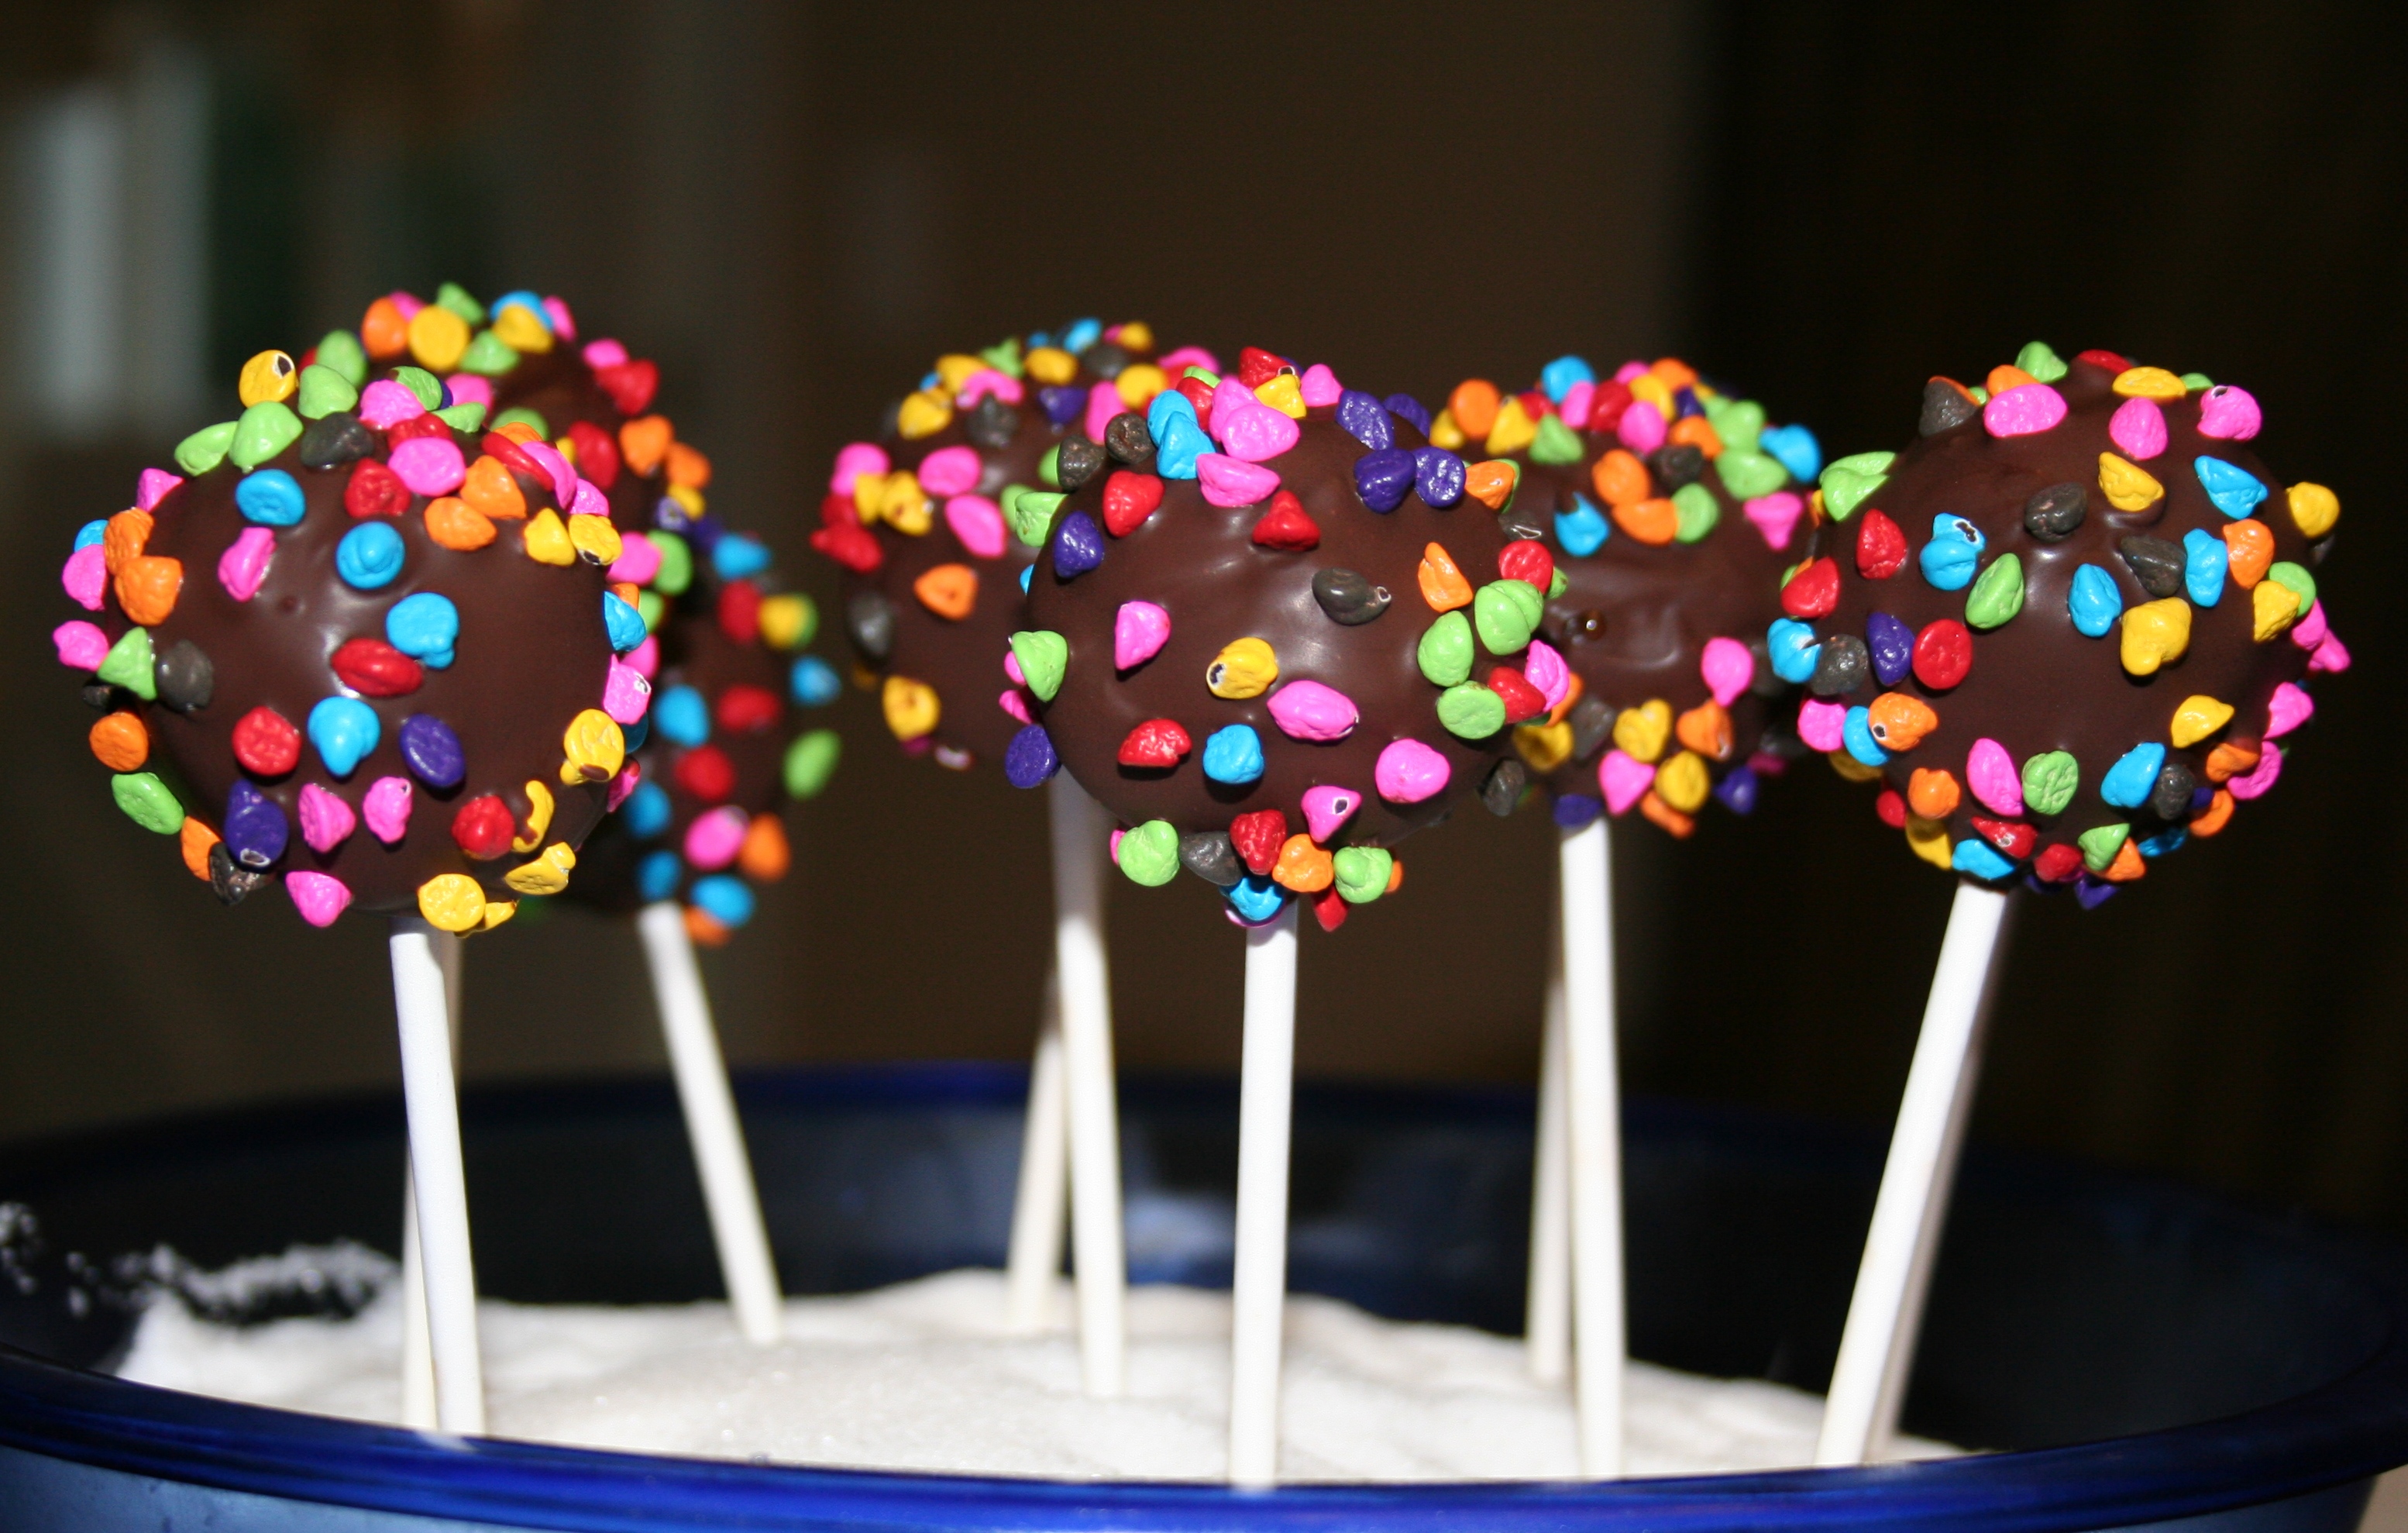
Cake Balls!!! These were easy–no shaping involved. And I love these Wilton Rainbow Chips!! I can’t decide which are cutest, but I think I love these the most!

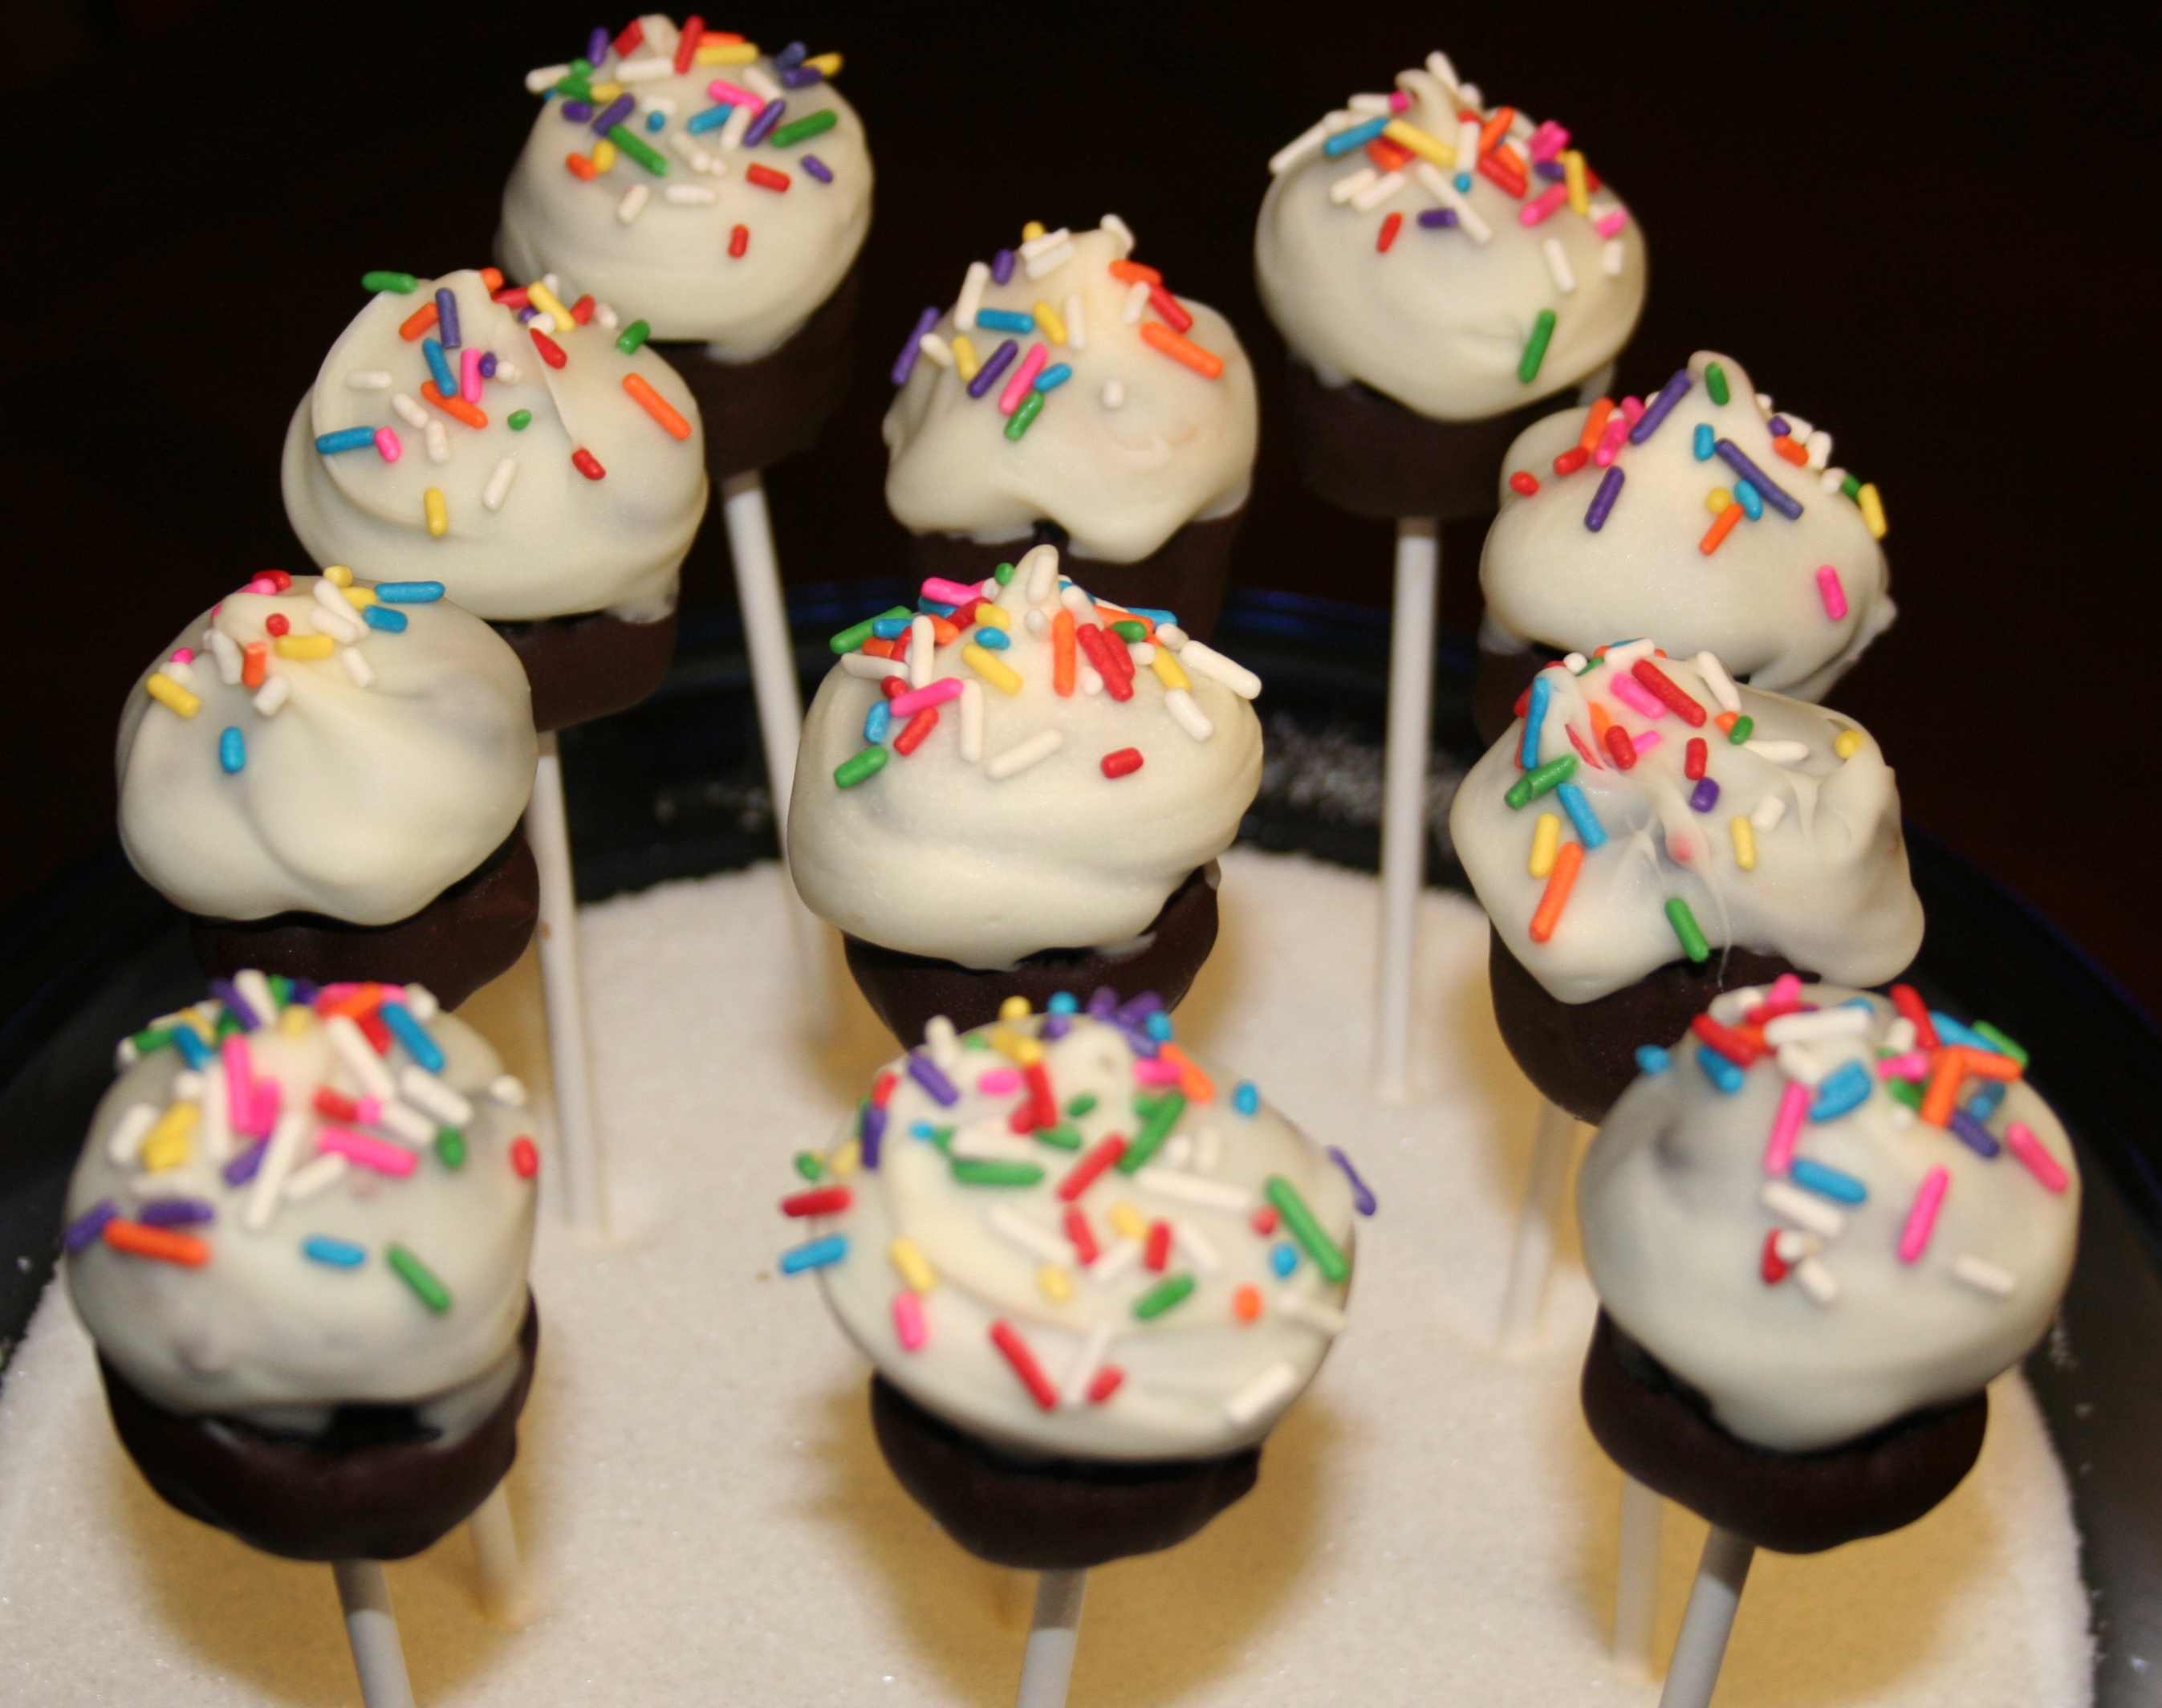
Strawberry Crostata

Crostata brings back fond childhood memories for me. It’s a dessert my grandmother used to make, sometimes for special occasions and sometimes for no reason at all. Usually, she made it using grape jelly, most likely because that is what was readily available at our house when she came to visit. She has made it with Apricot jam, Orange Marmalade, Strawberry jam, and her homemade Peach Preserves.

I’ve seen recipes for Crostata which look like a very rustic, open fruit tart–chunks of cooked fruit or preserves in the center and pie crust folded up around the edges (see here). My grandmother always made it with a lattice top, so that’s the way I prefer it.

This is the recipe I used, which is close to my grandmother’s description. She doesn’t measure ingredients and couldn’t give me amounts, as she makes her Crostata by eye.

Ingredients:

Dough/”Pasta Frolla”

  • 2 1/2 cups all-purpose flour
  • 1/2 cup sugar
  • 1/2 teaspoon salt
  • 1/2 teaspoon baking powder
  • 1 1/2 sticks of butter, cold and cubed
  • 2 eggs, slightly beaten
  • 1 teaspoon vanilla
  • 1 teaspoon lemon zest

Filling

  • 1-12oz. jar of your favorite preserves or homemade variety (I made my own Strawberry preserves)
Directions
  1. In a food processor, add the flour, sugar, salt, and baking powder; pulse to blend. Add cold, cubed butter and pulse about ten times. With food processor running, and add eggs, vanilla, and lemon zest, until dough begins to come together. Turn out onto a clean surface and wrap with plastic. Refrigerate dough at least 30 minutes.
  2. Grease 11″ removable bottom tart pan with non-stick spray. You could also use a springform pan.
  3. Preheat oven to 350° F.
  4. Cut off 1/4 of the dough and set aside. Press the remainder of the dough evenly into the bottom and up the sides of the tart pan. Don’t make the depression too deep. Flour hands lightly if dough is too sticky to work with.
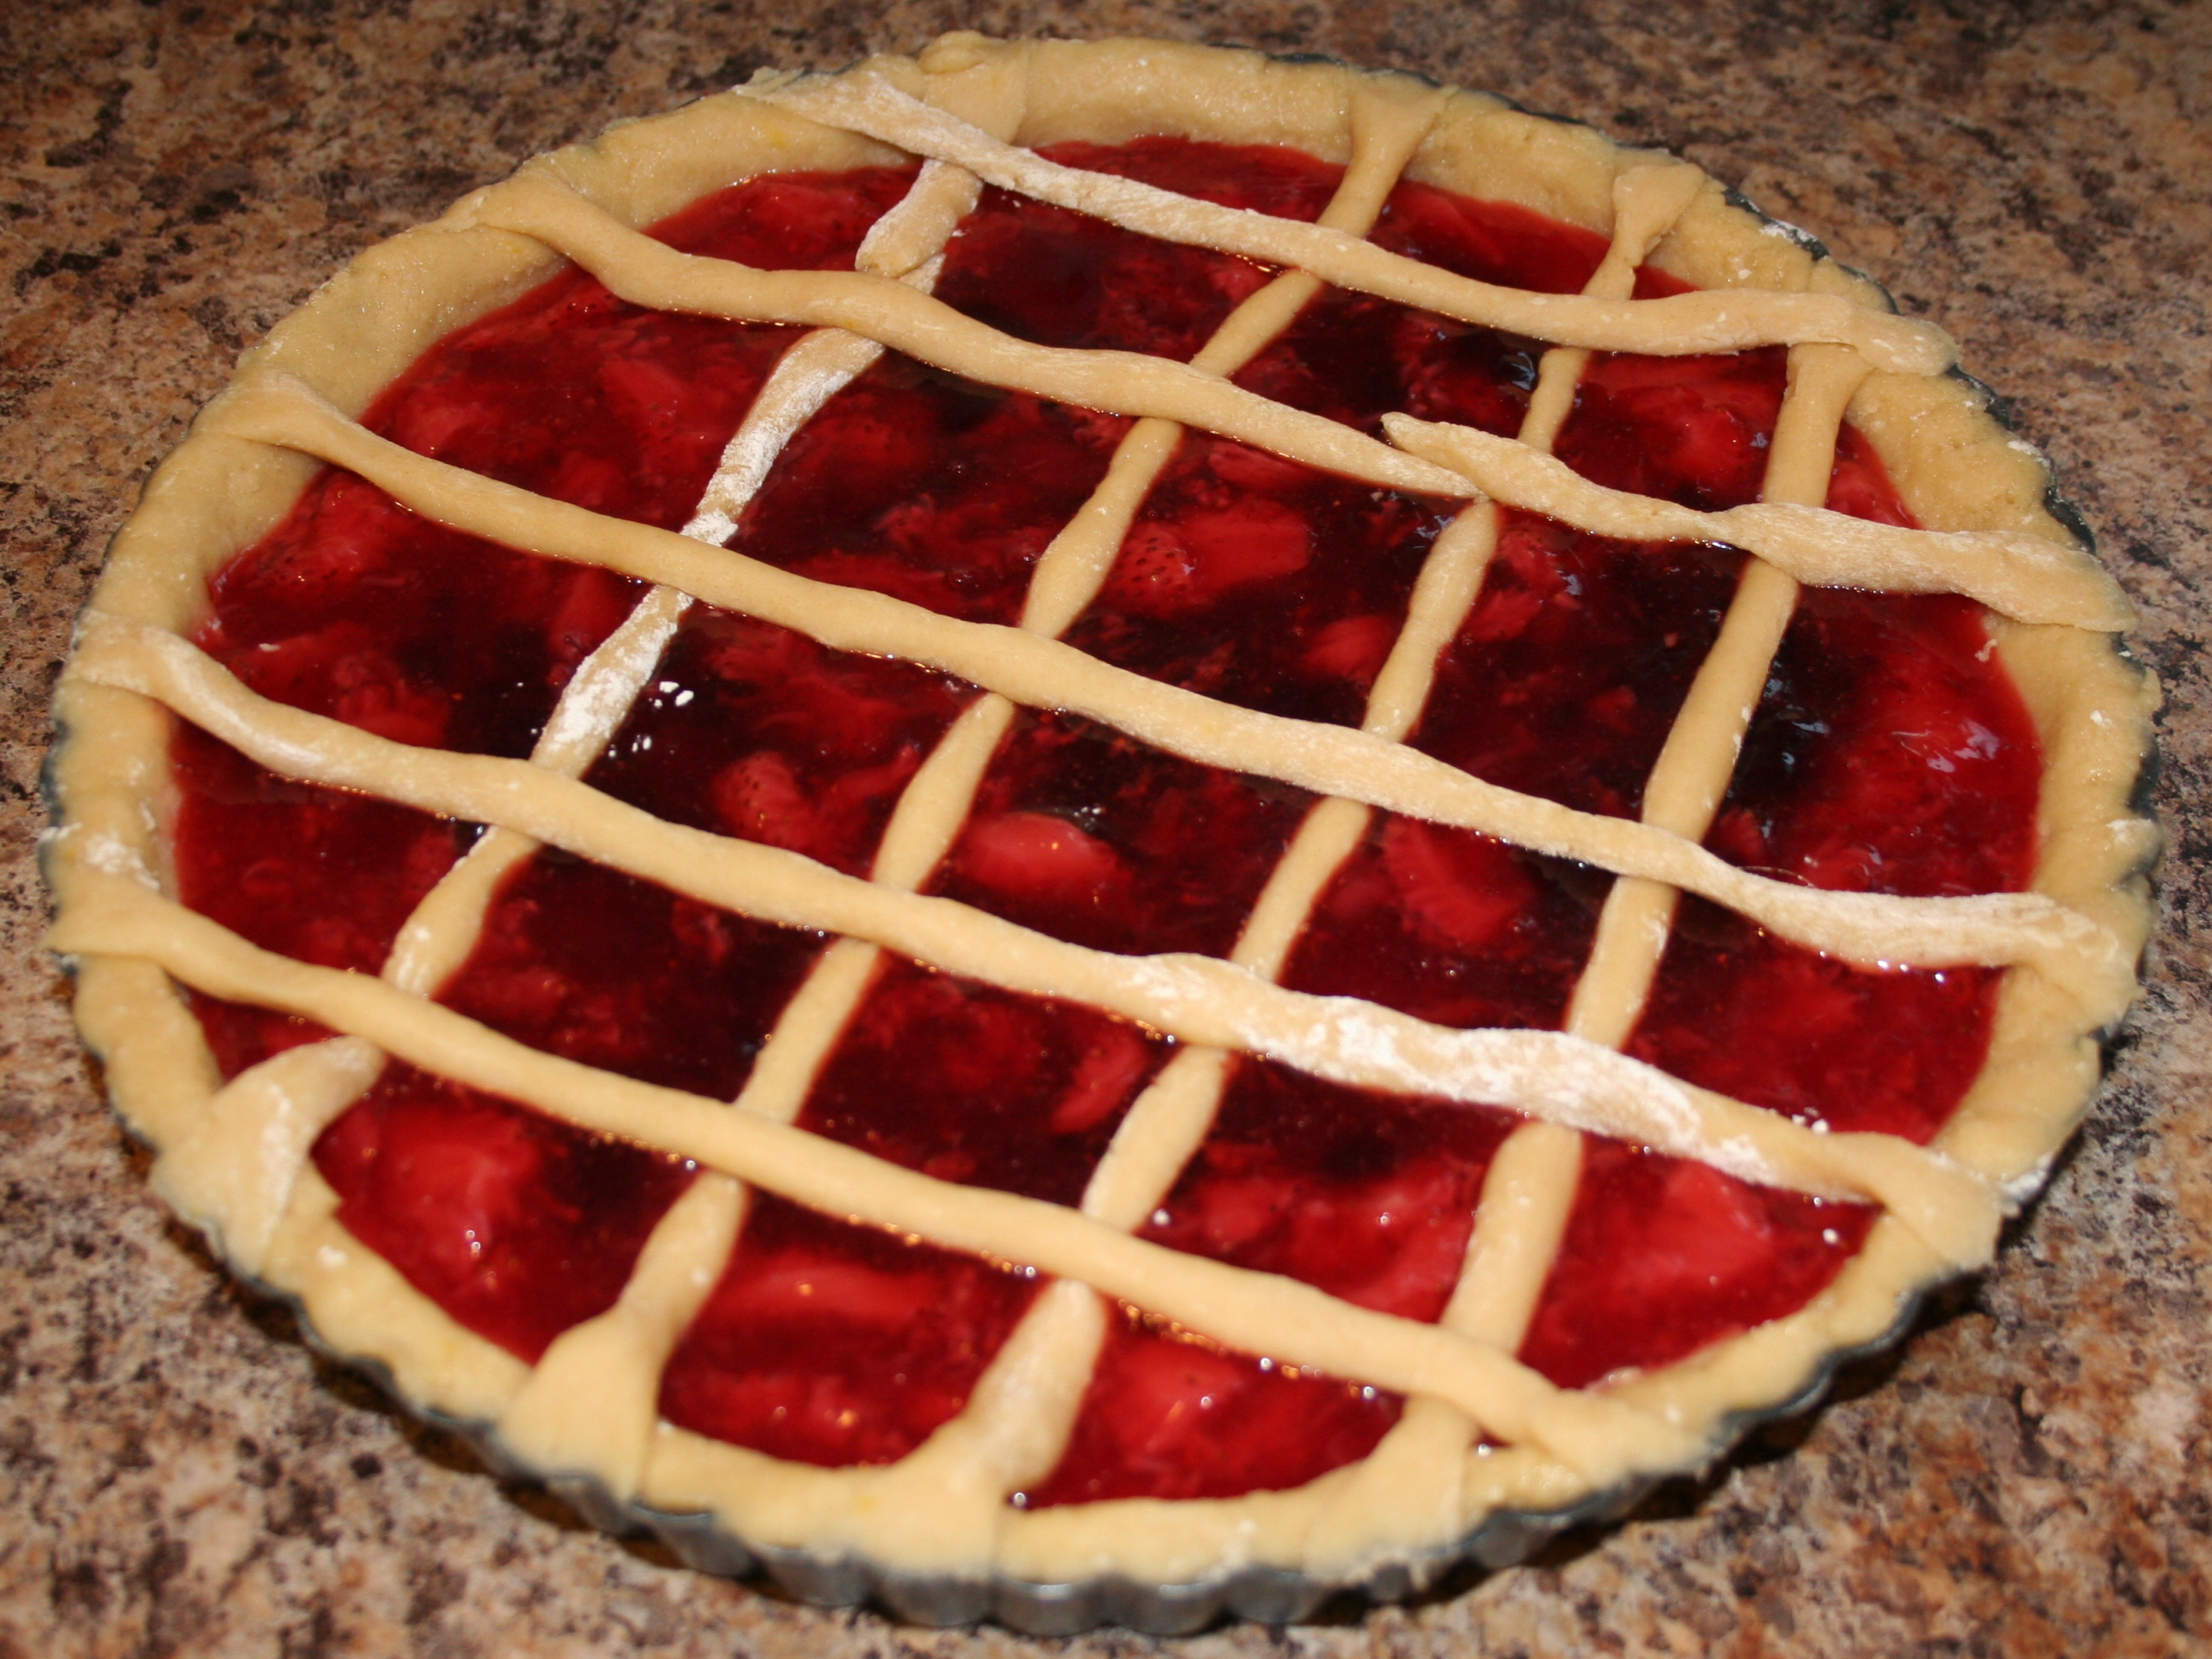
  5. Fill tart shell with fruit preserves (if homemade, make sure it is completely cool). Using the dough that was set aside earlier, cut it into logs and roll long strips for lattice top. Press down to seal edges and remove any dough hanging off sides of pan. (See photo below)
  6. Place tart on a cookie sheet and bake for 50 minutes to 1 hour, or until lightly golden; let cool. Garnish with powdered sugar before serving if desired.

Before Baking:

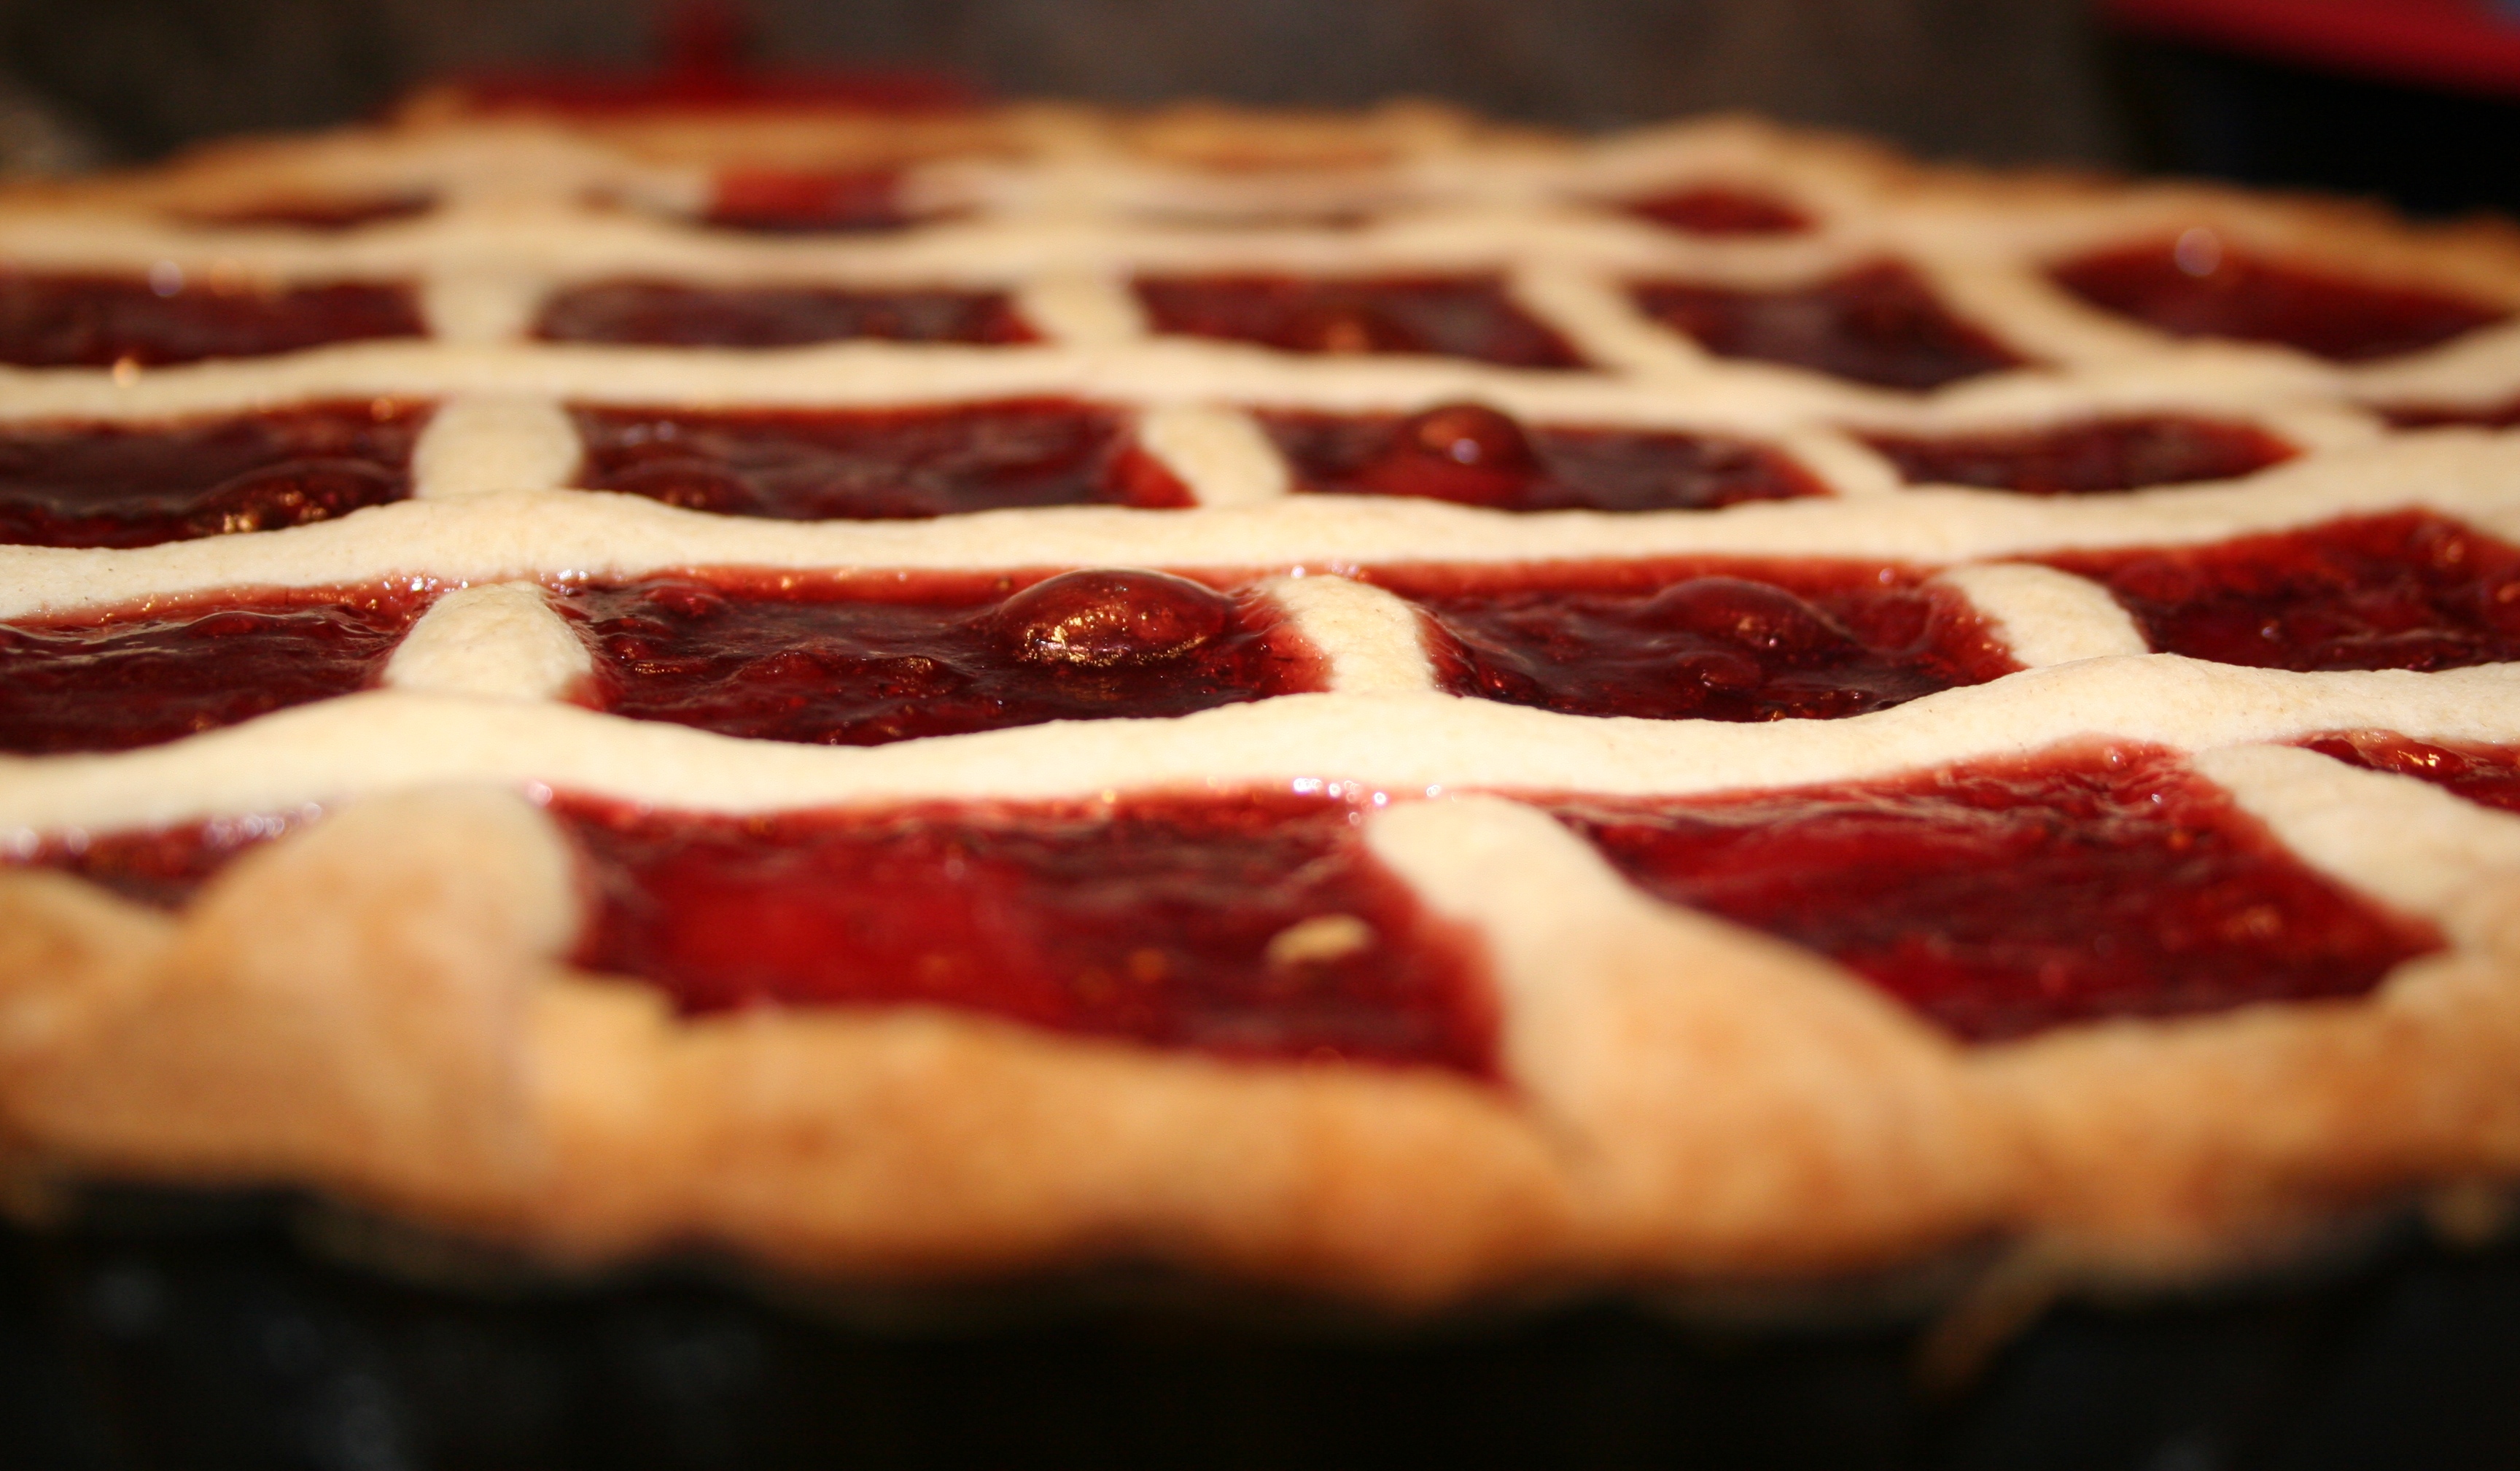
After Baking:

Bad Behavior has blocked 314 access attempts in the last 7 days.

css.php