Chic(k) Boutique

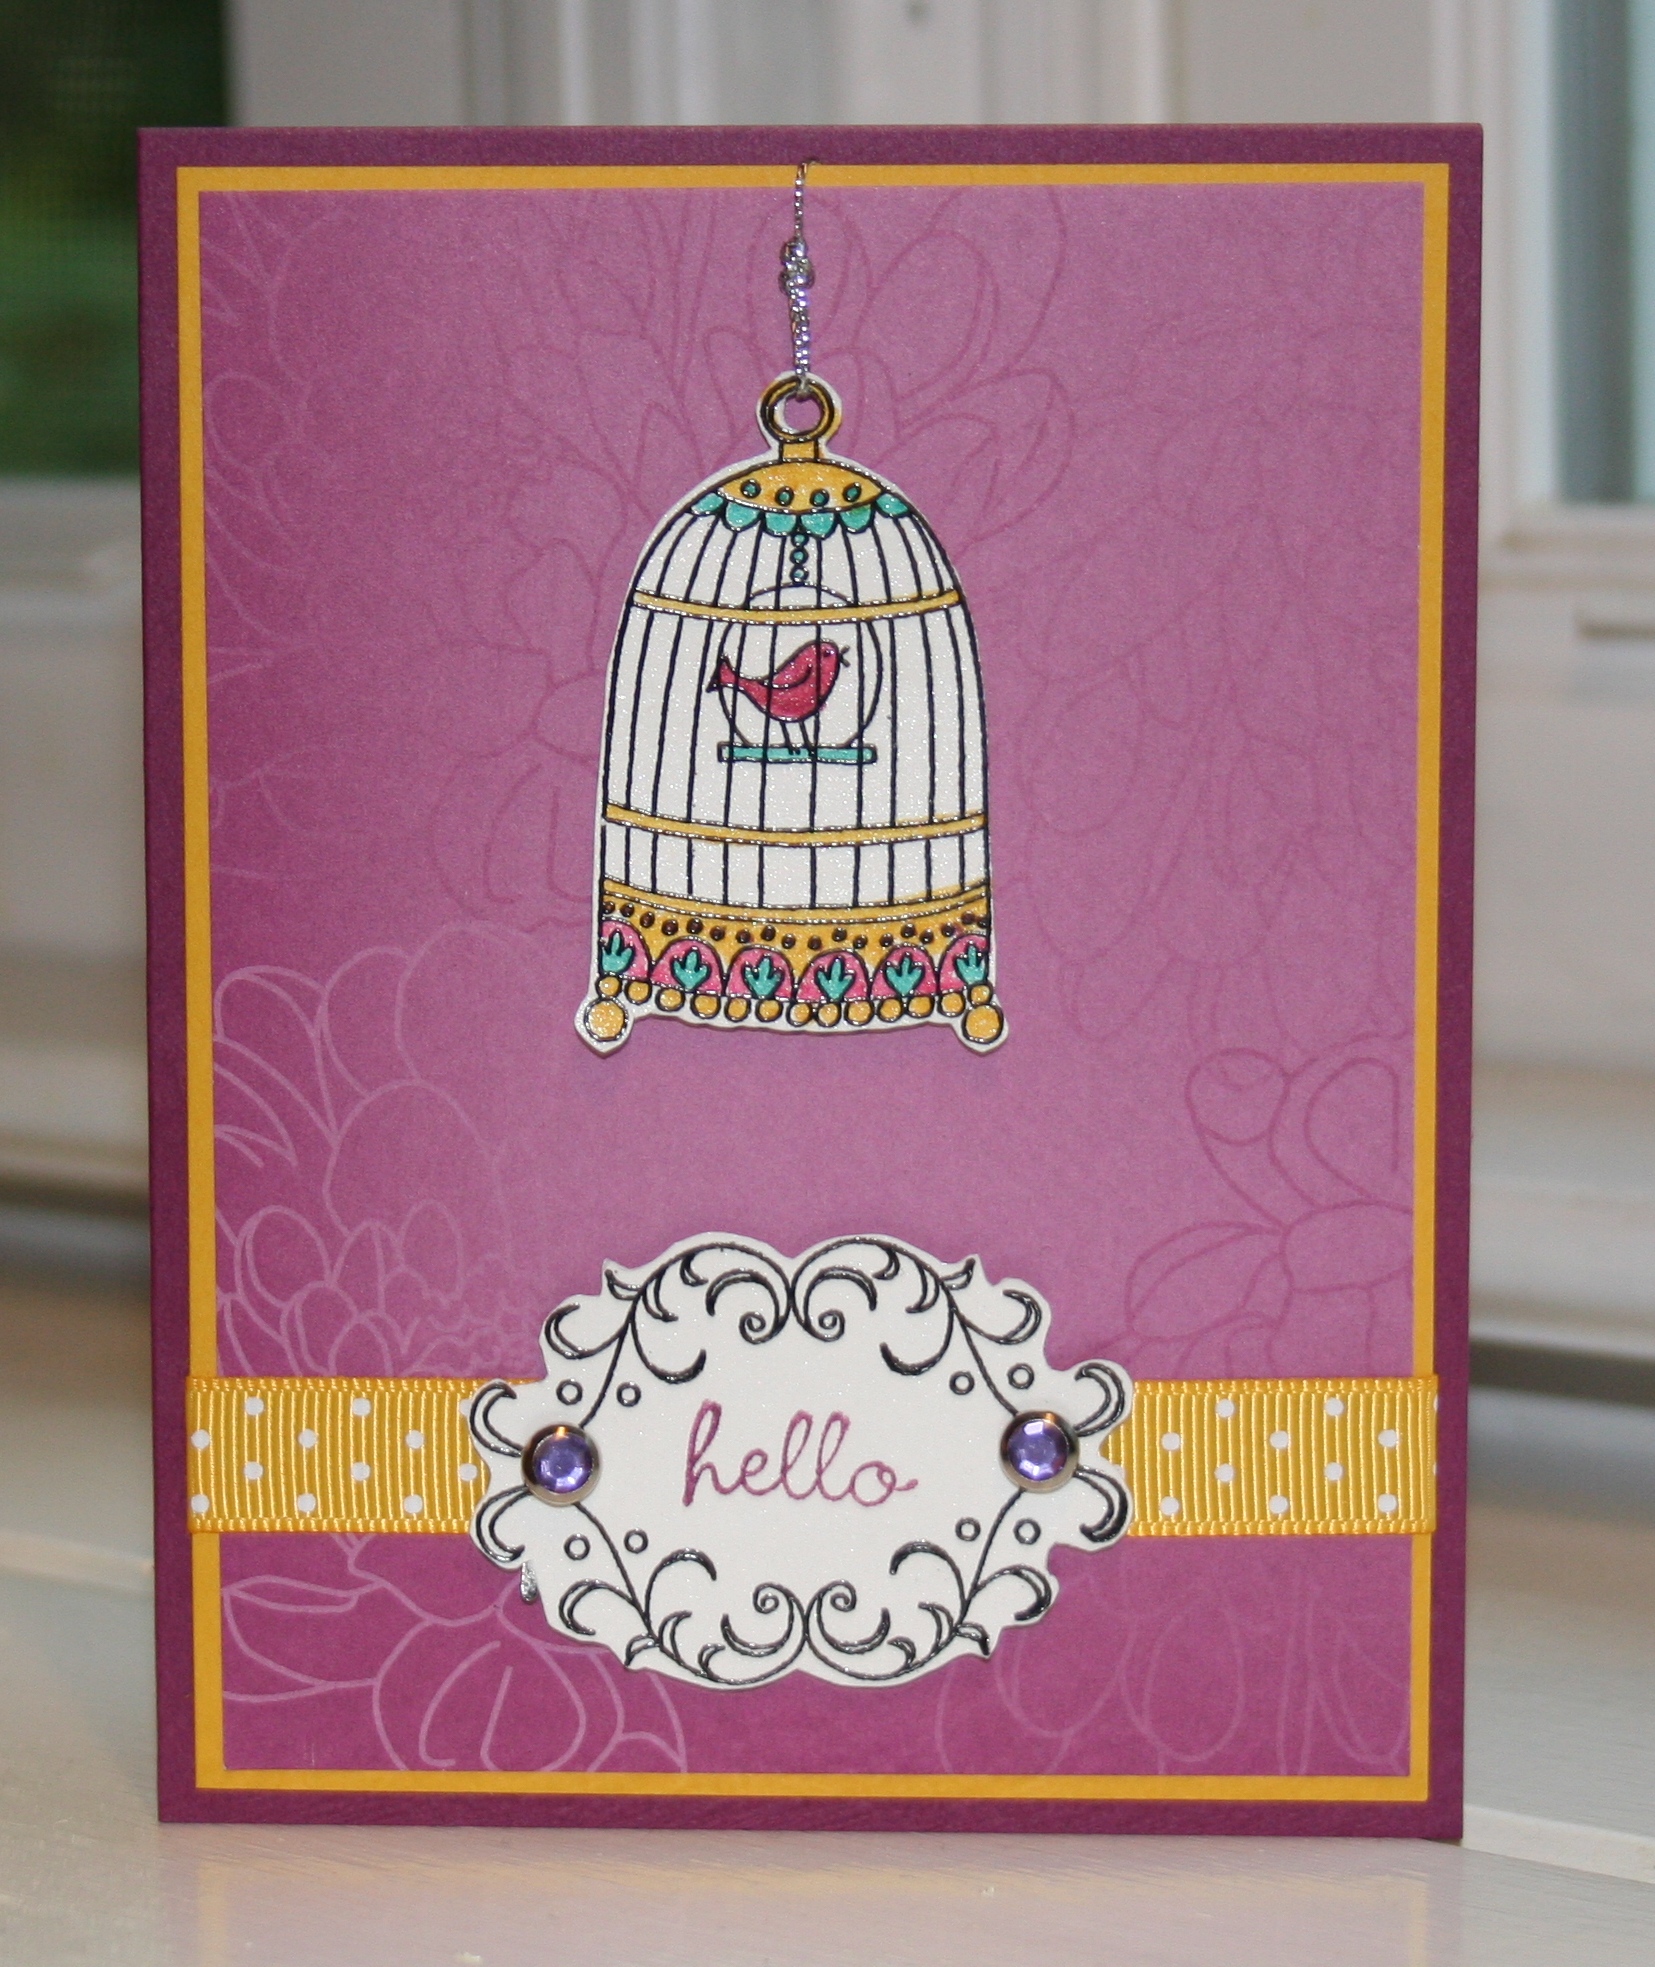
OK, that title was a cheesy joke, sorry. I like this birdcage image so much, and there is a similar one in the Decor Elements catalog as a Level 3 hostess set, free with a $500 order. Yeah right, a girl can dream!! I guess the stamp set will have to do for now. It’s called Chic Boutique and all images shown here are from the set.

First off, the card base is Rich Razzleberry card stock, layered with a panel of Crushed Curry and floral patterned DSP from Lovely Flowers. Ribbon is Crushed Curry Polka Dot Grosgrain.

I embossed the birdcage and filigree images with Versamark and Black EP on Shimmery White card stock, coloring the birdcage with In Color Markers. The “Hello” sentiment was stamped in Rich Razzleberry ink. I cut out the images with my paper snips and placed two purple Ice Circle Rhinestone Brads on either side of the filigree type image. That was adhered to the base using dimensionals.

As for the birdcage, I cut it out and punched the top with the small hole of the cropadile. Then I knotted some Silver Cord through it and looped the cord behind the Crushed Curry panel. The birdcage is adhered to the base with dimensionals.
Chic Boutique Watercolor

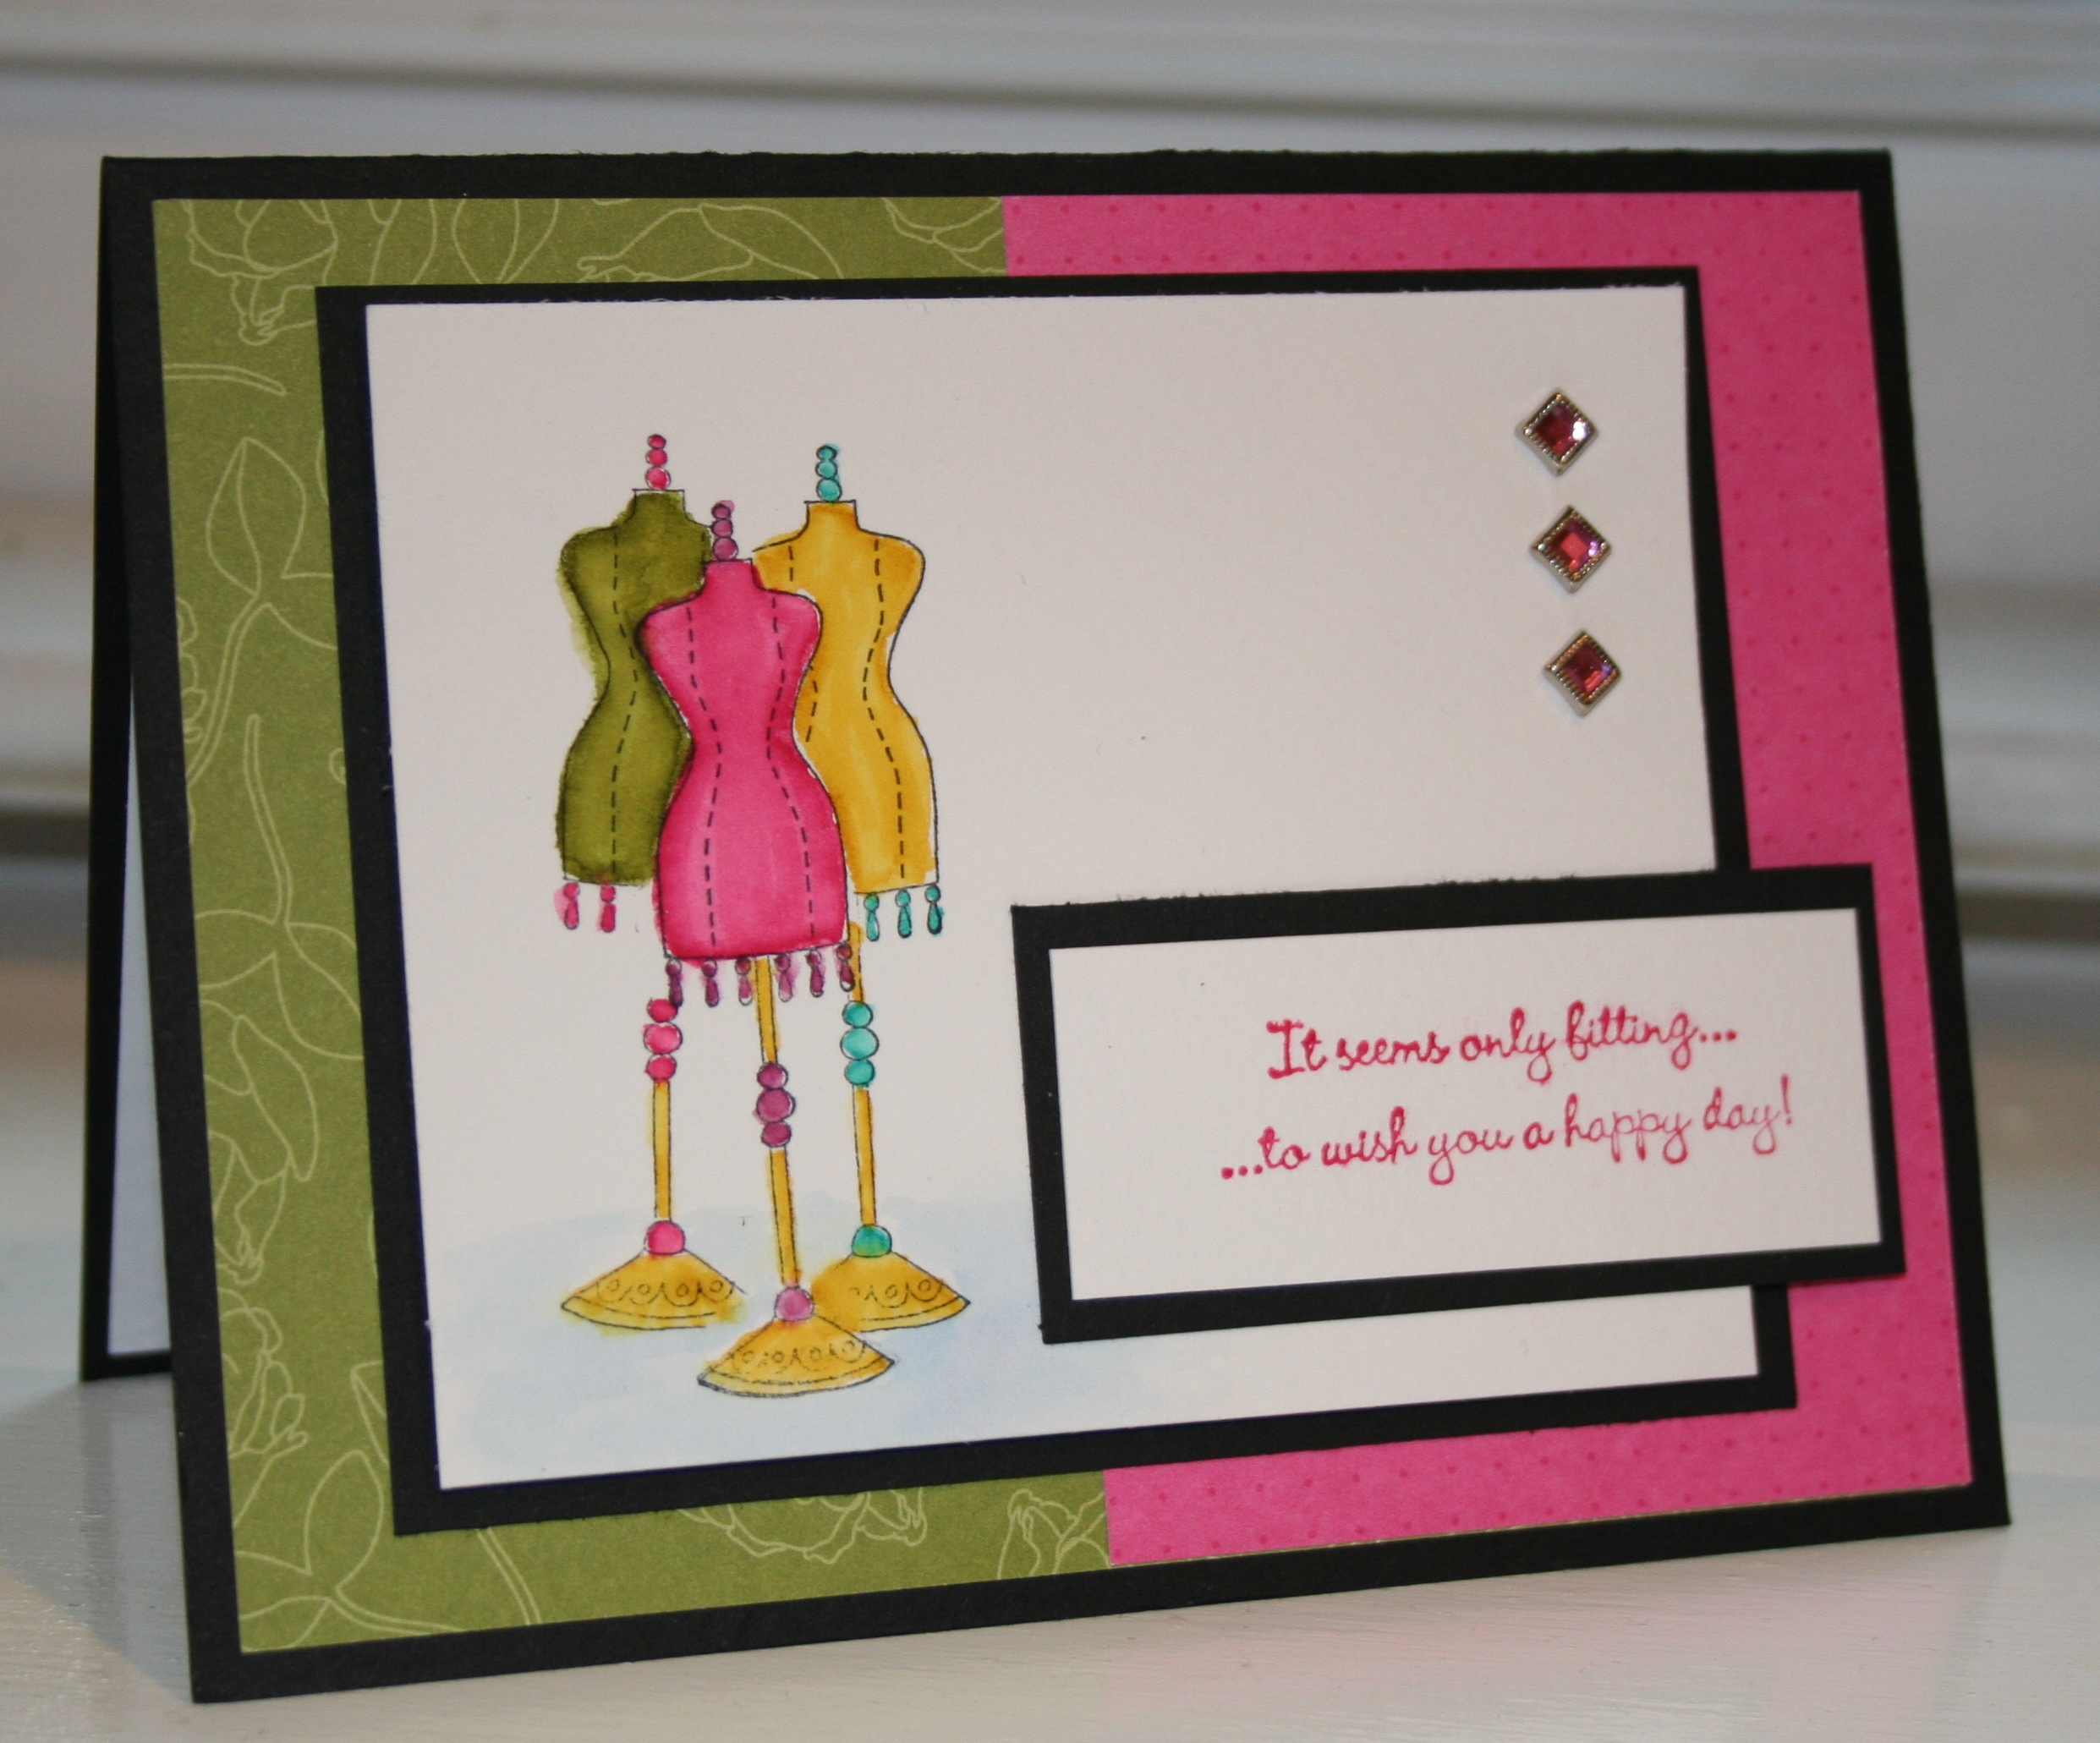
This is a new set called Chic Boutique and when I saw it I knew it would make some pretty cards! Here, the card base is Basic Black layered with Lovely Flowers DSP (2 different patterns-one in Melon Mambo, one in Old Olive).

The image layer is watercolor paper, which I stamped with Black Stazon and used my Markers and Aquapainter to watercolor the images. For a tutorial on watercoloring with markers, see here. I also used a mask here to stamp the dress forms. I stamped the center one first (Pink/Melon Mambo), then I stamped the image again onto scrap paper and cut it out to make the mask. I placed the mask over the image I just stamped, and overlapping it a bit, stamped again to the right of the main image. This made the Crushed Curry/Yellow form. Without moving the mask, repeat again on the left side to make the Old Olive/Green form.

To embellish the image layer I added 3 Square Fire Rhinestone Brads in pink and mounted the watercolor paper to a Basic Black panel using dimensionals. The sentiment is from the Chic Boutique stamp set also, and I used my Melon Mambo marker to ink it up and stamp onto Watercolor paper matted with Basic Black.

Seasonal Scallops

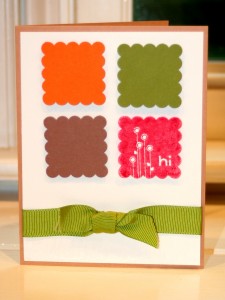
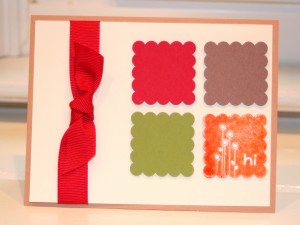
Since I was playing with the Say it with Scallops set (see previous post) I made two similar cards. Again, very simple, and I must have autumn on the mind because these are rather fall-ish.

The first one (left) uses Creamy Caramel for the base, layered with Whisper White. I stamped the “hi” stamp in Red Craft ink and clear embossed using Clear E.P. I punched it out using the Scallop Square Punch and adhered it to the base using a dimensional. The other three scallop squares are Close to Cocoa, Pumpkin Pie, and Old Olive. Before adhering the Whisper White layer to the base, I tied some Old Olive 5/8″ Grosgrain Ribbon around the card stock.

Next, I flipped the card on its side and used basically the same colors in a different configuration. The background here is Very Vanilla, and this time, I used Pumpkin Pie Craft ink for the “hi” stamp and clear embossed it. The other card stock colors were close to cocoa, old olive, and real red. Real Red 5/8″ Grosgrain Ribbon tied up the side completes the look.

Bad Behavior has blocked 960 access attempts in the last 7 days.

css.php