Archives for 2009

Sunny Day

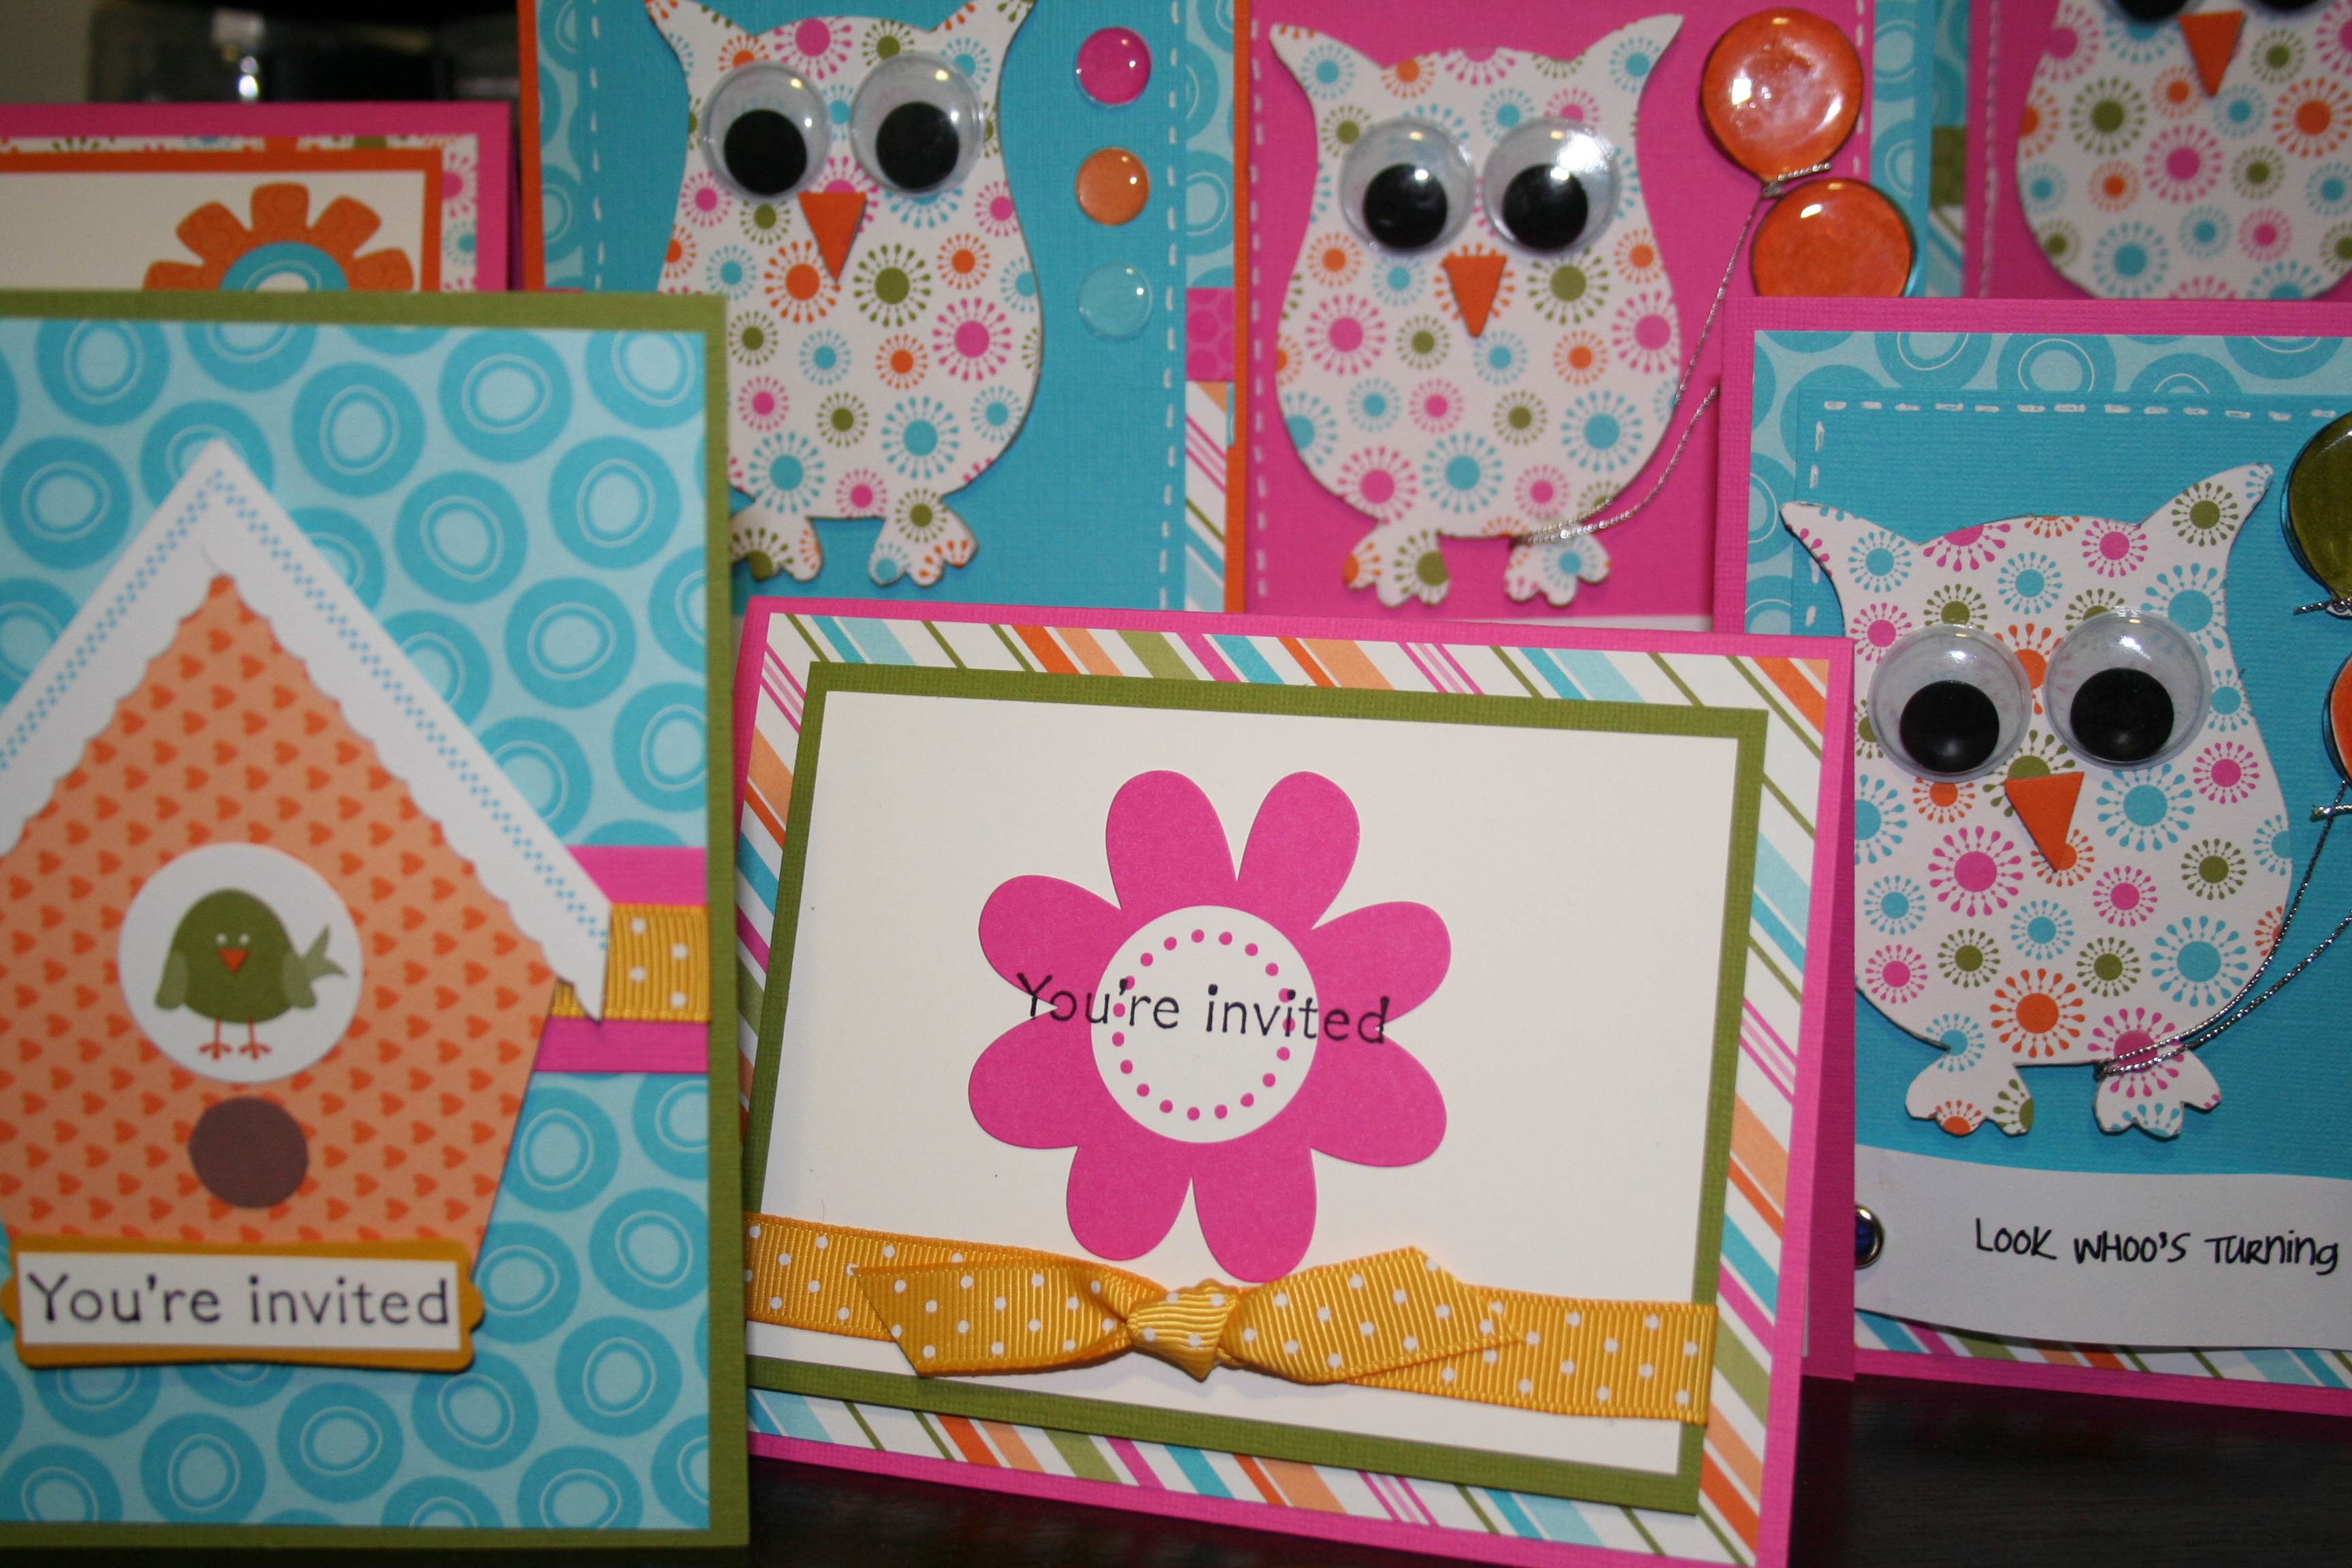
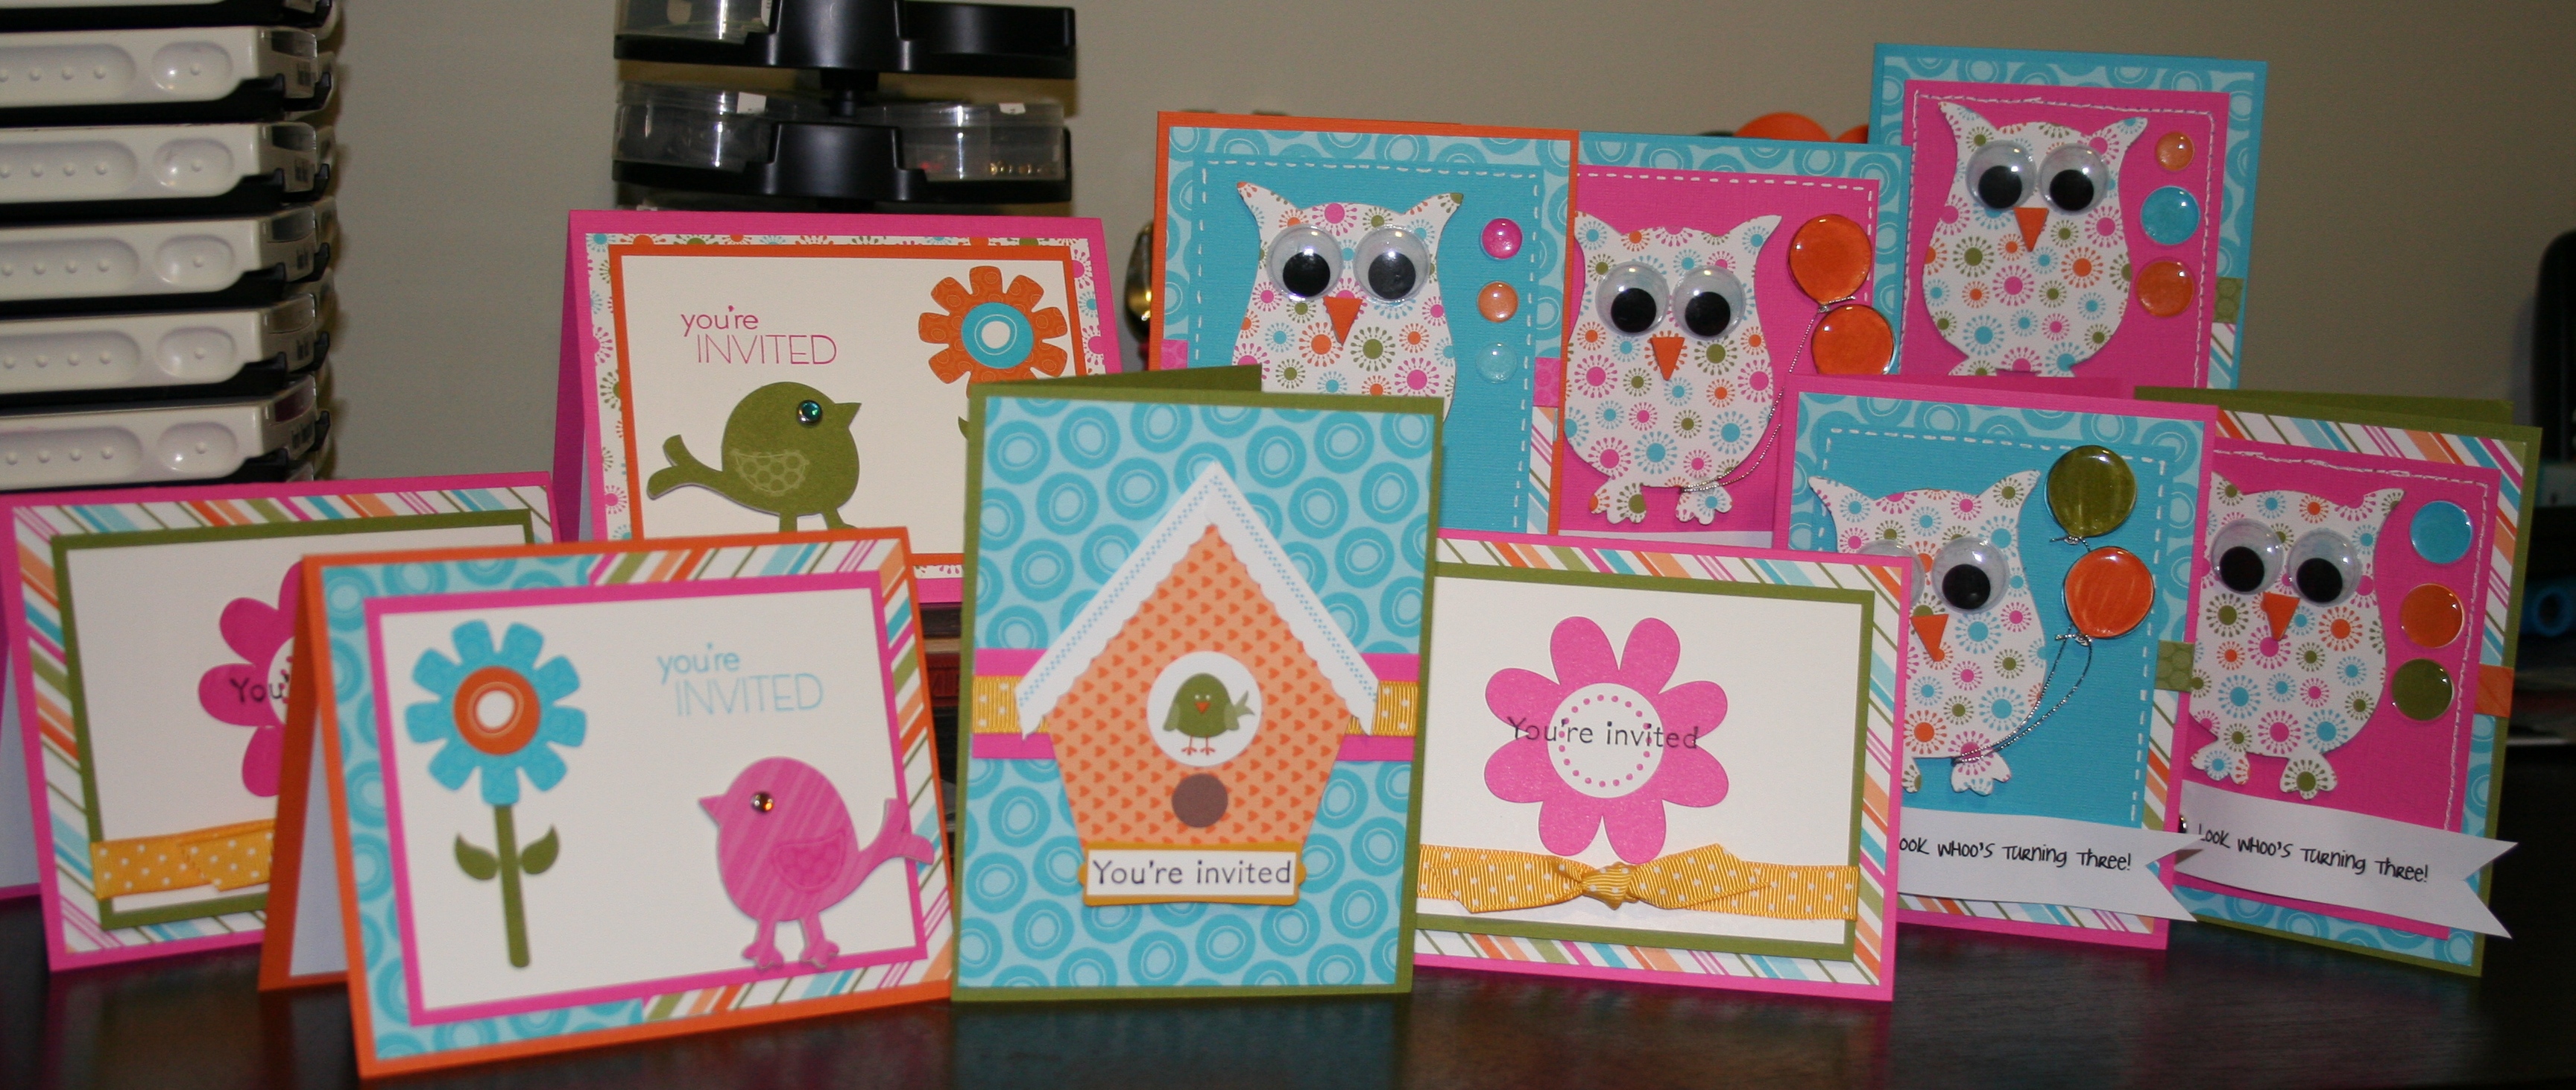
I made these 10 invitations using the Simply Scrappin Sunny Day Kit. It’s a really fun combination of bright colors including: Pink Passion, Tempting Turquoise, Pumpkin Pie, and Old Olive. In addition, I used my So Tweet chipboard owls, which coordinate perfectly. (As does Good Friend and Cheep Talk.)

All card bases are textured card stock, and the DSP comes in 4 patterns: (a) Blue Circles/Stripes and (b) Orange Hearts/Multi sunbursts. Stickers from the Simply Scrappin kit were used to decorate, along with a few stamps. You’re Invited, Crazy for Cupcakes (balloons) and Introducing (for the inside). “The Look Whoo’s Turning Three” banner was printed from Word in Joyful Juliana font.

Other items used were dimensionals, rhinestone brads, In Color polka dot ribbon, white gel pen, Rain Dots, Silver cord, Googly Eyes, Glue Dots, Paper Piercer, and Modern Label Punch.

The birdhouse card came from the Catalog (page 164).
Things I Love

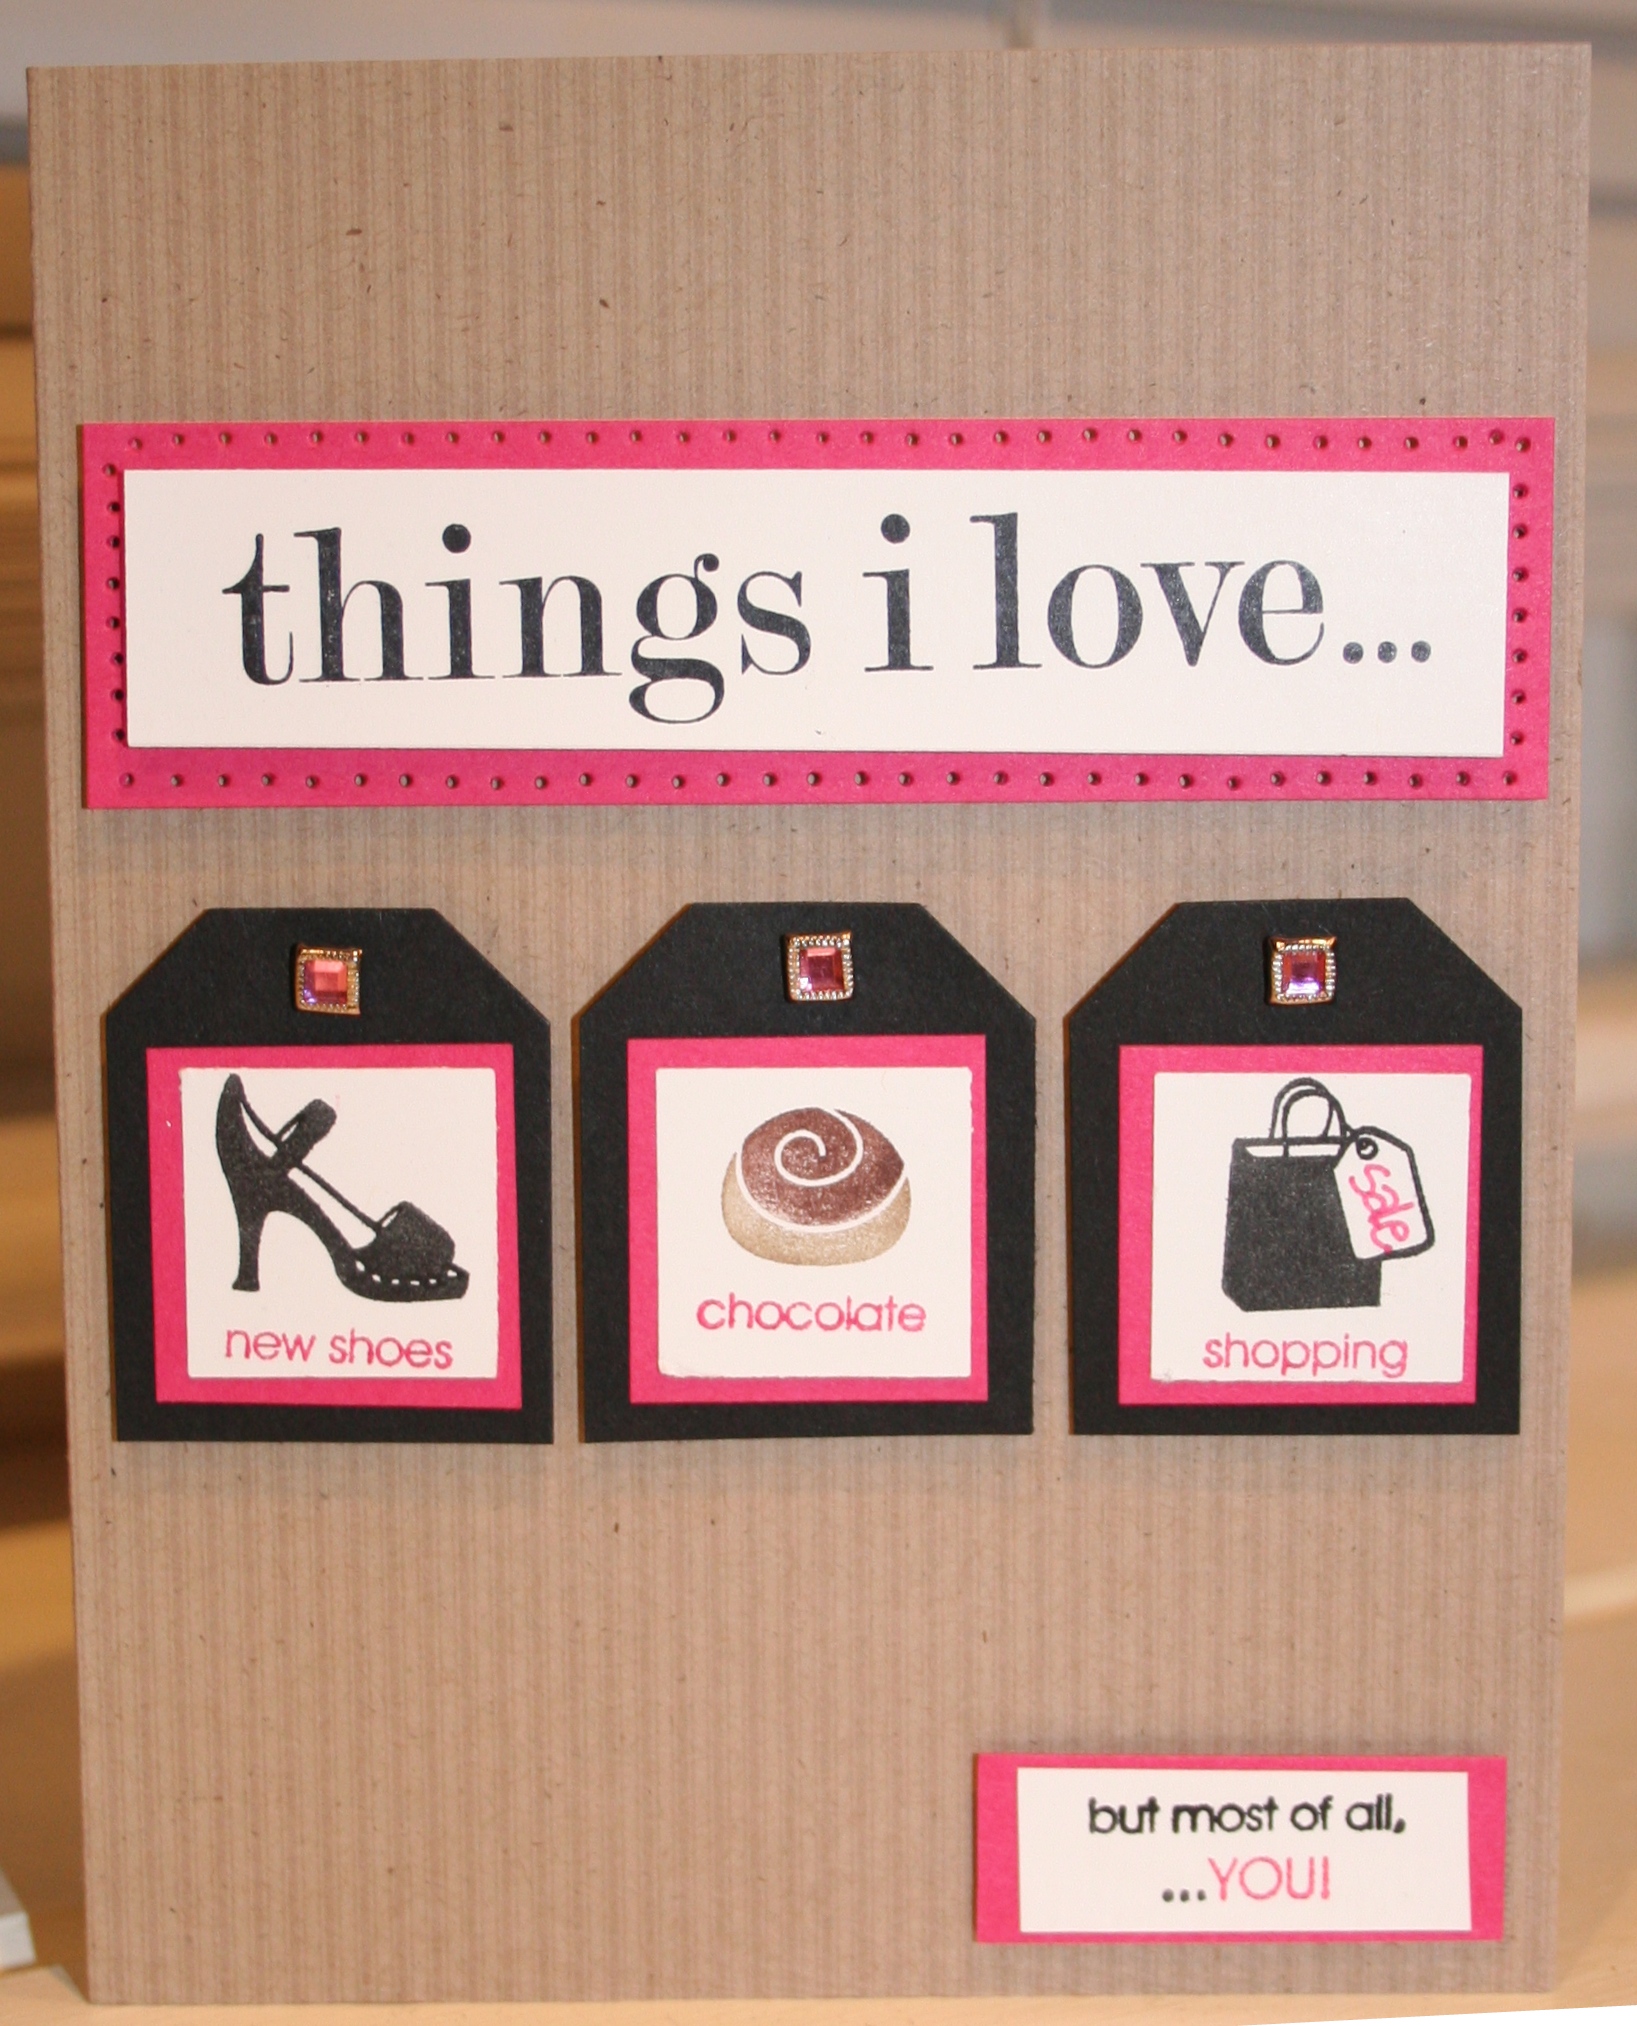
This is a strange card. I was thinking about who I would give this card to, and the most logical recipient would be my husband, based on the sentiment. But, at the same time, what man is going to want and/or appreciate a card with shoes, chocolate, shopping, and pink sparkly things????

Now you see my dilemma? Oh well, I’ll cross that bridge when I come to it, but for now, I’ll explain what I used to make this card.

Base is my FAVORITE Striped Kraft from Taste of Textiles, which is no longer available. And I only have 1 1/2 sheets left!!!! But I can’t obsess over that now. Stamp set is new, Things I Love. I stamped the images in Black Stazon, Black Marker, Melon Mambo, Chocolate Chip & Soft Suede markers. I used Whisper White, Melon Mambo, Basic Black card stock. I punched out the images with a 7/8″ square punch (non-SU), and mounted them on 1″ squares of Melon Mambo. That was then adhered to a black tag made using the Tag Punch. At the top of the tags, I used my Cropadile to punch a hole and added Square Fire Rhinestone Brads. I would have used the large ones but I was down to my last few small ones. The tags are adhered with a dimensional.

The paper piercer added some definition to the Melon Mambo layered behind Whisper White “things I love…”, which is mounted on dimensionals.

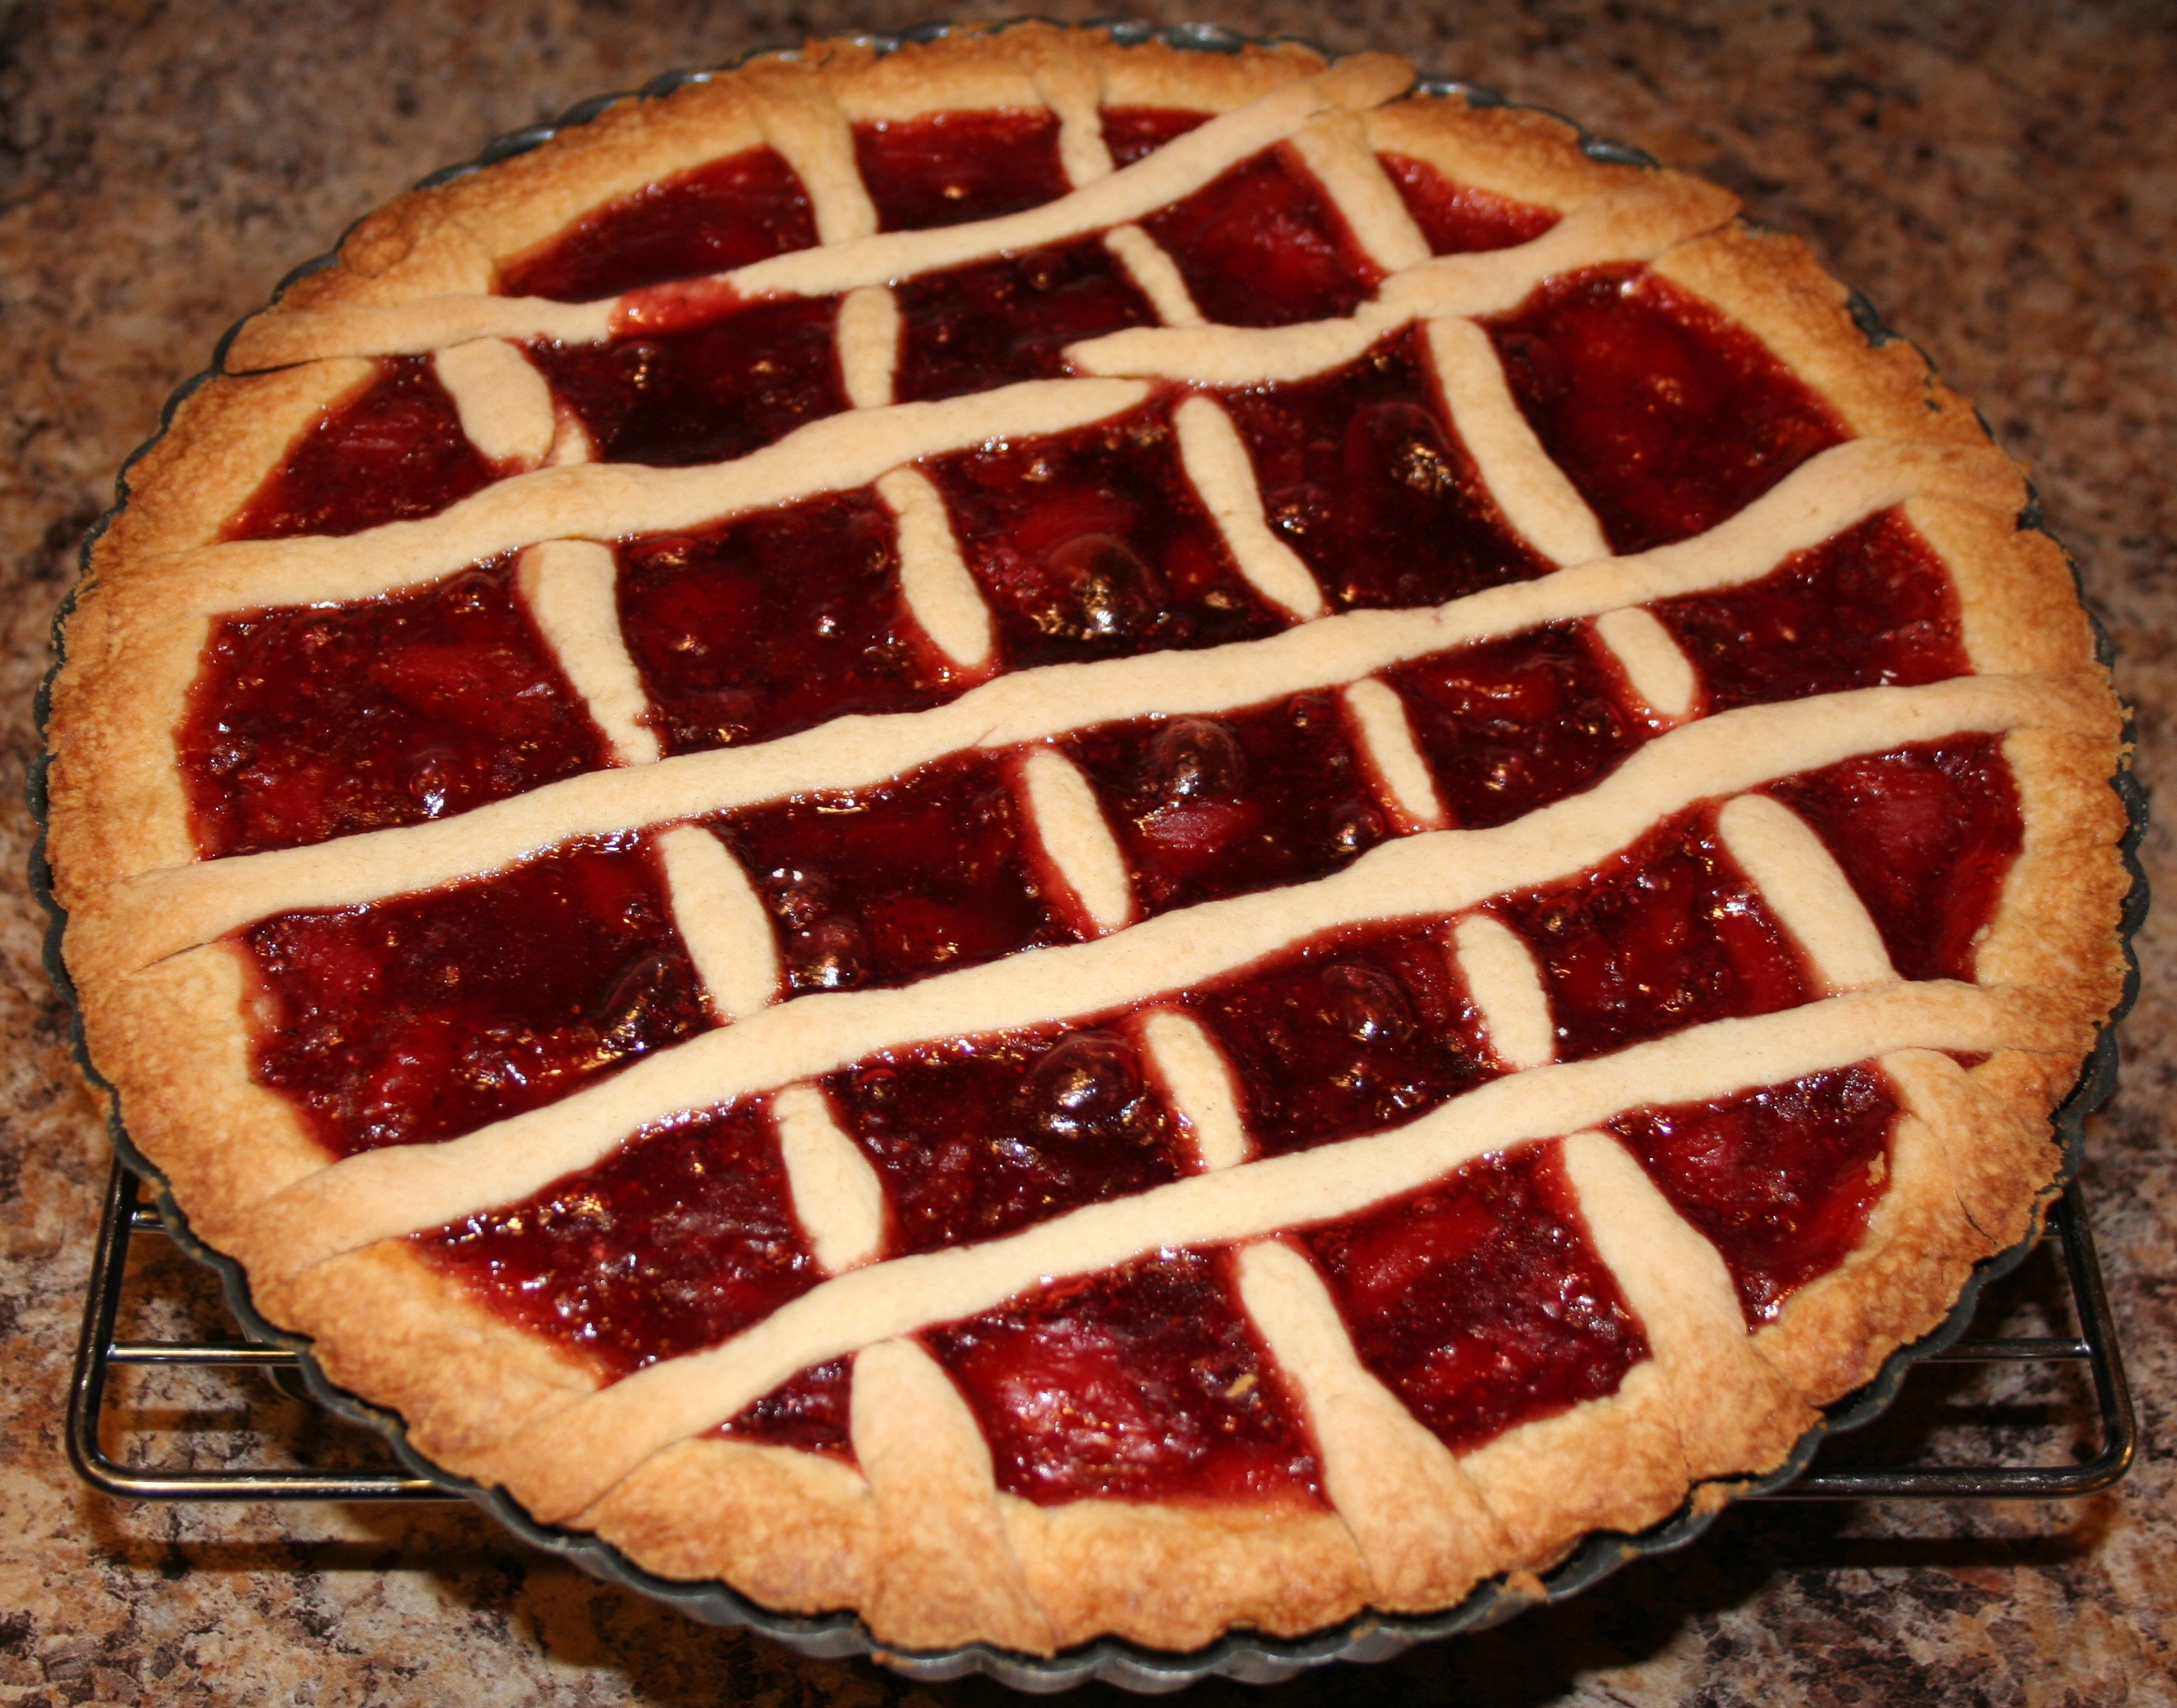
Strawberry Crostata

Crostata brings back fond childhood memories for me. It’s a dessert my grandmother used to make, sometimes for special occasions and sometimes for no reason at all. Usually, she made it using grape jelly, most likely because that is what was readily available at our house when she came to visit. She has made it with Apricot jam, Orange Marmalade, Strawberry jam, and her homemade Peach Preserves.

I’ve seen recipes for Crostata which look like a very rustic, open fruit tart–chunks of cooked fruit or preserves in the center and pie crust folded up around the edges (see here). My grandmother always made it with a lattice top, so that’s the way I prefer it.

This is the recipe I used, which is close to my grandmother’s description. She doesn’t measure ingredients and couldn’t give me amounts, as she makes her Crostata by eye.

Ingredients:

Dough/”Pasta Frolla”

  • 2 1/2 cups all-purpose flour
  • 1/2 cup sugar
  • 1/2 teaspoon salt
  • 1/2 teaspoon baking powder
  • 1 1/2 sticks of butter, cold and cubed
  • 2 eggs, slightly beaten
  • 1 teaspoon vanilla
  • 1 teaspoon lemon zest

Filling

  • 1-12oz. jar of your favorite preserves or homemade variety (I made my own Strawberry preserves)
Directions
  1. In a food processor, add the flour, sugar, salt, and baking powder; pulse to blend. Add cold, cubed butter and pulse about ten times. With food processor running, and add eggs, vanilla, and lemon zest, until dough begins to come together. Turn out onto a clean surface and wrap with plastic. Refrigerate dough at least 30 minutes.
  2. Grease 11″ removable bottom tart pan with non-stick spray. You could also use a springform pan.
  3. Preheat oven to 350° F.
  4. Cut off 1/4 of the dough and set aside. Press the remainder of the dough evenly into the bottom and up the sides of the tart pan. Don’t make the depression too deep. Flour hands lightly if dough is too sticky to work with.
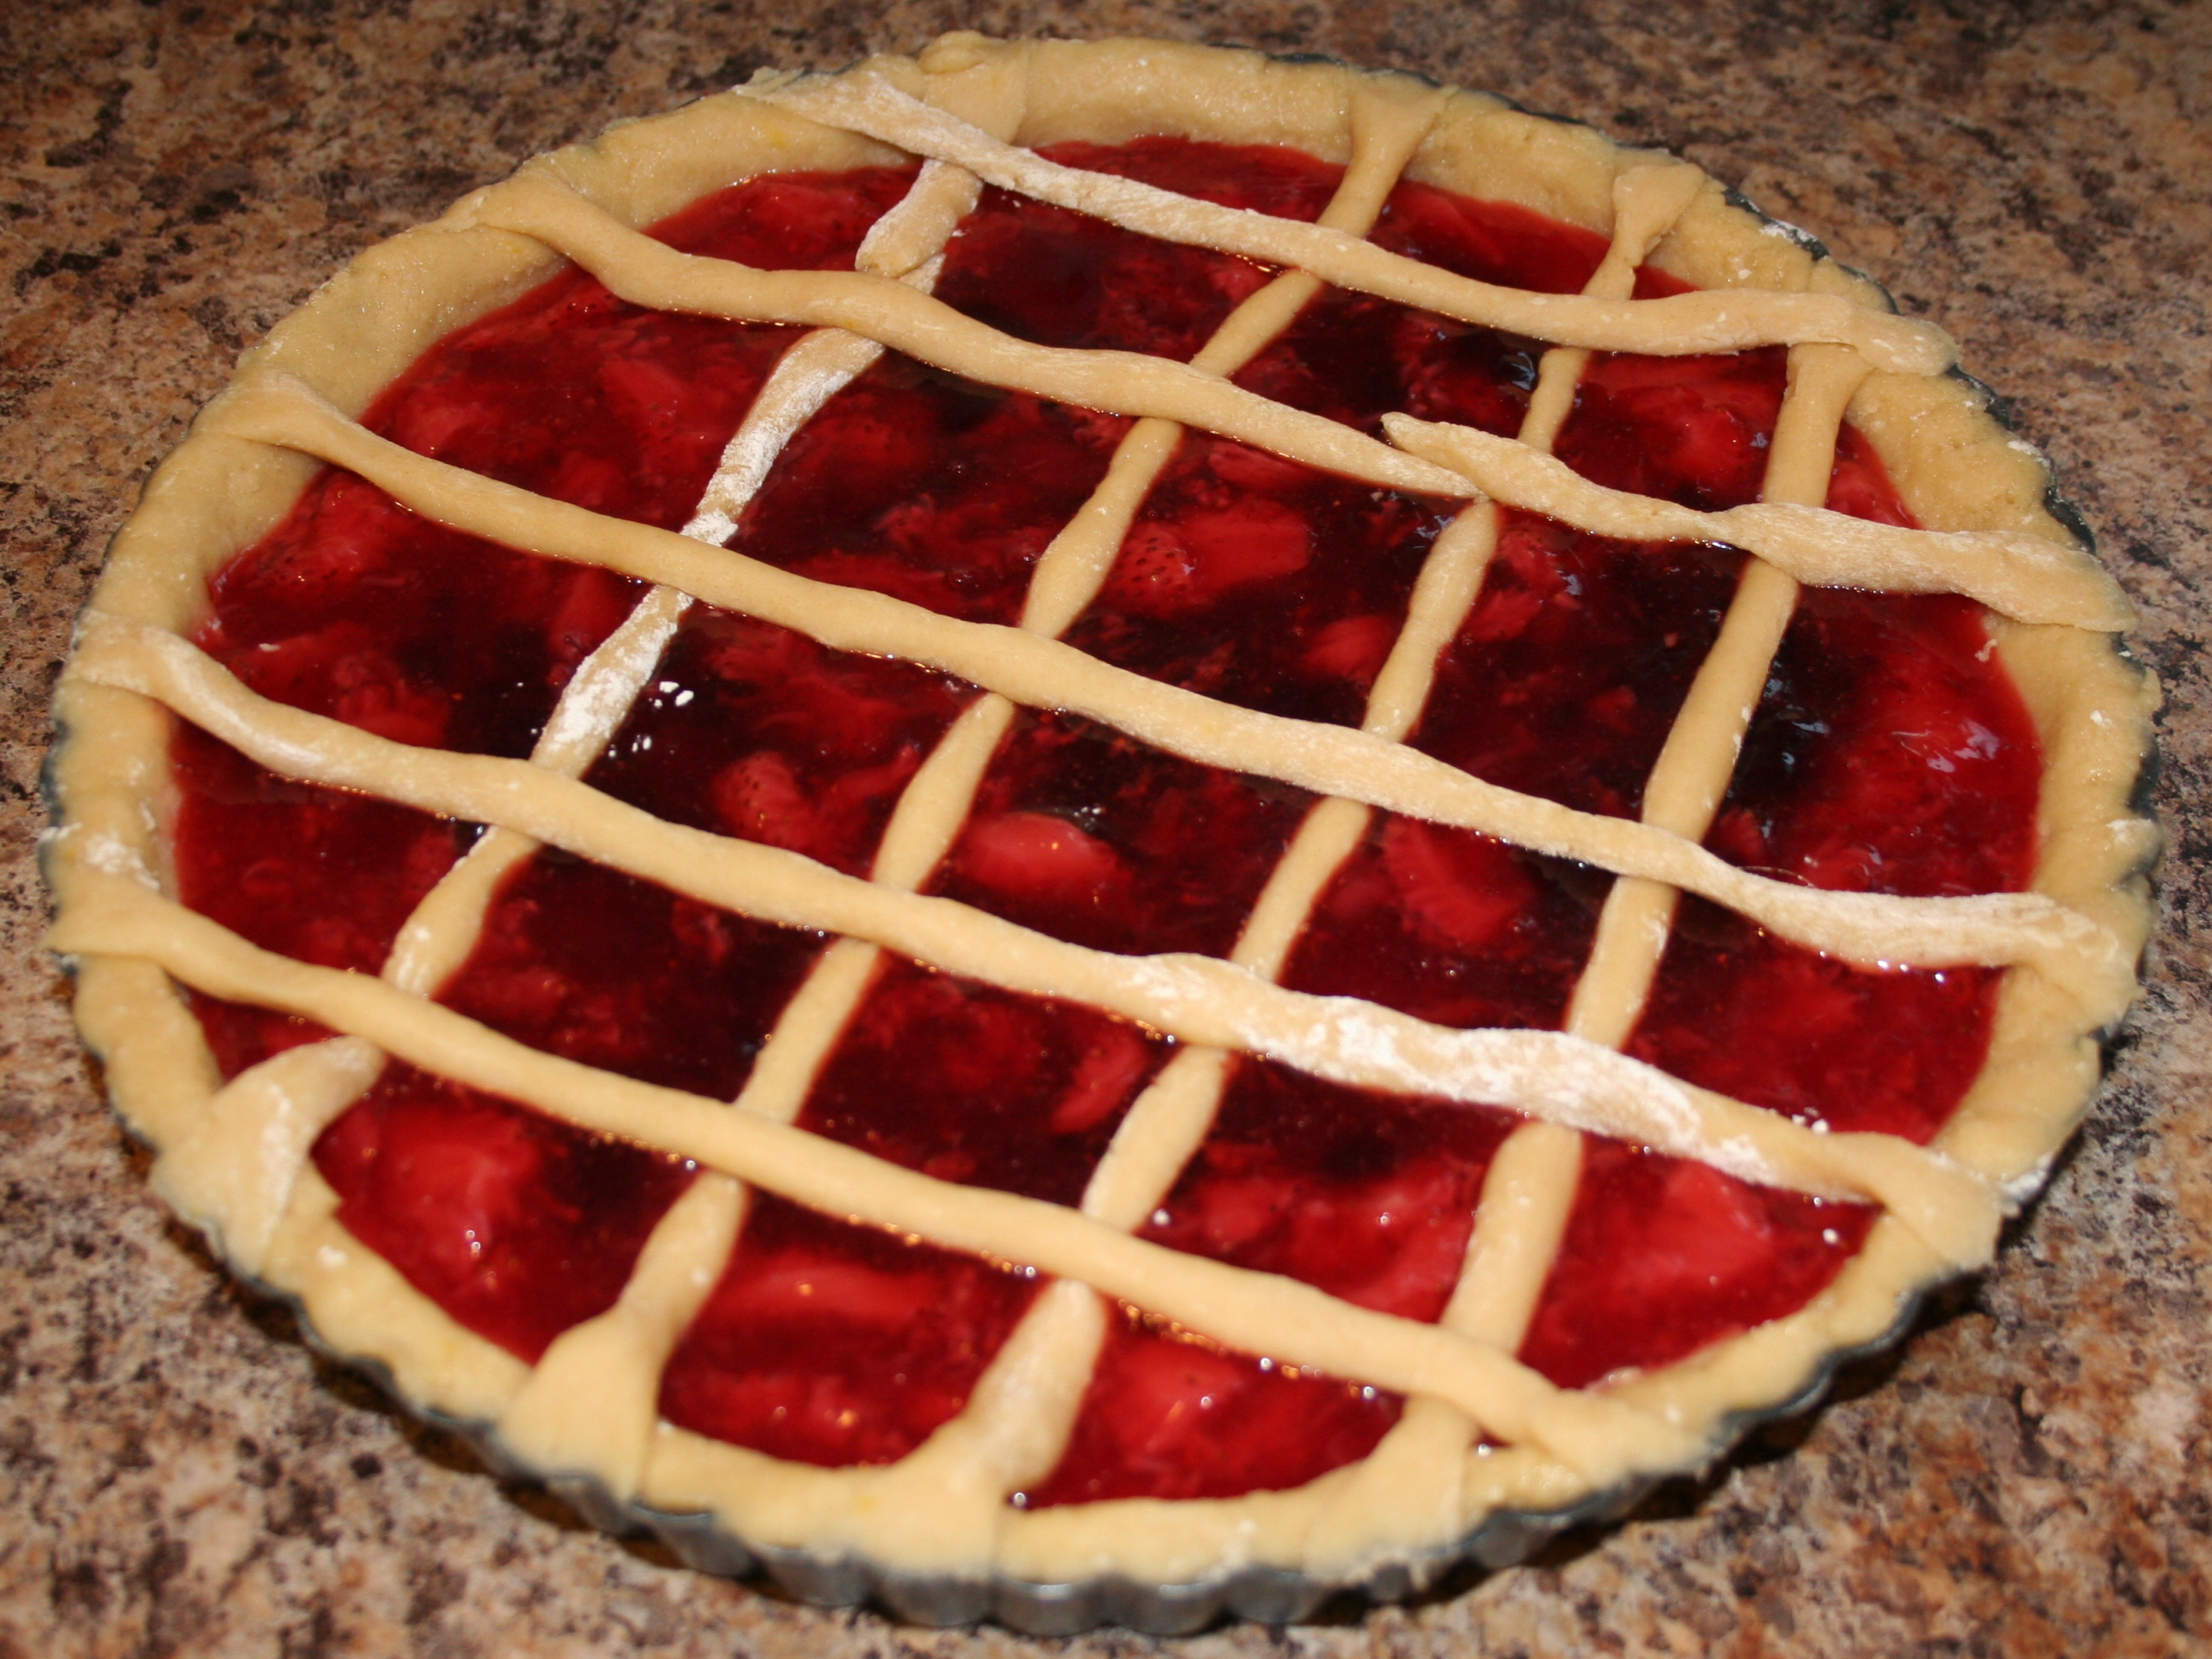
  5. Fill tart shell with fruit preserves (if homemade, make sure it is completely cool). Using the dough that was set aside earlier, cut it into logs and roll long strips for lattice top. Press down to seal edges and remove any dough hanging off sides of pan. (See photo below)
  6. Place tart on a cookie sheet and bake for 50 minutes to 1 hour, or until lightly golden; let cool. Garnish with powdered sugar before serving if desired.

Before Baking:

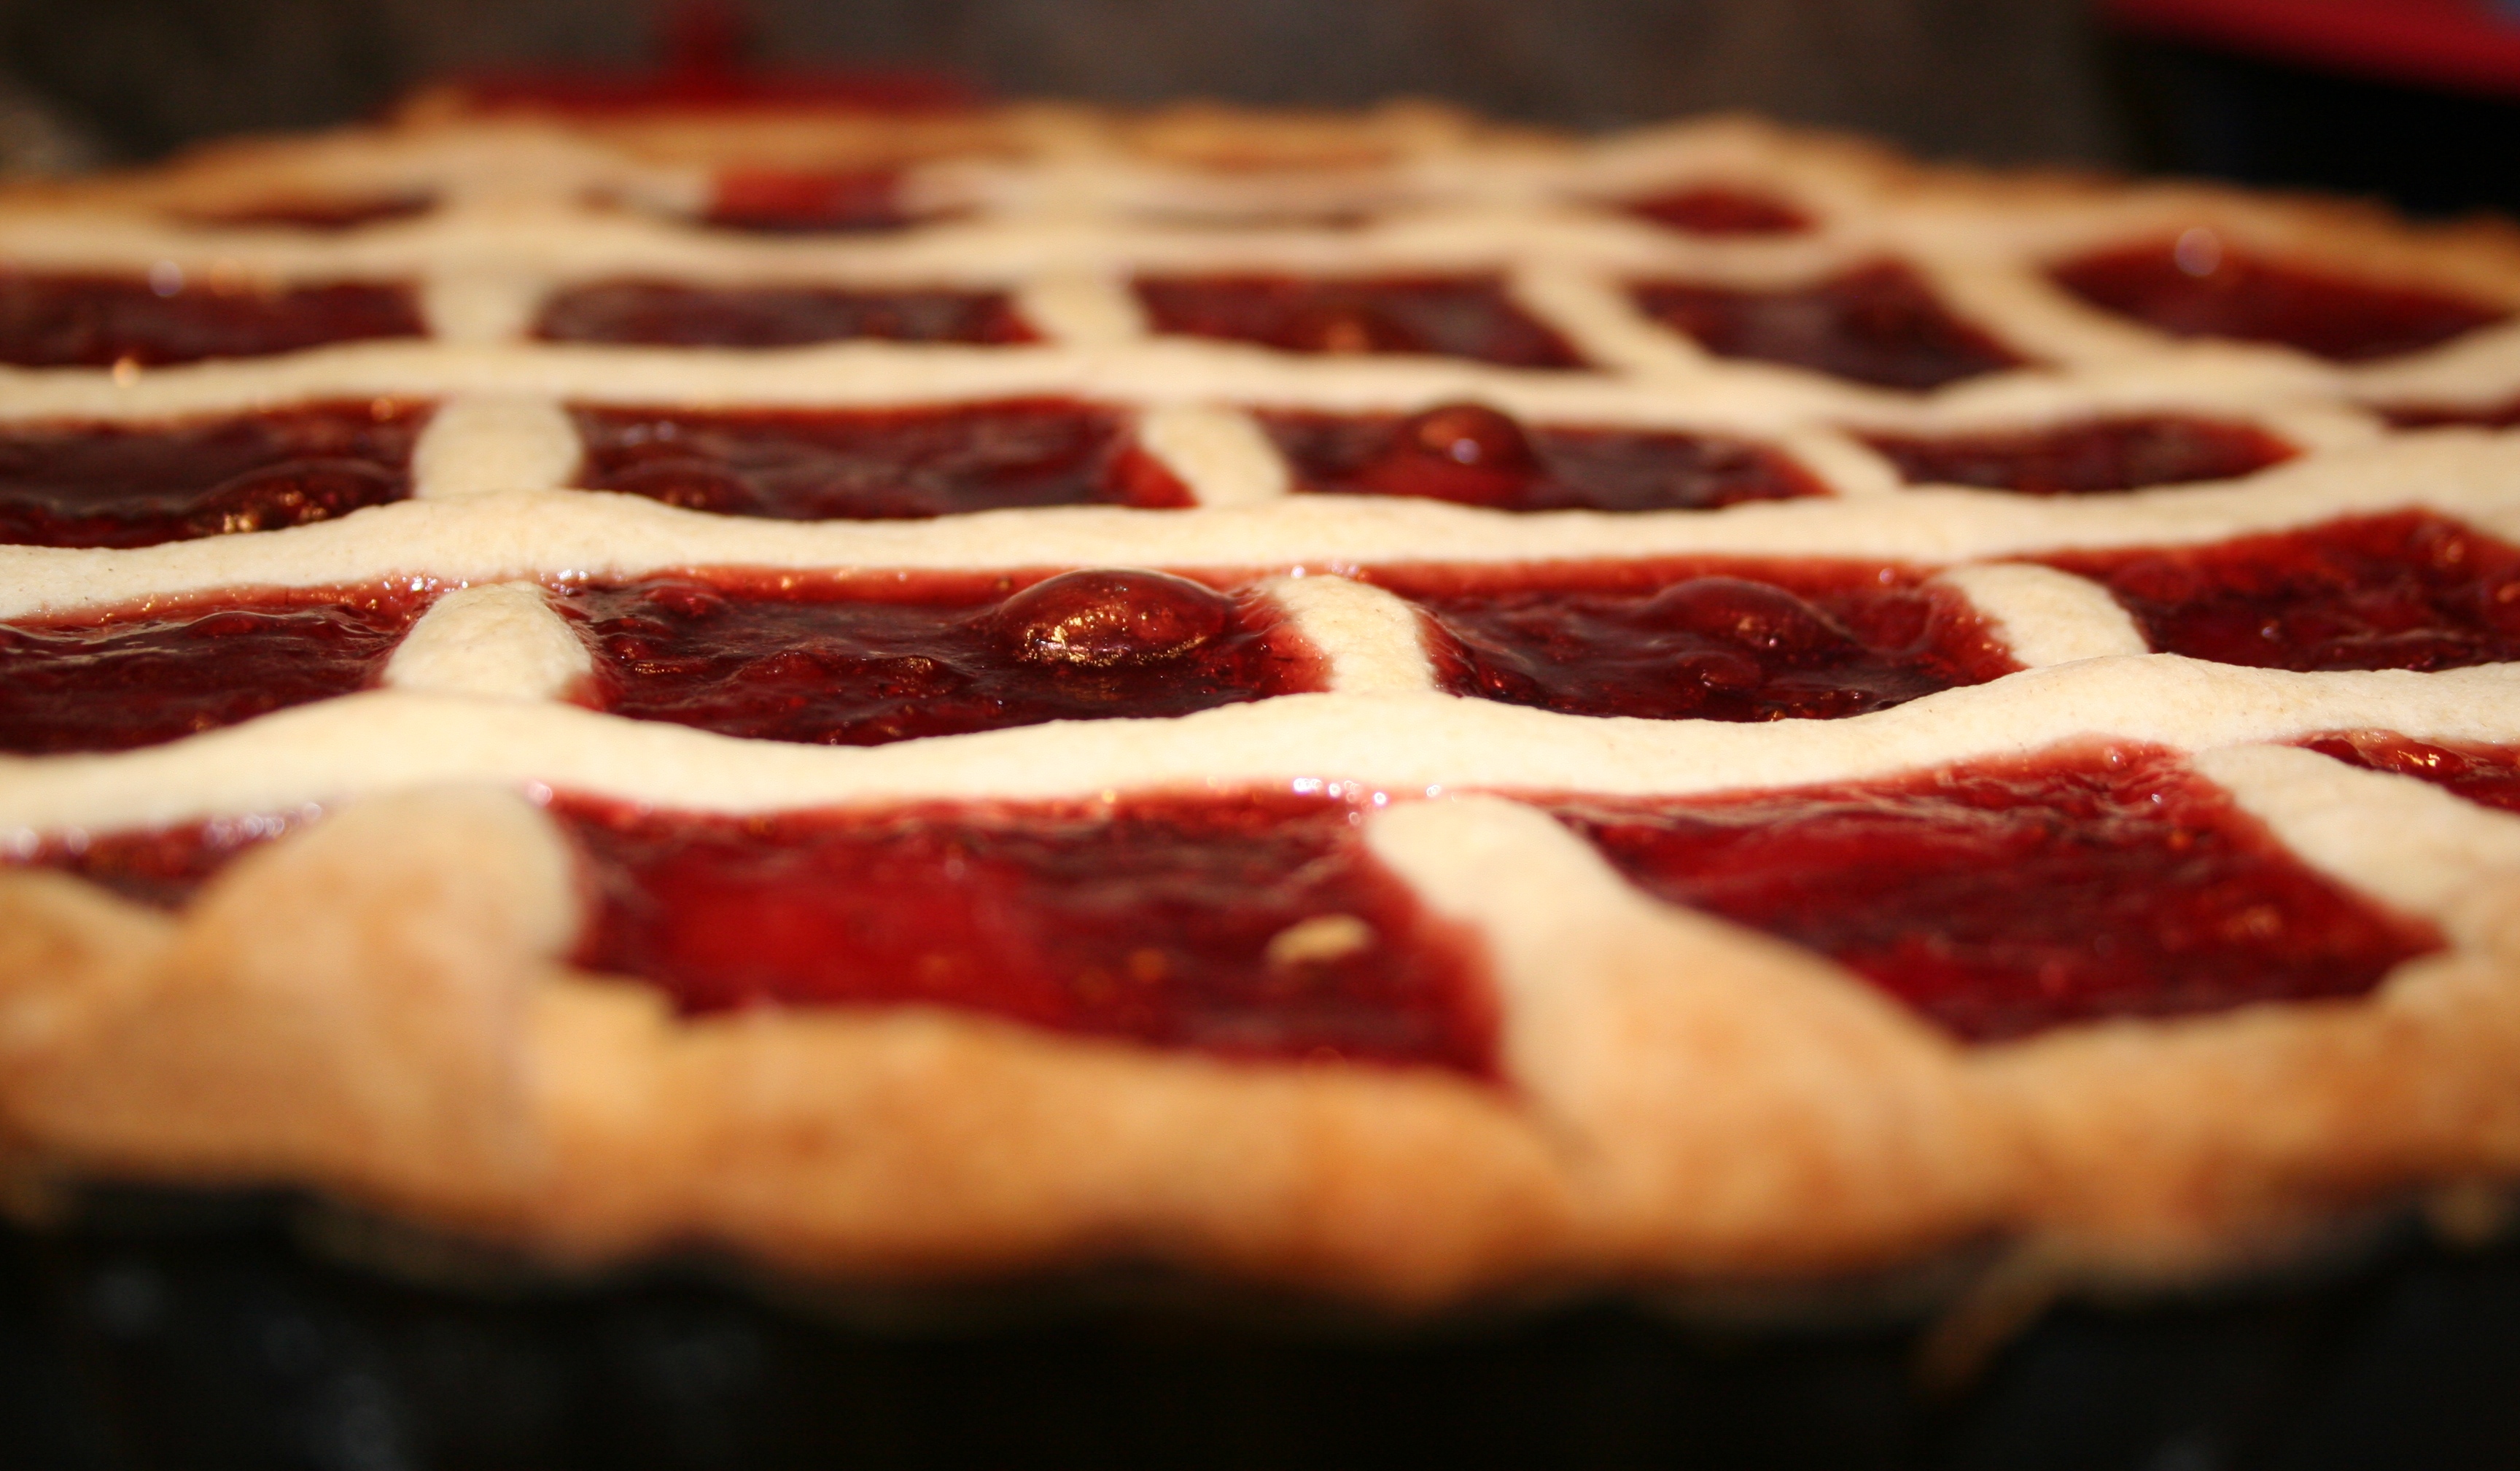
After Baking:

Bad Behavior has blocked 411 access attempts in the last 7 days.

css.php