I made three cards tonight, all using designer series paper and the Ornament Punch. The similarities end there, however! I was going to space them out and post one per day but I can’t wait to show them to you!
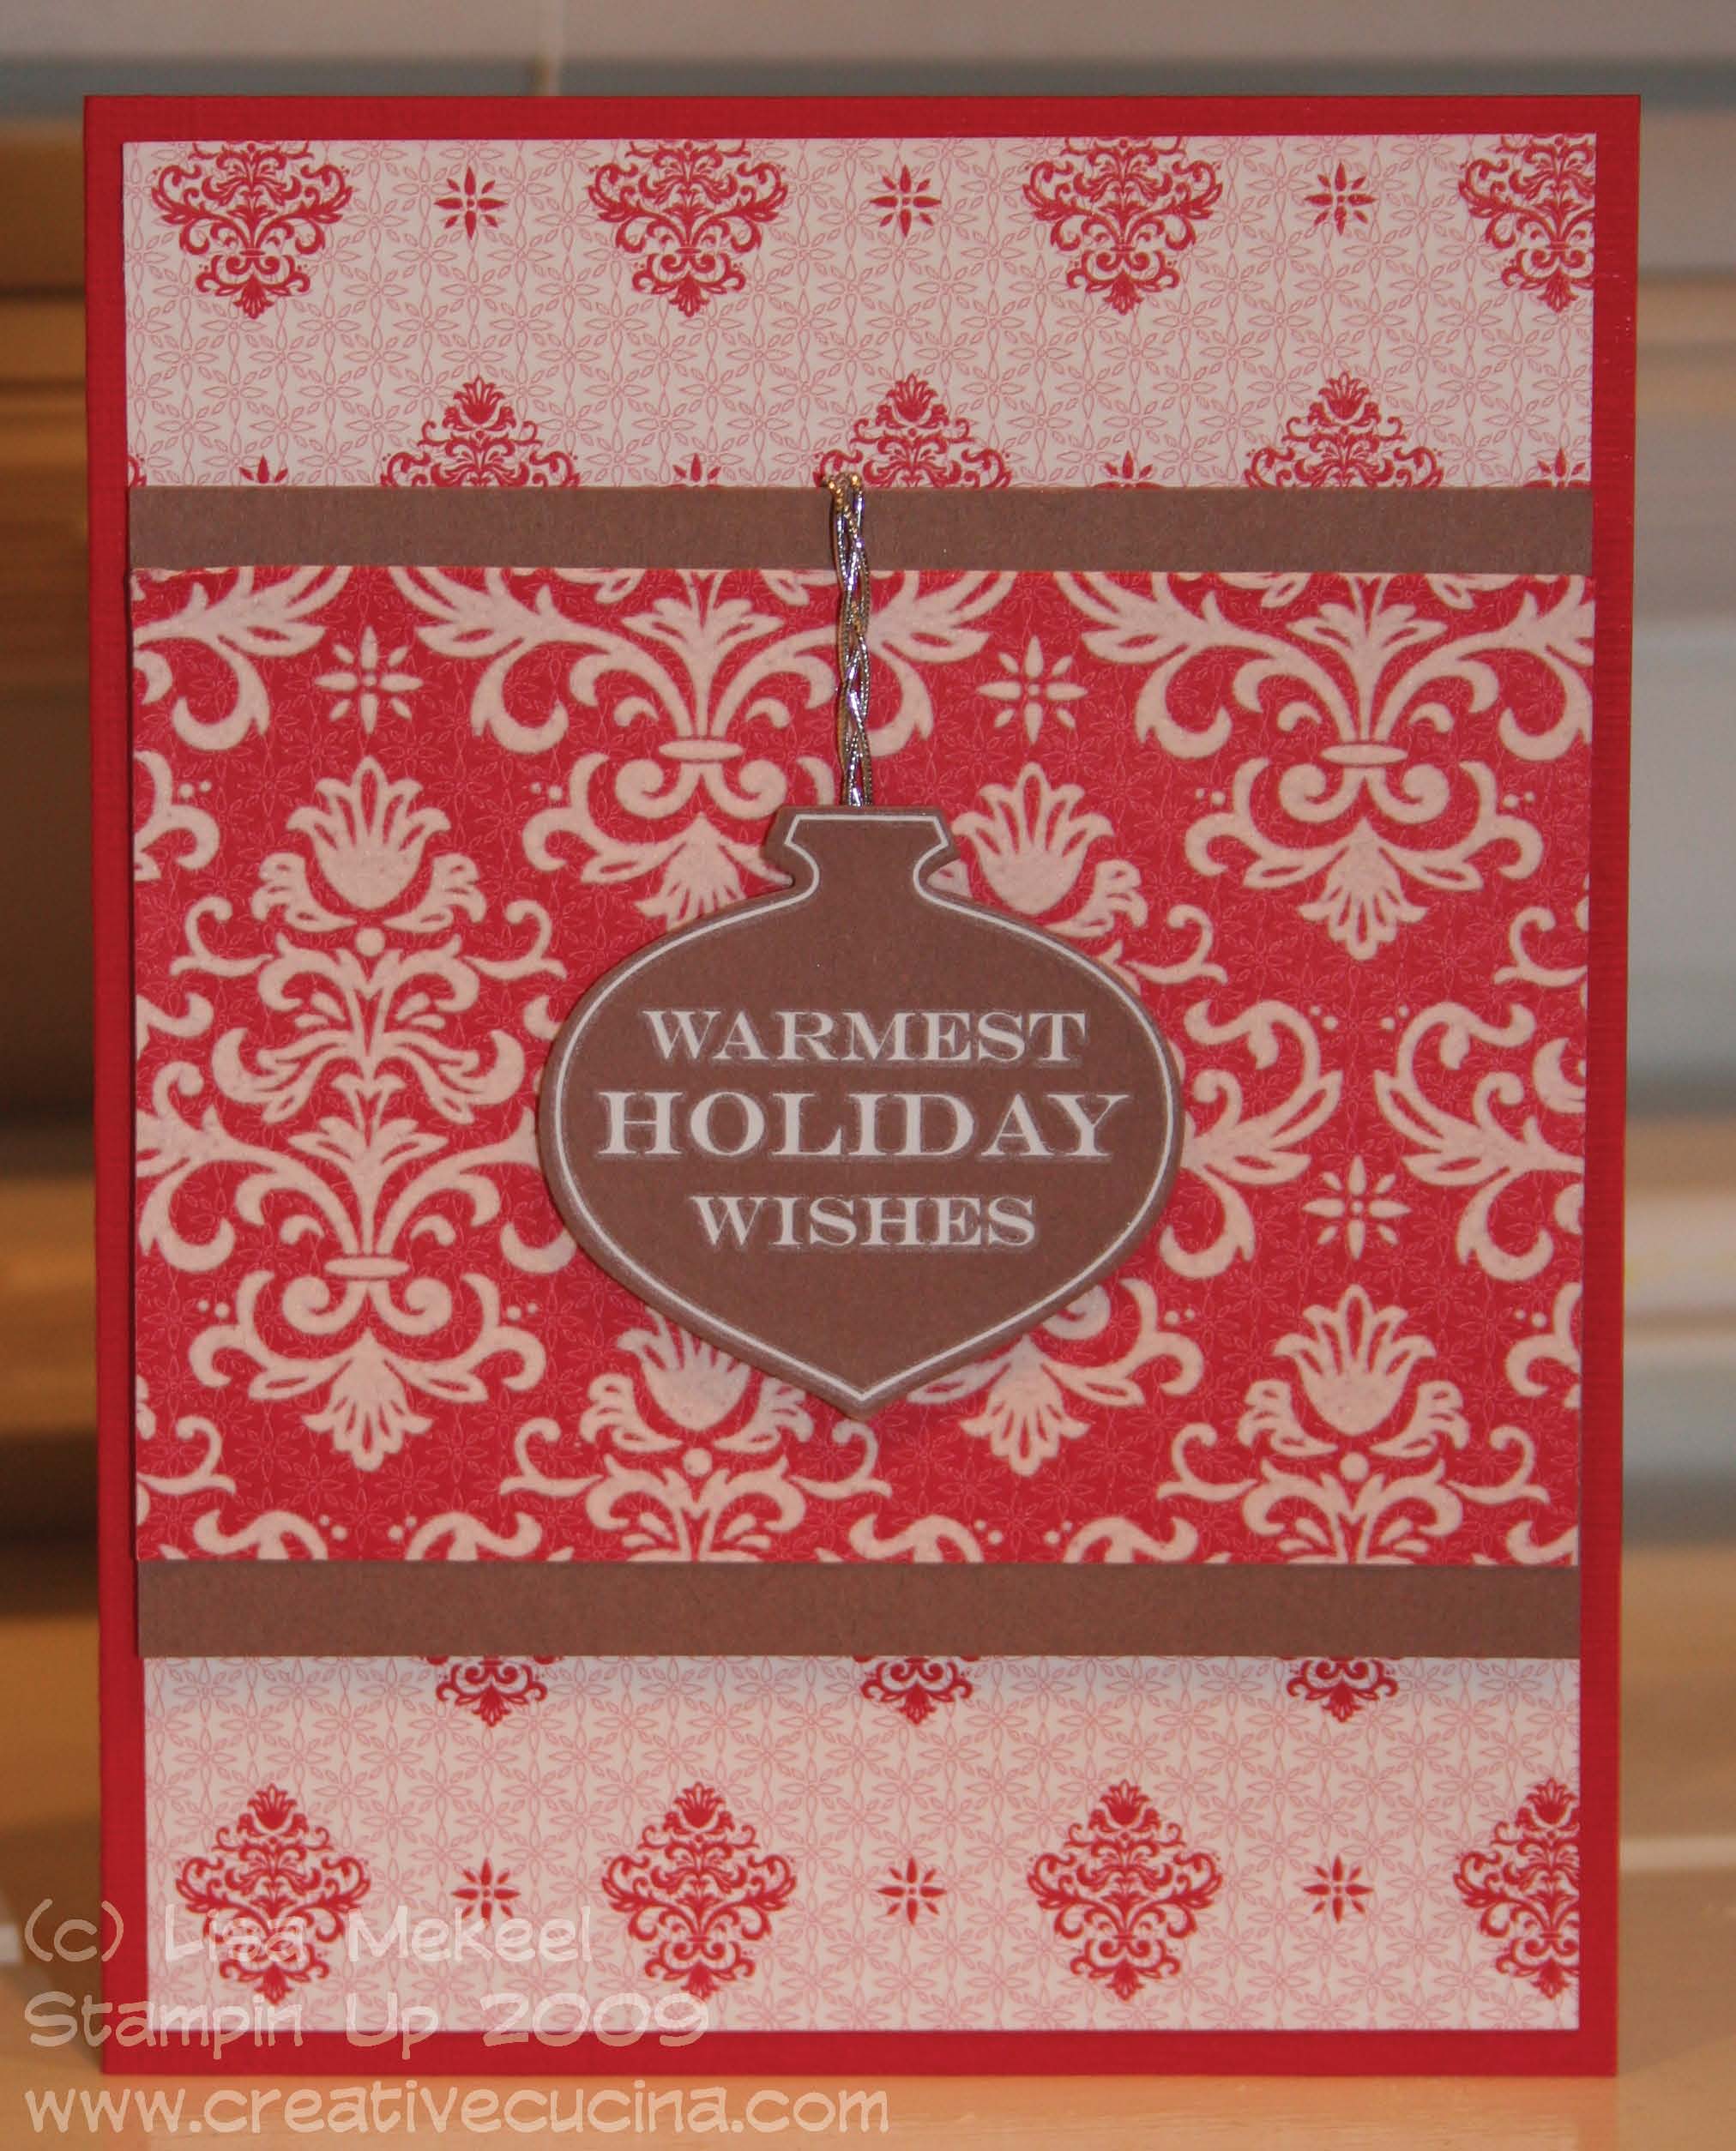
First up is the most traditional card of the three. It uses coordinating Christmas Cocoa DSP with various stencil-like flourish patterns. The base is real red textured card stock, layered with the DSP in red and white flourishes. Next, I layered the flocked DSP (it has a raised felt image and it’s sooo beautiful) onto close to cocoa card stock so that it would pop off the background. In the center, I applied a Merry & Bright Rub On to close to cocoa card stock and punched it out using the Ornament Punch. Then, I braided three pieces of Silver Elastic Cord and adhered it to the back of the ornament, wrapping it up behind the close to cocoa panel. The ornament is then attached using dimensionals.
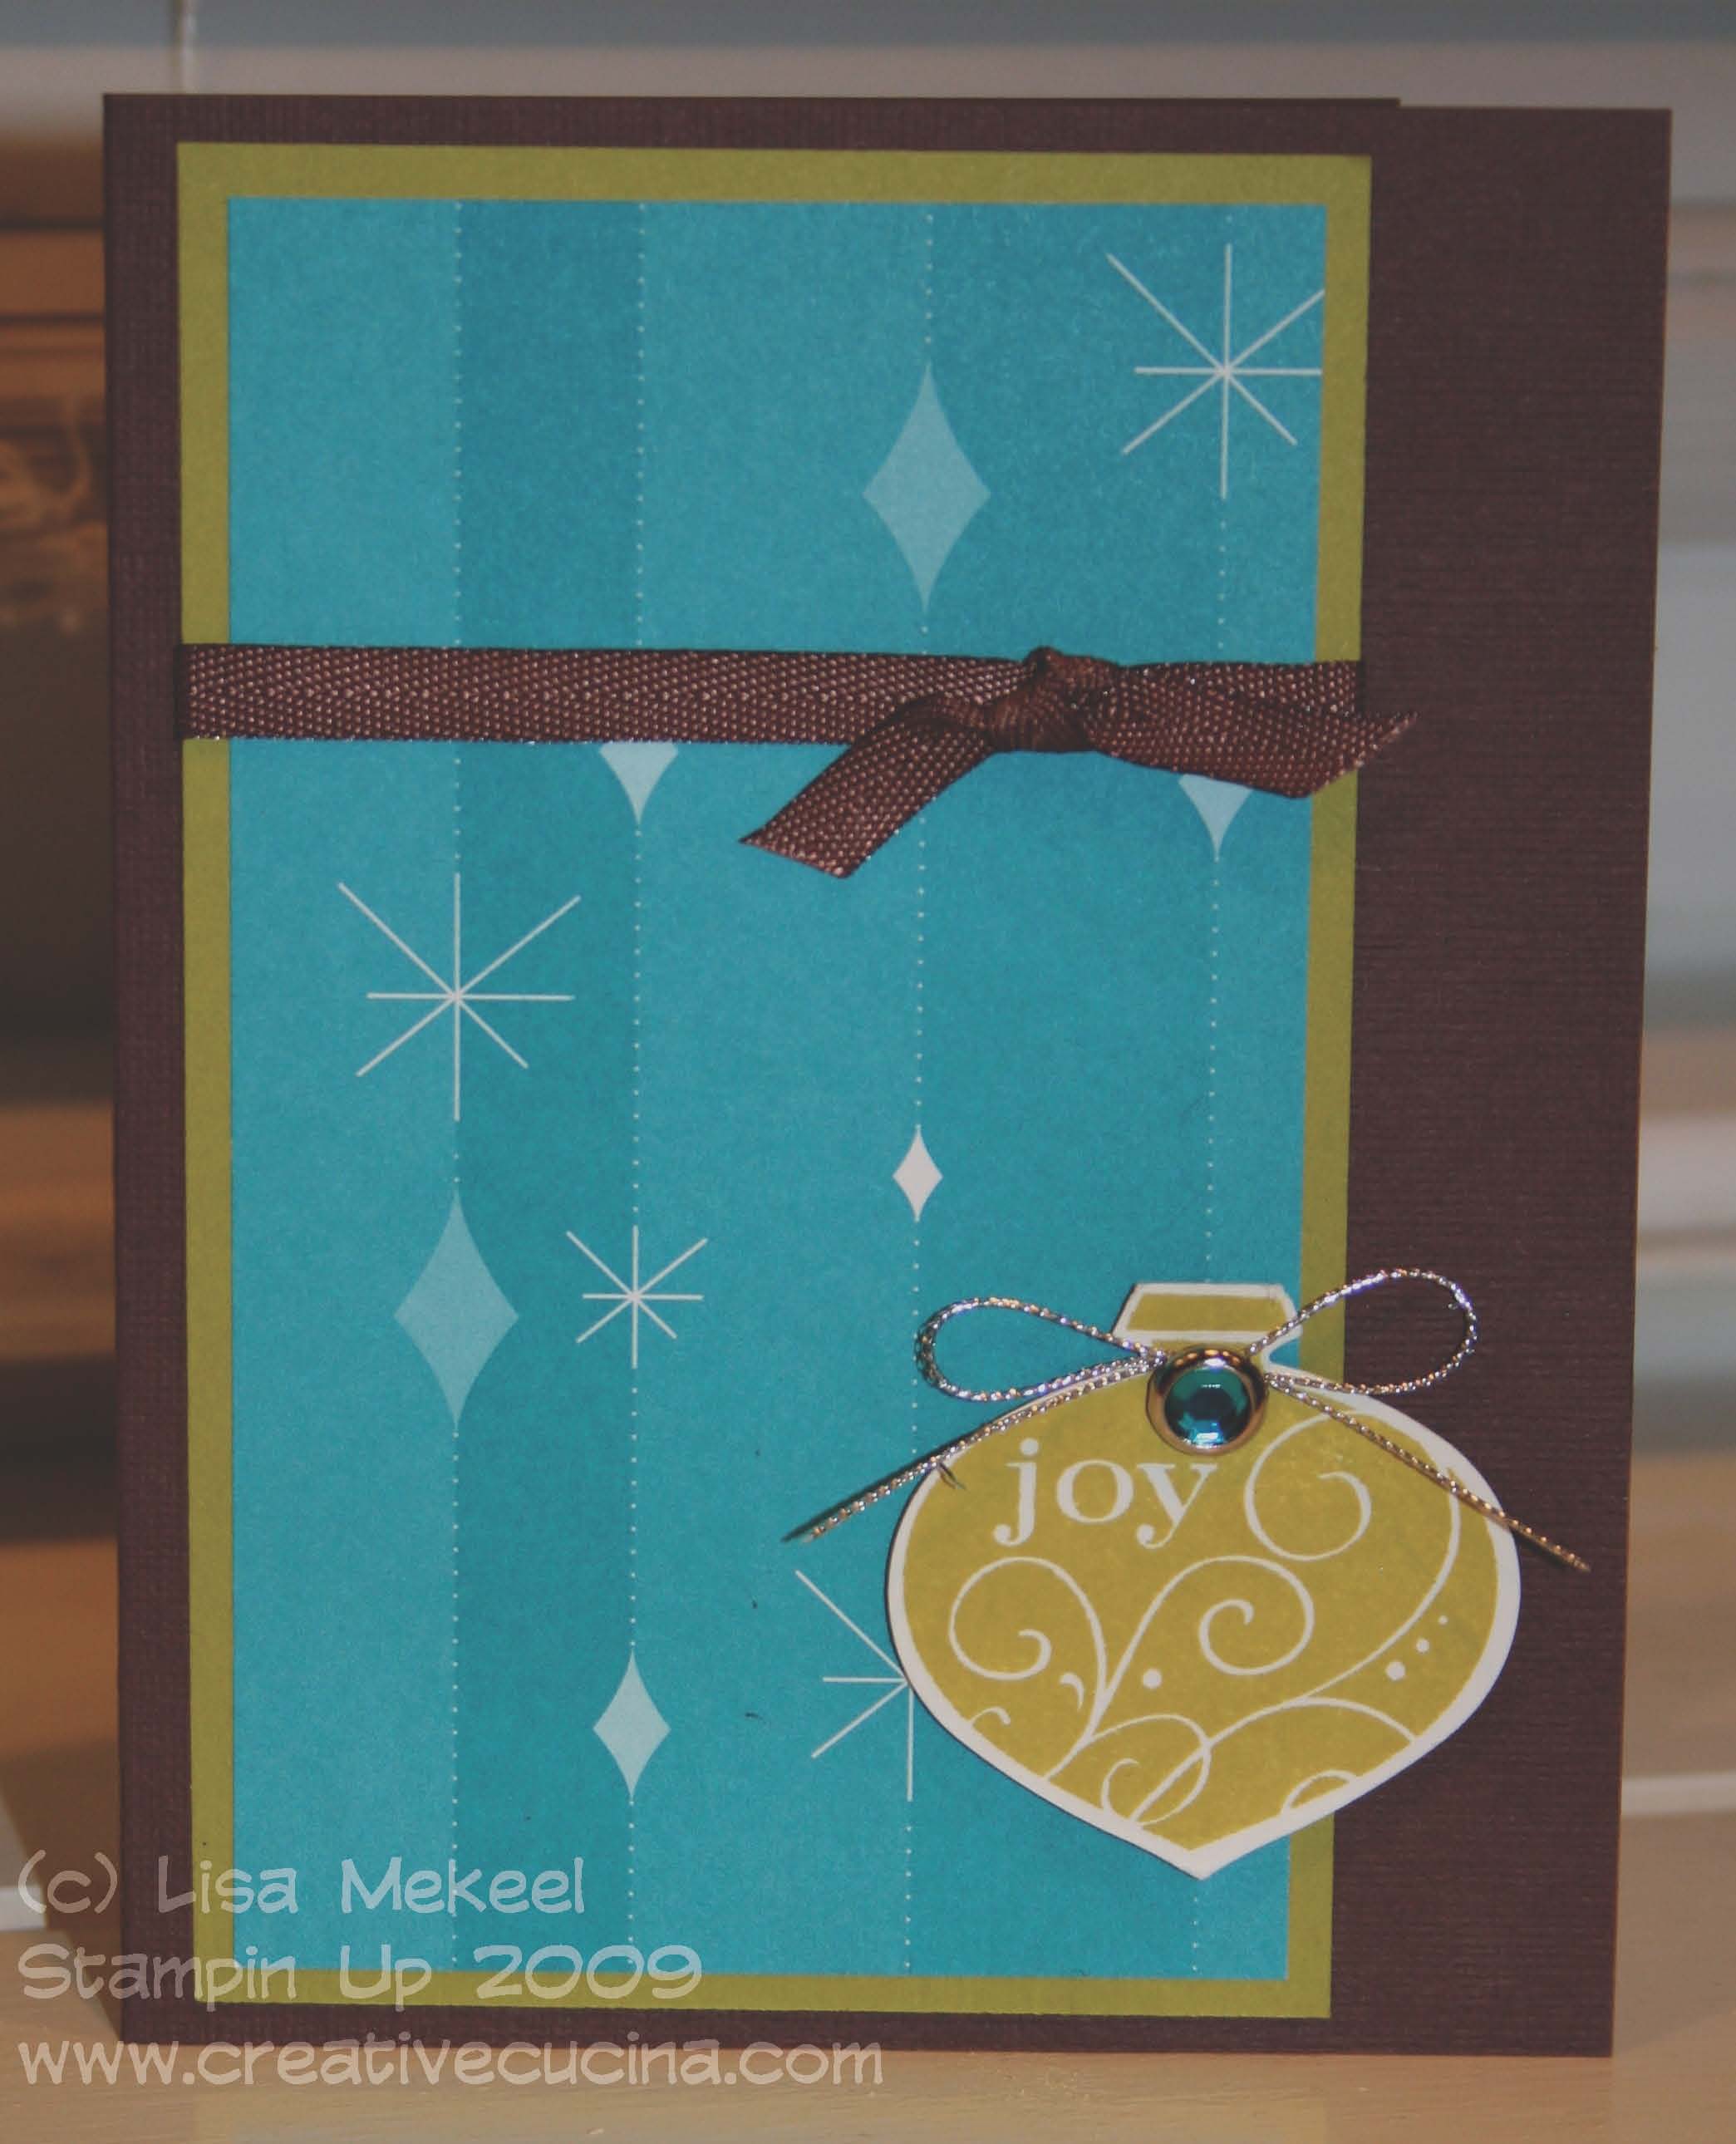
Next is a more retro style card. It uses the Holiday Lounge DSP and some pretty non traditional Christmas colors but it’s still festive. The card base is chocolate chip textured card stock layered with a wide strip of kiwi kiss and Holiday Lounge DSP in a taken with teal color. I then tied a piece of Chocolate Chip Twill Ribbon around the wide panel, and tied a knot to the right side. In the bottom right corner, I stamped the joy ornament from Delightful Decorations in kiwi kiss ink on whisper white card stock and punched it out using the handy dandy Ornament Punch. Then, I added a bright blue Ice Circle Rhinestone Brad to the ornament and tied some Silver Cord around the brad. The ornament is attached to the base using dimensionals.
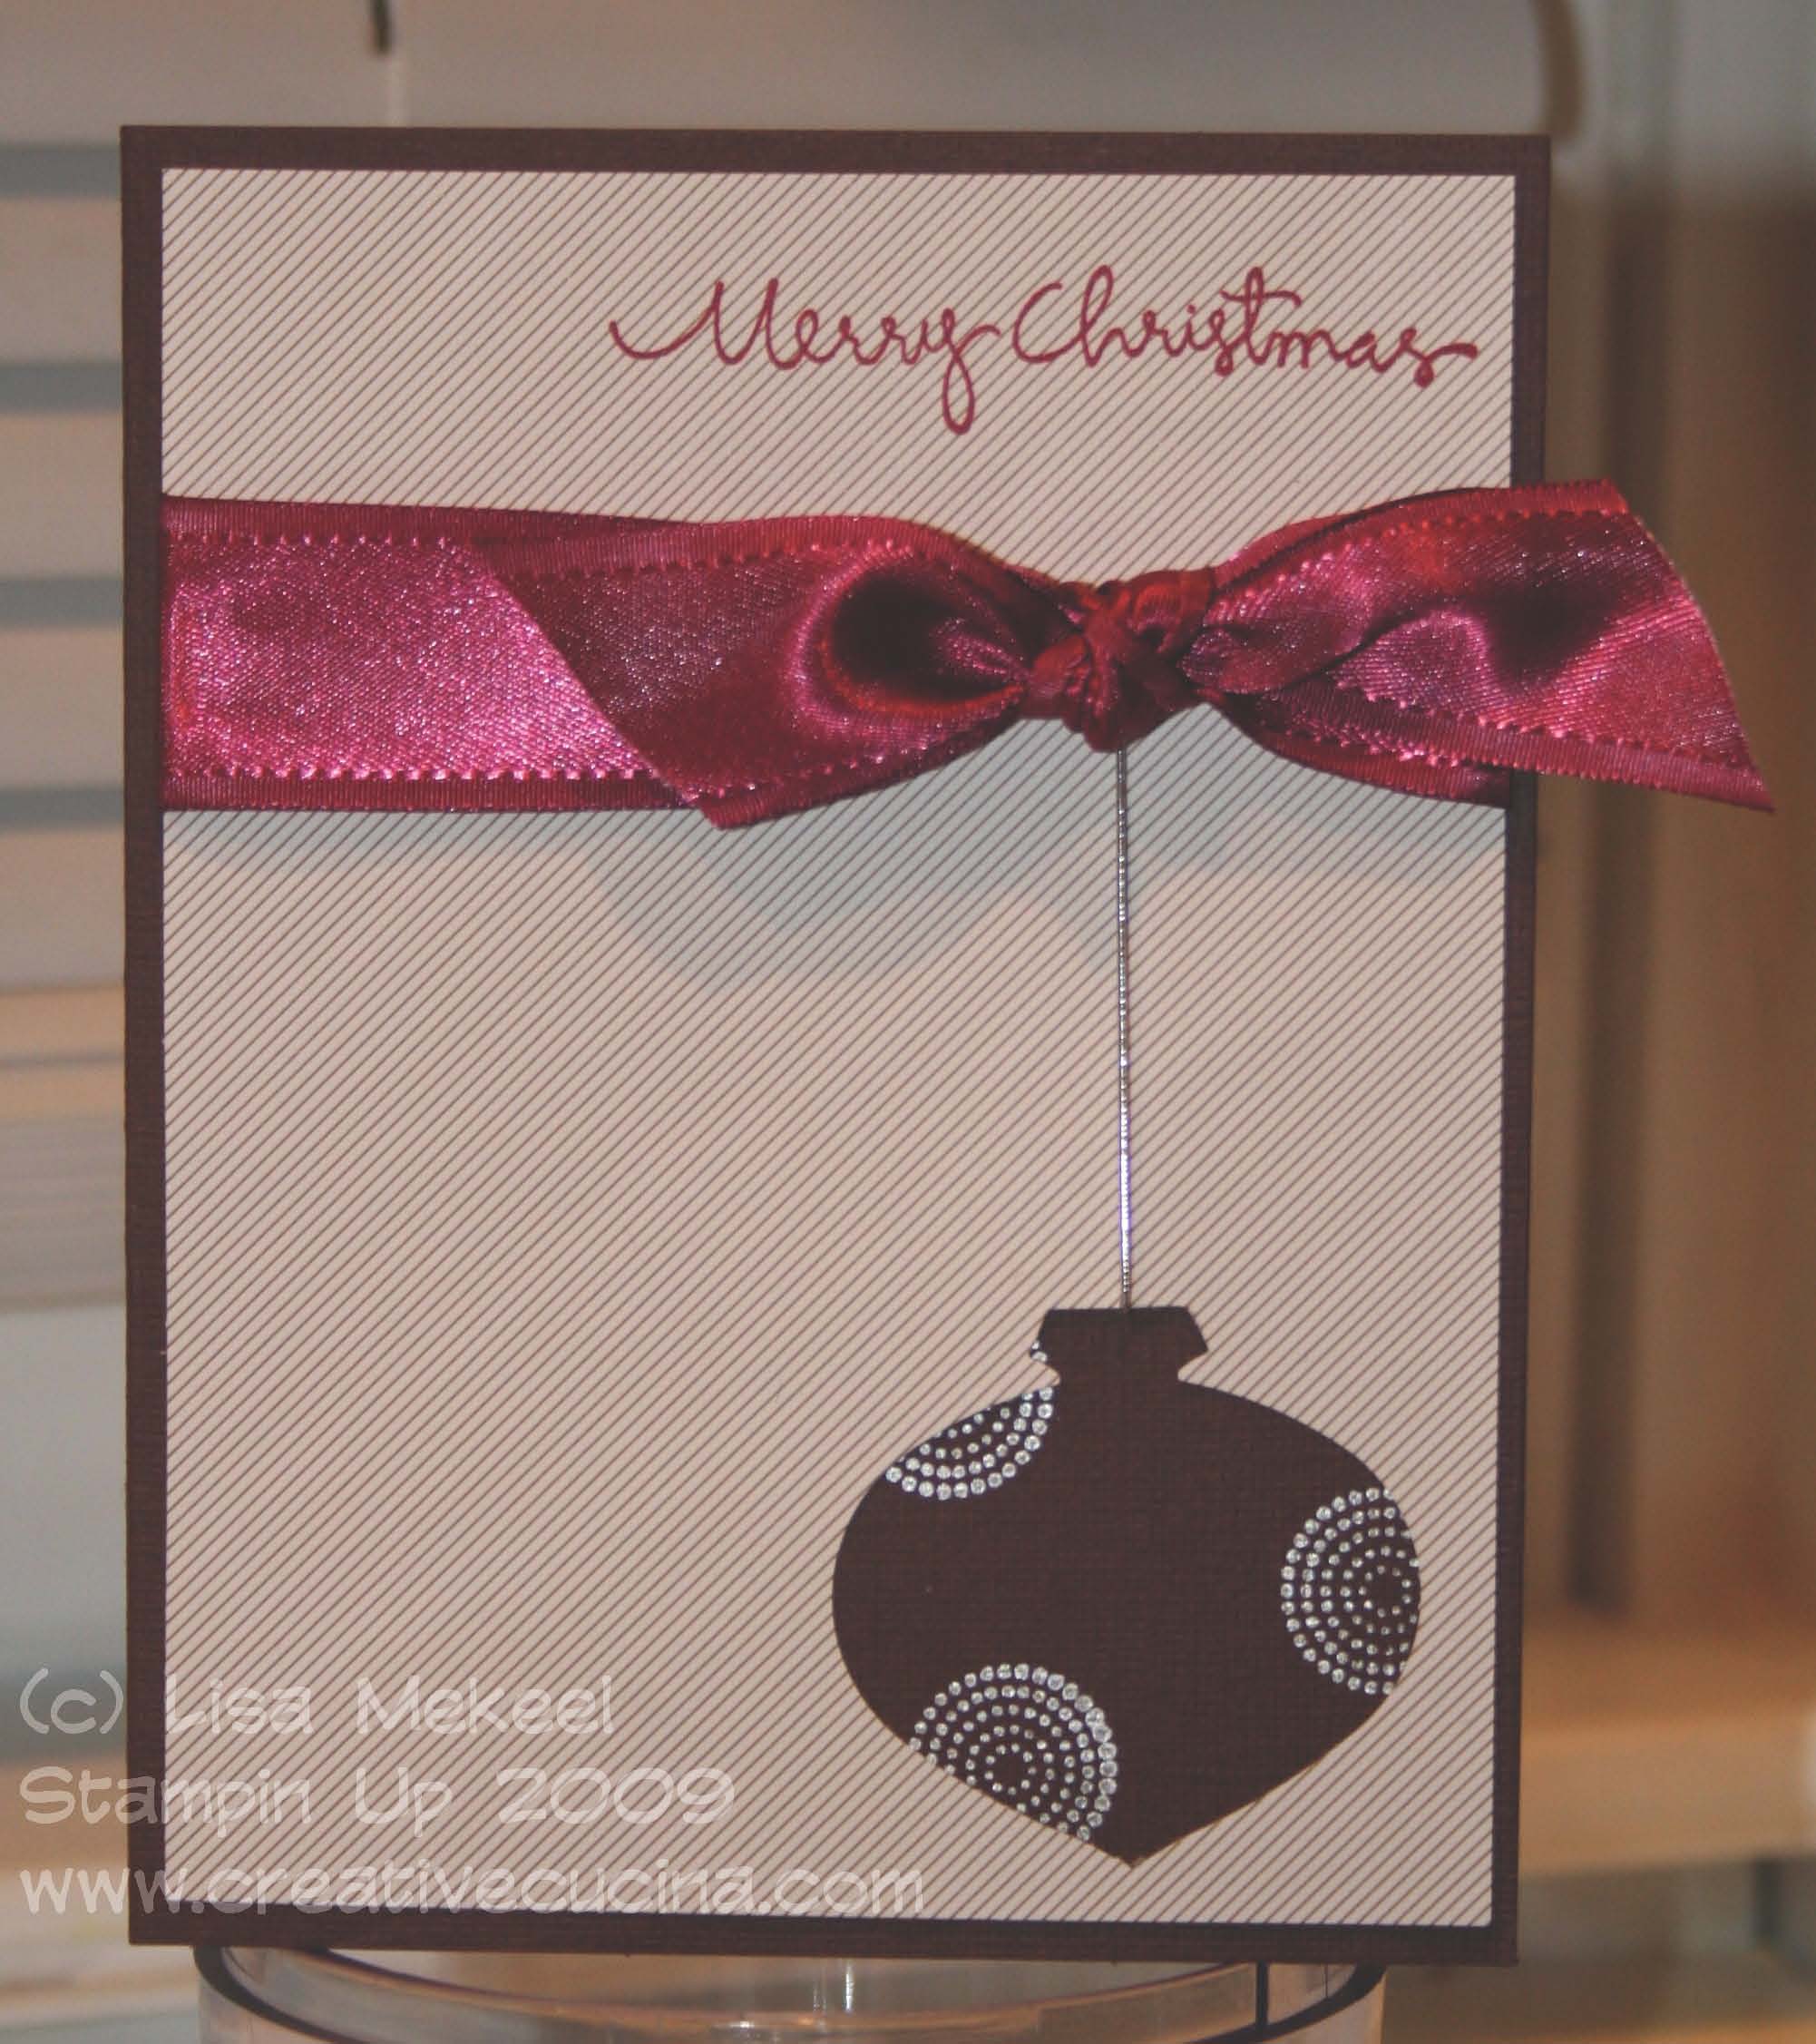
Finally, we have the modern, clean and simple Christmas card. Although it looks really simple, it does require a bit of work. First, the card base is chocolate chip textured card stock. The DSP is also from Christmas Cocoa and is cut to 4″ x 5 1/4″. Using the Ornament Punch, I punched out the ornament shape from the lower right corner. Next, I broke out my new Shimmer Paint in Platinum and sponged it onto the circle stamp from Delightful Decorations. I stamped the image onto chocolate chip textured card stock and then adhered it to the back of the DSP. Across the top of the card, I stamped the Christmas Greetings stamp in Purely Pomegranate ink. Underneath that, I tied a piece of Purely Pomegranate Satin Ribbon into a big knot. Lastly, I slipped a piece of Silver Elastic Cord under the DSP and behind the ribbon, using small glue dots.


