Archives for July 2009

Happy Birthday to Me

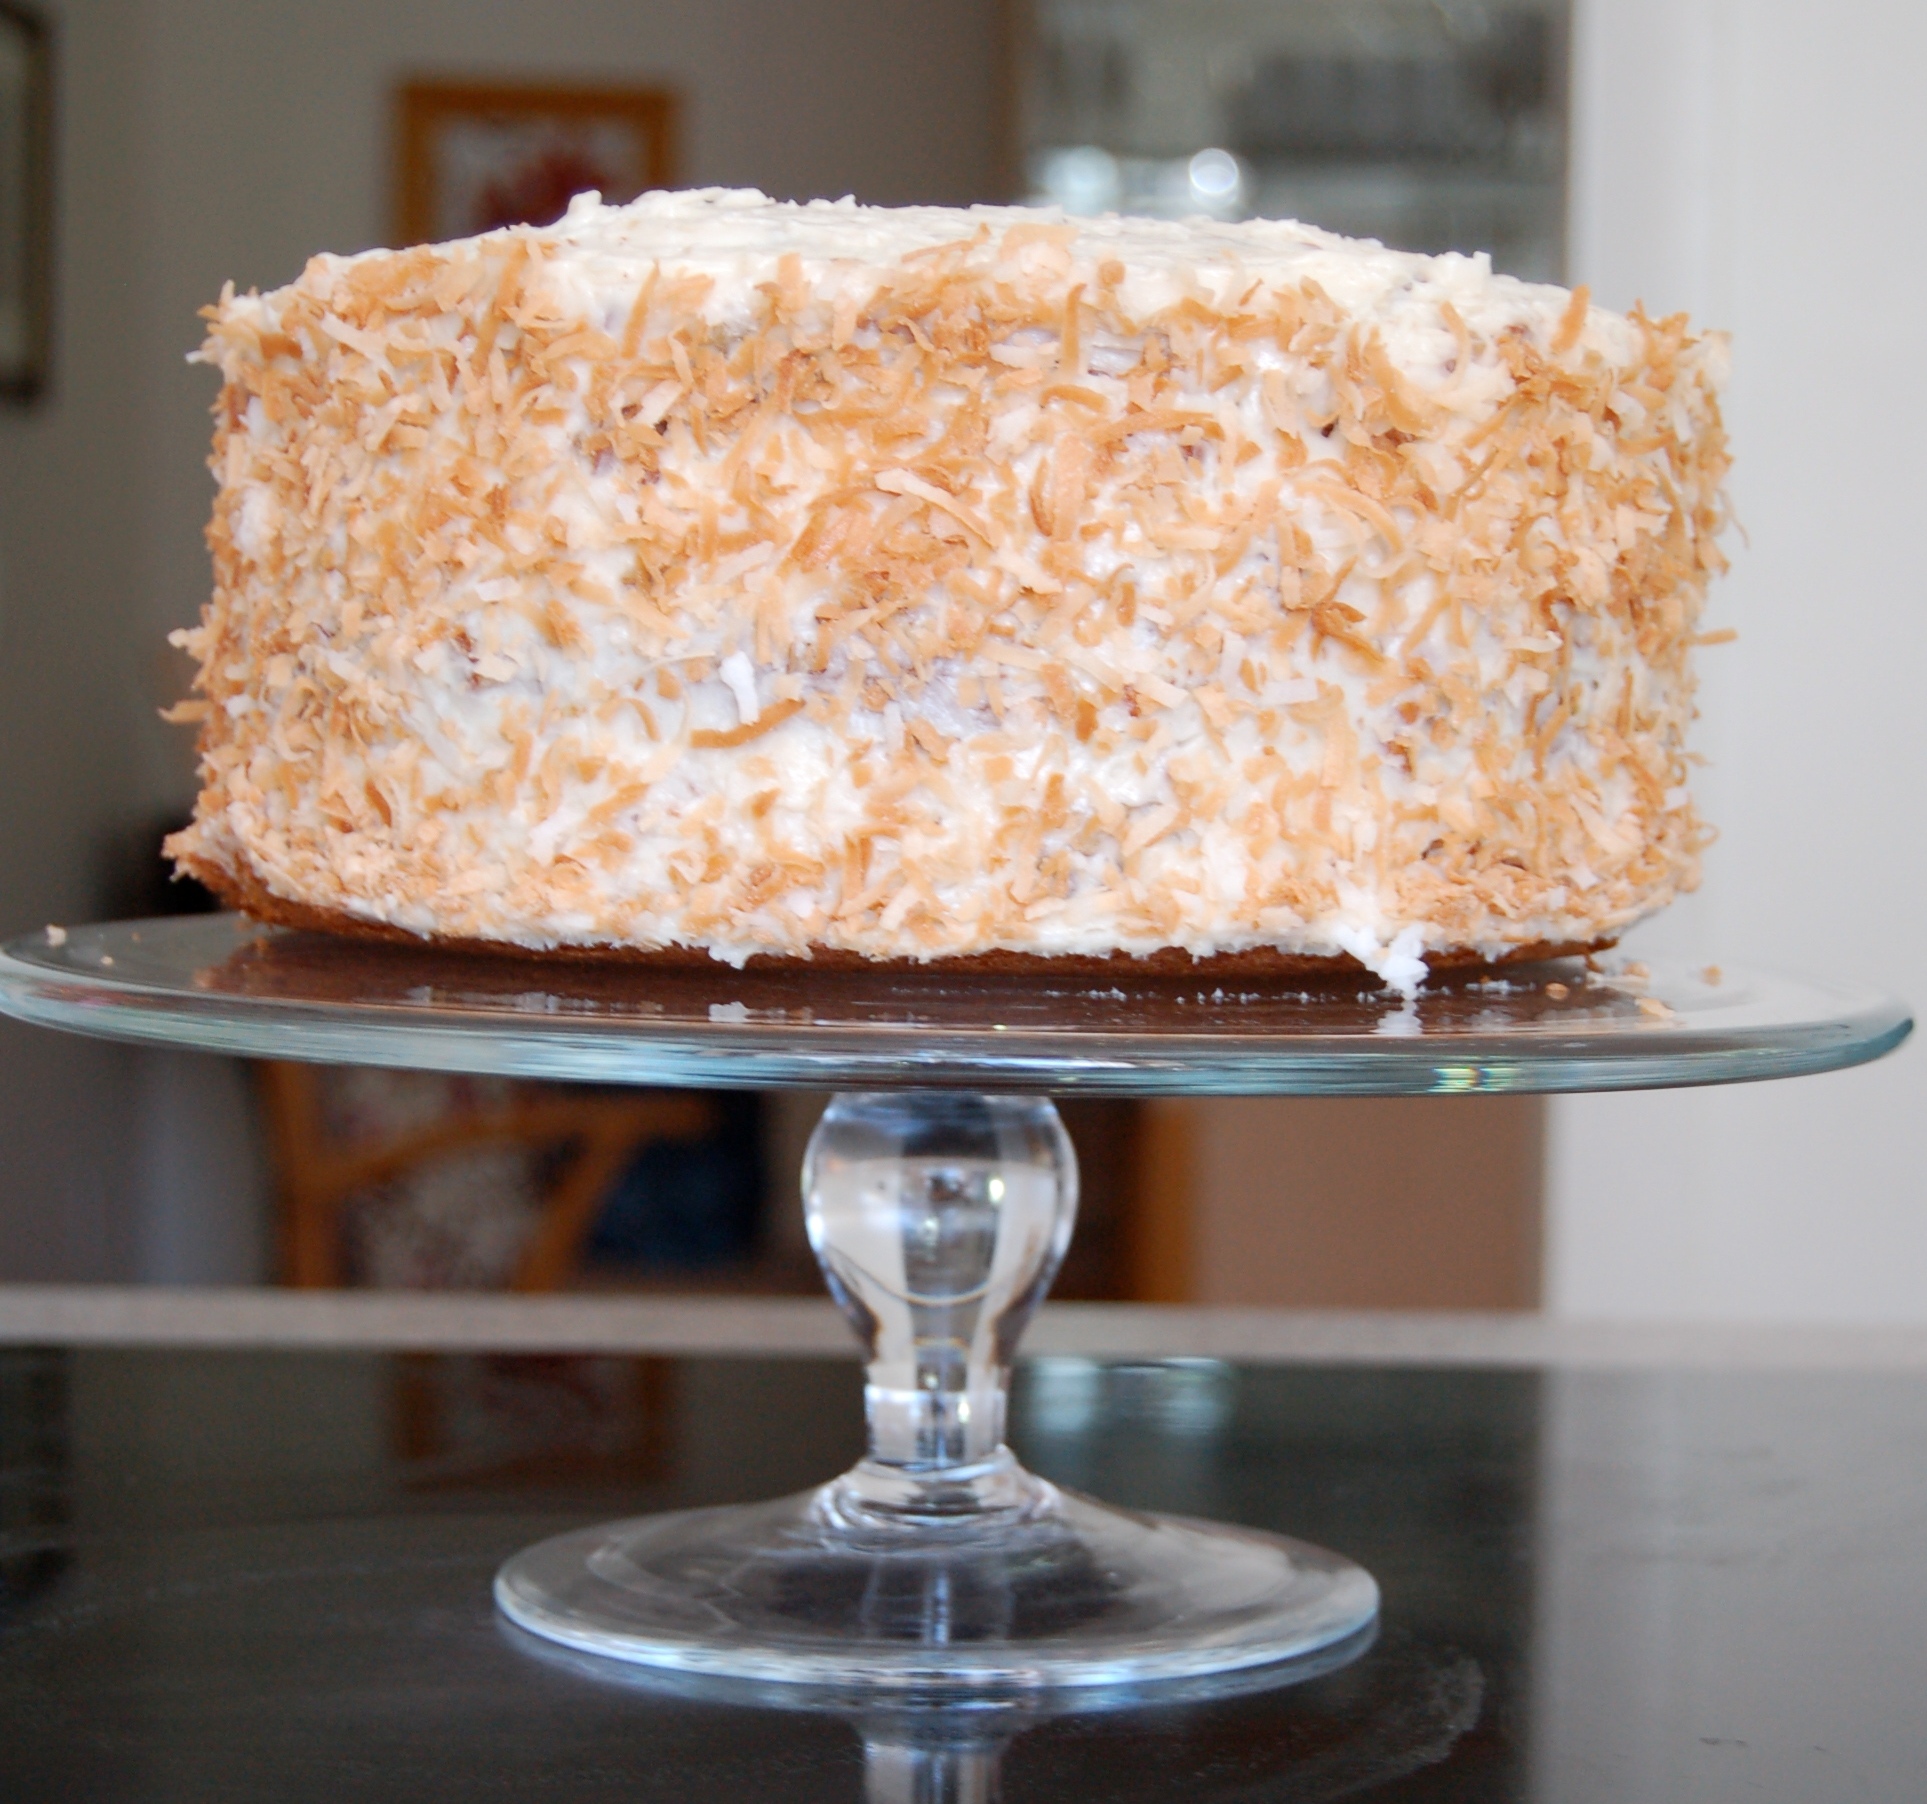
Yes this was my birthday cake and YES it was GOOD! I got the recipe here (great site) but you can also find the recipe below. One word of caution–this recipe makes a HUGE 3 layer cake. Make sure you have a lot of people around to eat it! I can’t be trusted around this cake so I’m bringing hunks of it to friends and family immediately!!

Ingredients

Cake:

1 cup buttermilk
1 teaspoon baking soda
1 stick butter, softened
1 cup vegetable oil
2 cups sugar
5 eggs, separated
3 teaspoons vanilla
1 cup sweetened flaked coconut
1 teaspoon baking powder
2 cups all purpose flour

Frosting:


3 8-ounce packages cream cheese, softened
1 stick butter, softened
2 teaspoons vanilla
1 2-lb package powdered sugar (I used less according to my taste)
1 cup chopped pecans
1 1/2 cups sweetened flaked coconut

Directions:

  1. Preheat oven to 350 degrees. Grease and flour three 9-inch round cake pans.
  2. Beat egg whites until stiff. Set aside.
  3. In a large bowl, cream together butter, oil, and sugar until light and fluffy. Mix in the egg yolks, vanilla, and coconut.
  4. In a separate bowl, mix flour, baking soda, and baking powder.
  5. Alternate adding buttermilk and dry ingredients to wet ingredients.
  6. Mix until just combined, then fold in egg whites.
  7. Pour evenly into the three prepared pans.
  8. Bake in preheated oven for 25 to 30 minutes, or until toothpick comes out clean.
  9. Remove from oven and allow to cool for 15 minutes, then turn the cakes out onto cooling racks and allow to cool completely.

To make the frosting:

  1. In a medium bowl, combine cream cheese, butter, vanilla, and powdered sugar.
  2. Beat until light and fluffy.
  3. Stir in chopped pecans and coconut.
  4. Spread between layers, sides, and top of the cake using an offset spatula.
  5. This step is optional, but I toasted some extra coconut (in a single layer on a parchment lined baking sheet in 350 degree oven for 10 minutes or so until lightly browned) and dressed up the sides of the cake.

I suggest storing the cake in the refrigerator until ready to serve, then take it out about an hour before to allow the frosting to soften a bit.
Trifold Party Invitation

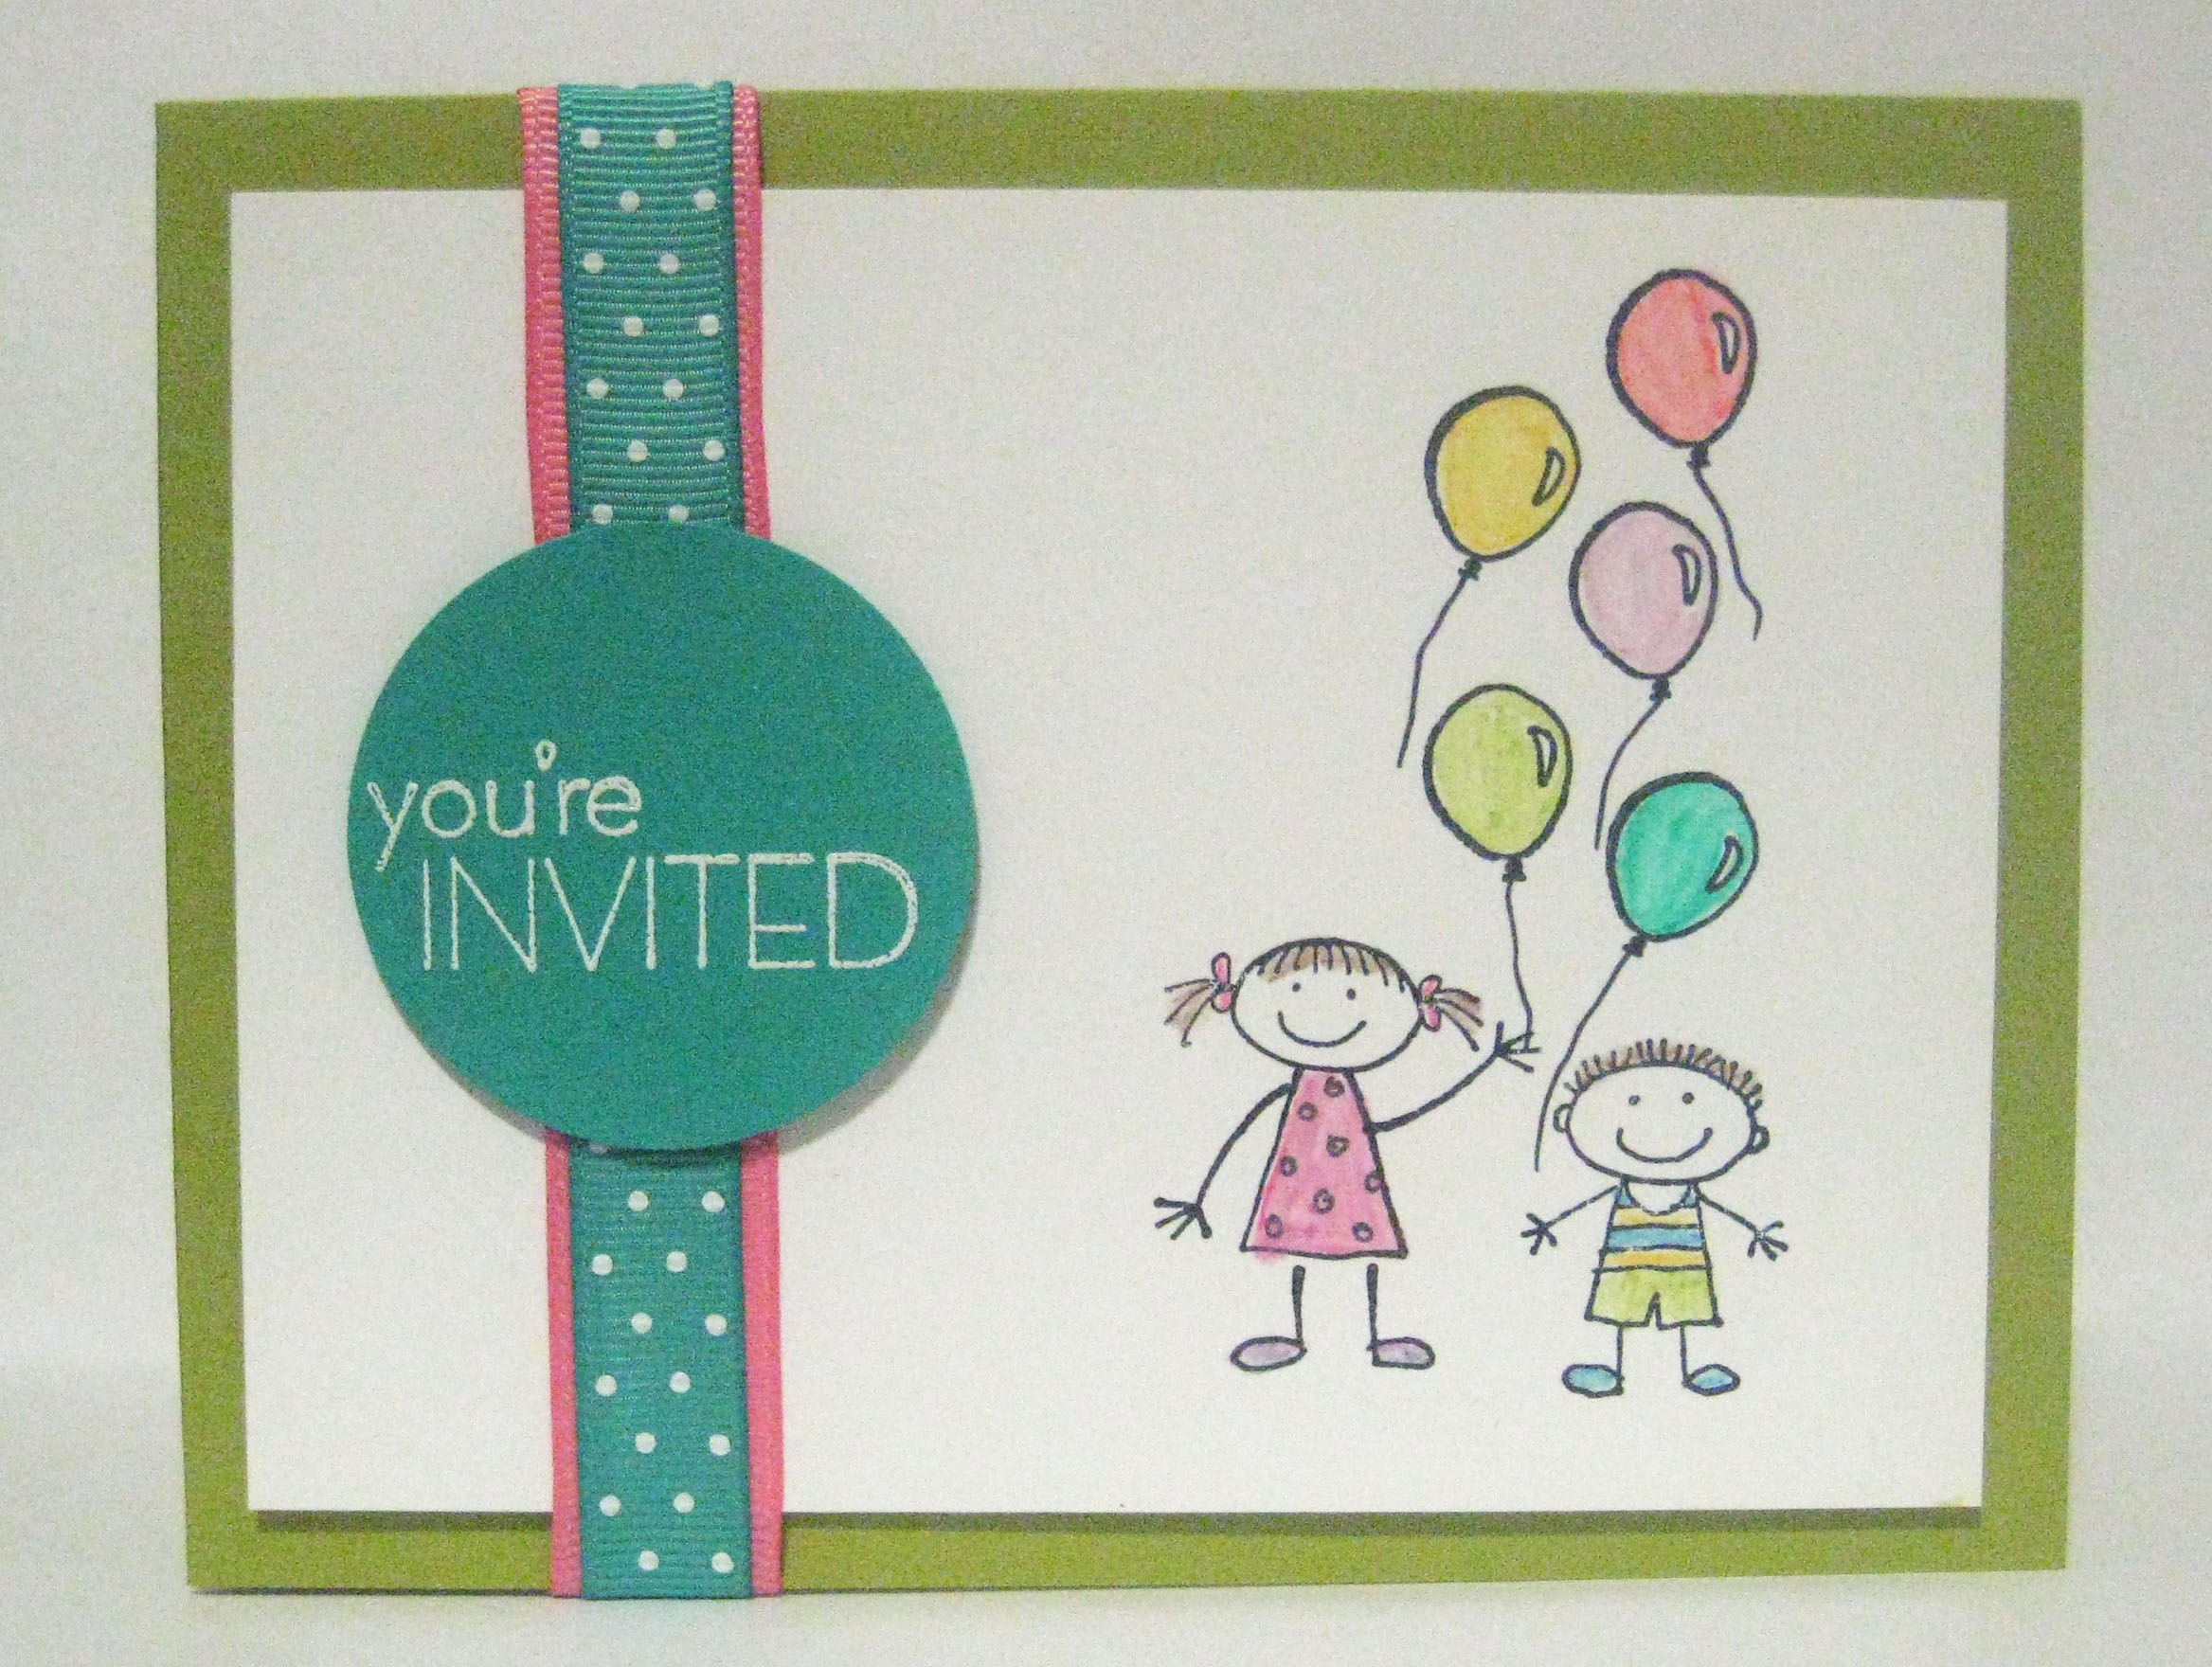
This is a personal favorite–I just love how it turned out. I’m kind of obsessed with this tri-fold design, and I’ve made cards like this before (see previous post for directions and measurements). Based on what my coworker requested (color theme pink and blue) this is one of the samples I came up with. Since the birthday party is for both a 2 year old boy and a 7 year old girl, I kept the pink at bay, and used the bright Kiwi Kiss along with the neutral Close to Cocoa to keep everything balanced out.

Stamps used were All in the Family and Introducing. This time I colored in the images with my SU Markers. The sentiment was heat embossed with White Embossing powder on the top flap. The circles were made using my 1/2″ Circle Punch (Regal Rose and Kiwi Kiss card stock) layered with 1/4″ Circle Punch (Bashful Blue). I love this look–it’s like retro pom pom lampshade trim!

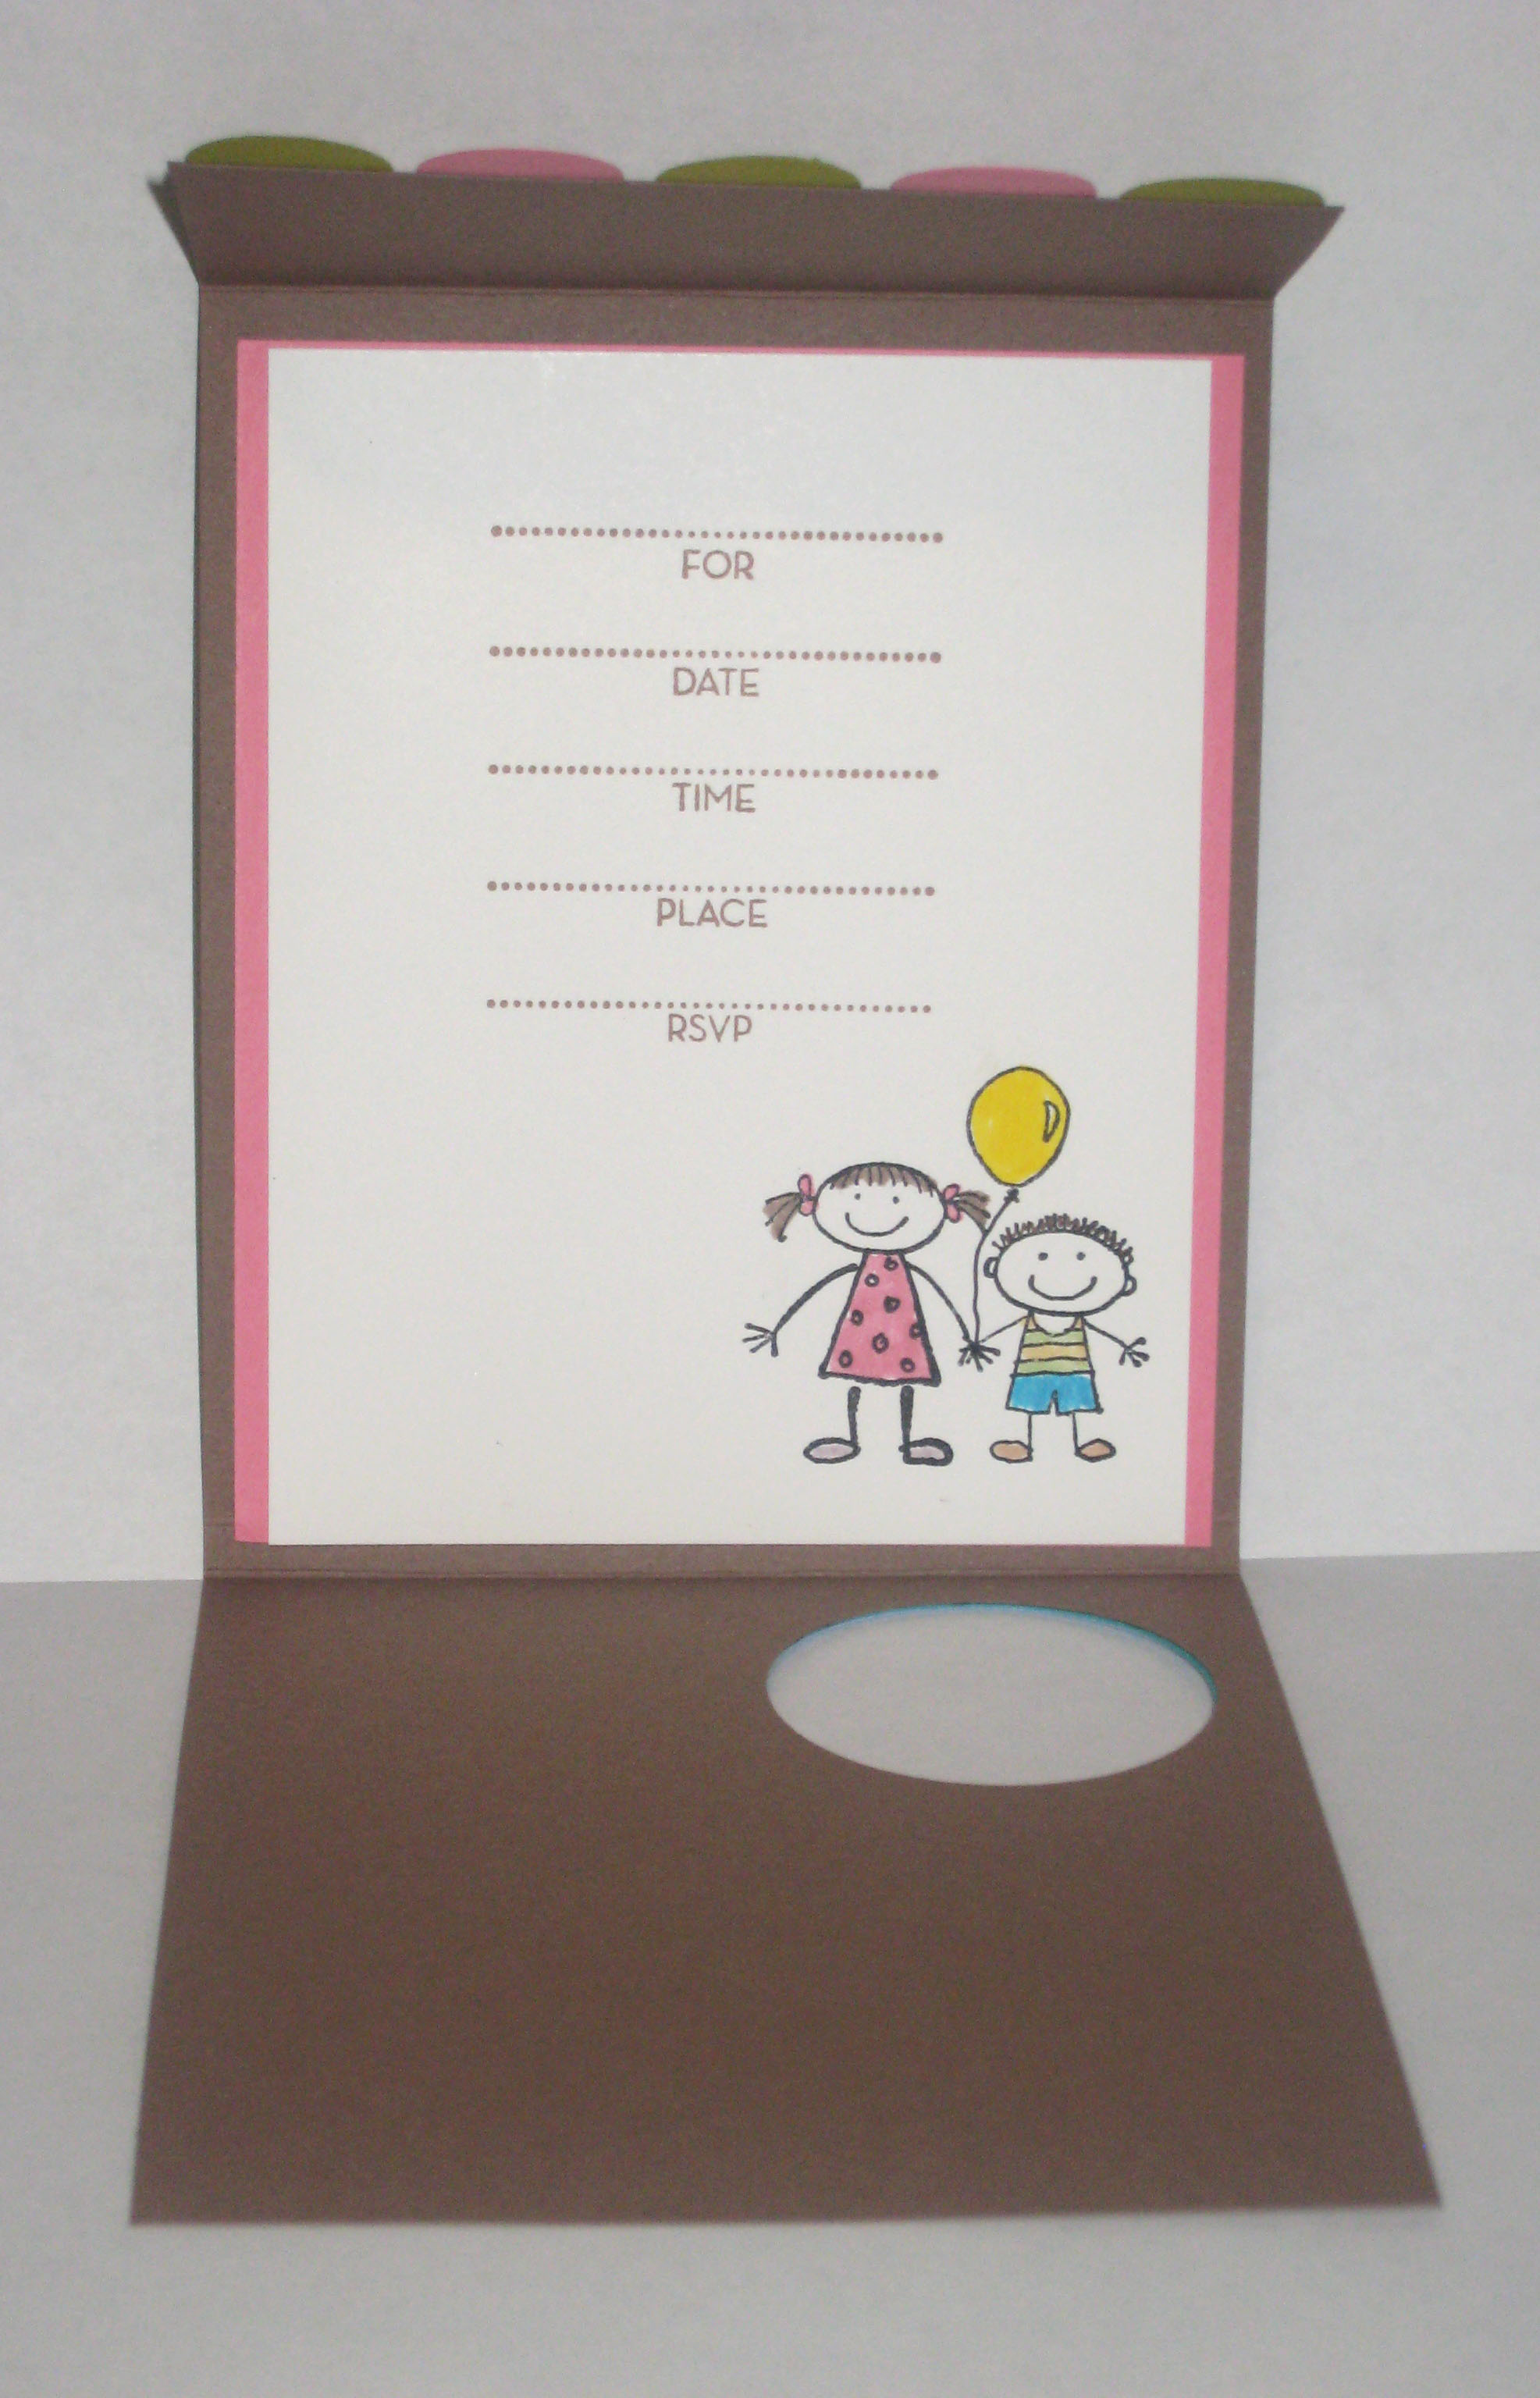
The inside view:

Inside, I layered Regal Rose and Whisper White, stamped with invitation wording block from the Introducing stamp set in Close to Cocoa ink.

You’re Invited!

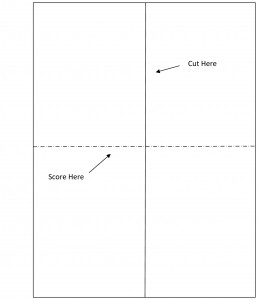
Base is Kiwi Kiss, 4.25×5.5″ opens on the right (like a book). Depending on which way you cut your 8.5″x11″ sheet of card stock, you will get different folds and orientations.

For example, as shown below, if you cut vertically down the middle, and score across the shorter side, you’ll end up with the type of fold I used for this card. Alternatively, you could position the fold along the top of the card (it’ll open from the bottom) and the orientation will be “portrait” rather than “landscape”.

I stamped the image, from All in the Family in Black Stazon ink on Whisper White card stock. This was colored in using the SU Watercolor Pencils and blended with the Blender pen. Also, I popped up the White layer on dimensionals.

To finish off the invitation, I layered Regal Rose 5/8″ Grosgrain ribbon with the Bermuda Bay 1/2″ Polka Dot Grosgrain Ribbon, attaching it with some Snail to hold the pieces in place. I wrapped the ribbon around the entire front flap of the card, pinning the loose ends on the front of the card underneath the Bermuda Bay 1 3/4″ circle, which was stamped with “You’re Invited” from the Introducing stamp set. I stamped it in Versamark and embossed with White Embossing powder. It was attached to the card with dimensionals.

Bad Behavior has blocked 413 access attempts in the last 7 days.

css.php