Archives for July 23, 2009

Seasonal Scallops

Since I was playing with the Say it with Scallops set (see previous post) I made two similar cards. Again, very simple, and I must have autumn on the mind because these are rather fall-ish.

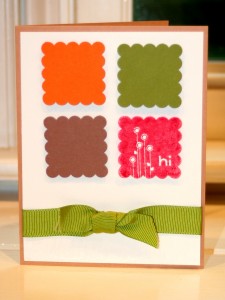
The first one (left) uses Creamy Caramel for the base, layered with Whisper White. I stamped the “hi” stamp in Red Craft ink and clear embossed using Clear E.P. I punched it out using the Scallop Square Punch and adhered it to the base using a dimensional. The other three scallop squares are Close to Cocoa, Pumpkin Pie, and Old Olive. Before adhering the Whisper White layer to the base, I tied some Old Olive 5/8″ Grosgrain Ribbon around the card stock.

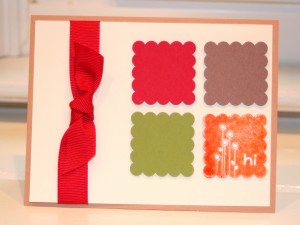
Next, I flipped the card on its side and used basically the same colors in a different configuration. The background here is Very Vanilla, and this time, I used Pumpkin Pie Craft ink for the “hi” stamp and clear embossed it. The other card stock colors were close to cocoa, old olive, and real red. Real Red 5/8″ Grosgrain Ribbon tied up the side completes the look.
Crushed Curry Congrats

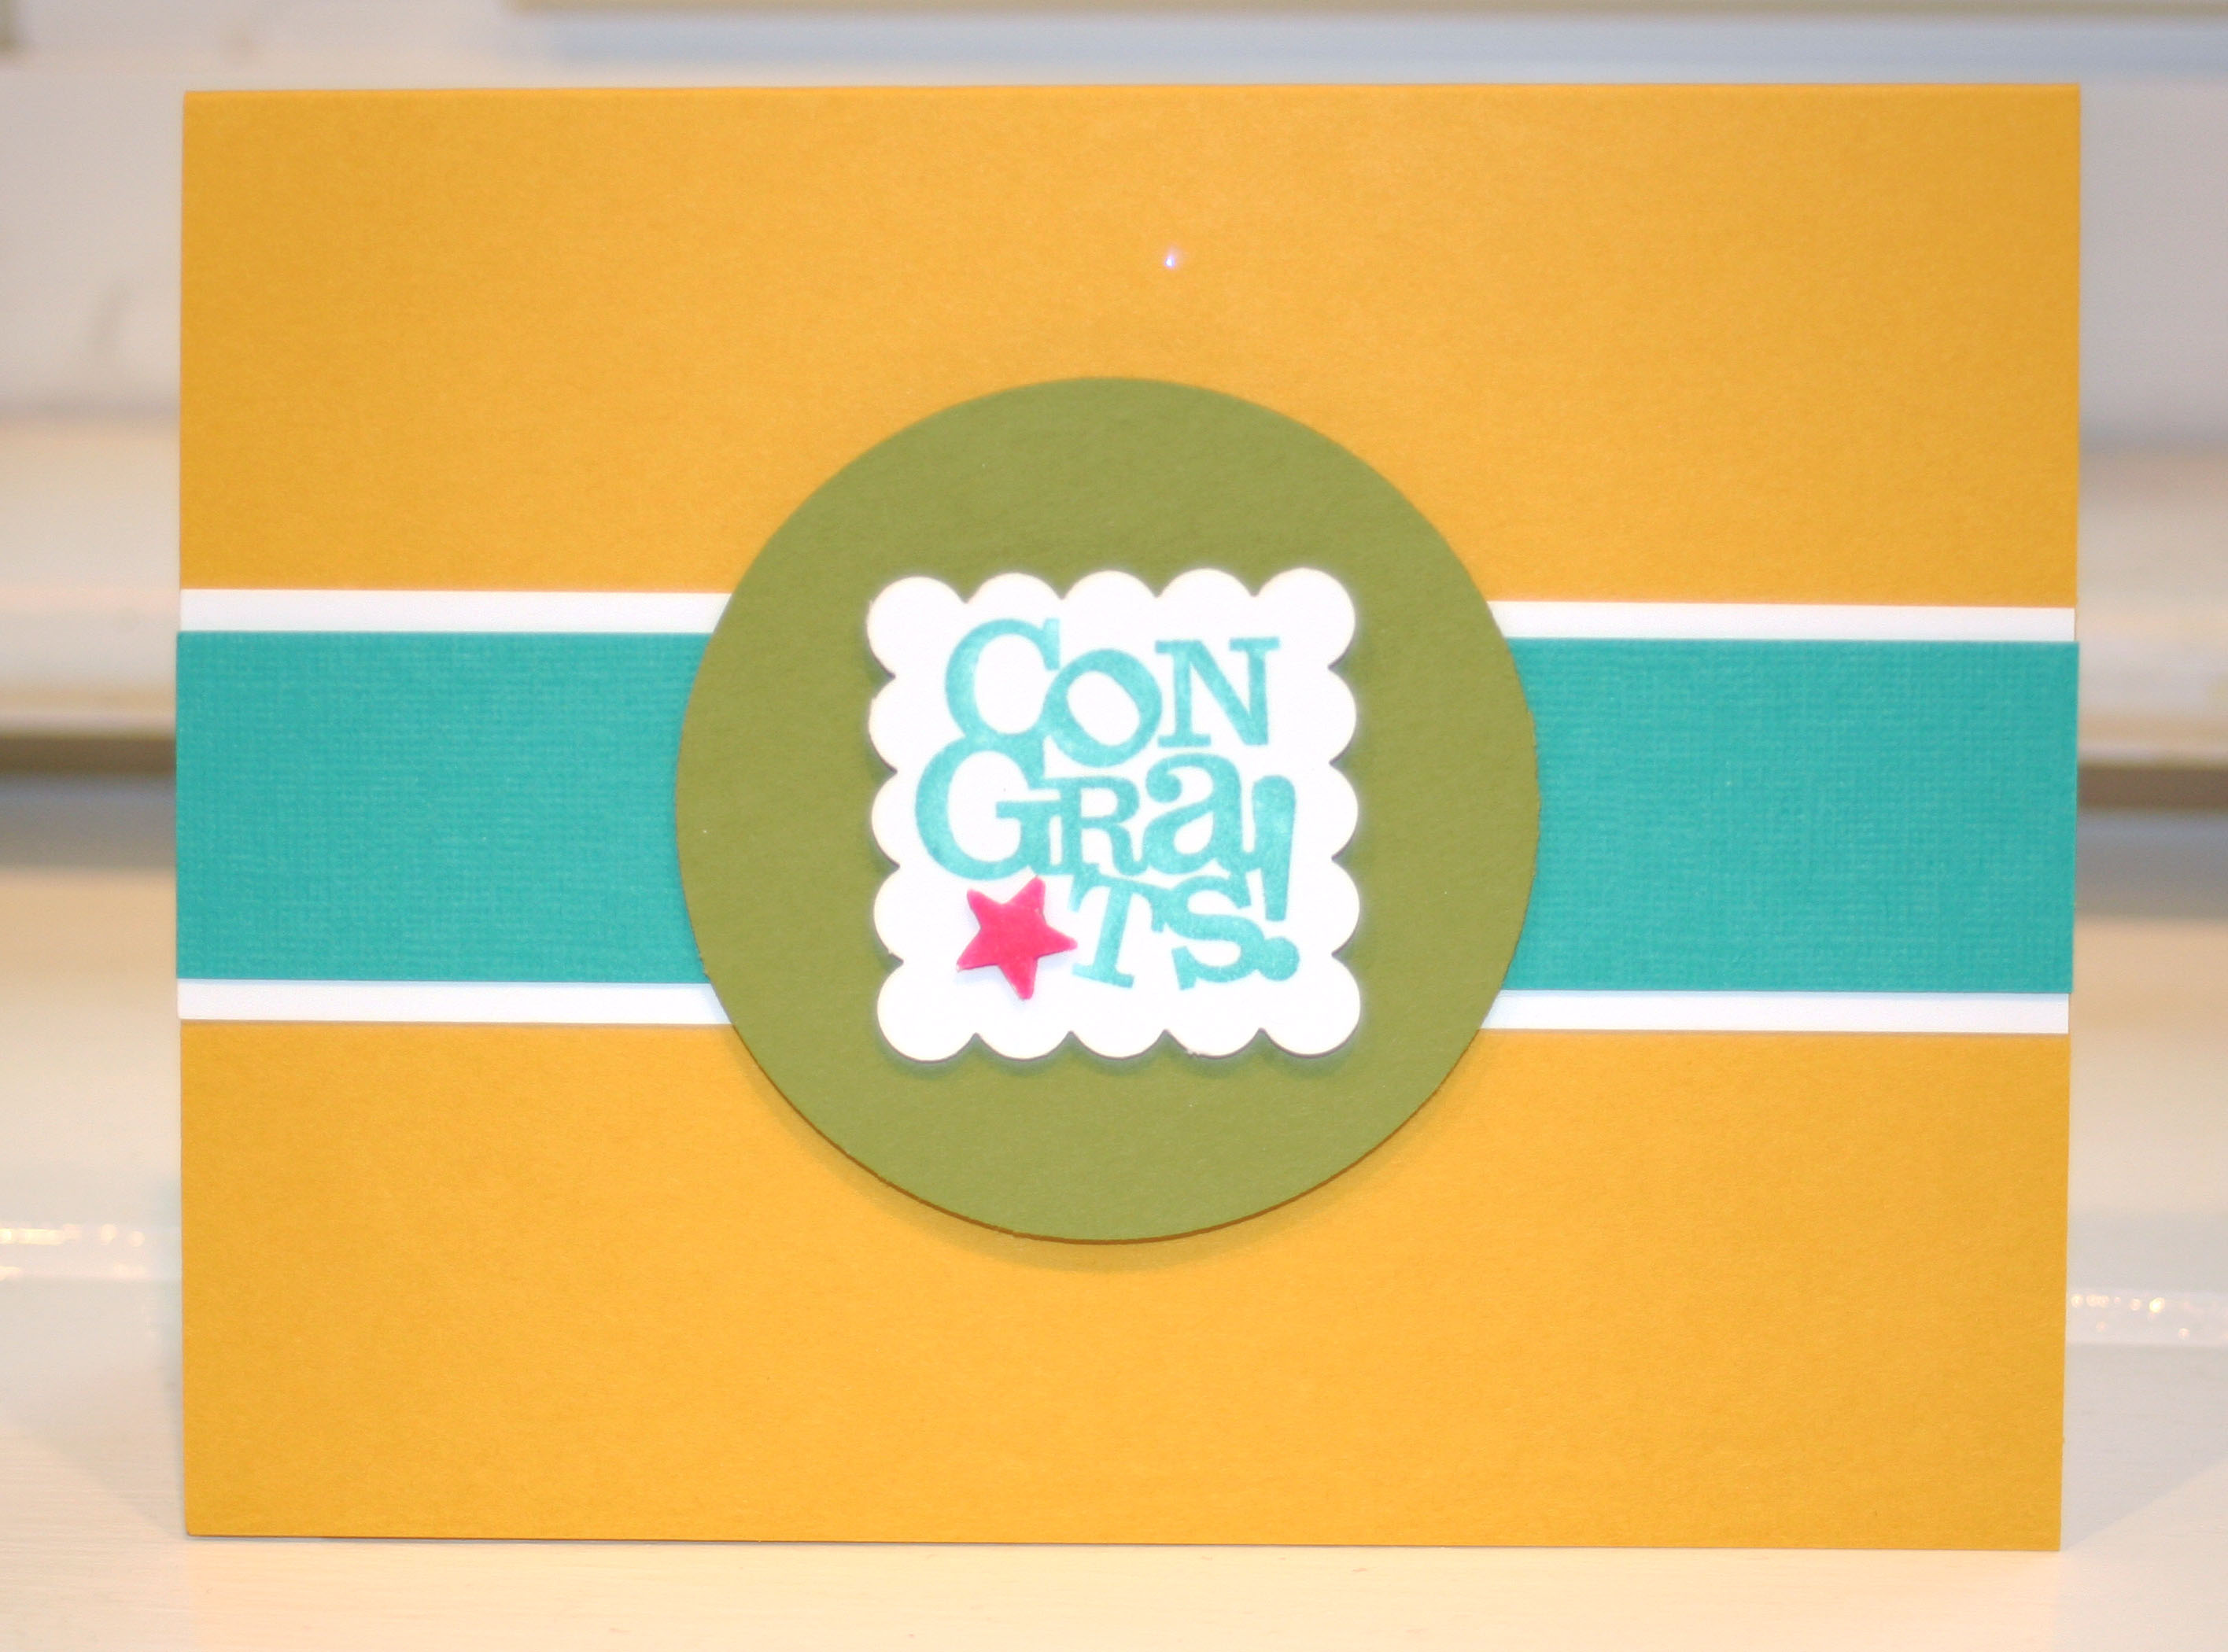
This card was made using Say it with Scallops, and while I’ve used other stamps from the set, I’ve never used this specific stamp before. It makes a fun card, especially for a graduation.

I used Crushed Curry card stock for the base, and a strip of Whisper White layered with Bermuda Bay textured card stock runs across the front. The Old Olive circle was punched out using my Marvy Mega Circle Punch. On top of that is the “Congrats” stamp from Say it with Scallops which I colored using my Bermuda Bay marker and the star was colored with Melon Mambo marker. The star is also popped up with a glue dot. Finally, the sentiment was punched out using the Scallop Square Punch (which coordinates with this stamp set) and attached using dimensionals.

So Blessed

Since I don’t have any religious stamps, I’ve had to come up with clever ways to make various Christening, Communion, and Confirmation cards. Here is one I made for a Christening using Circle Rhinestone Brads in shades of blue for the “cross”. I had this vision in my head and it turned out better than I hoped!

The only tricky part about this card is punching holes for the brads. My crop-a-dile wouldn’t reach past the first hole at the top of the cross, so I had to get crafty. I used the Paper Piercer and Mat to poke a small starter hole and then widened it by working the piercer around in a circle. After that little speed bump, the rest of the card came together quickly.

The card base is Shimmery White, layered with Kraft, Bashful Blue, and another layer of Shimmery White card stock. I stamped the “Blessed” from So Very, an old Sale-a-bration set (well technically it was called Sell-a-bration back then. They changed the name–I know, confusing!) I stamped it first in Versamark and then in Tempting Turquoise Classic ink so that I could emboss it.

I just learned that trick- stamp your image in Versamark first, then ink it up with any color, stamp onto the card stock and follow with clear embossing  powder/heat gun.

I don’t know why but my Bashful Blue ink looked like it didn’t quite match the paper, so I just went with Turquoise to match the brads.

I glued all the layers together except for the top Shimmery White card stock layer, which was adhered to the base with about 20 dimensionals! OK more like 13, but all those brads were heavy!

Thanks for looking 🙂

Bad Behavior has blocked 1018 access attempts in the last 7 days.

css.php