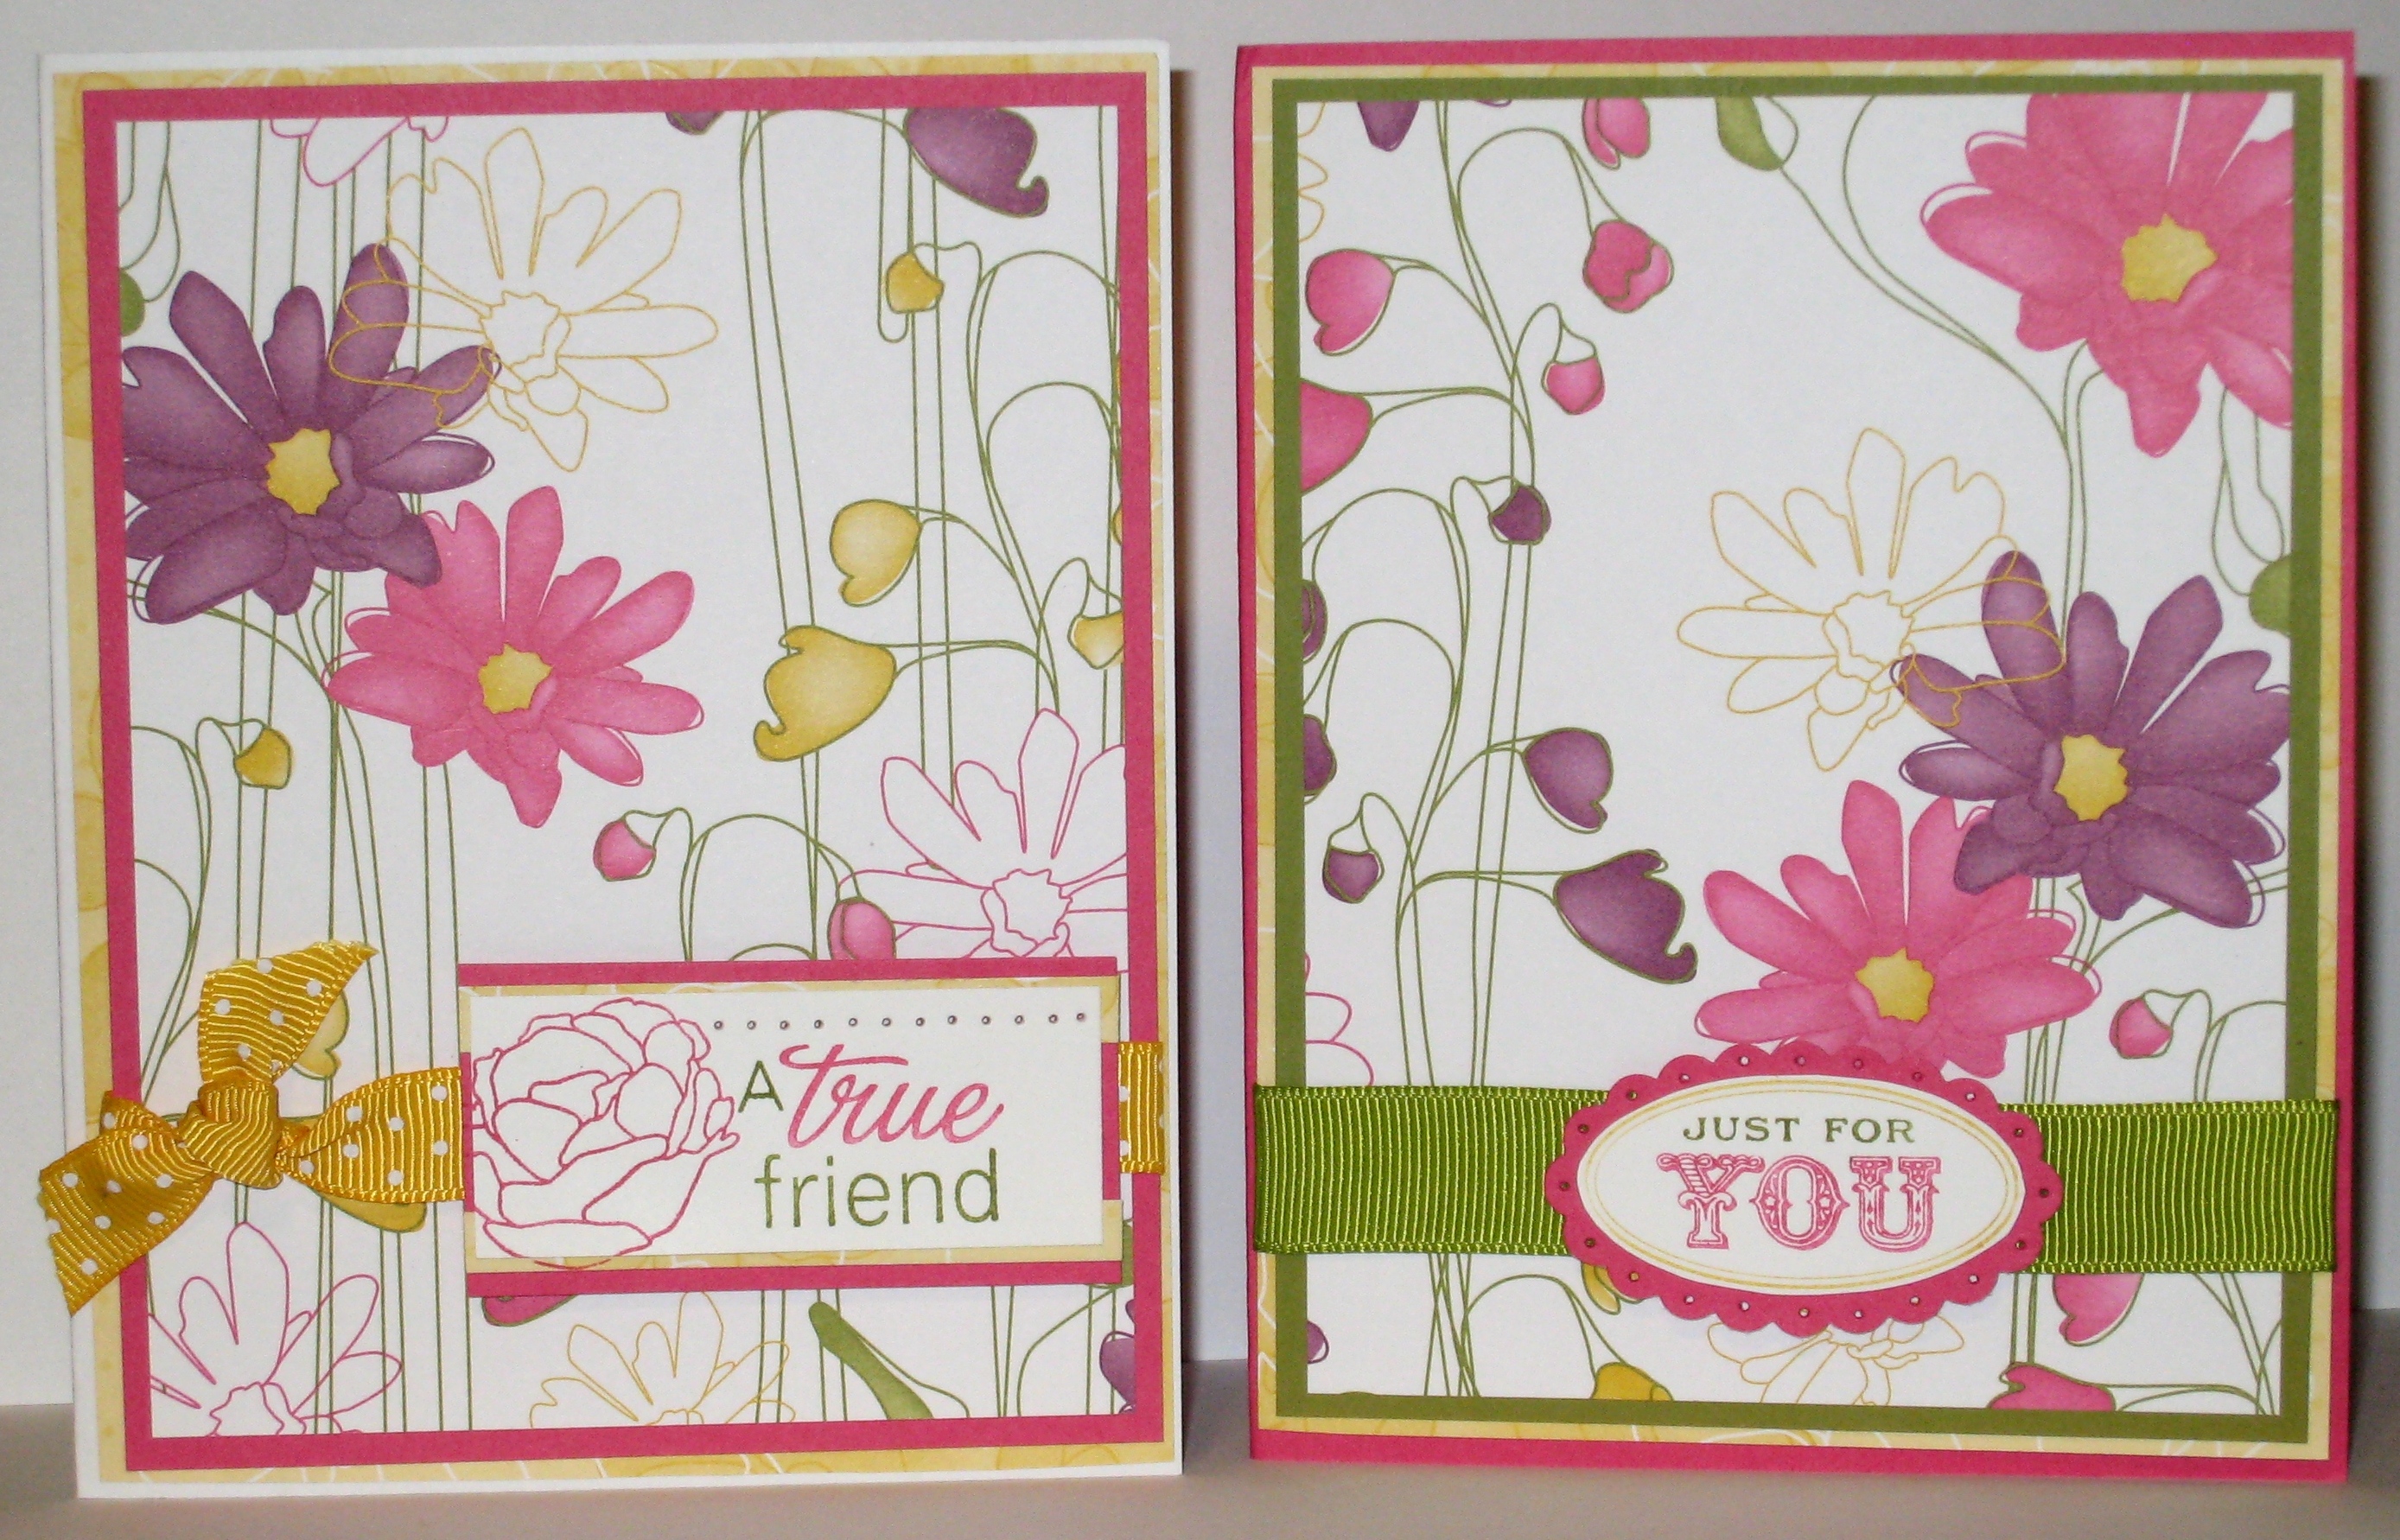
I just got my Sneek Peak order AND my new catalog. I ordered the Level 3 Hostess Bundle, Lovely Flowers and the In Colors. The only problem is….I don’t have my mojo today. All this new stuff and I can’t think of anything to do with it! Here are two basic cards that use the Lovely Flowers DSP, matching stamp set (left) and Oval All set (right). The card stock is Melon Mambo, a great watermelon-y lush dark pink/rose; Old Olive, and Whisper White. Best thing ever: Polka Dotted Ribbon! I’ve been waiting for this for a long time and this one is called Crushed Curry.
Archives for June 2009
Card Organizers
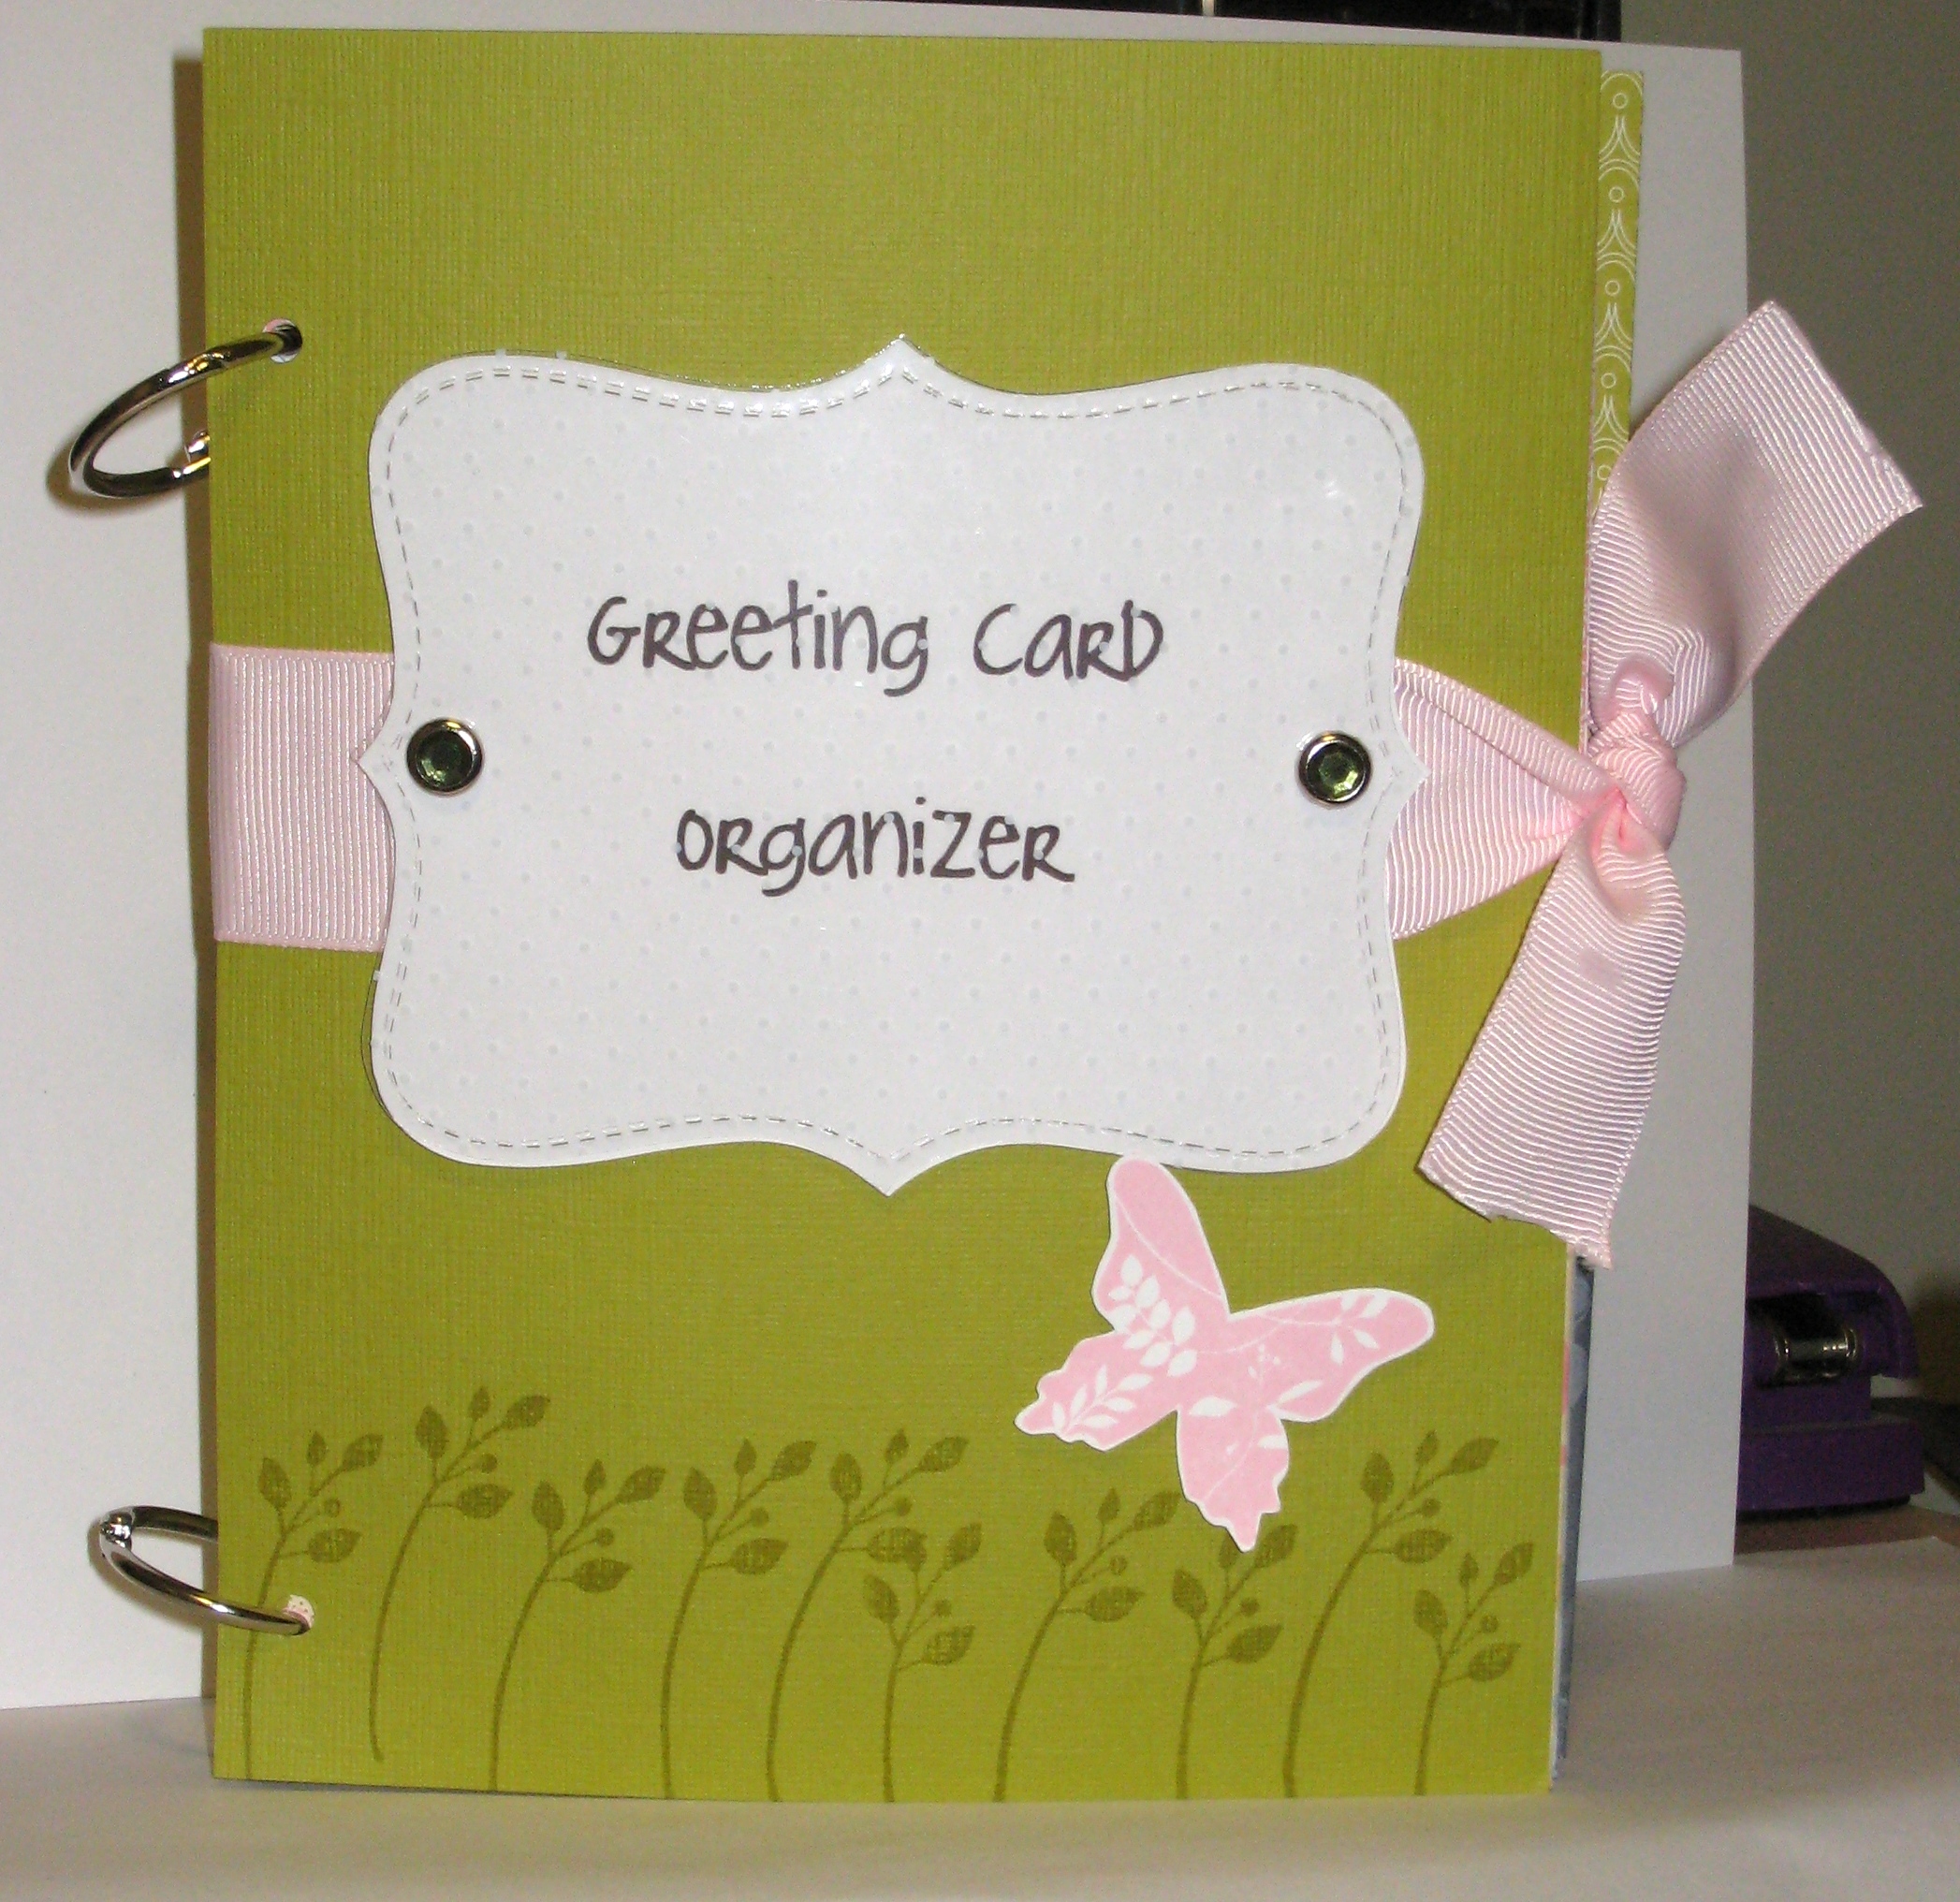
I found the tutorial for these Card Organizers on splitcoaststampers.com and they are really very easy to make. Here are two versions I made, using whatever DSP and card stock I had on hand. It’s a good way to clean out your stash of old papers!
For the cover, I used a piece of Kiwi Kiss Textured card stock and stamped the bottom with Great Friend in Kiwi Kiss ink. The butterfly is from the same set and stamped in Pink Pirouette ink, which I then cut out with my snips and adhered it to the cover using dimensionals.
The font I used to type “Card Organizer” is Joyful Juliana which I downloaded for free. I cut out the printer paper along with the polka dot Printed Window Sheet using the Top Note Die. I layered the two pieces and using my cropadile, punched two hole for Ice Circle Rhinestone Brads. That was also adhered using dimensionals. The ribbon is 1 1/4″ Pink Pirouette grosrain that I wrapped around the organizer and tied the book closed at the side. I put down some snail in a few places under the ribbon to keep it lying flat.
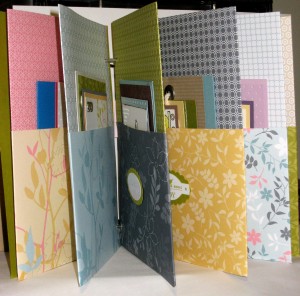
Inside, I used the Walk in the Park DSP from the last mini catalog. Each compartment is devoted to different occasions, which I labeled used the Scallop Oval Punch. The other stamps I used were from Oval All and Goody Goody Gumdrops.
To bind the book together, I used the cropadile to punch two holes and used looseleaf ring clips from Staples. I found it necessary to put a small glue dot in the open corner of each pocket (nearest the binding) so that my cards wouldn’t slip out.
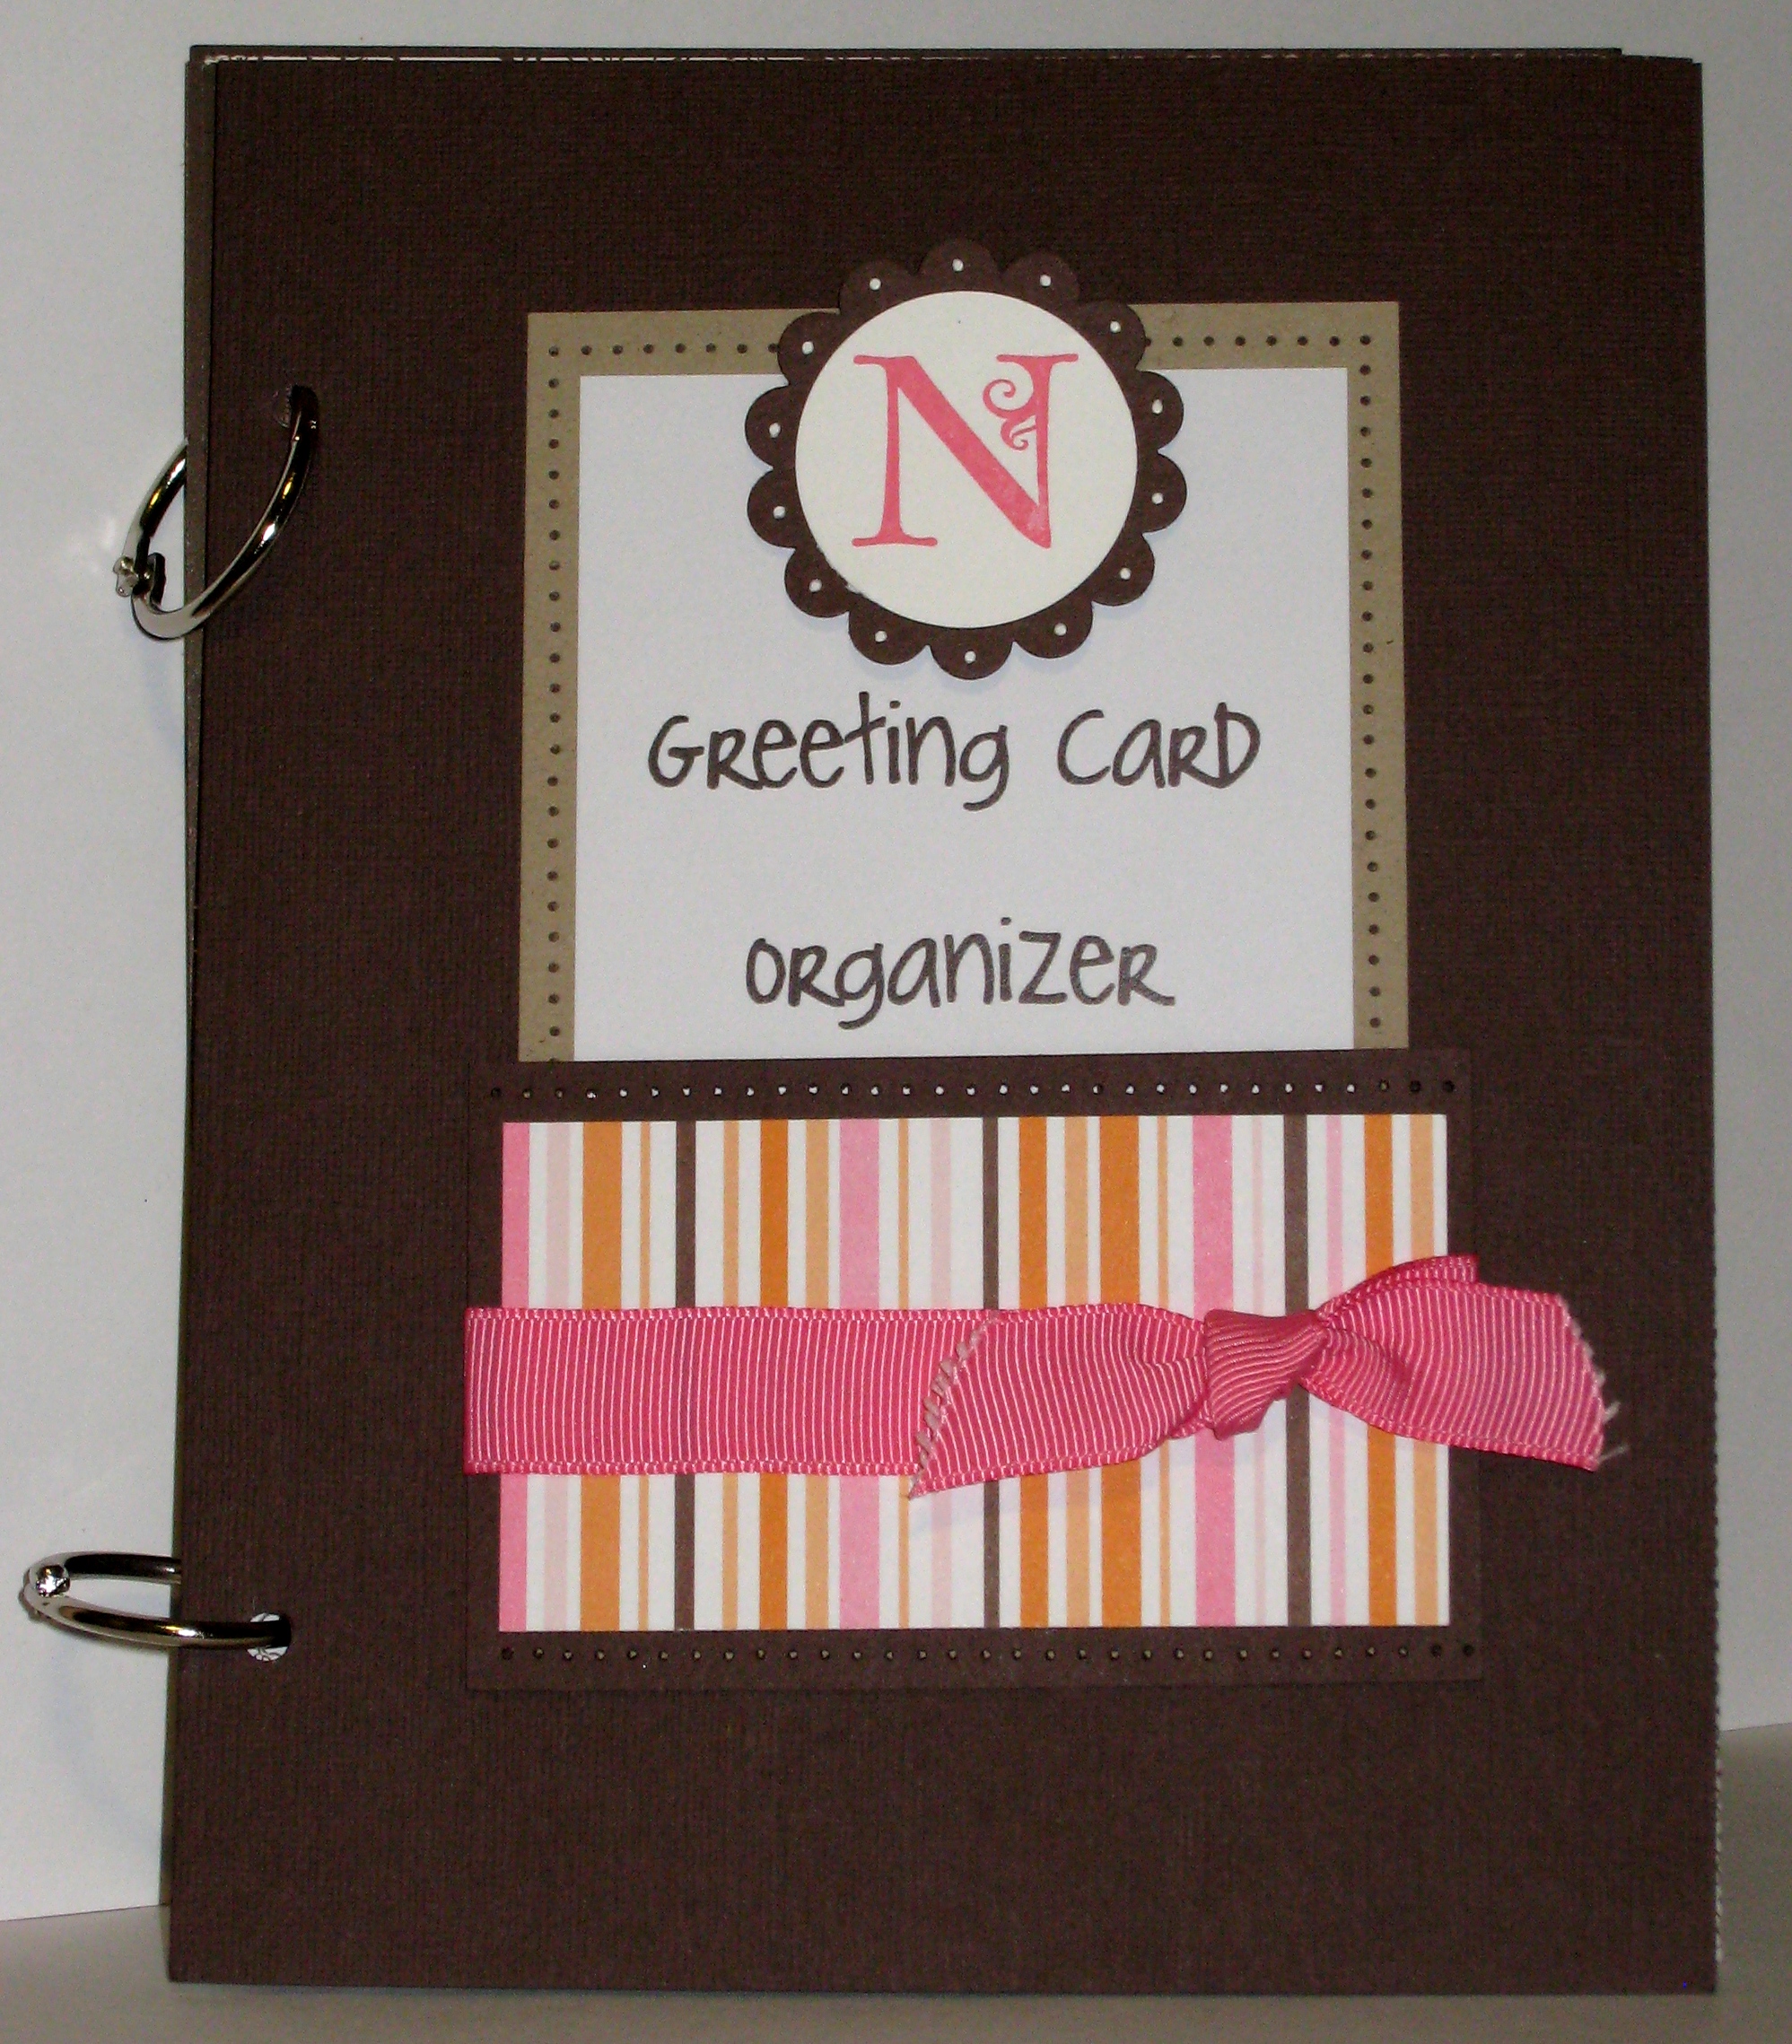
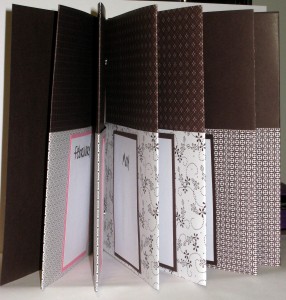
Here is another version I made using Chocolate chip DSP, textured cardstock, and Sweet Always DSP. This one is divided by months, so that the recipient can add in reminders for birthdays and other special occasions.
The N stamp is from Lovely Letters, stamped in Regal Rose ink onto Whisper White paper, which I layered on a Chocolate Chip Scallop Circle. I used the White Gel Pen to add the dots. Kraft card stock, paper piercer, and Regal Rose 5/8″ grosgrain ribbon finishes off the cover.
And inside view:
Altered Domino Magnets
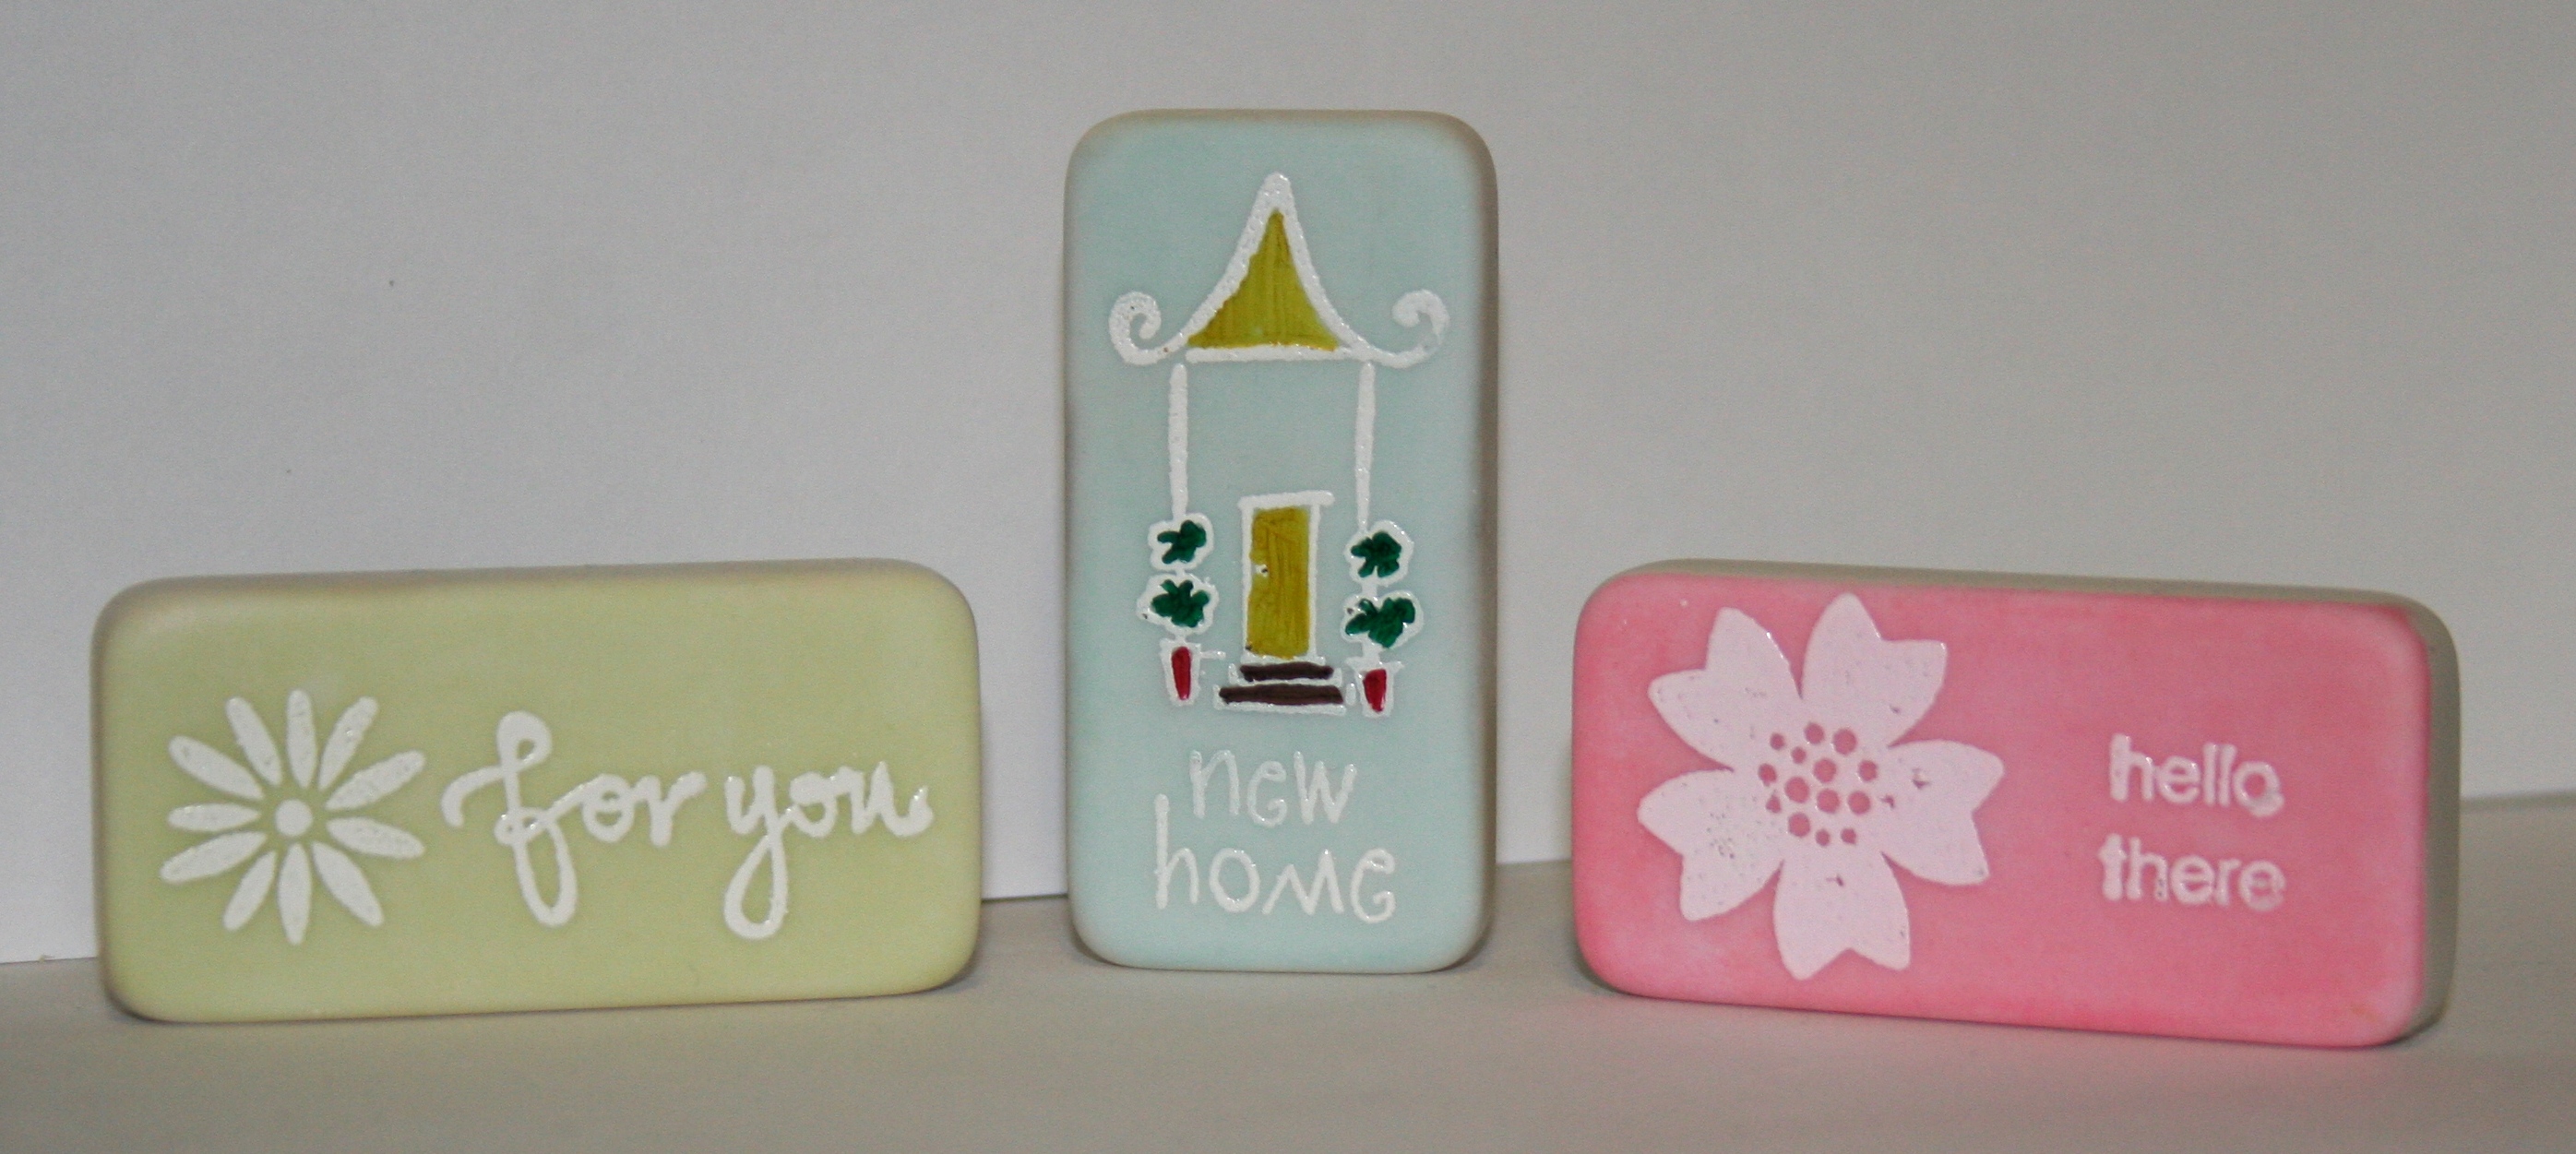
This is my first attempt at making Domino Magnets. I used the tutorial on splitcoaststampers.com but I didn’t seal mine (yet). From left, the colors are Certainly Celery, Baja Breeze, and Cameo Coral.
After a lot of trial and error, this is the way I had success: I stamped onto a freshly sanded domino in White Craft ink, then embossed with White Embossing Powder. After heating for a while and waiting for the embossed image to fully dry (learned that the hard way), I applied my reinker using a tissue. I rubbed the color into the domino and wiped off any excess. The embossed image resists color, leaving you with a crisp white image.
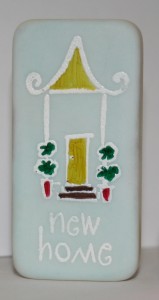
For the New Home domino, I colored the image using Prismacolor Markers (any permanent marker will work). Stamp is from Katie & Co. (Michaels’s $1 stamp). Here is a close up:
Other stamps used are from Great Friend, Goody Goody Gumdrops, and Eastern Blooms. On the back I glued on a magnetic disc using Crystal Effects.
