Archives for June 2009

Ribbon Weave Technique

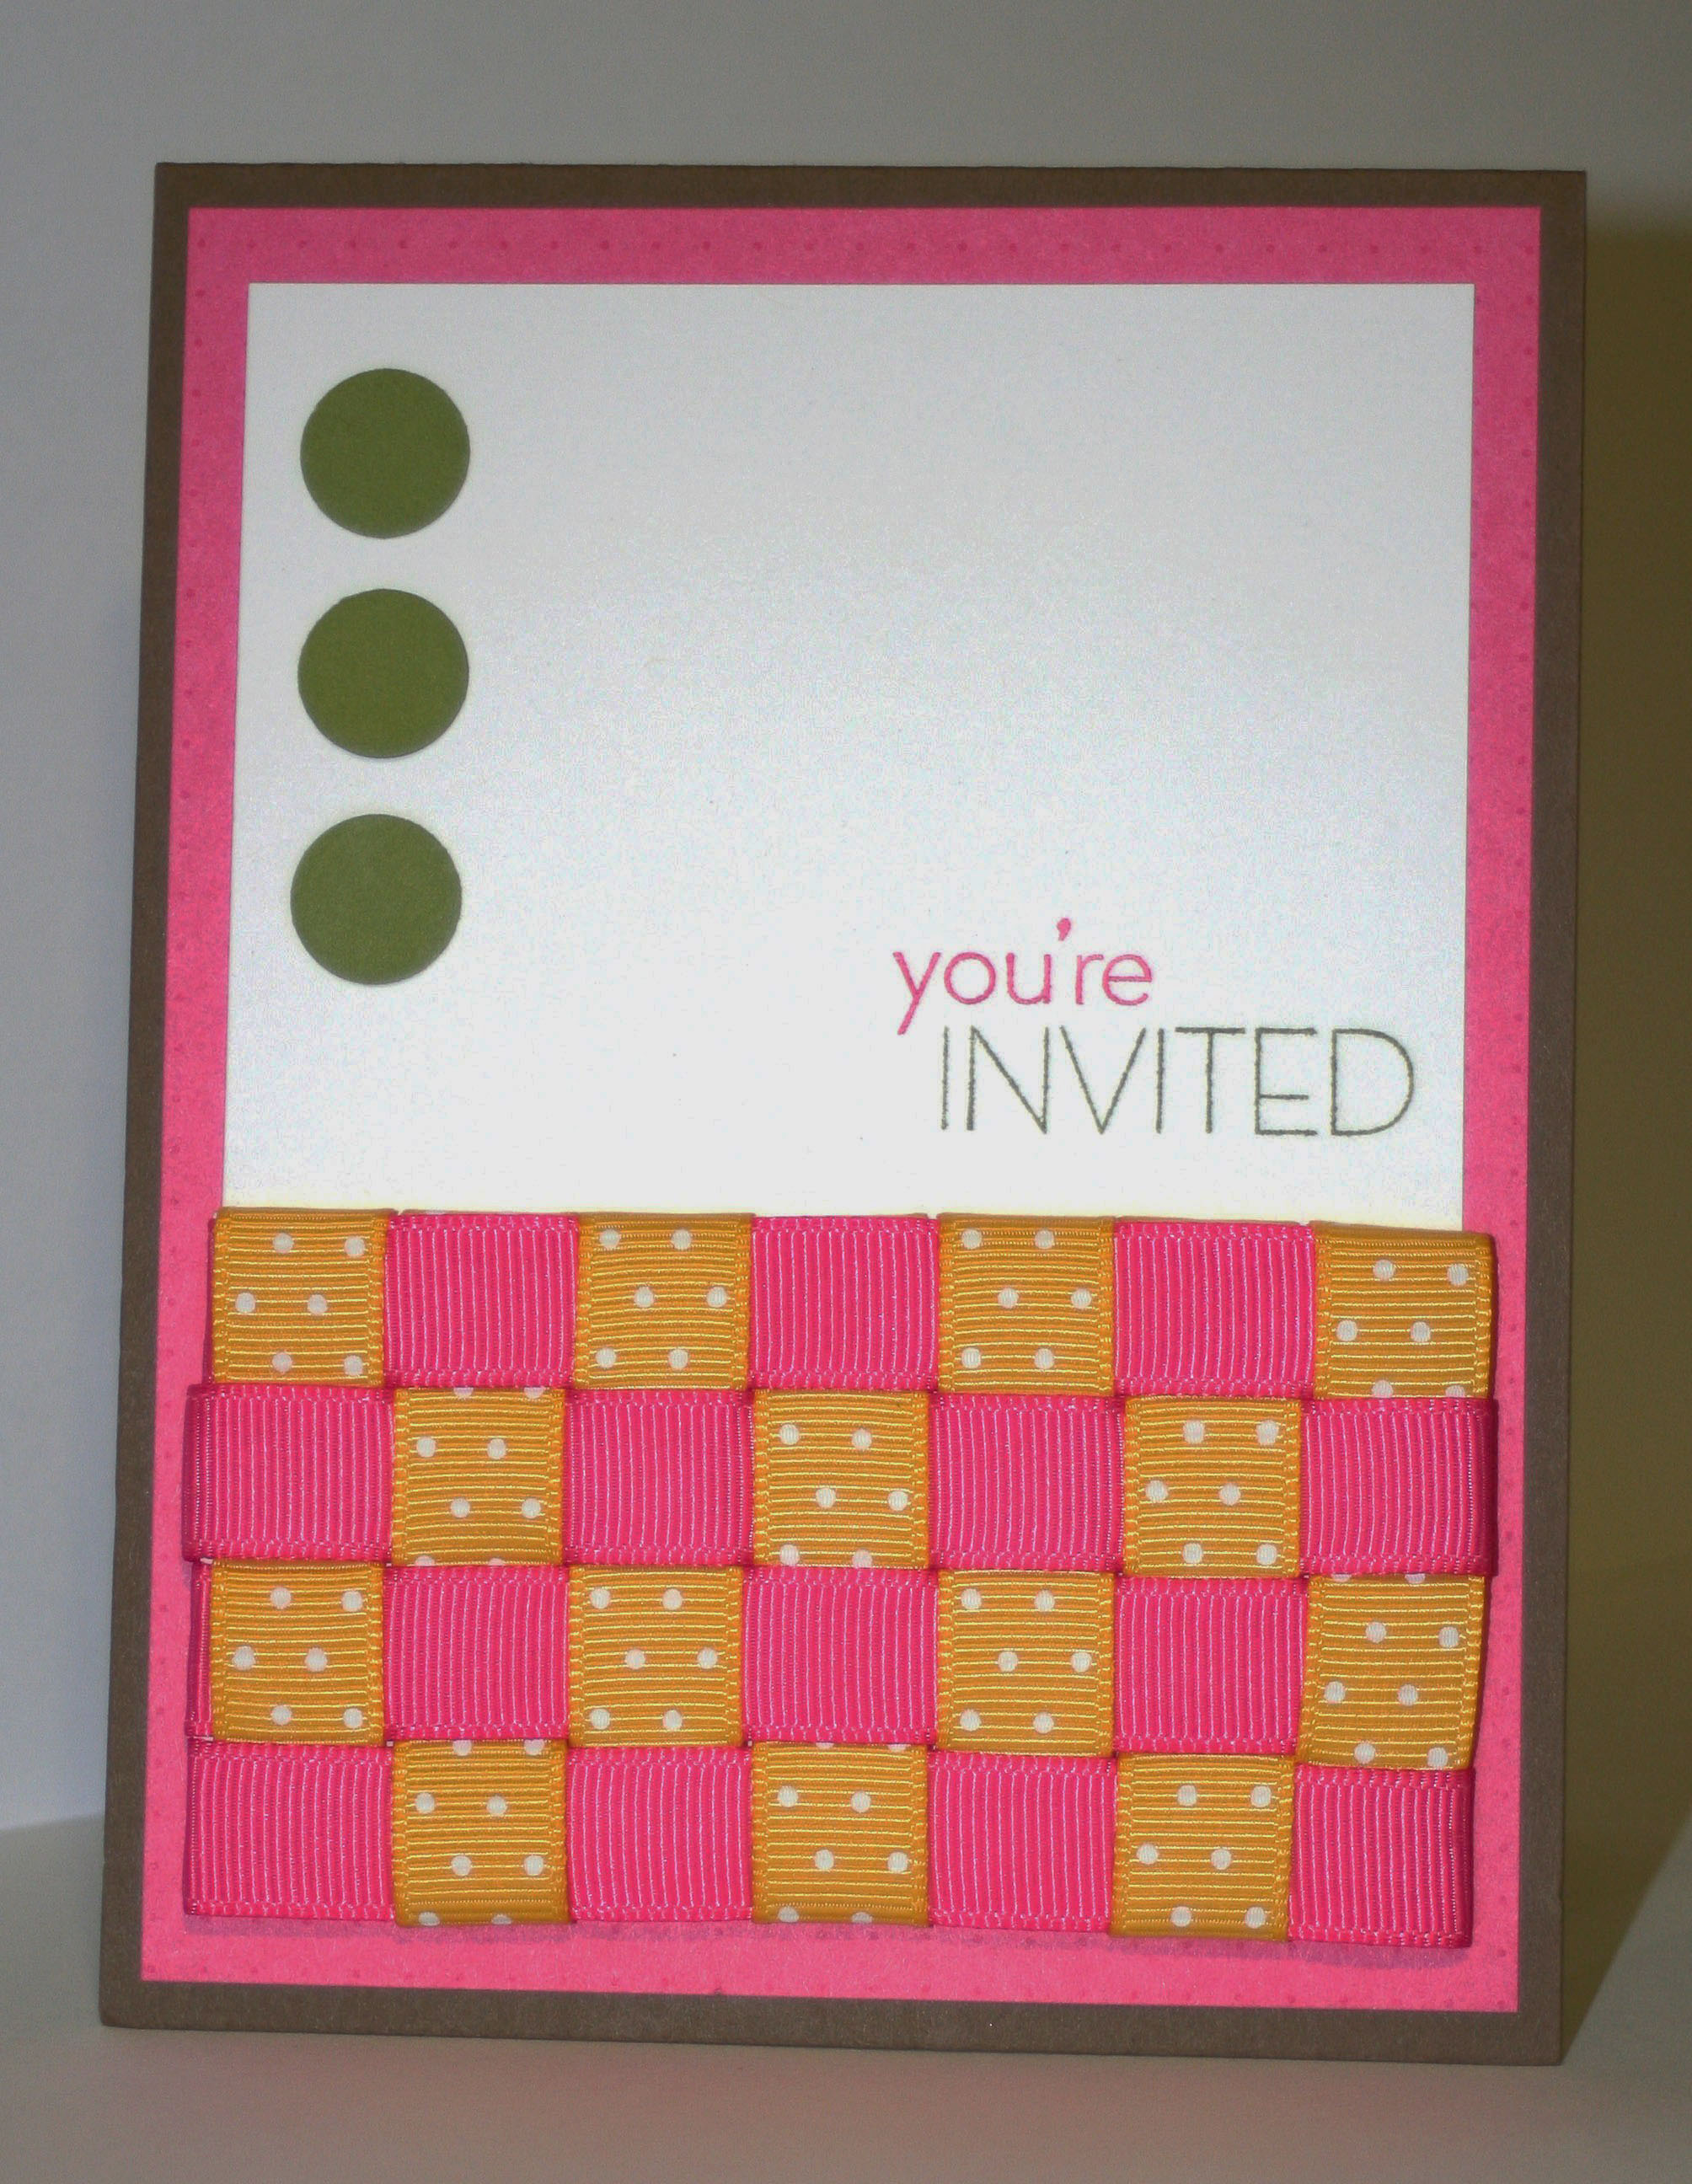
This ribbon weaving technique is so fun and really pops on a card. The idea came from the June 2009 issue of Stampin Success on page 16. I used the new In Color 1/2″ Polka Dot ribbon in this example.

The invitation is made from a 4 1/4″ x 11″ piece of Soft Suede card stock, folded at the top. Next, I used the Lovely Flowers DSP (Hostess Level 3 Bundle) which has a polka dotted Melon Mambo pattern as a 4″ x 5 1/4″ layer. The Whisper White card stock is cut to 3 3/4″ x 3 1/2″. I stamped it using the Introducing stamp set, inking it up with the Melon Mambo Marker and Old Olive Marker. Along the left side, I used my 1/2″ Circle Punch to make 3 Old Olive circles.

As for the woven ribbon panel, I started out with a piece of card stock 2″ x 3 1/2″. This “template” will vary depending on the width of your ribbon. Since I usede 1/2″ ribbon, I made sure my cardstock was sized as a multiple of 1/2″. It doesn’t matter what color card stock you use here, because it will be totally covered by the ribbon. I used the Melon Mambo Polka Dot ribbon, but instead of using the front, I reversed it to the solid back. I chose to leave the Crushed Curry Polka Dots right side up for contrast.

I first cut all my ribbon and laid it out to see how it would look. Then, I applied SNAIL to the back left side of the card stock “template” and attached all my Melon Mambo ribbon ends. Next, I did the same thing along the back top edge of the “template” and attached all my Crushed Curry ribbon ends. Carefully, start weaving the ribbon pieces, making sure to keep them straight and tight together. Little spaces here and there will add up and at the end, you’ll be off by too much! After weaving each row of Crushed Curry down to the bottom, I would wrap the end around the card stock and adhere it with SNAIL. At the end of the Melon Mambo rows, I would do the same. To adhere the finished ribbon panel to the card base, I used 4 strips of Sticky Strip along each side of the panel.

And that’s it–pretty easy once you get the hang of it, and it REALLY adds a fun touch to the card!
All in the Family Trifold

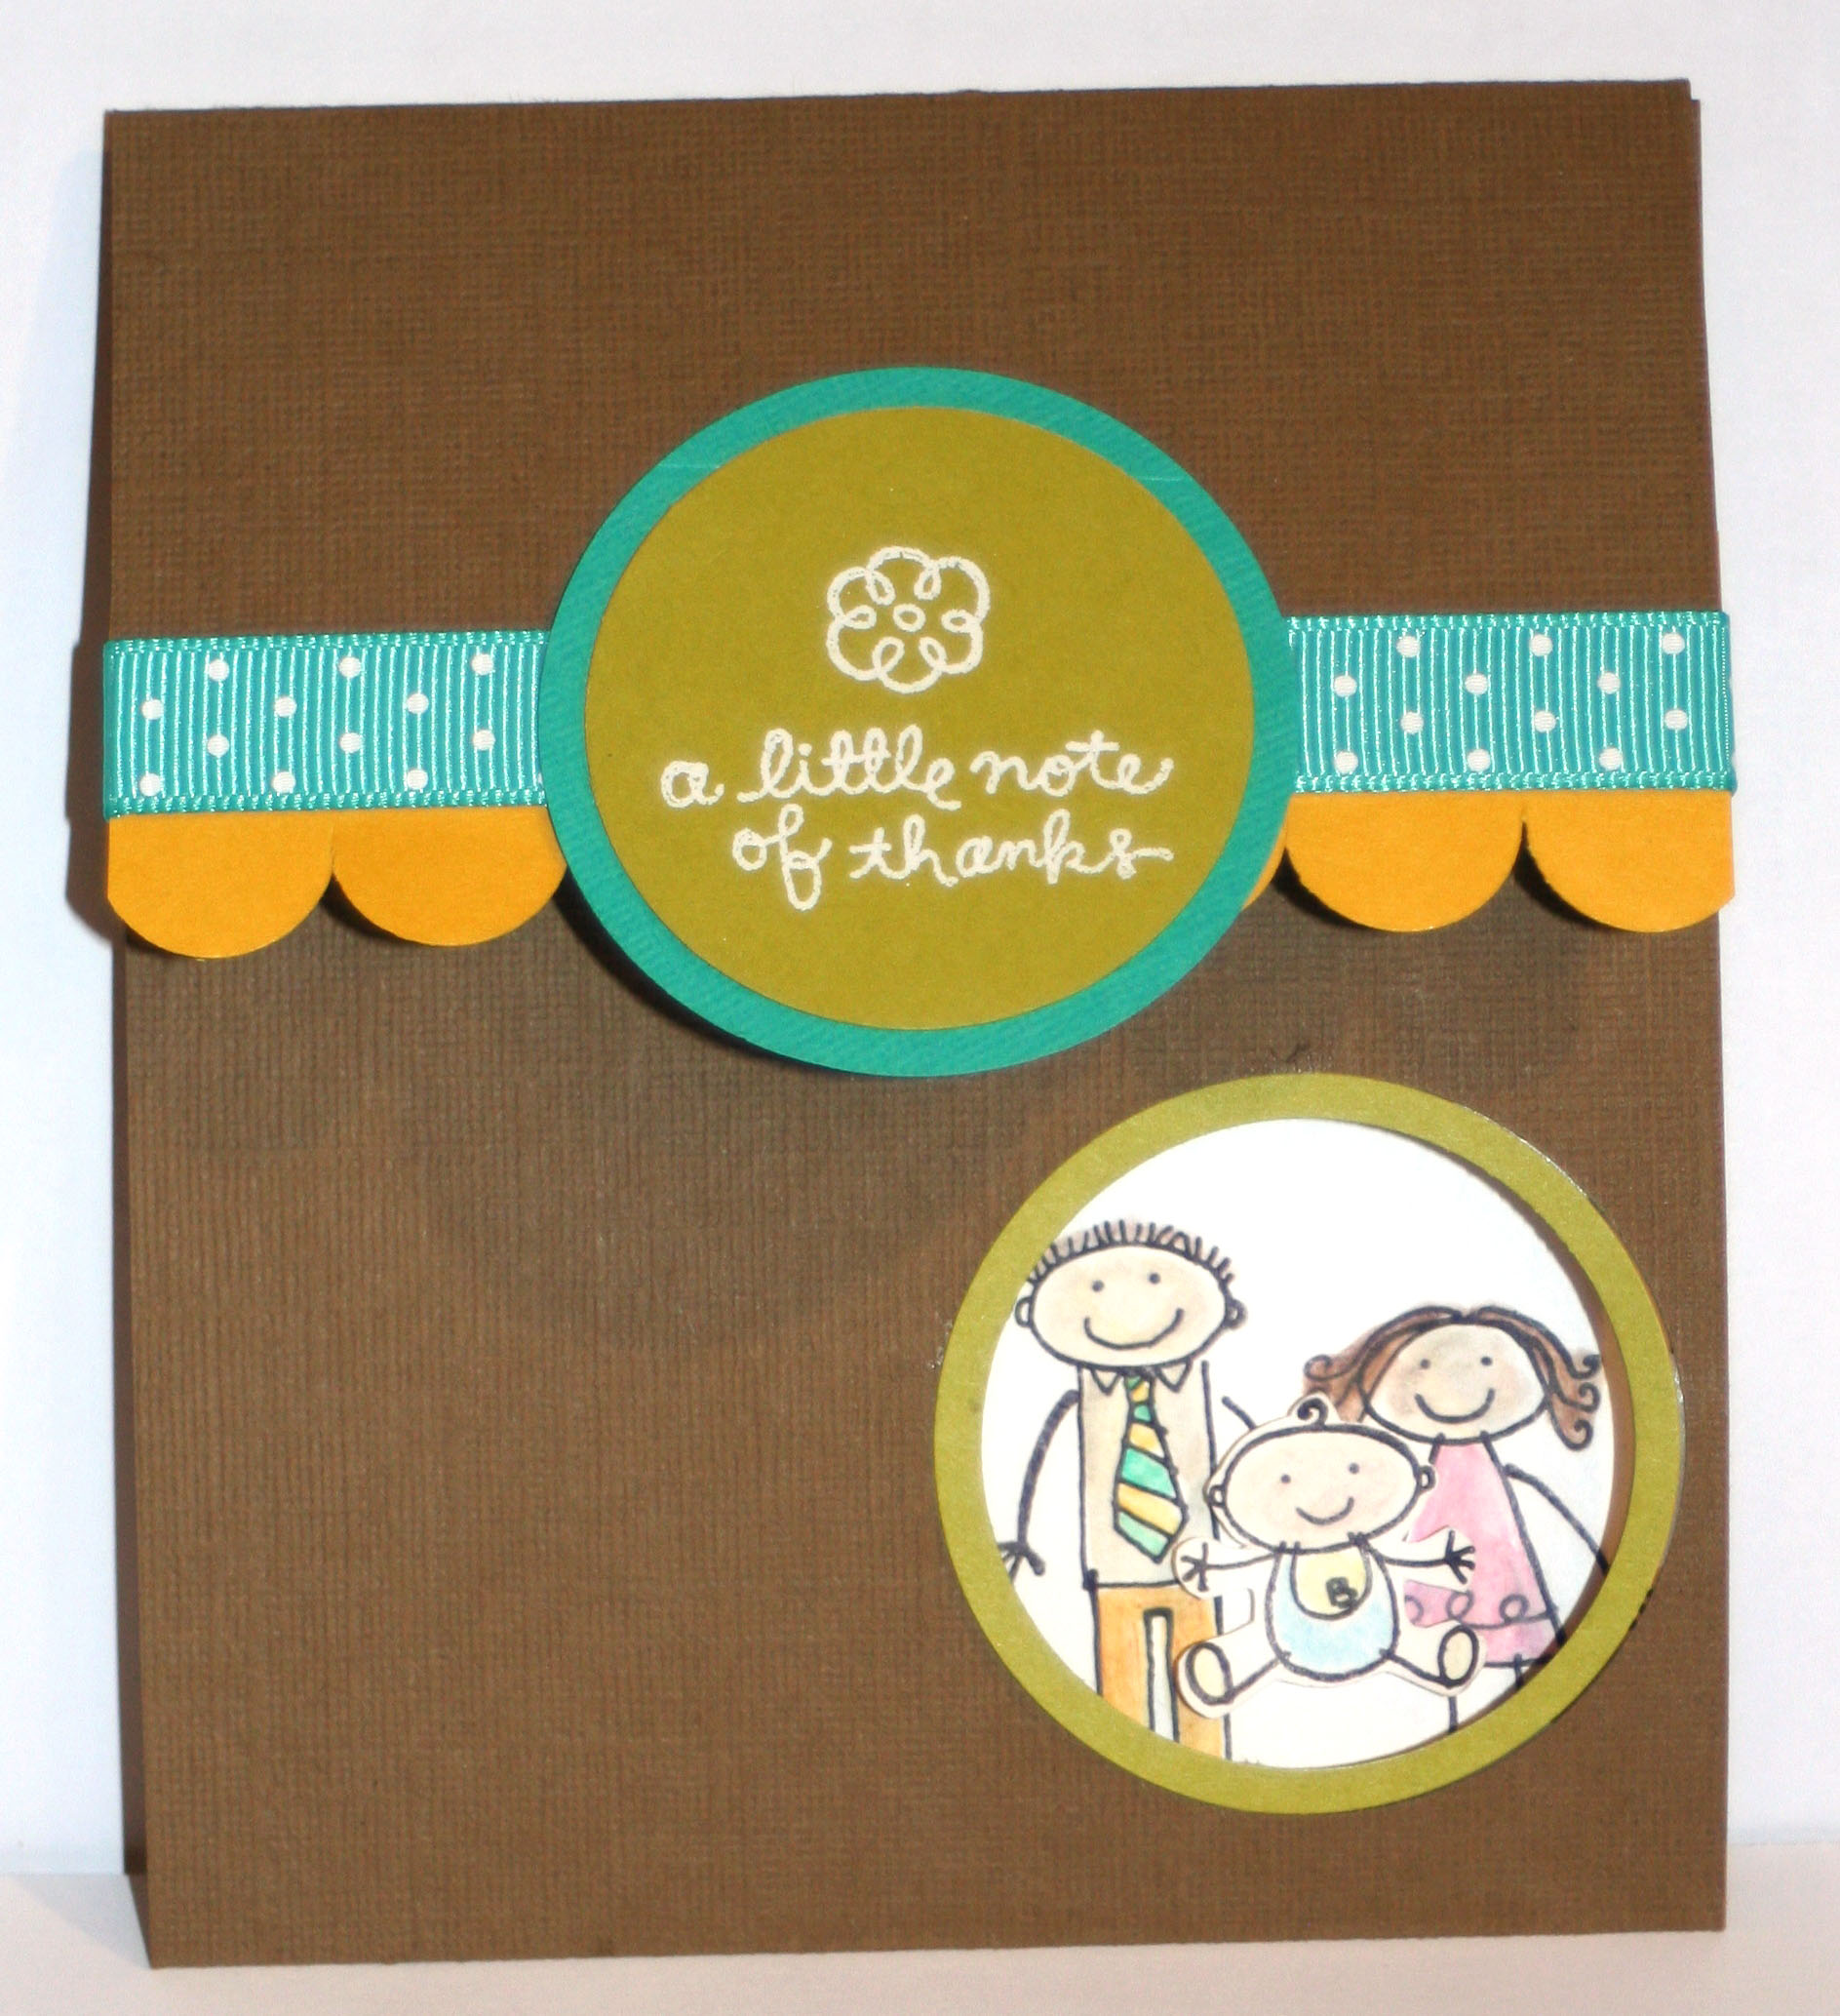
This is a trifold card thank you card I made as a sample for my sister. It uses the new In Colors Soft Suede, Bermuda Bay, and Crushed Curry. The green is Old Olive.

I started out with a 12″x 4 1/4″ piece of Textured Soft Suede card stock. I scored it at 5″ and then at 10″ to get the 2″ flap closure. I added a piece of Crushed Curry that I scalloped using the Slit Punch. Then, I wrapped some Bermuda Bay polka dot ribbon around the top flap, adhering it with Snail. The circle was done with a 2″ Fiskars Circle punch (Bermuda Bay) and the SU 1 3/8″ Circle Punch (Old Olive). I stamped the sentiment in Versamark and heat embossed it with White Embossing Powder. The stamp is from the Note of Thanks Mini Note Kit.

As for the “window” on the front of the card, I punched a 1 1/2″ hole out of the Soft Suede. To get the Old Olive ring: Punch a 1 3/8″ hole in a piece of Old Olive cardstock; Discard the circle you just punched out. Line up the 2″ punch over the smaller circle hole you just made in the Old Olive, leaving an even border all around and punch again. Adhere the ring to the card stock.

Inside, I lined the card with a 4″ x 4 3/4″ Whisper White panel. I stamped the images from All in the Family in Black ink using the Stamp-a-majig. Then I colored in the images using Colored Pencils and a Blender Pen. The baby was cut out and popped up on a dimensional.


Lots of Father’s Day Cards!

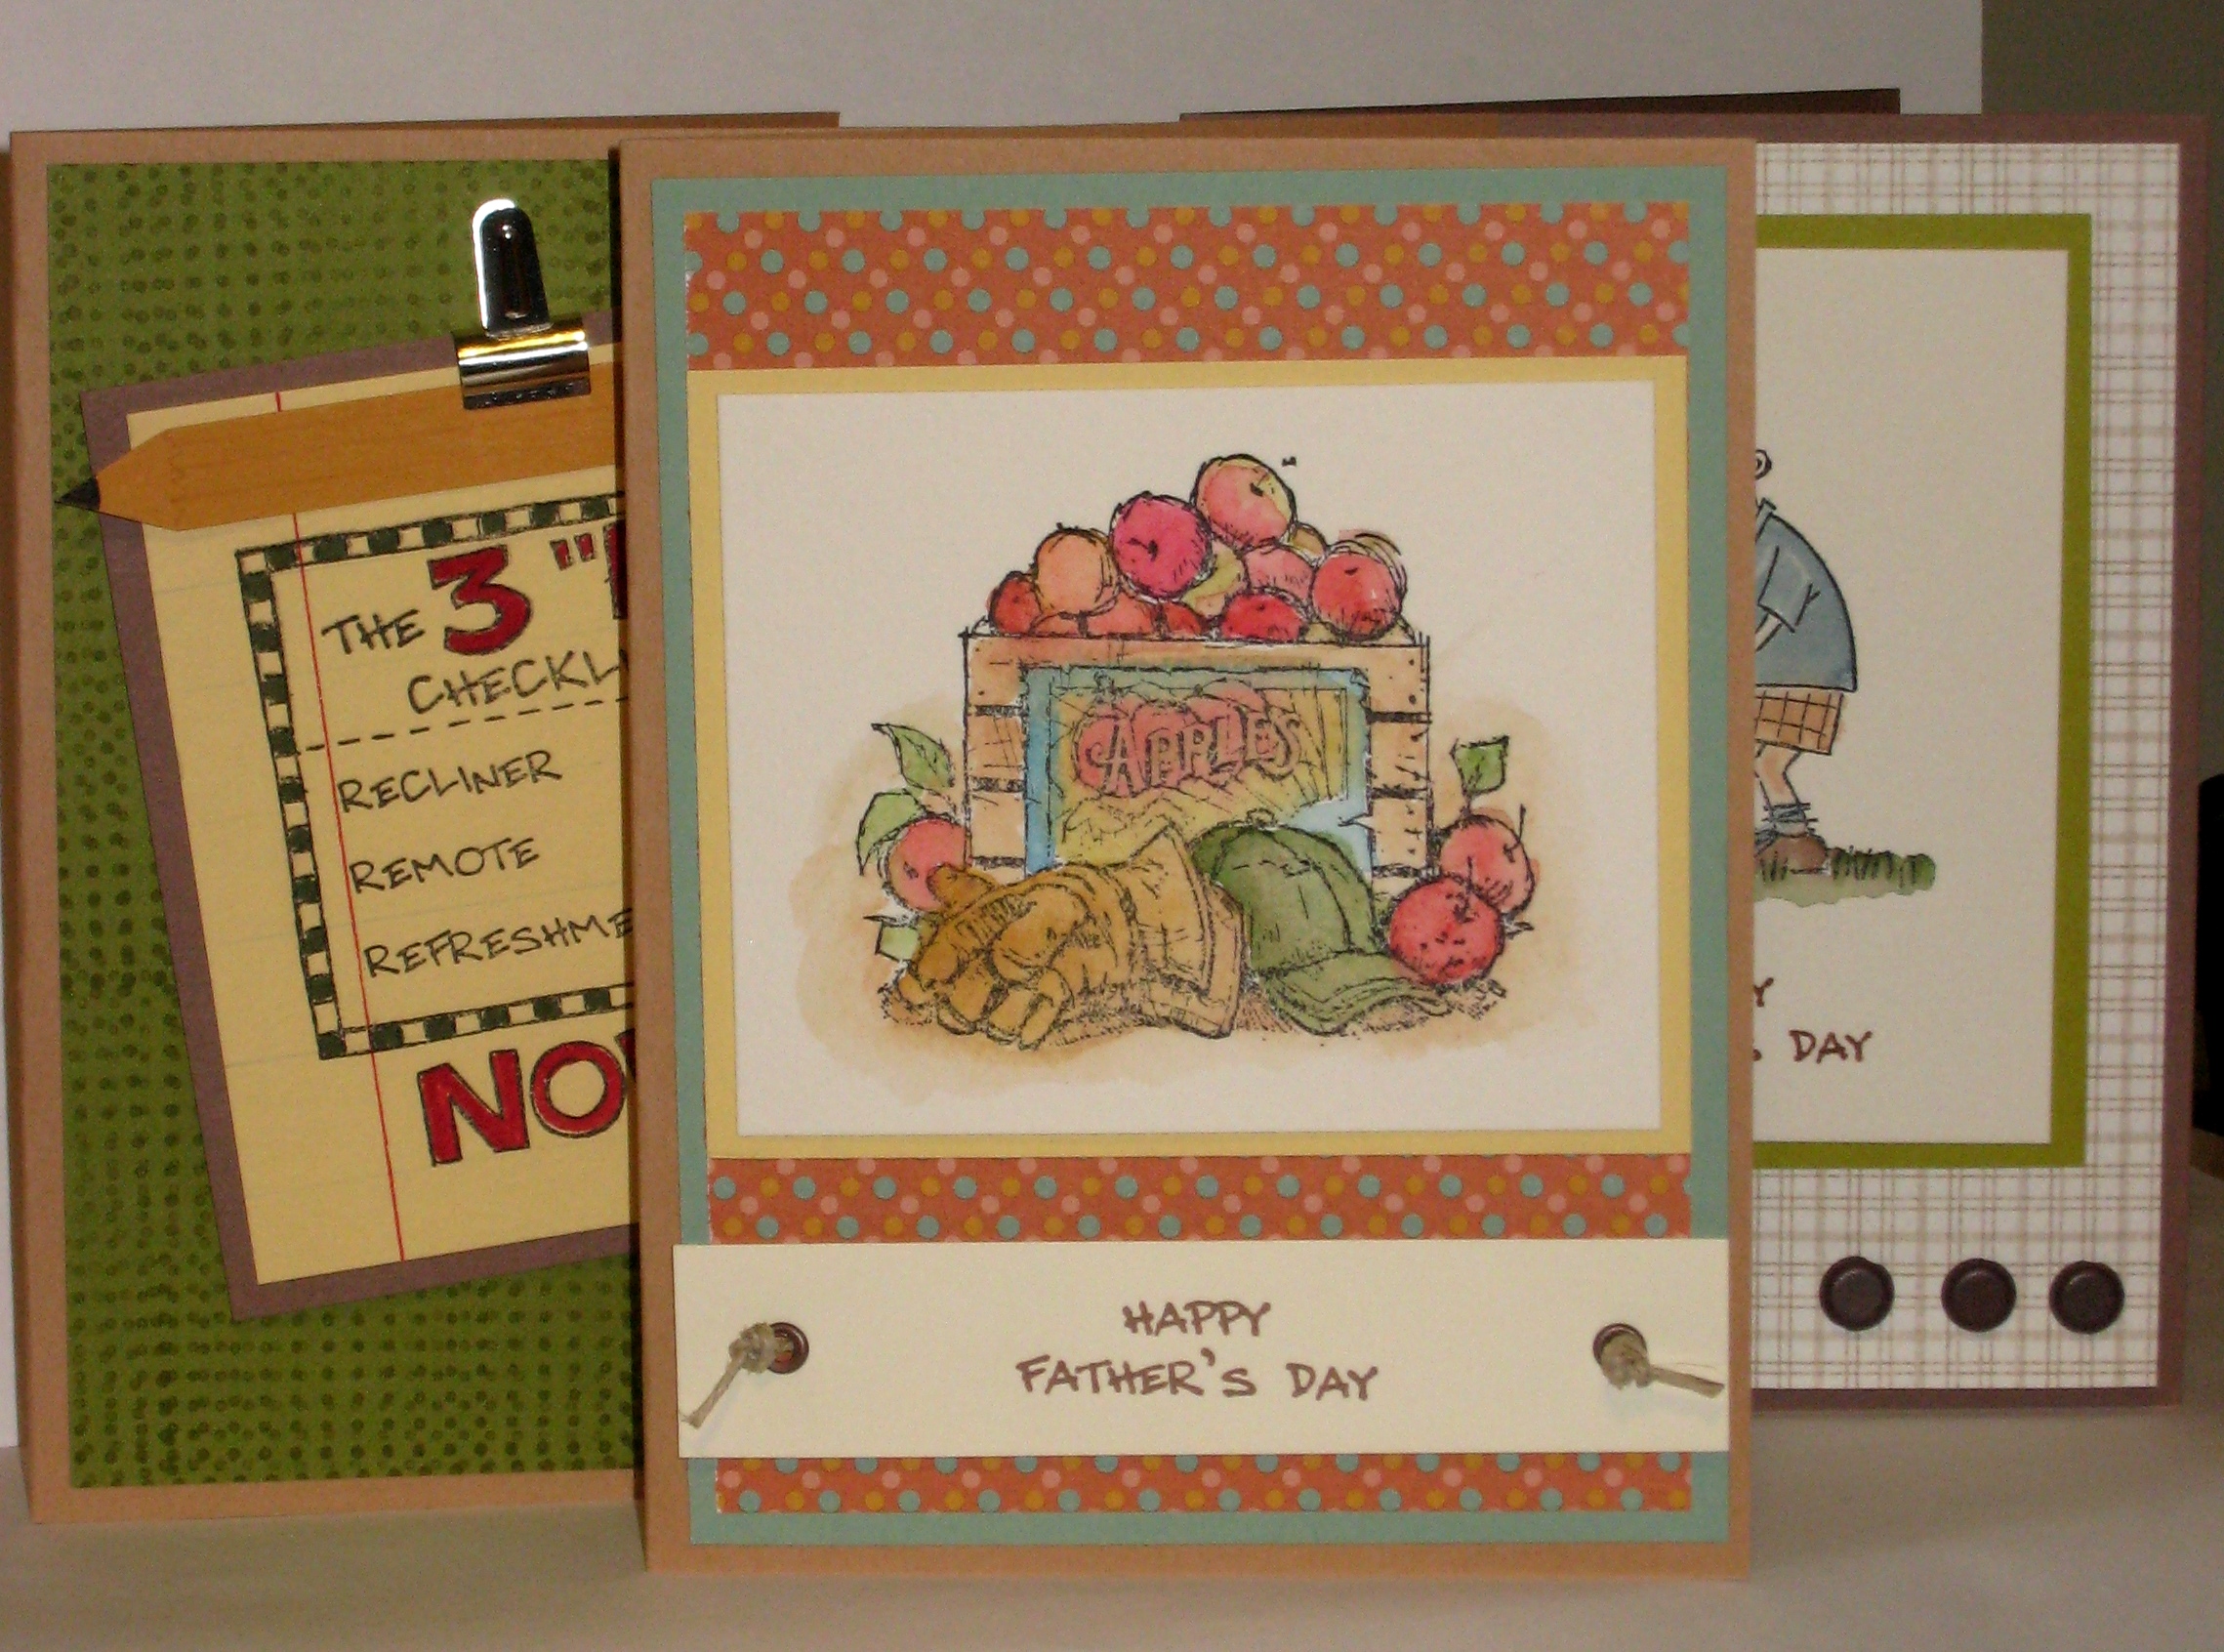
I set out to make all my father’s day cards in one sitting. I used And Many Mower and For Father (retired). Also, I tried out a few different coloring techniques, which I’ll explain below.

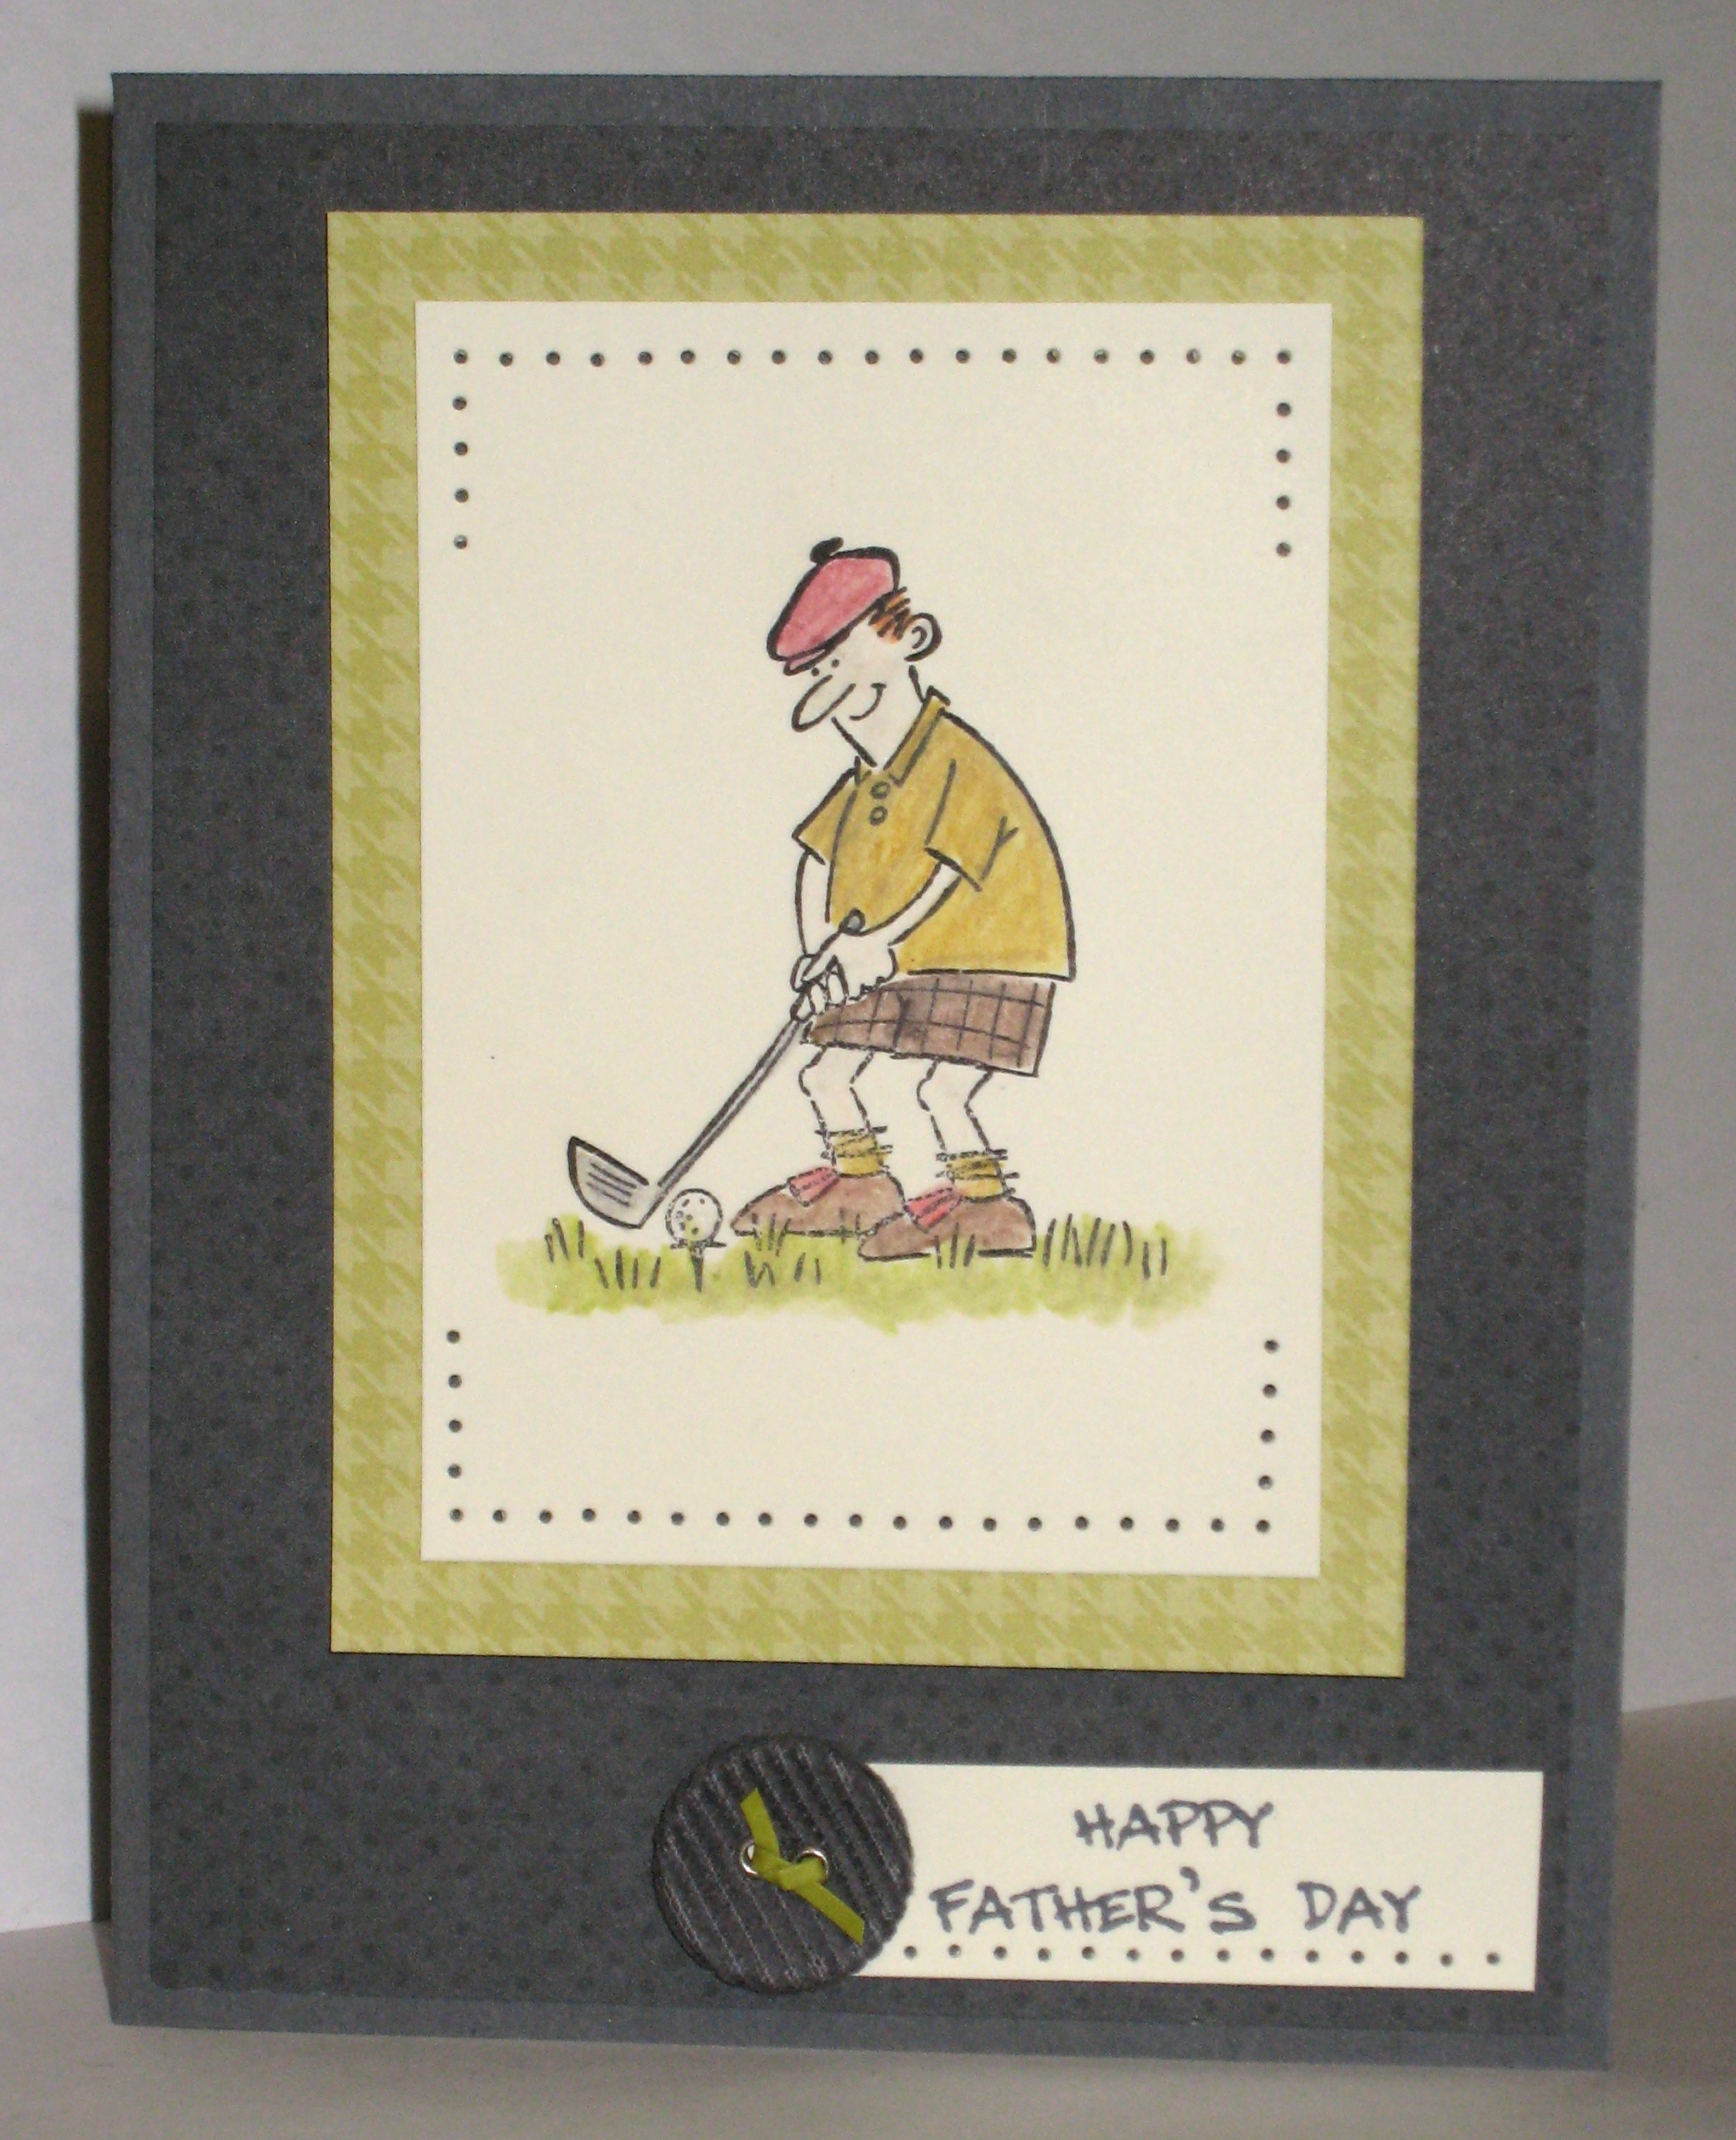
This card uses the And Many Mower stamp set (which is a great masculine set, with birthday and father’s day sentiments). I stamped the golfer onto Very Vanilla card stock with Basic Gray ink and colored him in with SU colored pencils. The blending was done with the blender pen and it’s one of my favorite coloring techniques.

I paper pierced around the image and matted it on some Kiwi Kiss patterned paper from Urban Garden DSP. The card base is Basic Gray, layered with another piece of DSP from Urban Garden.

The sentiment is stamped in Basic Gray ink onto Very Vanilla, paper pierced along the bottom, and the Basic Gray Corduroy Button is “threaded” with a thin strip of Kiwi Kiss card stock.

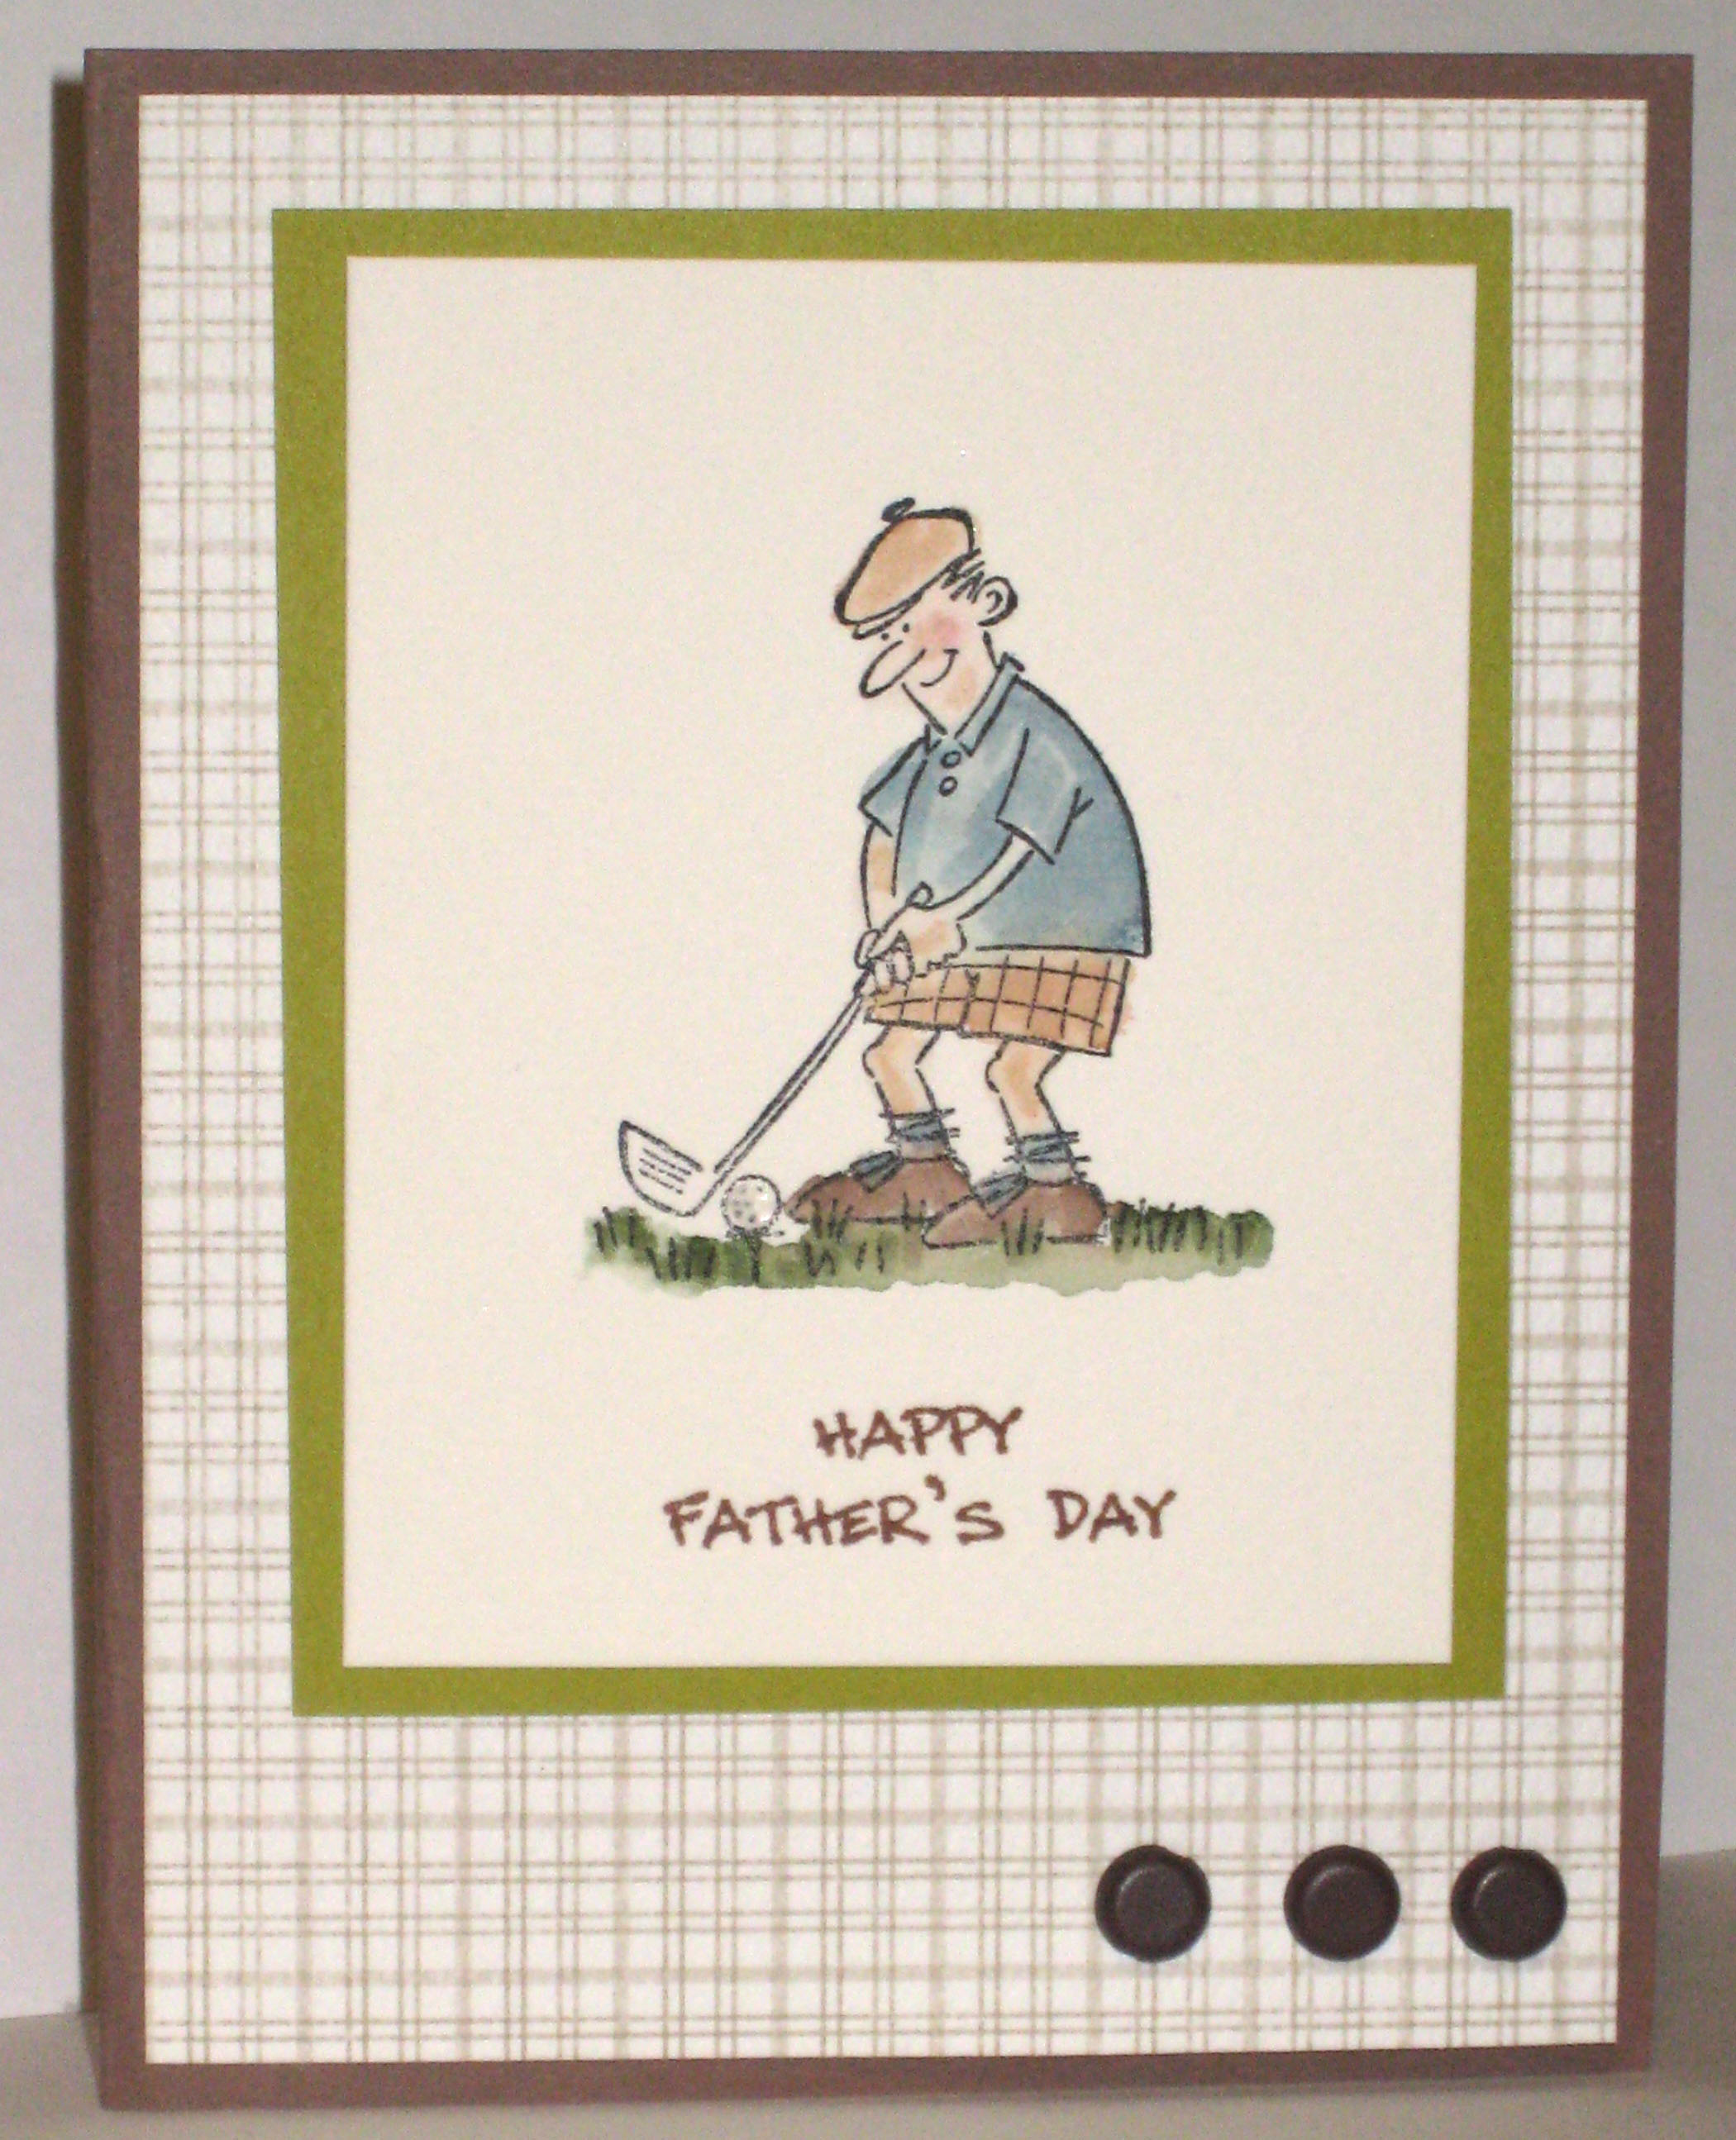
Next up is another card using And Many Mower, but this time I colored the image in using SU Markers and the Aquapainter. I stamped the image onto Watercolor Paper in Stazon Black. Then using various color markers, I colored in the image and blended with the aquapainter. There are many tutorials for this technique, but I especially like this one.

The image is mounted onto a piece of Kiwi Kiss card stock and then adhered to the base (which is Close to Cocoa with a layer of Parisian Breeze DSP). Finishing off the card are 3 brown Basic Brads 5/16″. I stamped the “Happy Father’s Day” in Close to Cocoa ink.

The third card I made uses the set For Father, which is from an old Mini Catalog, and I’m glad I bought it becaue I don’t have many Masculine sets, so this has come in handy several times!

The card base is Creamy Caramel, layered with Sage Shadow and a piece of DSP from Autumn Vines DSP. The image was stamped with Black Stazon ink onto Watercolor Paper and watercolored using the Earth Elements Watercolor Crayons and the Aquapainter. I’m not good at watercoloring these types of images but I’m trying and learning as I go!

The image is layered onto a piece of So Saffron card stock. The sentiment from And Many Mower is stamped in Close to Cocoa ink onto Very Vanilla card stock. I embellished it a little (keeping it manly) with 2 brown eyelets and some Hemp Twine knotted the ends.

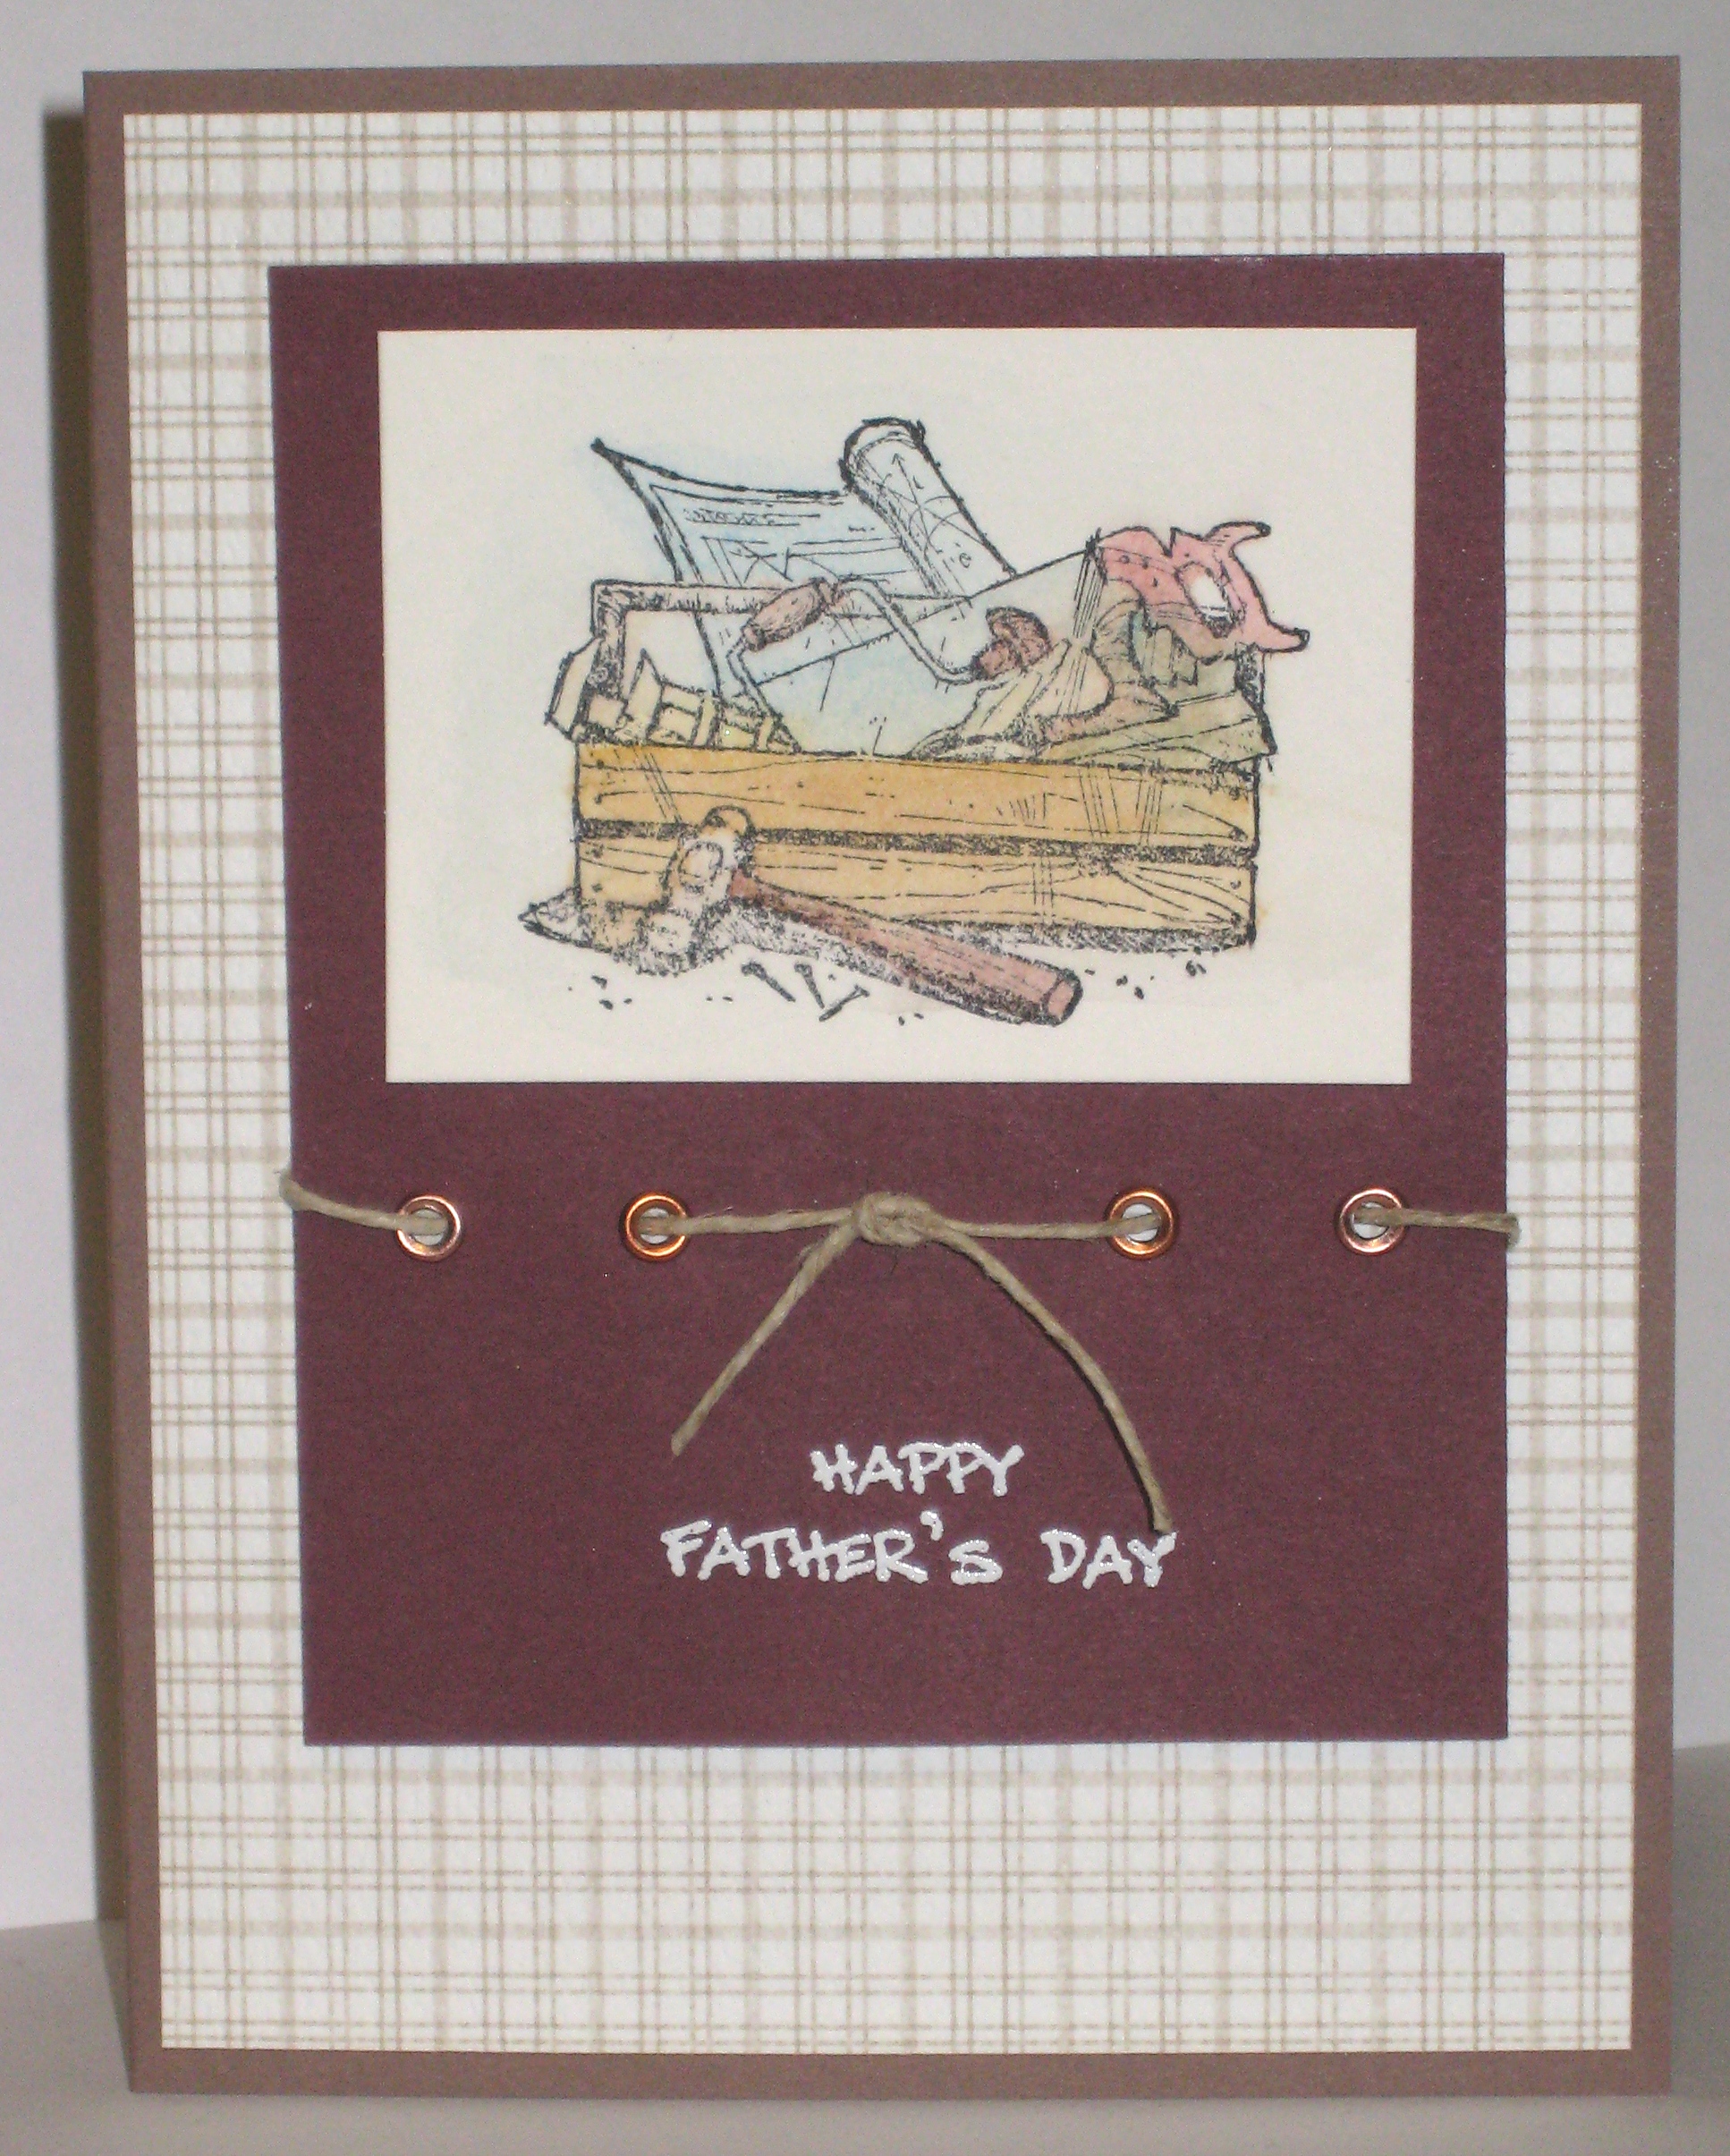
Lastly, this card was made for my Dad. I used the For Father stamp set again. I stamped the image in Black Stazon ink and watercolored it using the Earth Elements Watercolor Crayons and Aquapainter. The image layer is matted with a piece of Elegant Eggplant (I never use this color EVER) and I added some copper eyelets and Hemp Twine under the image to dress it up a little. Below, I stamped the “Happy Father’s Day” from And Many Mower in Versamark and embossed it with White embossing powder.

This card base is Close to Cocoa layered with that plaid Parisian Breeze DSP.

Info on the clipboard card from the first picture (left side) can be found in a previous post, here.

Bad Behavior has blocked 392 access attempts in the last 7 days.

css.php