Archives for May 2009

A Cupcake cute enough to eat

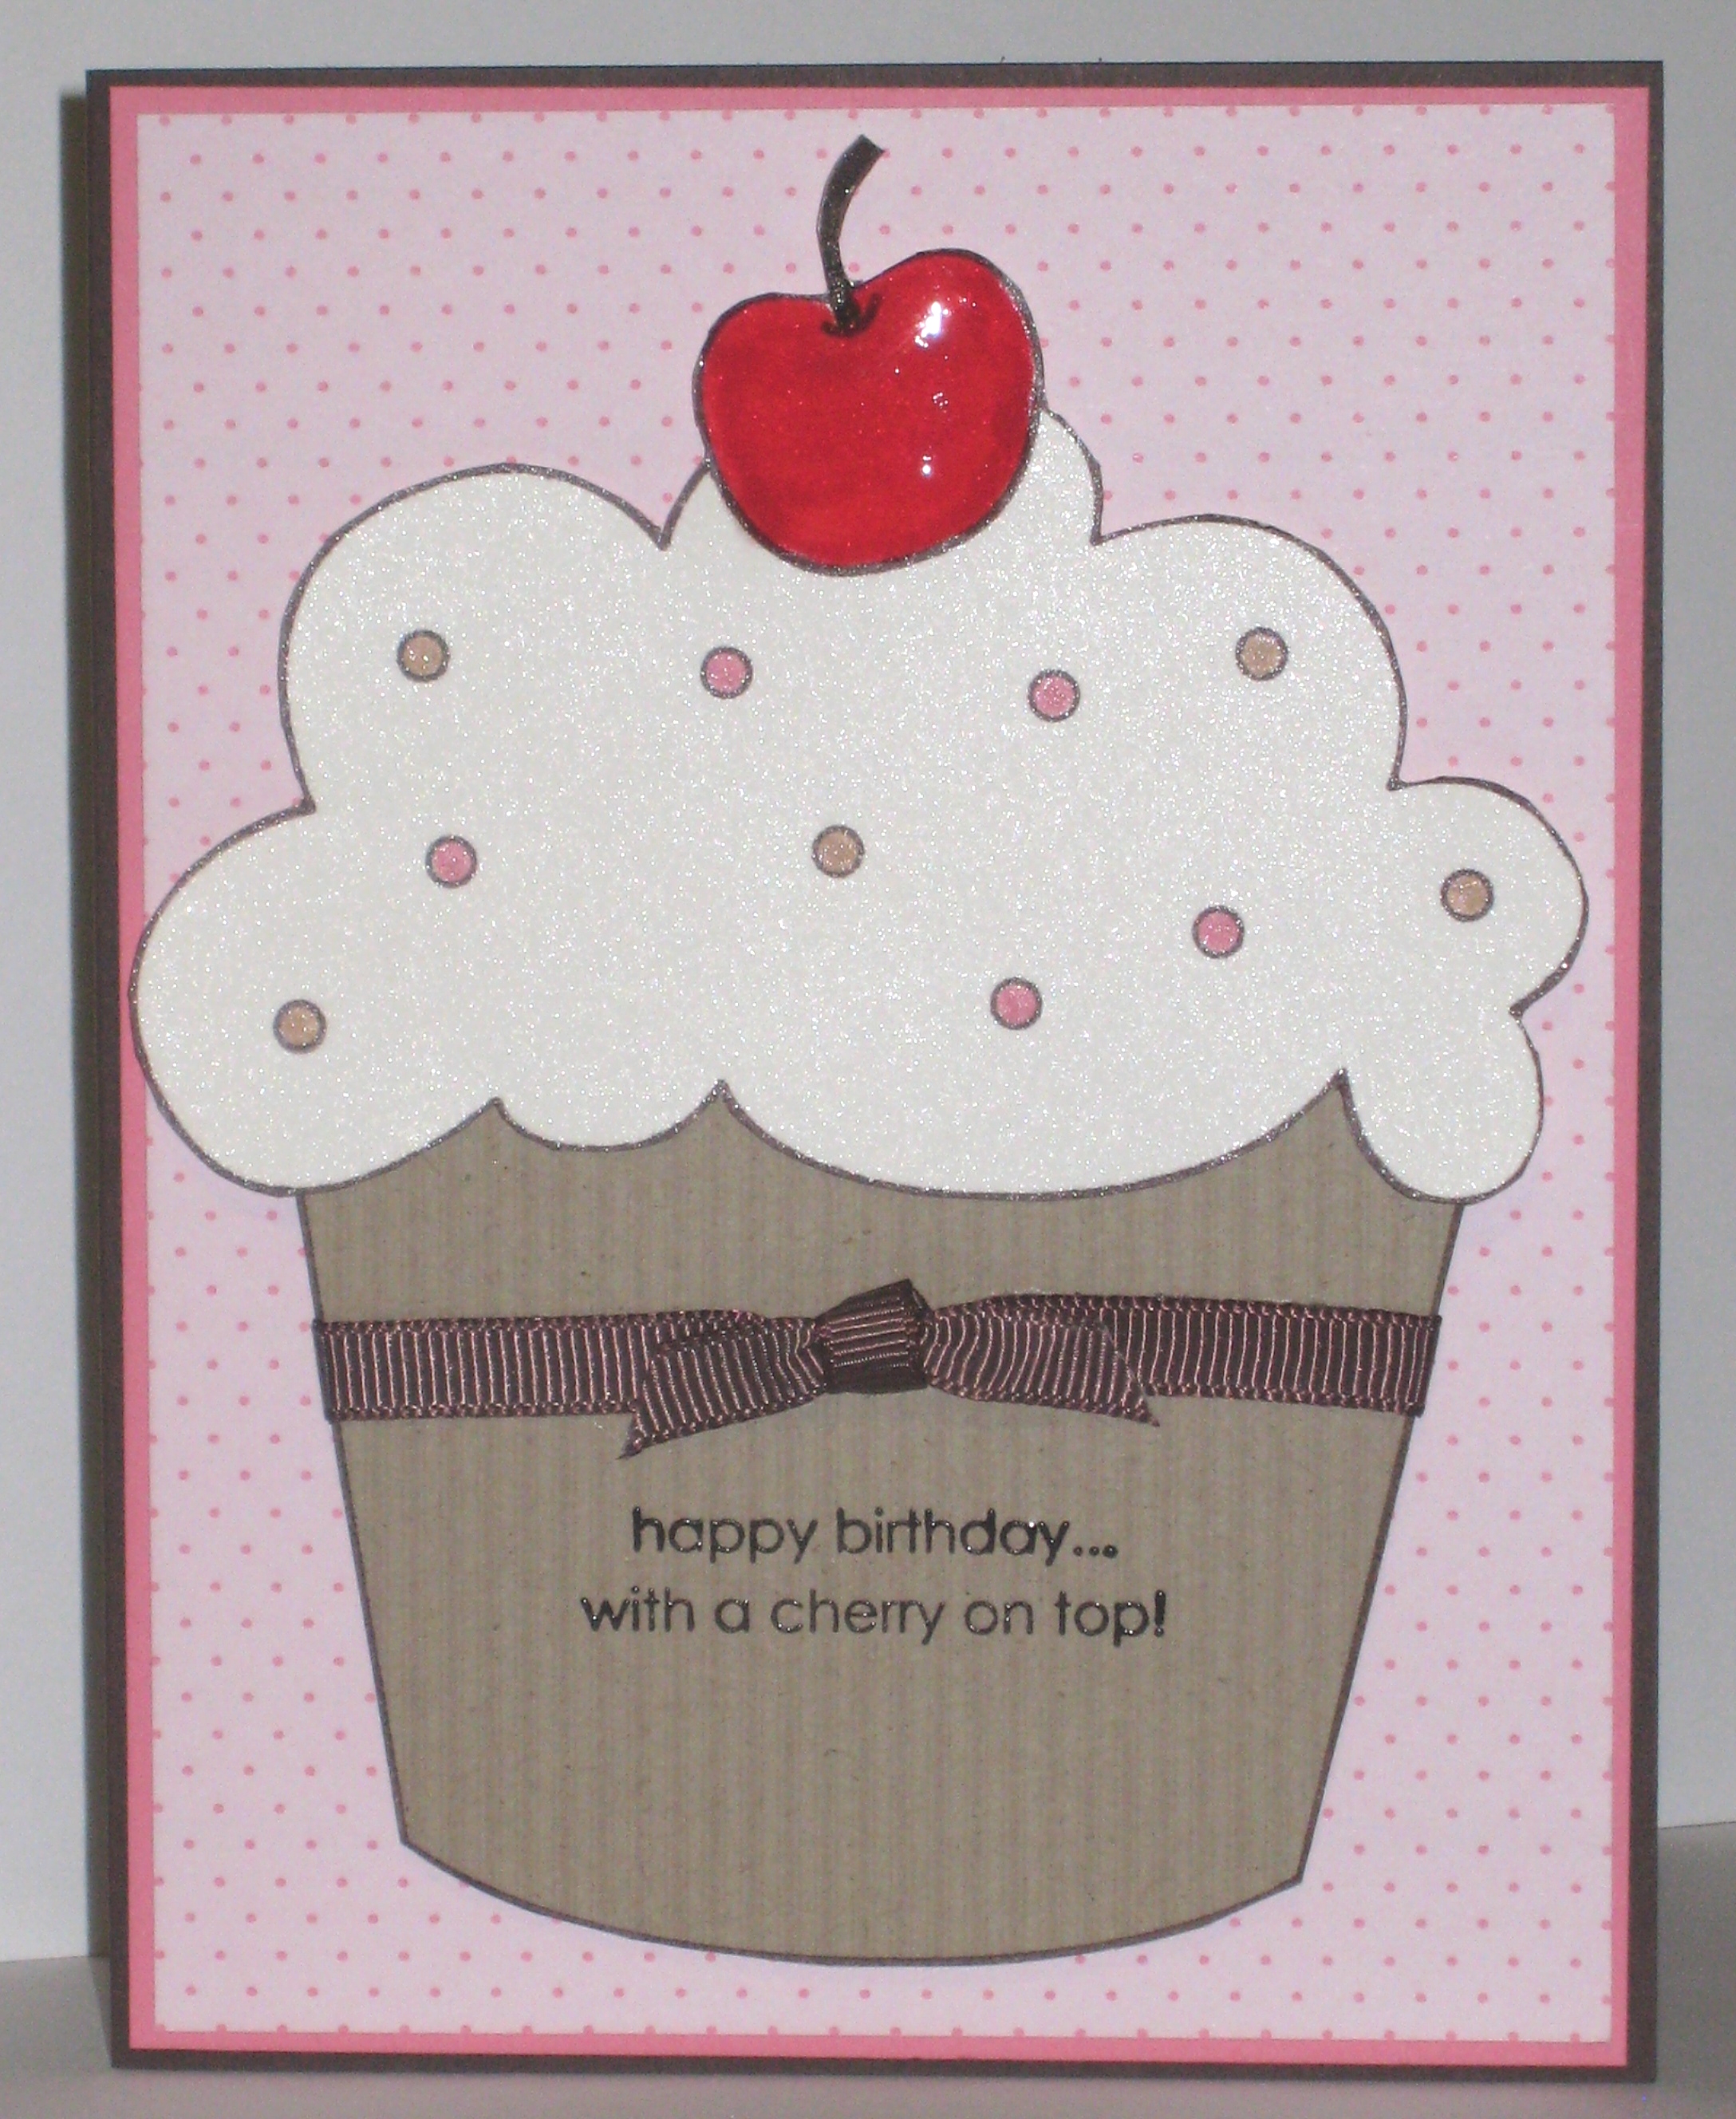
I had this Simple Birthday Thanks stamp for a while and haven’t used it yet. Having an almost 3 year old, I can see a lot of possiblities where cards like this will come in handy (invitations anyone?) I am terrible at paper piecing so this is a very easy one to do–just 2 pieces to cut out!

The card base is Chocolate Chip, layered with Regal Rose and the polka dot DSP is from Sweet Always. That is probably one of my most favorite DSPs ever and I will be sure to order more on June 1st in case it all retires!

For the cupcake, I inked up the bottom “cup” in Chocolate Chip marker and stamped onto Striped Kraft (from the Taste of Textiles). The “top” of the cupcake was stamped the same way onto Shimmery White card stock. Both parts were cut out using my Cutterbee paper snips (Which by the way have a magnetic tip, so you can pick through containers of brads and they will stick to the tip of the scissors!) I colored in the sprinkles with Regal Rose marker and Creamy Caramel marker. The cherry was colored with Real Red marker, and then I used Crystal Effects to make it shiny and 3D.

On the bottom of the cupcake I also stamped a sentiment from Goody Goody Gumdrops in Chocolate Chip Craft ink and embossed it with Clear Embossing powder. The ribbon is 1/4″ Chocolate Chip grosgrain. I popped up the cupcake pieces on dimensionals.

All this talk of chocolate chip and cupcakes has me craving something sweet! Maybe I’ll make my chocolate chip banana bread muffins.

Oops I forgot to mention I was looking through the gallery at www.splitcoaststampers.com and saw this awesome card that made me reach for this stamp!
Father’s Day Clipboard Card

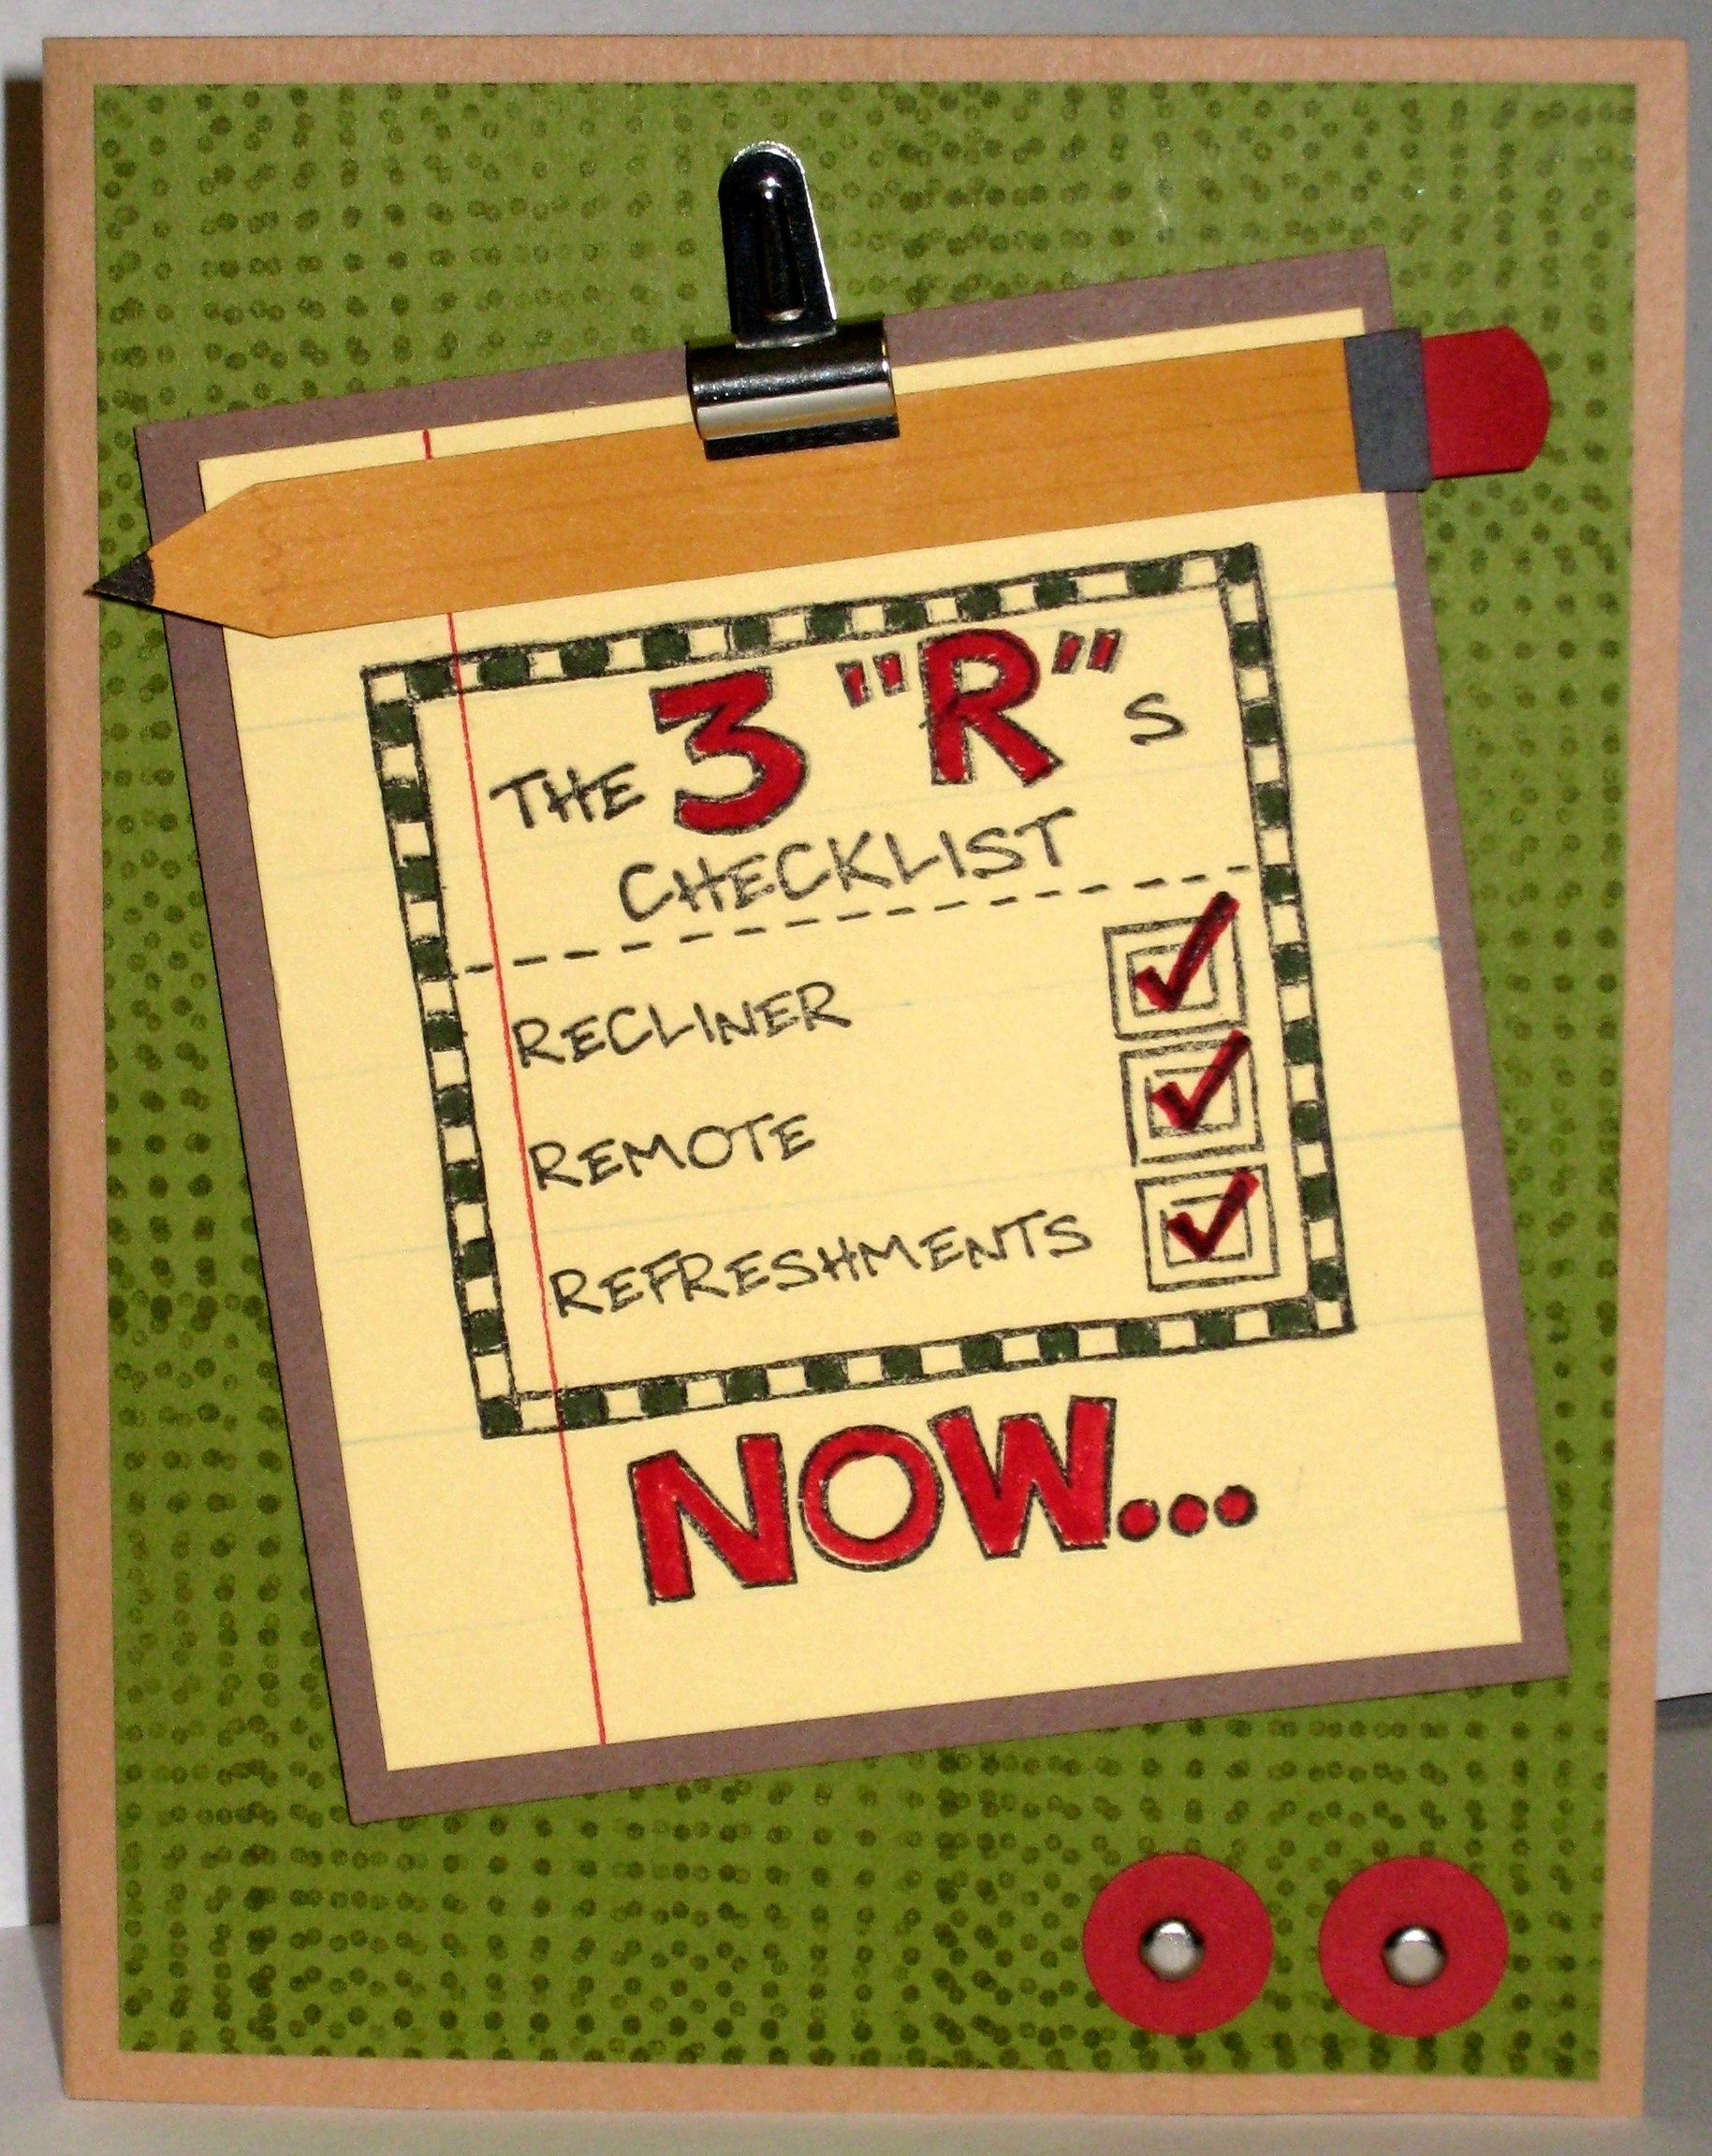
I am so pleased with the way this card turned out. It was almost unintentional–I started out by stamping the checklist from And Many Mower onto a piece of Confetti paper first, that’s how I came up with the legal pad/looseleaf idea. I made my own lined paper by taking a piece of So Saffron card stock and using a ruler, lightly drew lines with the fine point of my Bashful Blue marker. The red line down the left side was made the same way, using the Real Red marker.

By mounting onto a piece of Close to Cocoa card stock, it looked like a clipboard. And it just so happens I have those clips I bought long ago and never had a use for them until now! While I was on the clipboard idea, I decided to make a pencil when I looked down at my craft table and saw a scrap piece of More Mustard. Perfect. I cut it to about 1/2″ wide and drew the tip in Basic Black Marker. It’s hard to see in the picture, but I also used the More Mustard marker to draw vertical lines up the pencil, and a squiggly line to show where it’s sharpened. The metal ring is a piece of Basic Gray card stock and the eraser is a piece of Riding Hood Red, sponged with the same color ink.

The checklist itself is stamped in Black ink, colored in with Old Olive marker and Real Red marker. The card base is Creamy Caramel layered with a piece of Old Olive that I stamped with the Wheel Lots of Dots in Old Olive ink. I ran the wheel vertically, then across to make a checkerboard pattern.

At the bottom, I glued on two Riding Hood Red 1/2″ circles (punched with my 1/2″ Circle Punch) and popped in two small metal brads.

The clipboard is attached with dimensionals, and the pencil is just clipped in the paper clip.

Inside, I stamped the “Relax” and “Happy Father’s Day” sentiments from the And Many Mower set.

Another reminder for my hubby to mow the lawn this weekend :)

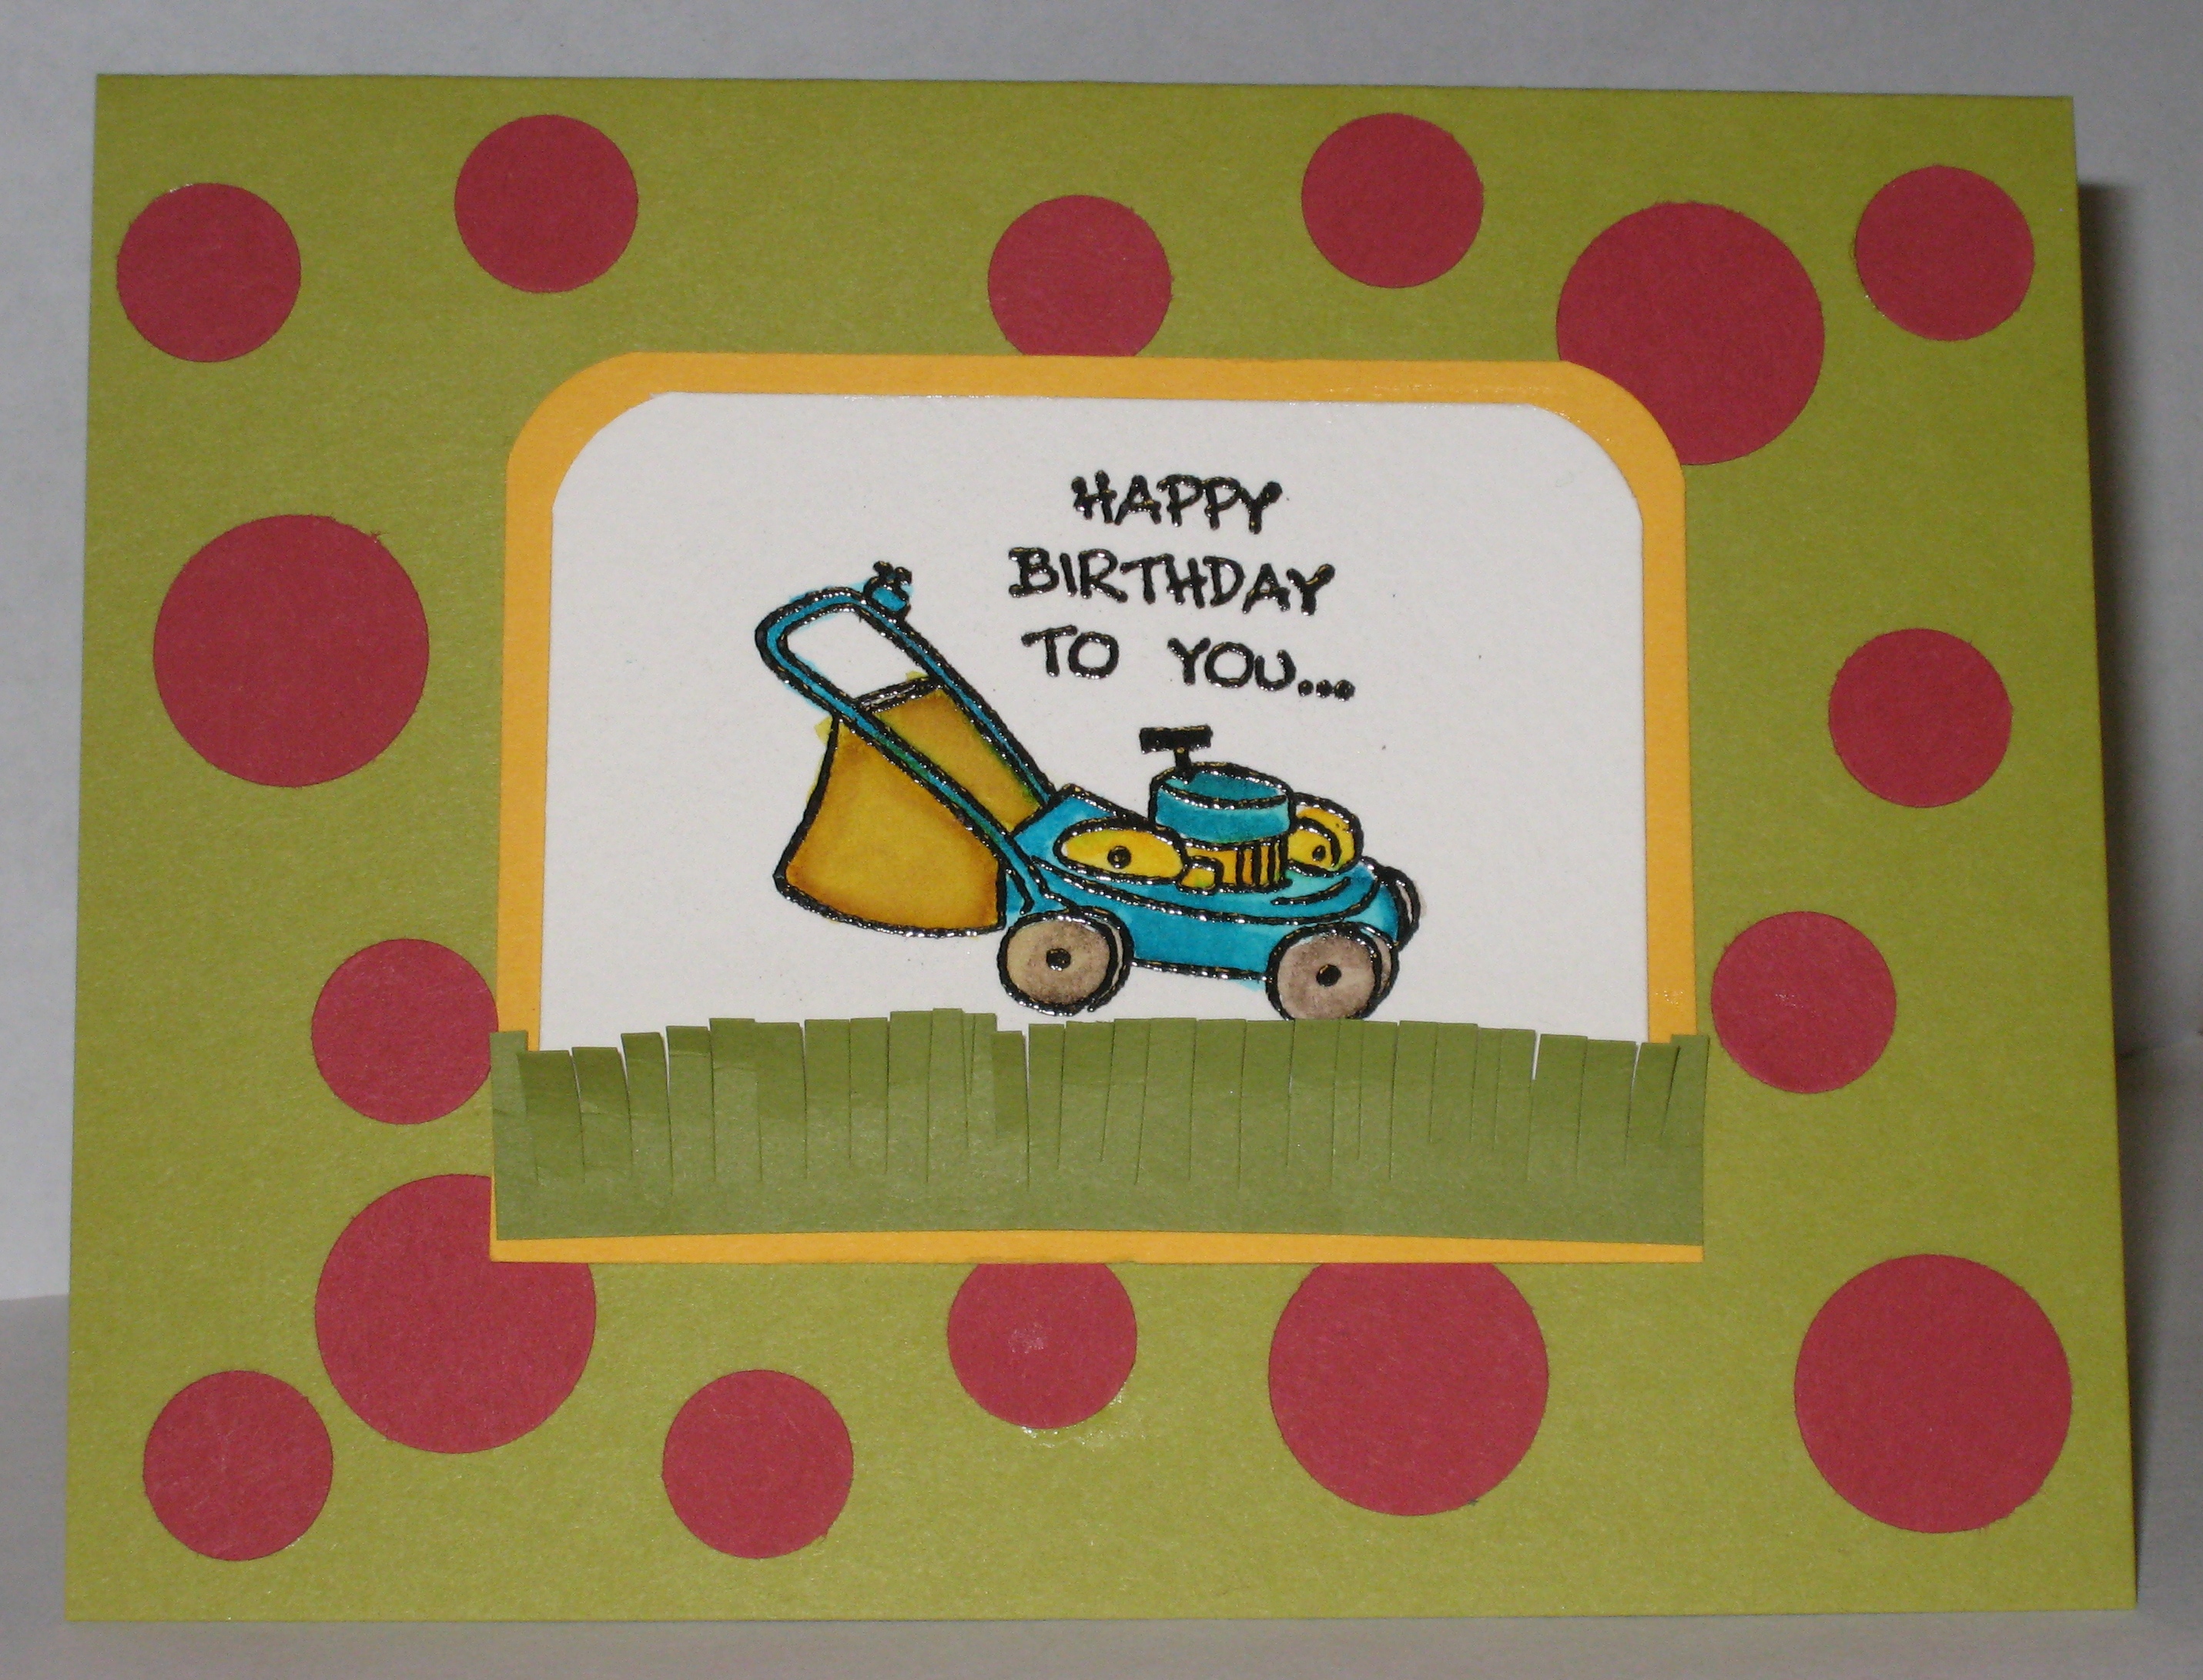
This is another card I made using the set And Many Mower from the Occasions Mini. As I did before, I stamped the image in Versamark on Watercolor paper and embossed it using Black embossing powder. The colors I used to watercolor were Taken with Teal, Summer Sun, More Mustard, and Close to Cocoa Markers.

I layered the image onto Summer Sun card stock and used the corner rounder punch to clip the top corners. Again, the “grass” was made using a strip of Old Olive card stock and my scissors.

The card base is Kiwi Kiss and I used my 1/2″ and 3/4″ Circle Punches to make Riding Hood Red polka dots. It’s my new trick and I’m obsessed with it as you can see.

Bad Behavior has blocked 517 access attempts in the last 7 days.

css.php