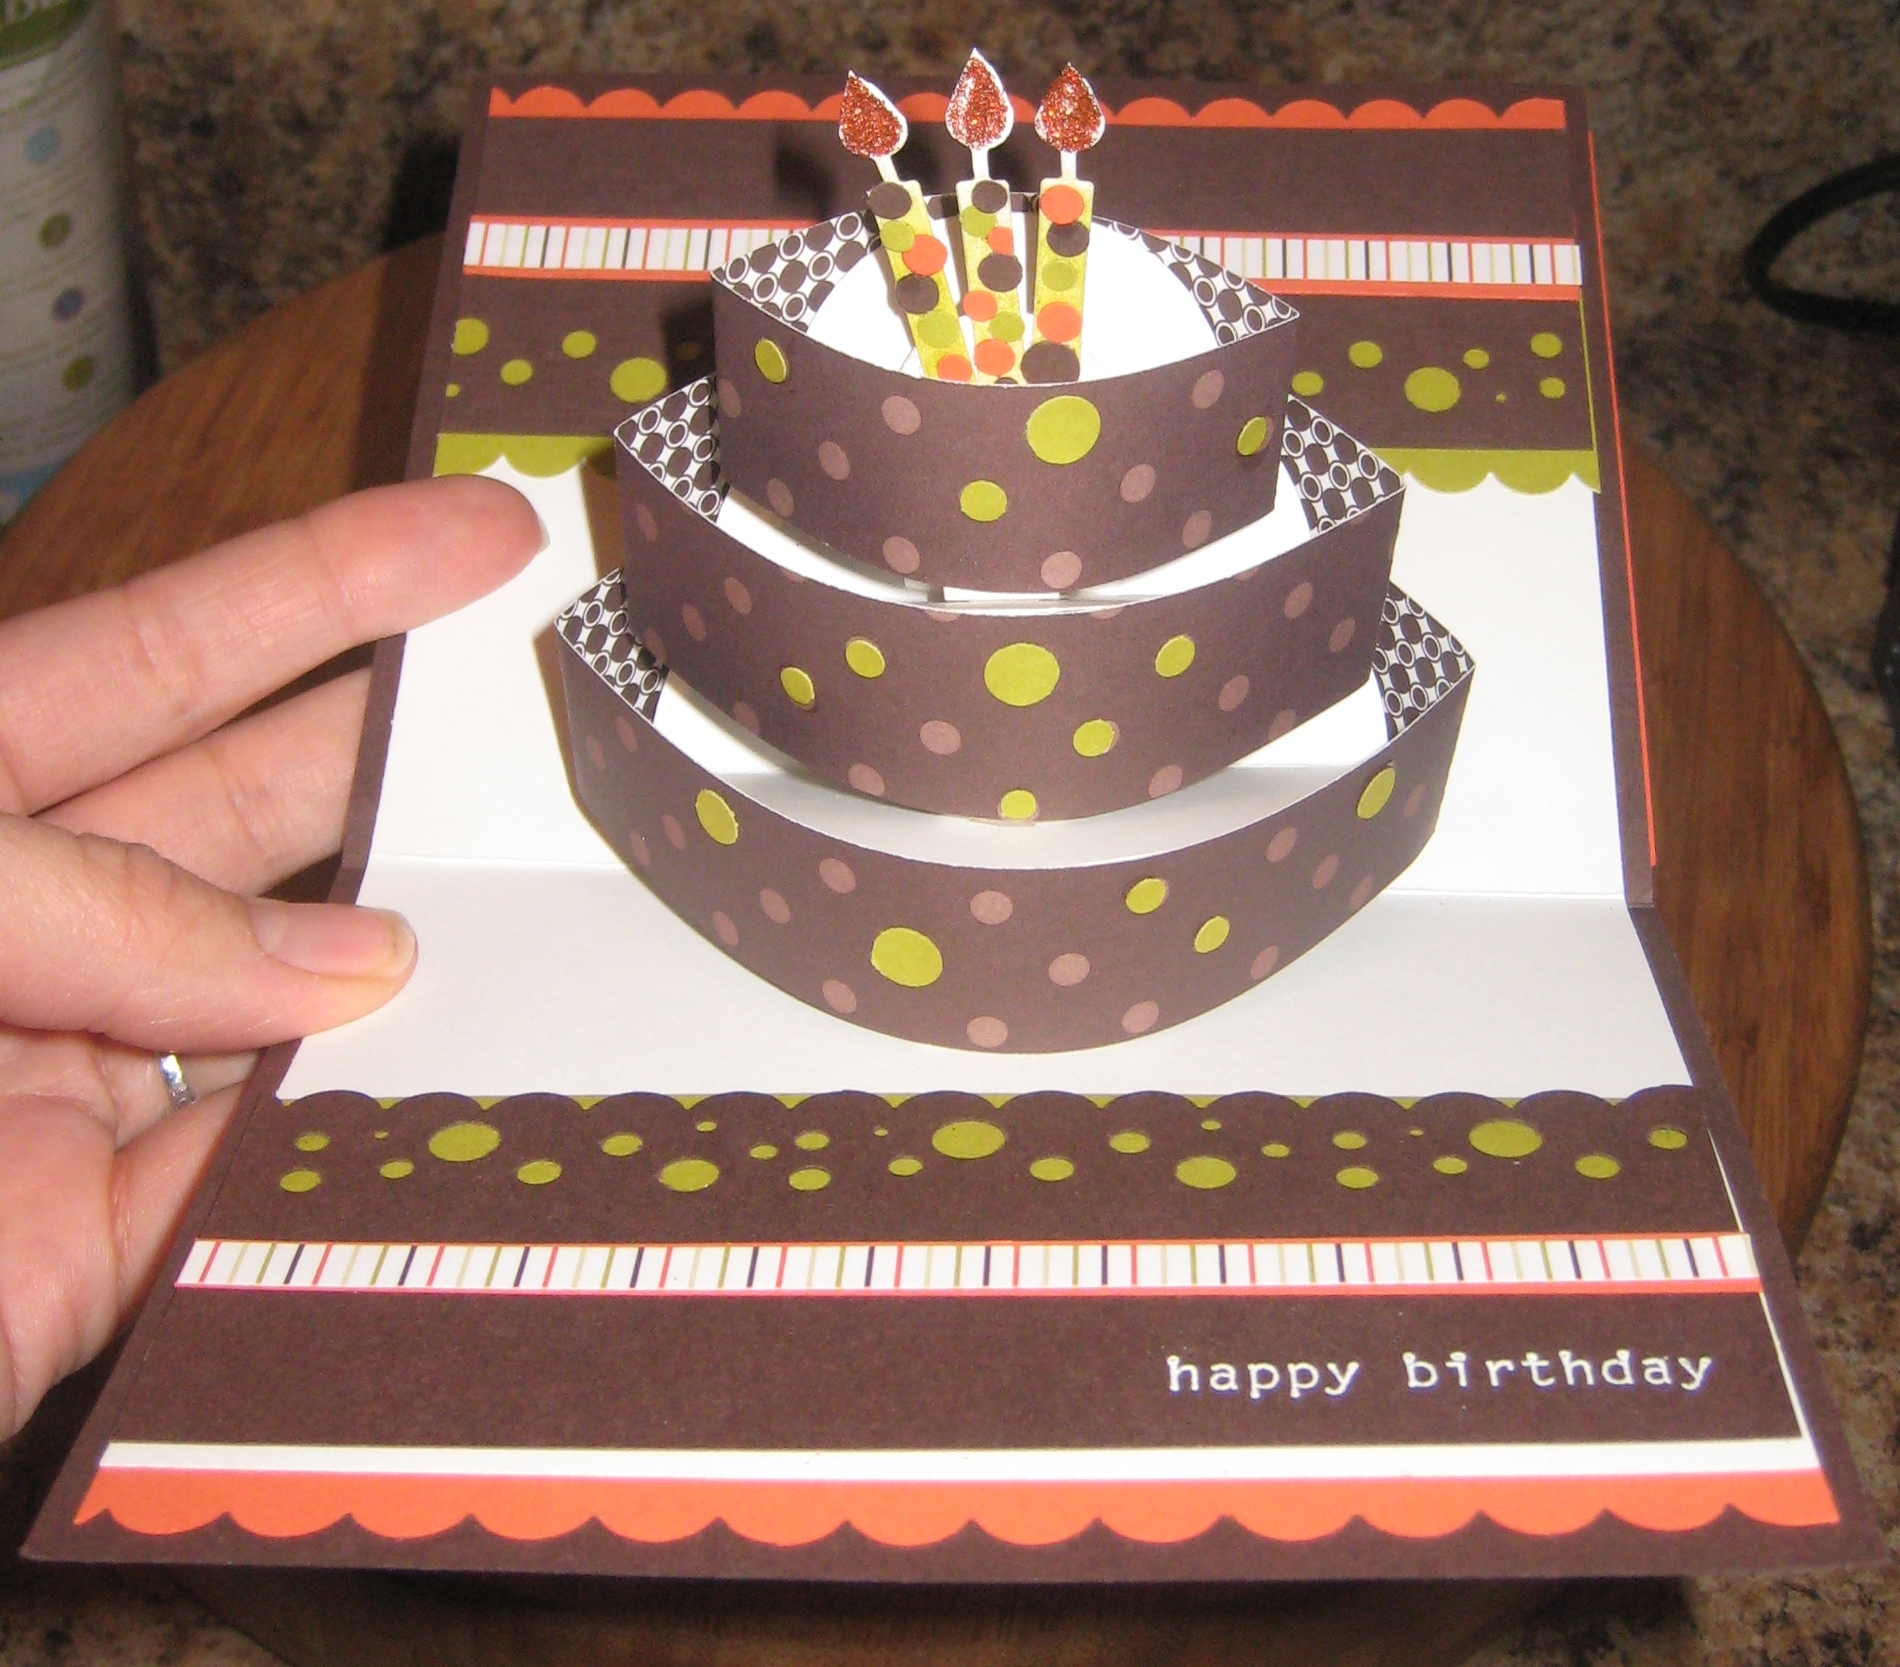
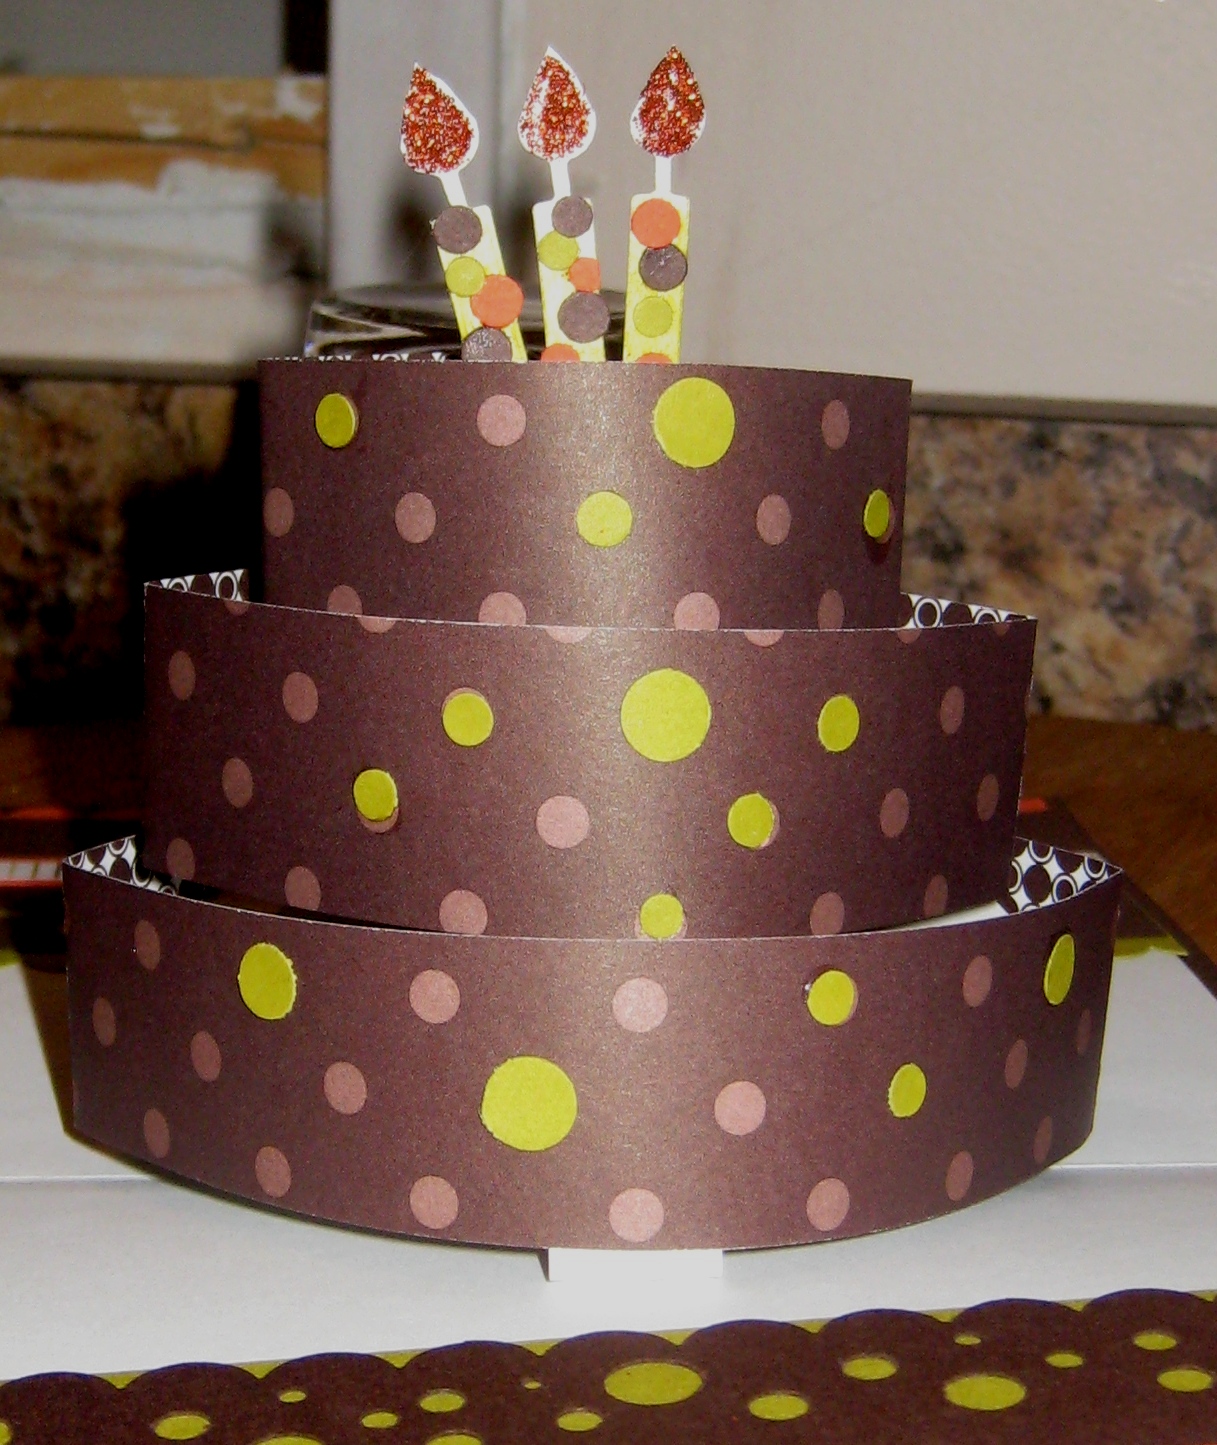
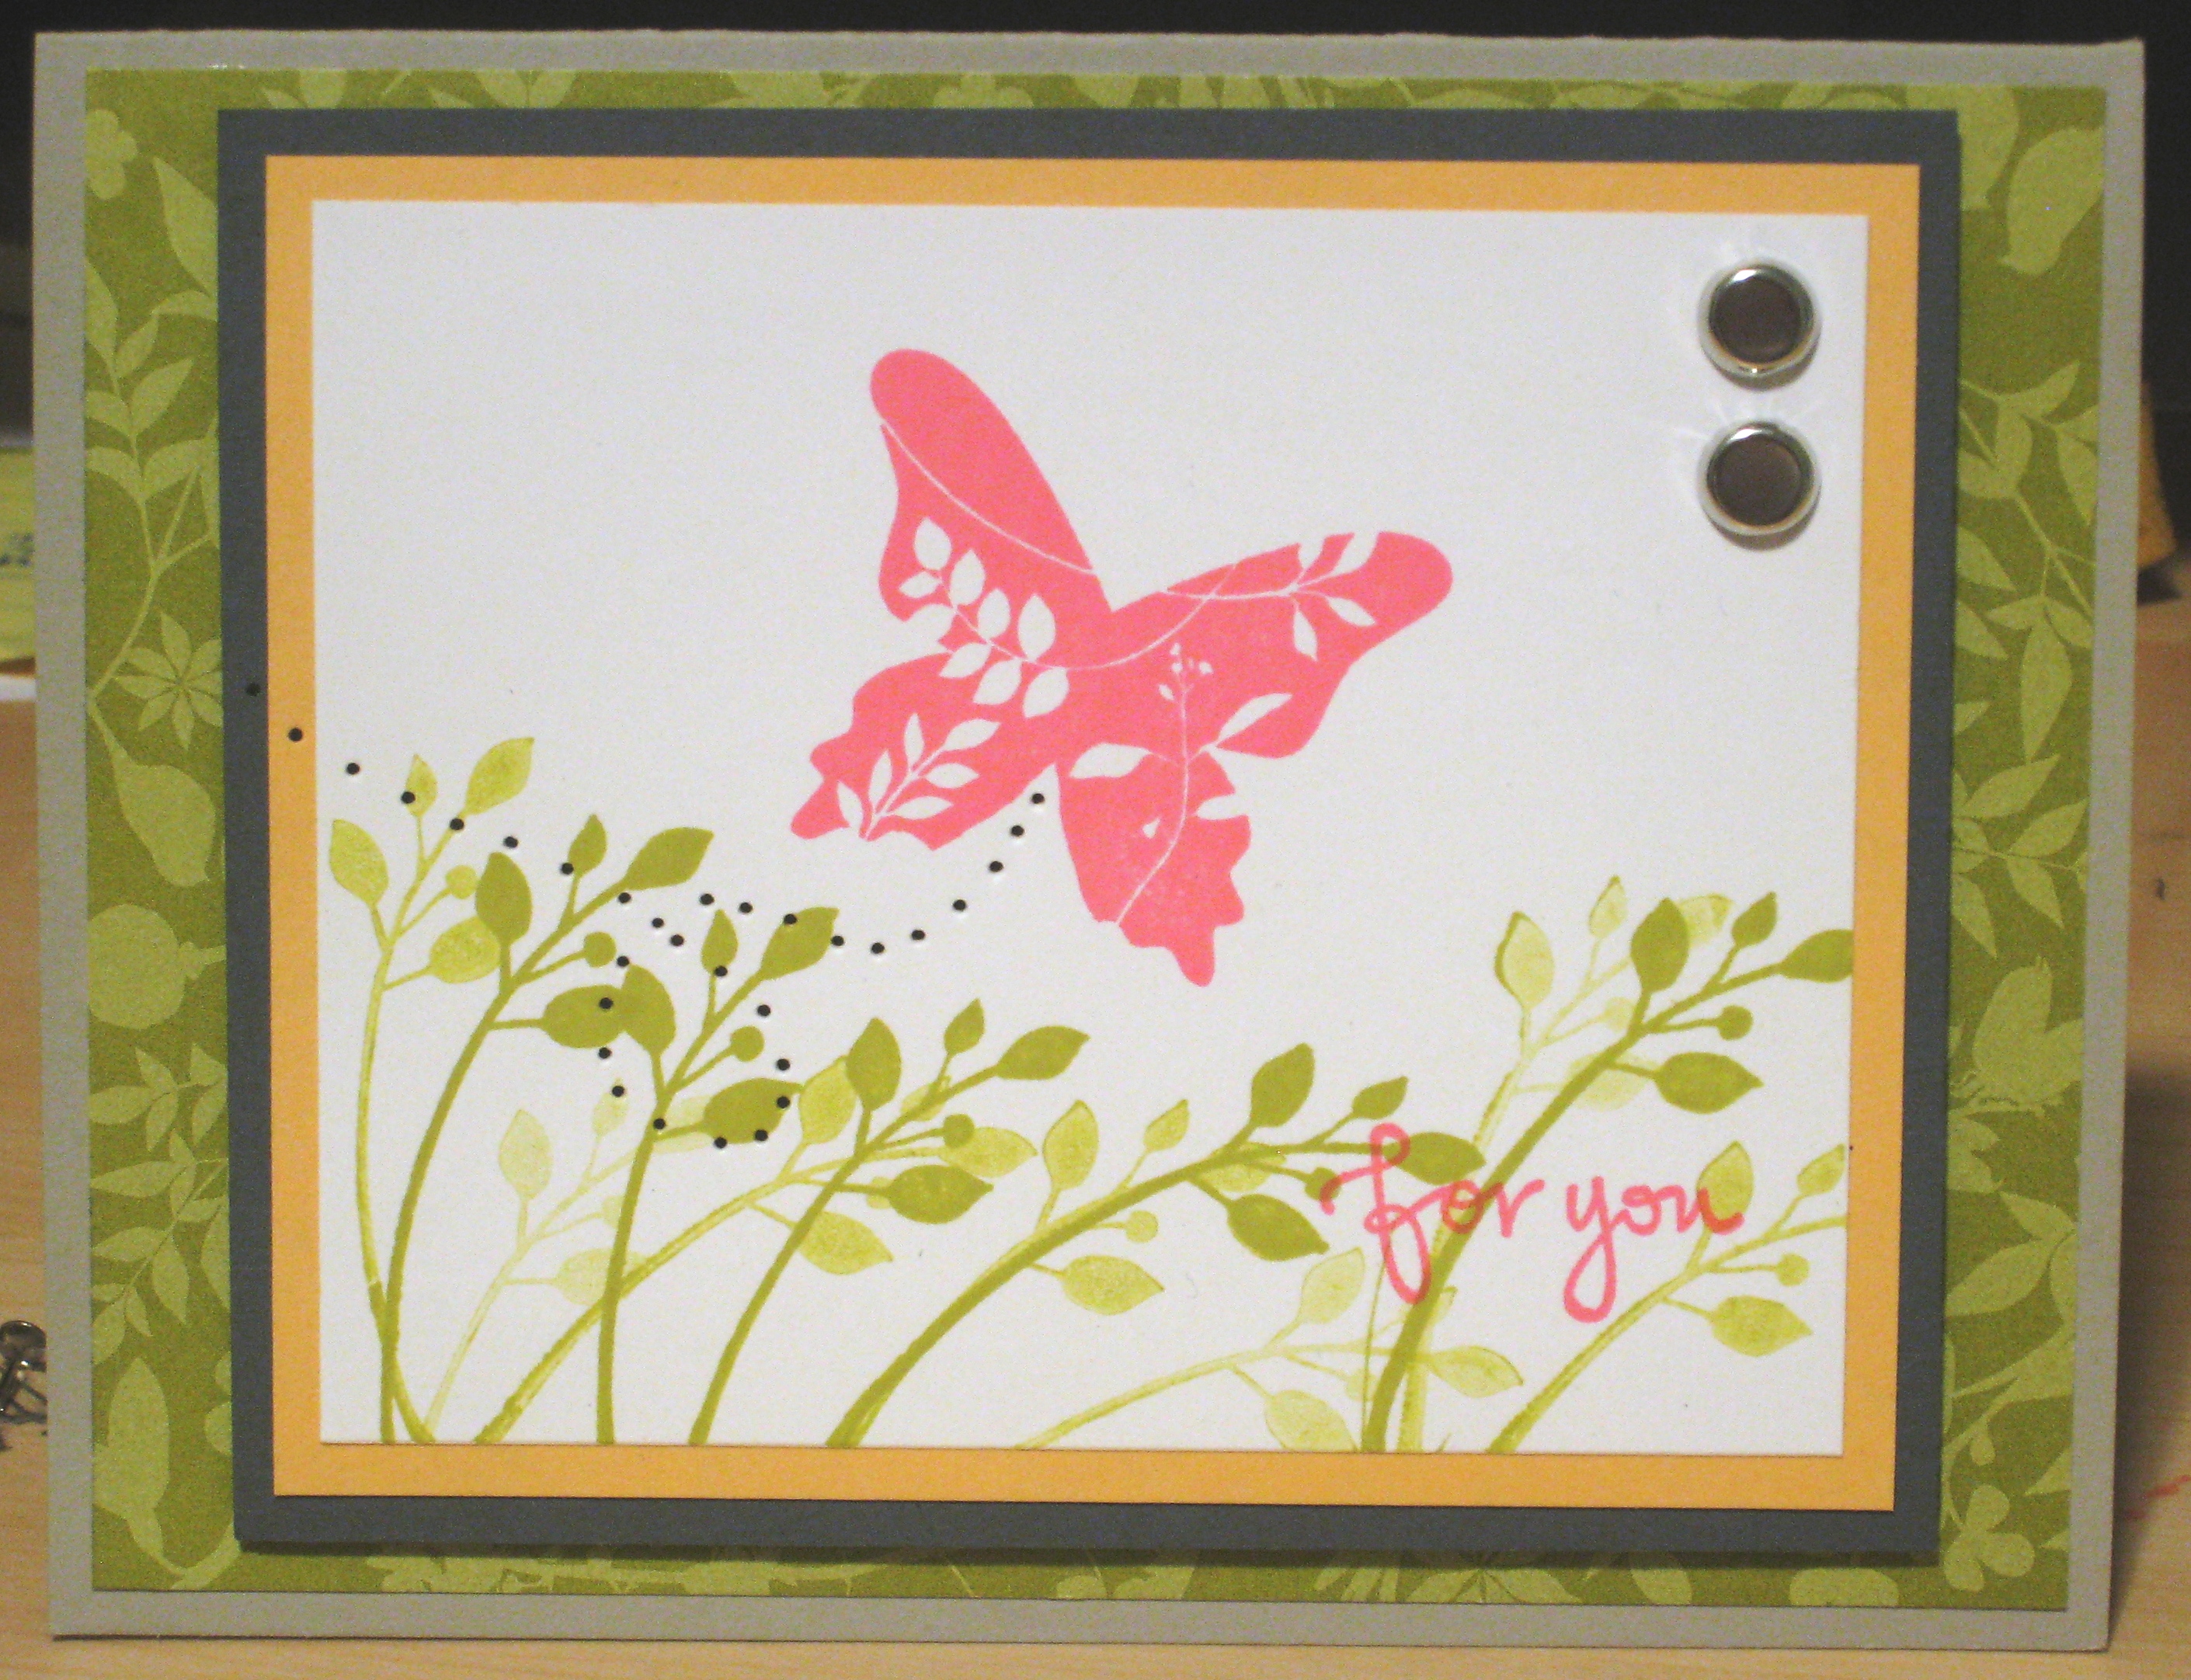
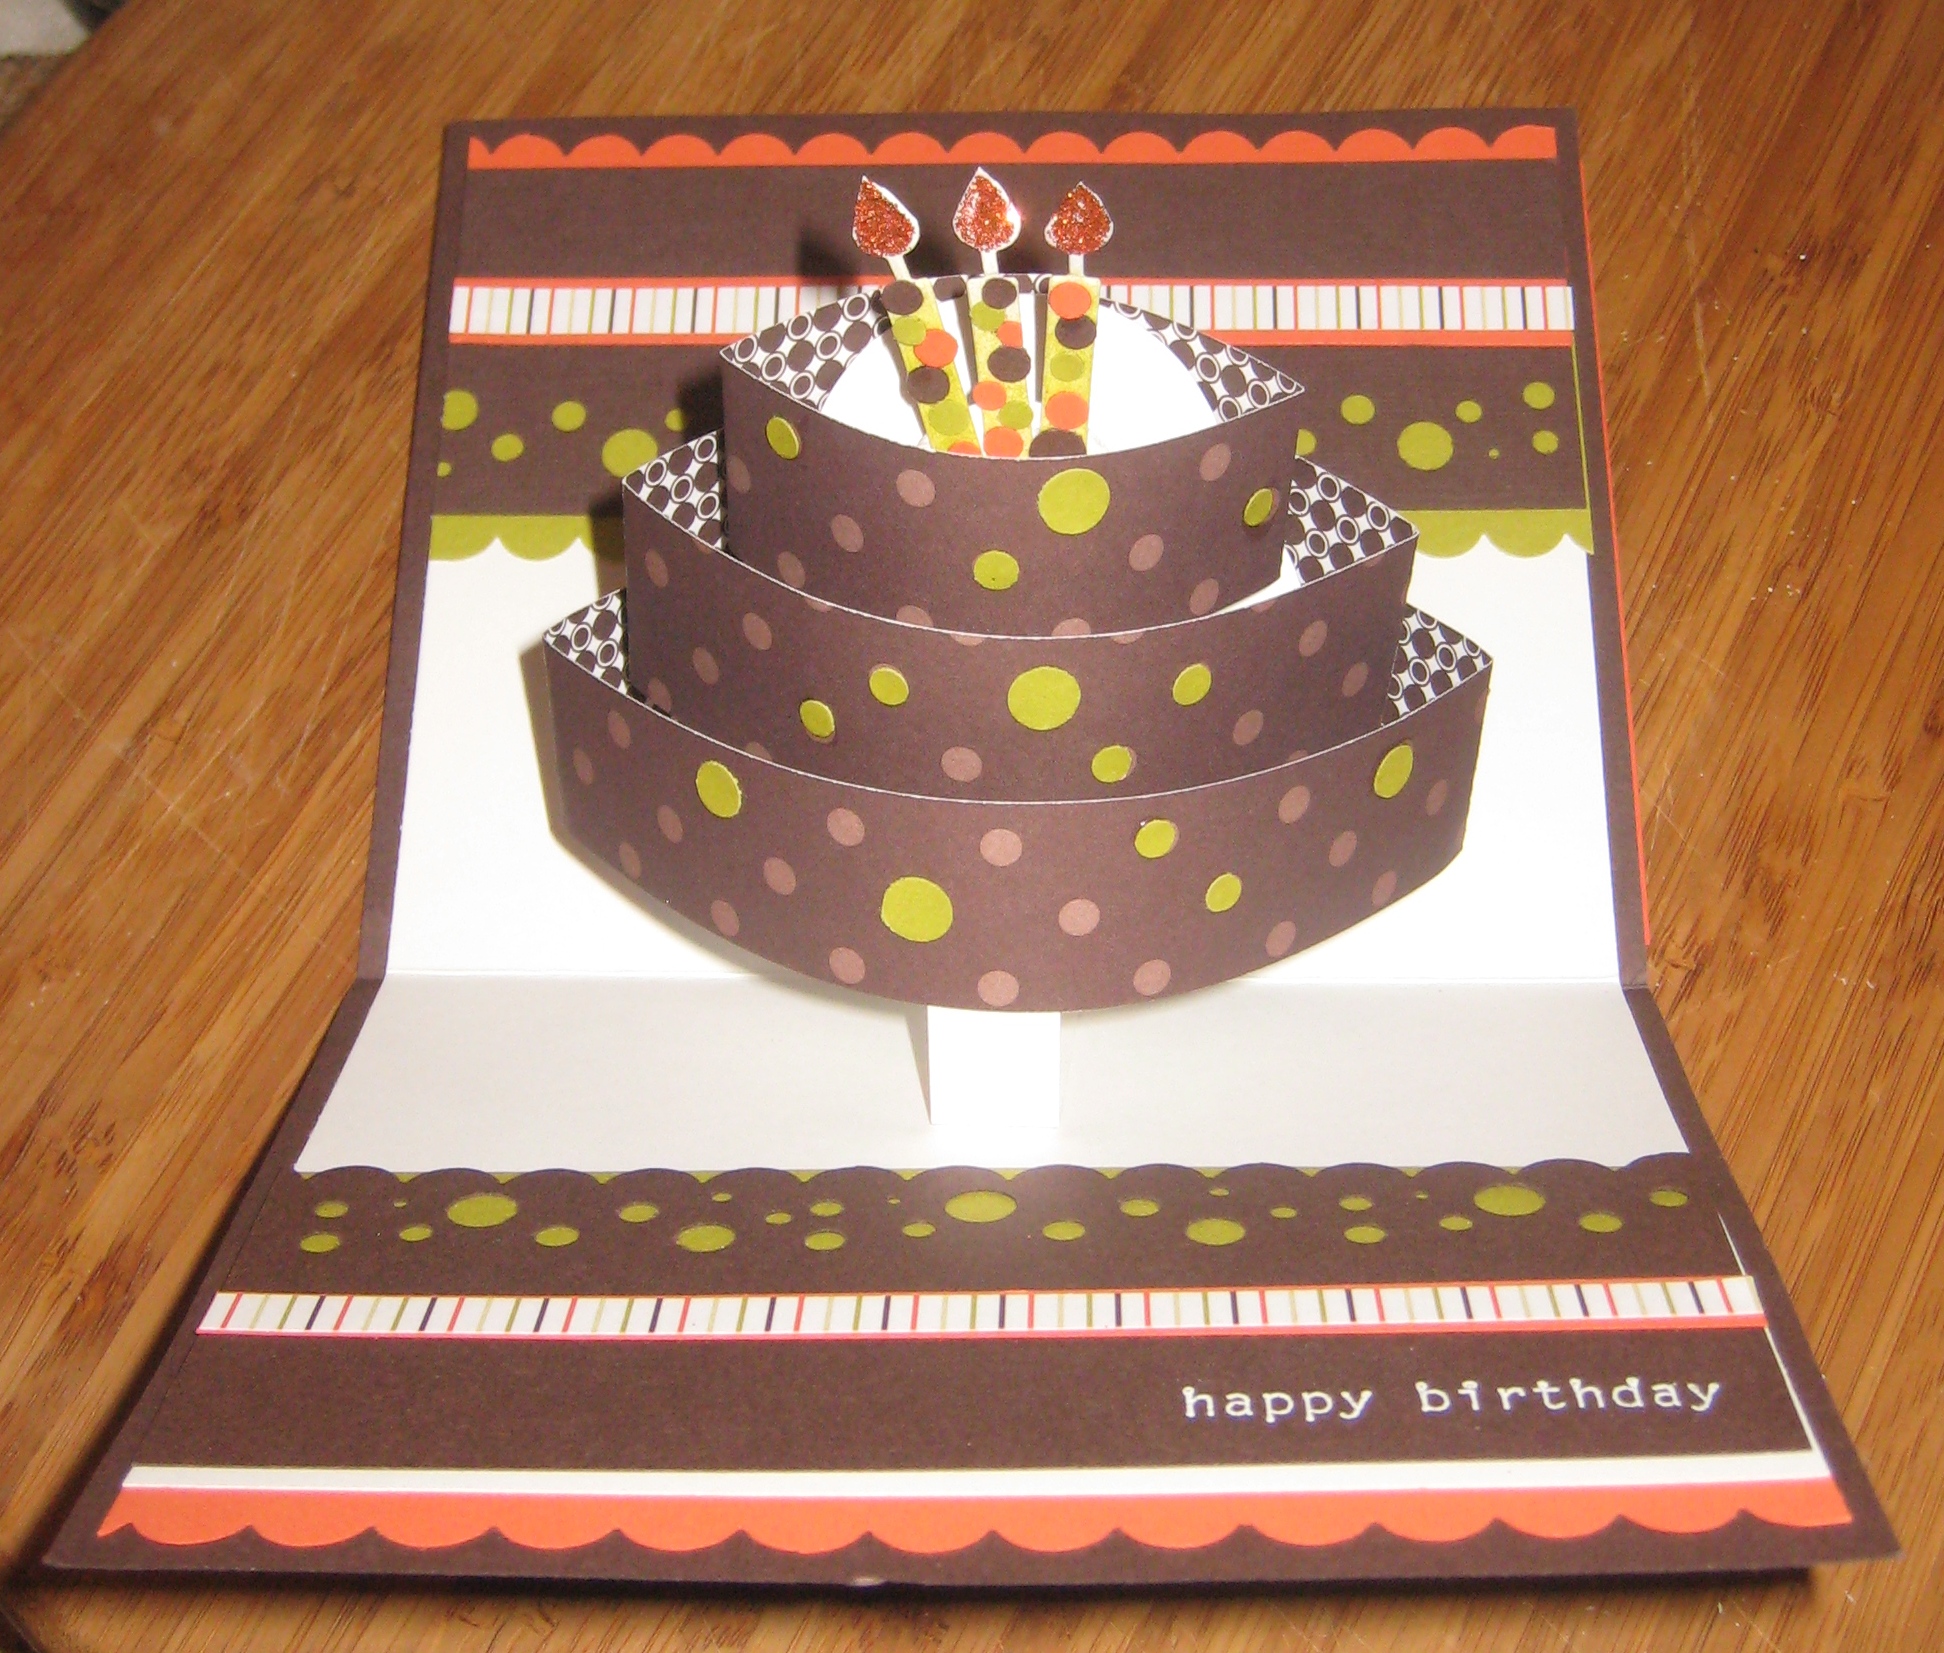
 OK so I have to admit this Sizzix 3D Cake die has been a bit of a roller coaster for me. At first, I was so excited to get it. Then I tried to use it in my Cuttlebug (which it’s not really made for but it does work if you do a lot of tweaking), and I hated it. Finally, I saw this card today and Jan inspired me to give this project another go.
Supplies/Directions
- First I cut out all of the pieces for the cake using the 3D Cake Die and assembled it as per the instructions. I used Georgia Pacific white cardstock for the template pieces and Chocolate Chip DSP for the strips around the cake layers. The cake is mounted on a piece of 5 1/2″ x 8 1/2″ GP white cardstock, folded in half.
- Then, I glued that piece of white cardstock to a 5 3/4″ x 9 1/2″ piece of Textured Chocolate Chip cardstock, folded in half.
- Next, I decorated the top and bottom edges with Kiwi Kiss, Tangerine Tango, and Chocolate Chip cardstock. The striped paper is Hawaii Papaya DSP. I used the Scallop Edge Punch and the new EK Success Border Punch “Swiss Cheese”.
- I stamped “happy birthday” from last year’s SAB set Birthday Whimsy in White Craft ink and embossed it with White embossing powder.
- The candles were sponged with Kiwi Kiss ink first, then I glued some of the little dots that were punched out with the EK Success Swiss Cheese punch onto the candles. Finally, I used the Orange Supernova Fine Glitter on the “flames” with 2-way Glue and adhered the candles to the cake using Sticky Strip.
- I added some Kiwi Kiss dots to the cake using left overs from the Swiss Cheese punch.
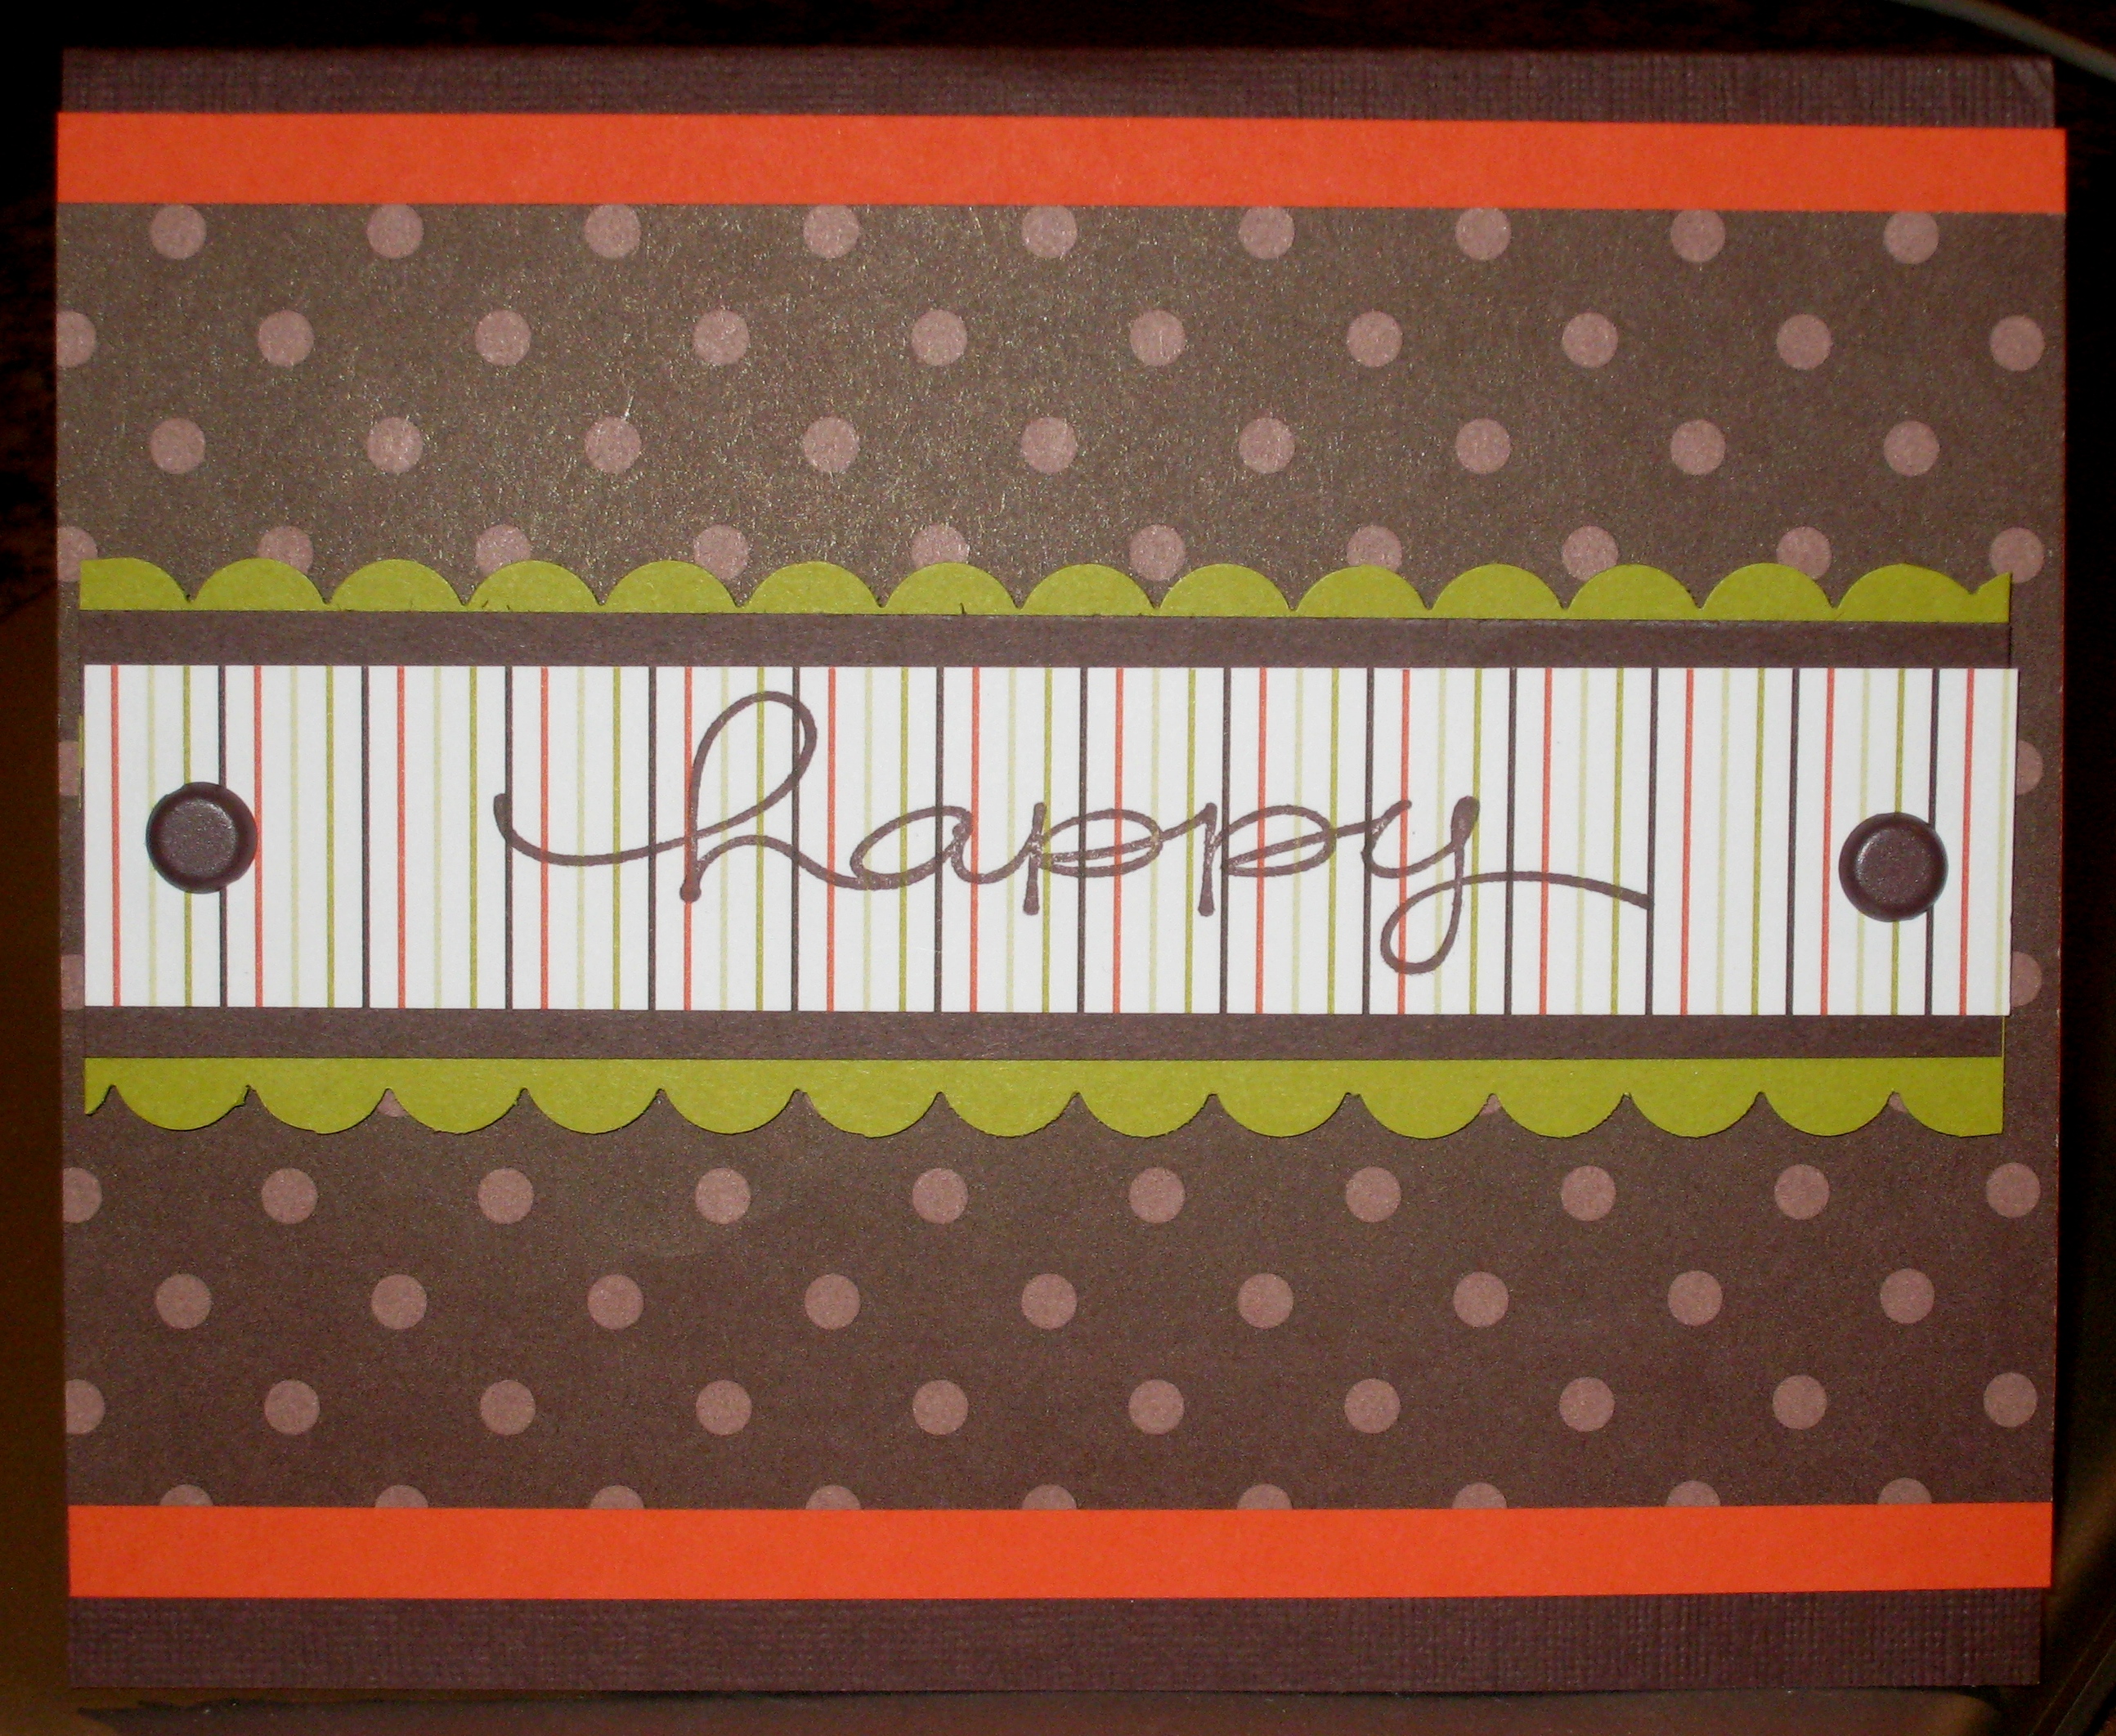
- Lastly, I decorated the outside of the card. I used a piece of Tangerine Tango cardstock, 5 3/4″ x 4 1/4″, Chocolate Chip DSP 5 3/4″ x 3 3/4″, and adhered them to the card front. The strip across the front is Kiwi Kiss punched with the Scallop edge, chocolate chip, and a strip of Hawaii Papaya DSP. I stamped “happy” from Happy Everything in Chocolate chip ink, added two 5/16″ Basic Jumbo Brads in Brown, and adhered that to the card wih dimensionals.
