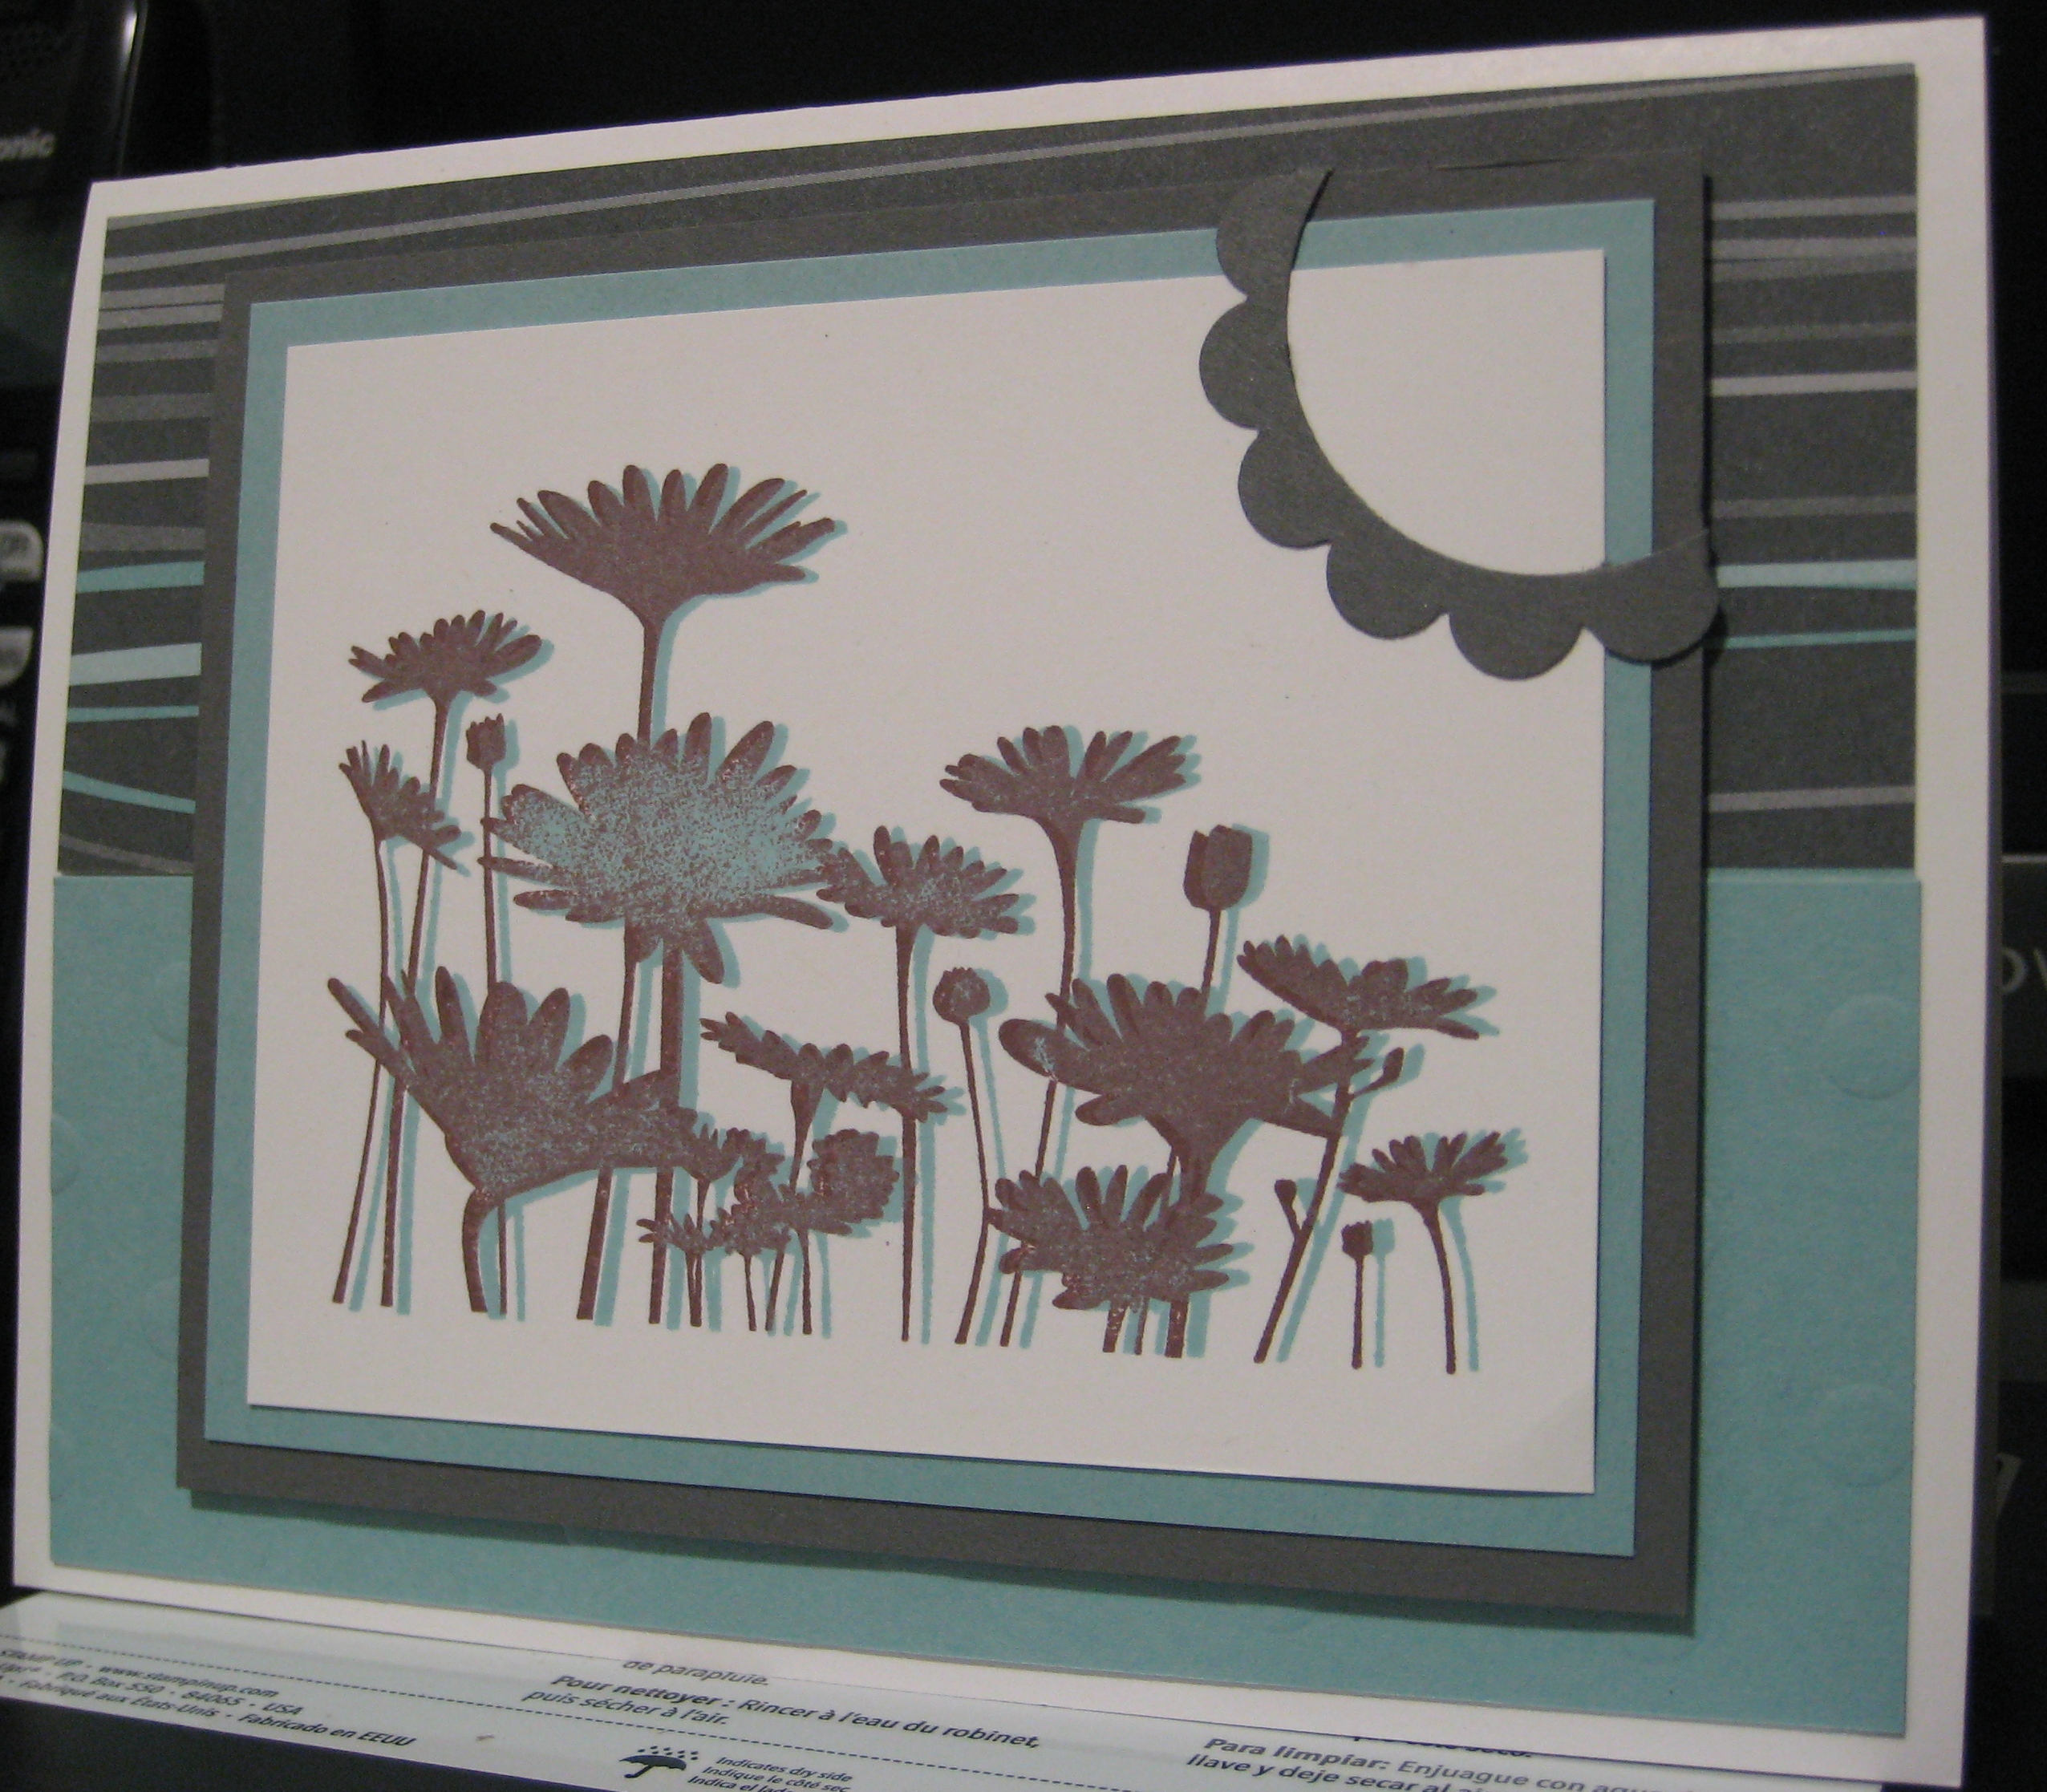
I still love the Upsy Daisy set. And I think I got it on sale so that makes me like it even more! This first card actually came from a mistake. When I stamped the image in chocolate chip ink and it didn’t come out clearly (see that large flower left of center) I was going to throw it away and start again. But I had an idea to stamp on top of it in Baja Breeze and I loved the results! I might try 2-step stamping this set more often now.
As for the rest of the card, the base is Whisper White, with a layer of Baja Breeze (ran through the Big Shot with polka dot Texturz Plate) and a piece of Urban Garden DSP. The image is stamped on Whisper White layered on a piece of Baja Breeze and Basic Gray Cardstock. Lastly, I punched out a Basic Gray “sun” and wrapped it around the right corner of the top layer. To do this, I take my 1 3/8″ circle punch and punch a piece of cardstock. Then I take the scallop circle punch and center it over the hole I just made. Punch, and you have a scalloped ring!
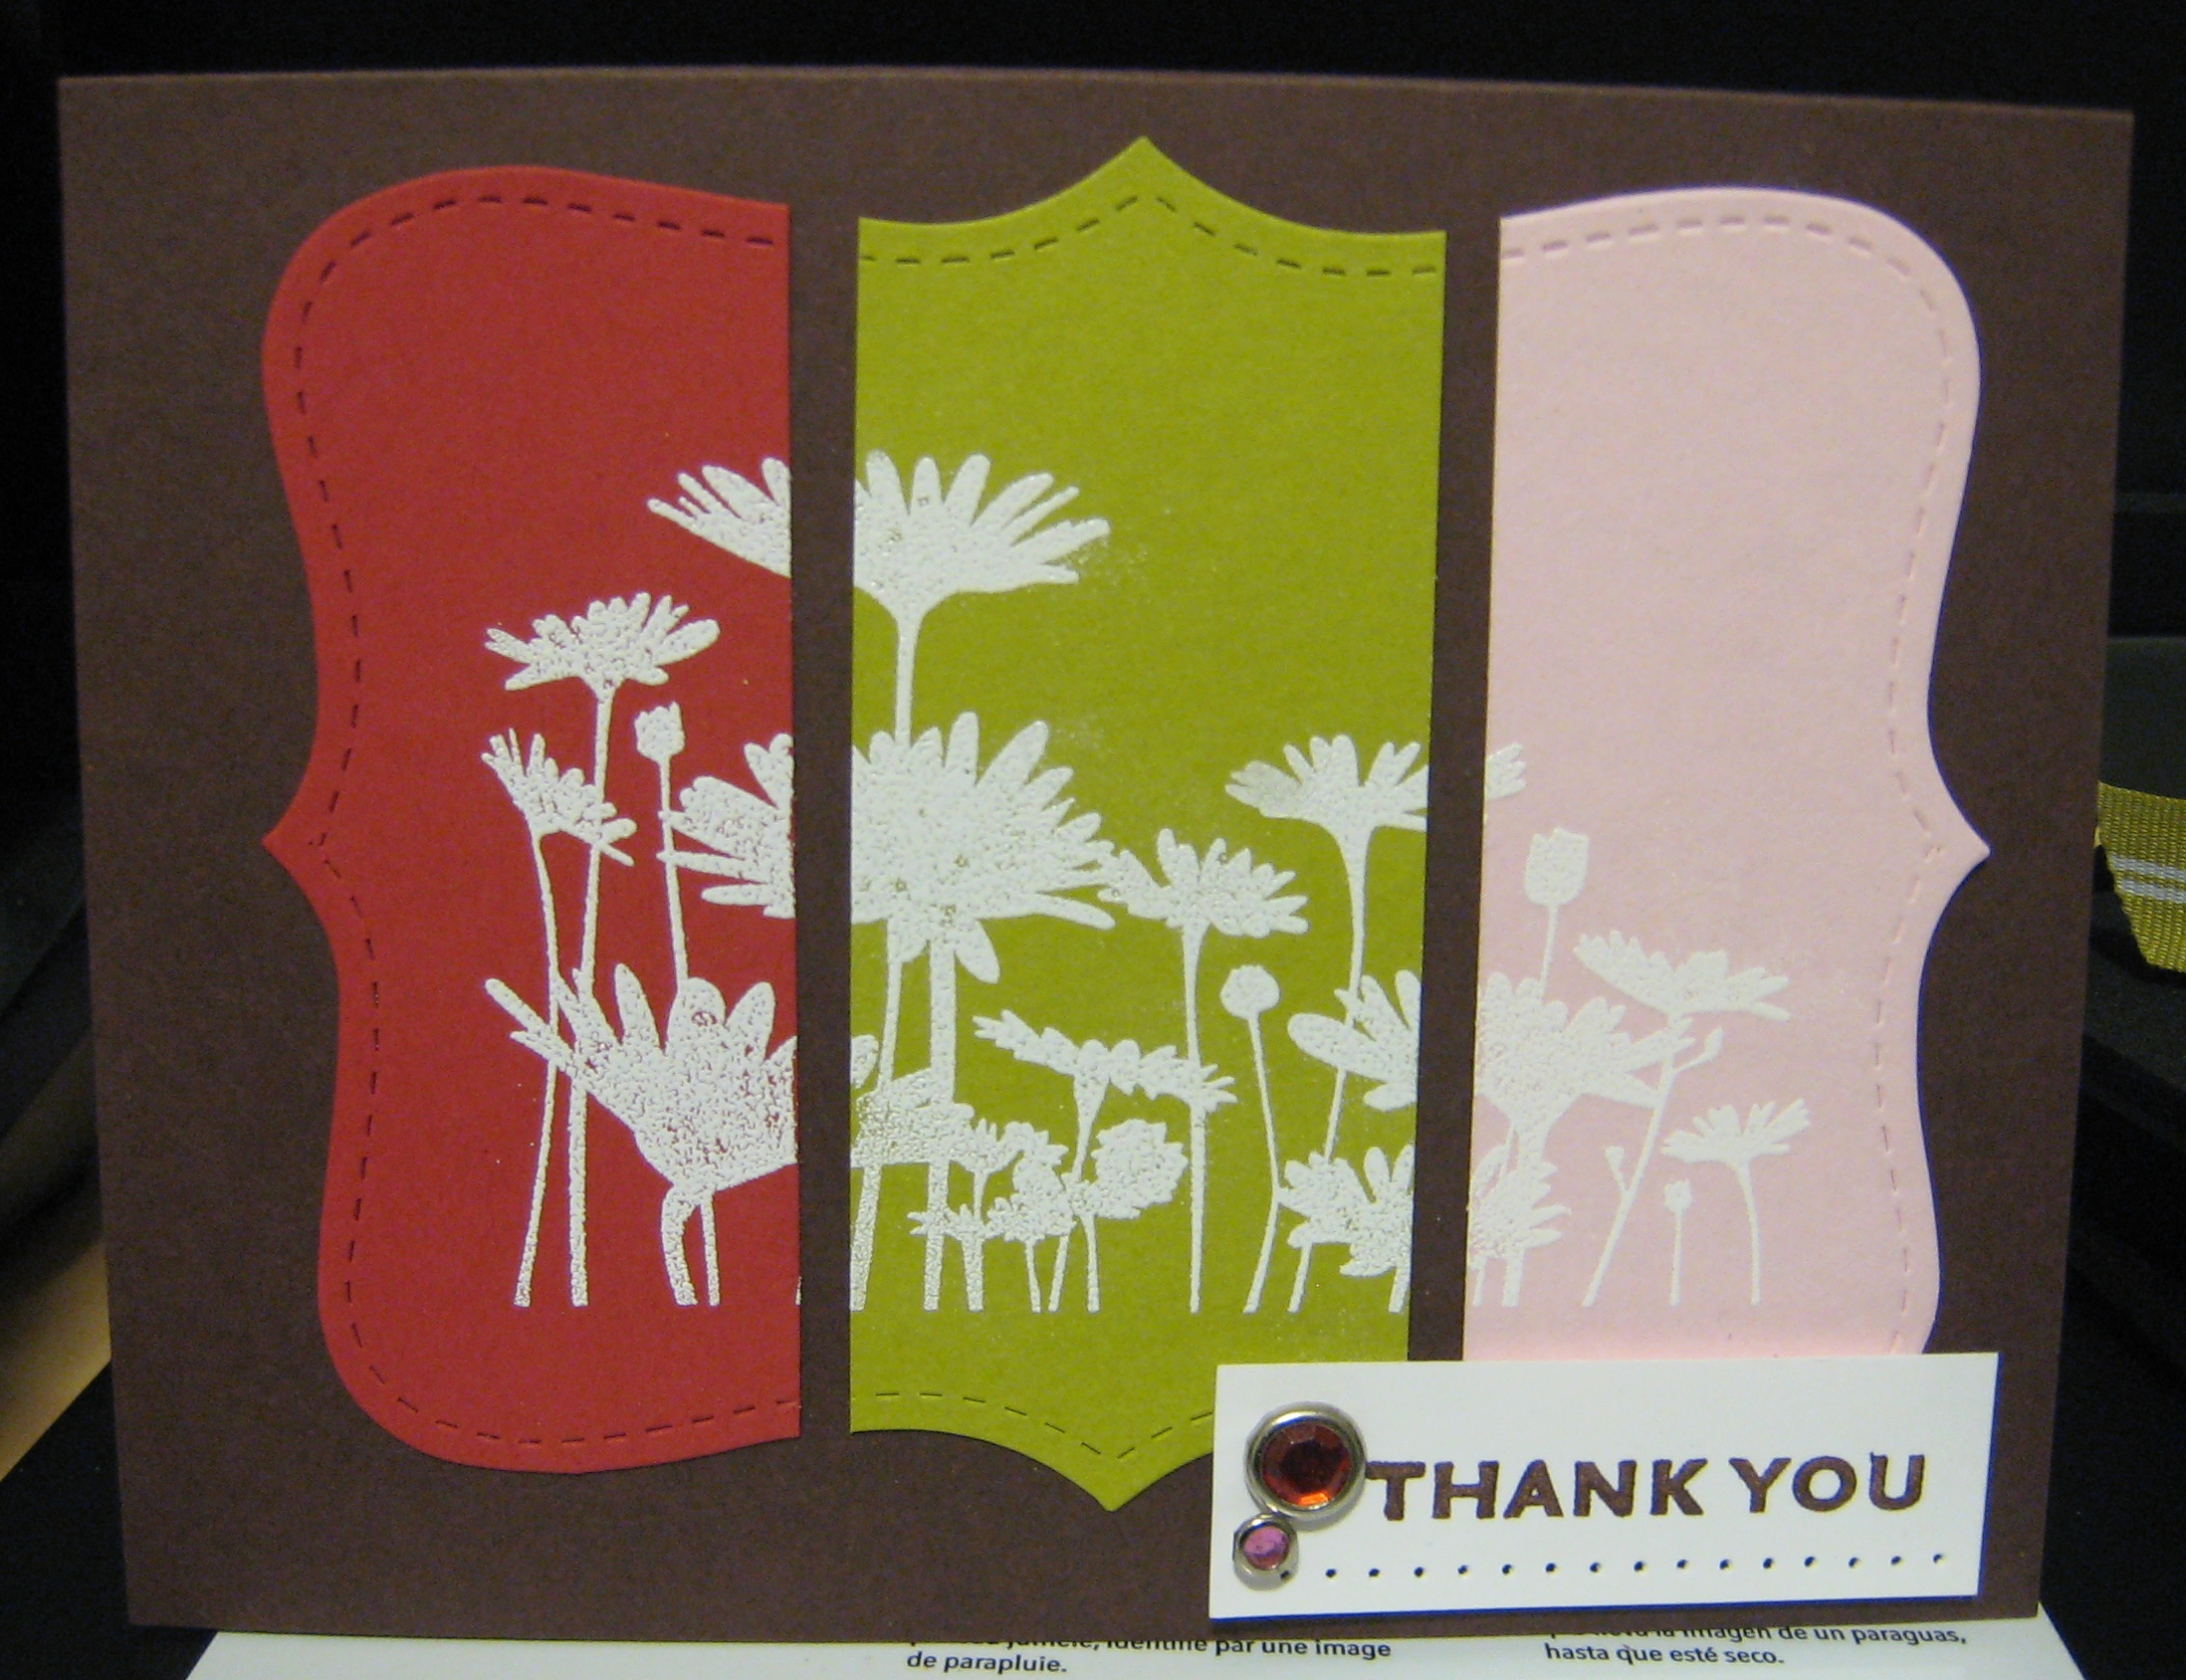
The above card was CASED from one I saw on Splitcoast a couple of weeks ago. I can’t find it again but I wanted to credit whoever it was that did it. Originally, the image was stamped on three rectangular pieces separated, like you see here. I was trying to use the Big Shot so I decided to pull out the Top Note Bigz Die and try the same technique. All stamps are from Upsy Daisy.
Technique: This is the way I did it: First, I cut out 3 separate die cuts with the Top Note die using Riding hood red, kiwi kiss, and pink pirouette cardstock. Next, I cut them each into 3 pieces. Then, I took a left side piece of Red, a middle piece of Kiwi, and a right side piece of Pink and adhered them to a sheet of scrap paper using Tombow Temporary snail adhesive (All 3 pieces were butted up against each other). I inked my stamp with White Craft ink and stamped the image on the tri-color Top Note cut out. Then I used white embossing powder and my heat gun to give it a raised, shiny effect. Lastly, I removed each piece from the scrap paper and permanently adhered them to the card base (chocolate chip). As for the sentiment, I used the chocolate chip marker to ink up just the “Thank You” and stamped it on whisper white. I paper pierced underneath the words and added 2 rhinestone brads. The whole sentiment layer is popped up on dimensionals.


Thanks so much! I love both these cards. They are wonderful